Battery Installation:
1. To open, when looking at the back, press the tab along edge of battery cover to release. Gently remove the cover about 1 inch, and slide tab out to release and remove.
2. Insert 6AA batteries with polarity as indicated by the illustration inside the battery housing. Ensure the batteries are inserted so that the flat ends are making contact with the springs.
3. To close, replace the cover by sliding the tab into the open side slits, and gently close the other side until the tab snaps into place securing the cover.
Mounting Installation:
Magnetic mounting using the included adhesive backed metal plates
Determine mounting location (Caution – adhesive tape may remove paint or damage the surface when removed.)
1. Make sure the area on the metal plate where you want to attach the light is clean and clear of debris and dust.
2. On the metal plate, peel and remove the tape backer to expose adhesive. Place bare metal sides against the
two magnets on the back of the light bar.
3. Place the light bar in the desired mounting location. Firmly press the adhesive tape against your surface to mount the light.
For best results, remove light from plate and allow adhesive to cure for 24 hours.
Adjustable White Puck and Light Bar Owner’s Manual
BL-PCCT-W Adjustable White Puck Light | BL-BCCT-W Adjustable White Light Bar
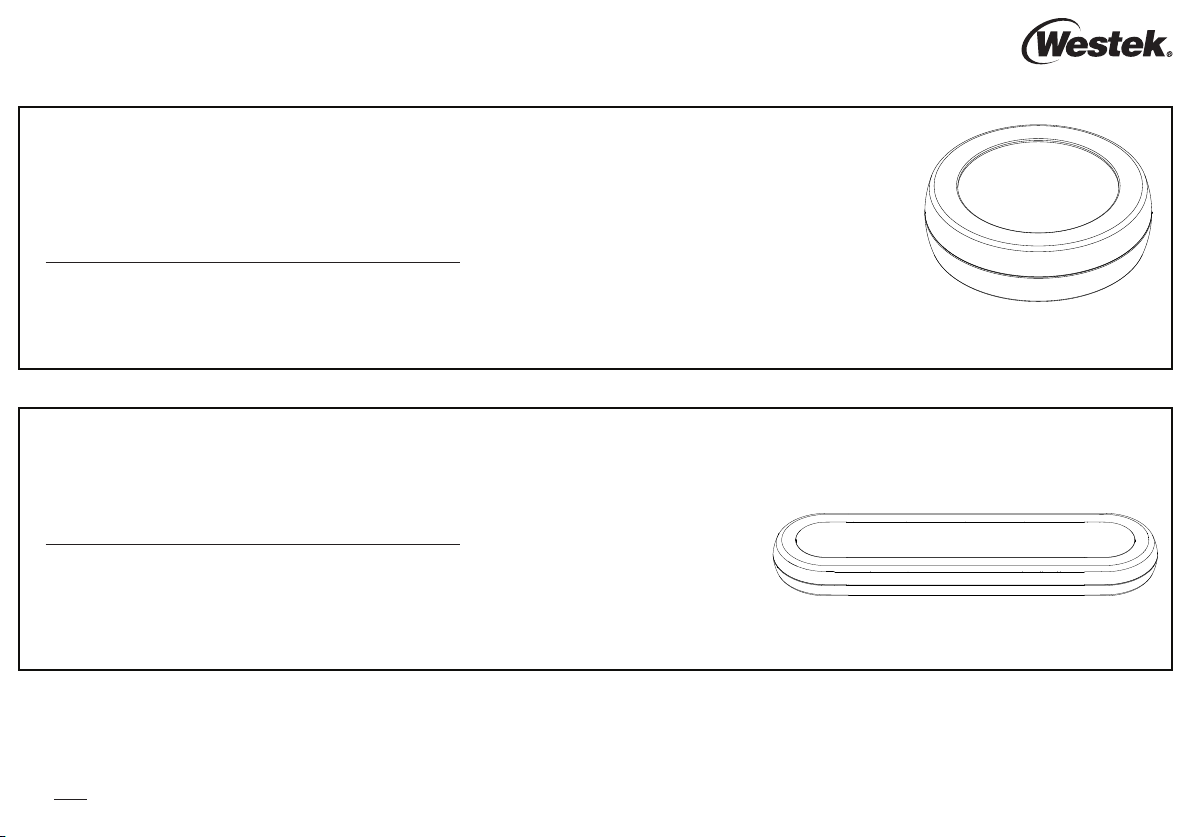
Puck Light
Battery Installation:
1. To open, when looking at the back, twist back cover counter-clockwise and remove.
2. Insert 3AA batteries with polarity as indicated by the illustration inside the battery housing. Ensure the batteries
are inserted so that the flat ends are making contact with the springs.
3. To close, replace the cover and turn clockwise.
Mounting Installation:
Magnetic mounting using the included adhesive backed metal plates
Determine mounting location (Caution – adhesive tape may remove paint or damage the surface when removed.)
1. Make sure the area on the metal plate where you want to attach the light is clean and clear of debris and dust.
2. On the metal plate, peel and remove the tape backer to expose adhesive. Place bare metal side against the magnet on the back of the puck light.
3. Place the puck light in the desired mounting location. Firmly press the adhesive tape against your surface to mount the light. For best results, remove light from plate and allow
adhesive to cure for 24 hours.
Light Bar
Manual Light Operation:
1. Tap the lens to power on the light. The light will return to its last-used brightness and white color setting.
2. Tapping the lens will cycle through the five adjustable white options: 3000K > 3500K > 4000K > 4500K > 5000K.
3. To Dim – tap and hold the lens, the light will smoothly dim from 100% to 10% or until you release the lens at your desired light level. Release and re-press the lens to restart the dimming
cycle in the opposite direction. When holding the lens to dim, the light will stop at its lowest and highest dim levels.
4. Note: If more than one minute elapses between taps, the light will power OFF when next tapped.
After 4 hours, your light will automatically turn off to save battery.


