WFI W 400 User manual

Mounting instructions
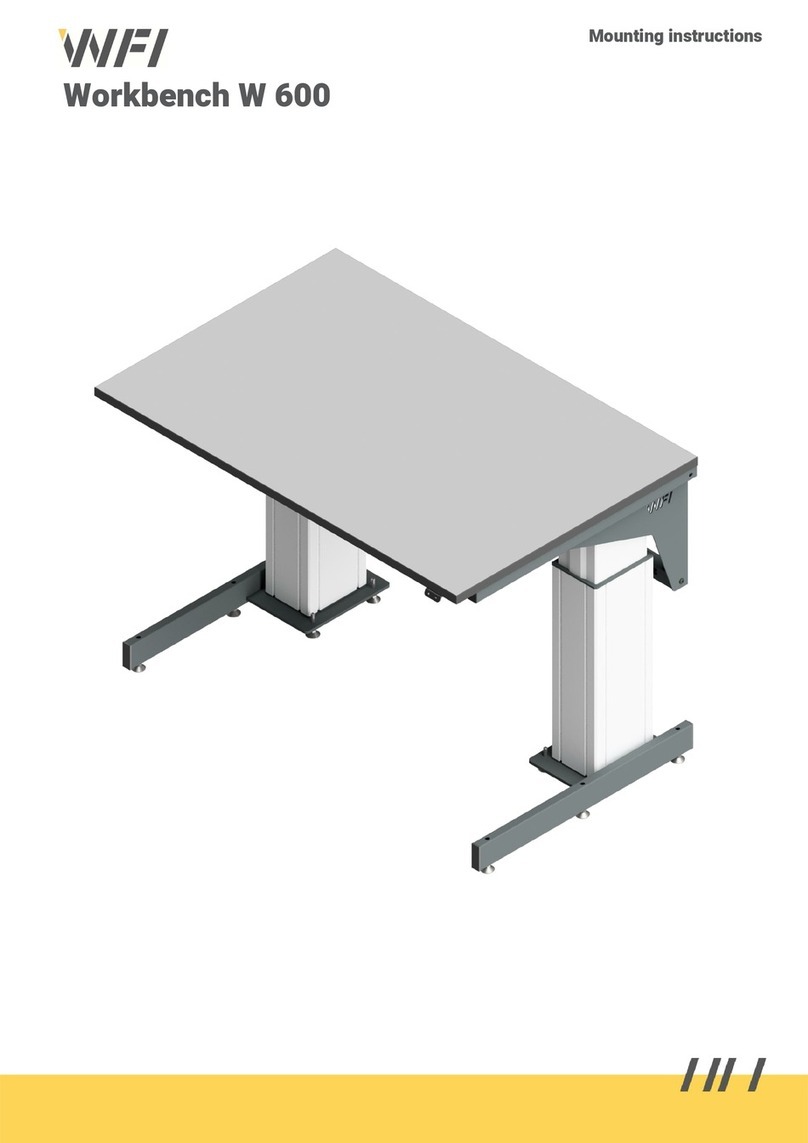
Workbench W 400

Mounting instructions
Installationsanvisning
•Bordet måste placeras minst 120 mm ifrån andra föremål t ex. intillstående bord eller utrustning
samt väggmonterade hyllor etc.
•Justera bordets skiva i våg med hjälp av stativets ställbara fötter
•Kontrollera att elkablar är oskadda och att allt är monterat enligt monteringsanvisningen.
•Anslut kablar mellan ställdon-styrenhet och kontroll-styrenhet innan stickproppen kopplas till
strömkälla.
•Anslut bordets stickpropp till 230V~ ±10 %, 50 Hz.
•Tryck in nerknappen och håll den inne tills bordet börjar röra sig neråt. När stativet når
bottenläget, släpp knappen, Tryck sedan återigen pånerknappen och håll den inne ca 5 sekunder
tills ett klickande ljud hörs från styrenheten. Nu är nollställningen klar och produkten kan tas i
bruk. Vid behov kan proceduren upprepas senare, för att säkerställa att parallelldriften blir
fullgod.
Om bordet skall serieplaceras skall extra säkerhetsanordningar monteras enligt anvisningar.
Vid förflyttning av bordet skall man aldrig lyfta i bordsskivan pågrund av stativets tyngd.
Beskrivning
Bordet är tillverkat för användning inomhus i industriell- eller kontorsmiljöoch för intermittent bruk på
10 %, dvs max 6 min på1 tim (kontinuerlig drift max 2 min).
Funktion
Bordets lyftfunktion erhålles med tvåelektriska ställdon som är sammankopplade med en styrenhet.
I varje teleskopben sitter glidplattor som ger en jämn och mjuk lyftrörelse. Ljudnivån vid bordet är
lägre än 70 dB(A).
Bruksanvisning
Höjning och sänkning av bordet
•Kontrollera att skivan och eventuell last går fritt från annan utrustning.
•Tryck påmanöverdonet för önskad funktion. (Ställdonen går sålänge manöverdonet aktiveras.)
Varning!
Vid höjning eller sänkning av bordet föreligger klämrisk mellan skiva eller stativ och intillvarande
utrustning.
Vid placering av last utanför stativets mått påbordet skall tipprisken beaktas.
För bord med vinklingsbar skiva:
Varning!
Om bordet utrustats med vinklingsbar ska skiva ska klämrisken beaktas.
Skivan får inte vinklas när det finns lösa objekt påbordsskivan dådetta kan orsaka personskada.
Underhåll
Vid rengöring av stativet skall rengöringsmedel med ett pH mellan 6 och 8 användas.
Kontrollera anslutningar, kablar och kablarnas uppfästning med jämna intervall.
Vid eventuellt servicearbete måste manöverströmmen brytas genom att stickproppen dras ut ur
uttaget.
Alla ingående rörliga delar är insmorda ifrån fabrik och därmed underhållsfria.

Mounting instructions
Installation instructions
•Place the table at least 120 mm from other objects, eg, adjoining tables, equipment, wall mounted
shelves, etc.
•Make the top of the table level with the aid of the adjustable feet on the frame.
•Ensure that electric cables are undamaged and that everything is fitted according to the assembly
instructions.
•Plug in cables between Actuator-control unit and tablecontrol-control unit before the power cables
is plugged in.
•Plug in the power cable of the table, 230 V AC, ±10%, 50 Hz.
•Press the downbutton and continue to hold the button pressed until the table has reached to the
bottom. Release the button and press it again. After approximately 5 seconds, you will hear a
clicking sound from the control unit. The resetting will then be ready and the product can be put
into use. It may be necessary to repeat the procedure later to ensure that parallel operation is
satisfactory.
If the table is to be placed in series then additional safety devices must be fitted in accordance with
instructions. When moving the table, never lift it by the top of the table because the weight of the frame.
Description
The table is made for indoor use in an industrial or office environment and for 10% intermittent lifting
operation, ie, maximum 6 minutes per hour (maximum 2 minutes continuous operation).
Function
Lifting is achieved by two electric motors that are interconnected with a control unit. Glide plates fitted
in each telescopic leg ensure smooth and even lifting action. The sound level of the table is lower than 70
dB(A).
Operating instruction
Raising and lowering the table
•Ensure that the table top, and anything placed on the table, has clearance in relation to surrounding
objects.
•Press the table control to give the desired action. (The motor runs so long as the table control is
actuated.)
Warning!
Observe the danger of crushing between the table top or frame and adjoining equipment when raising
and lowering. The danger of tipping must be considered if load protrudes beyond the extent of the
frame.
For table with a top that can be tilted:
Warning!
Observe the danger of crushing if the table is fitted with and adjustable tilting top.
Caution. The top may not be tilted when loose objects are on the table since this could result in personal
injury.
Maintenance
A detergent with a pH level between 6 and 8 should be used for cleaning the frame. Inspect terminals,
cables and cable clamps at regular intervals. The power cable must be unplugged before attempting any
service work on the table. All moving parts are lubricated at the factory and are therefore free from
maintenance.
Mounting instructions
M8x16
M8x12
M8x20
M6x20
TRX 5x20
TRX 6x20
TFX 4x20
TRX 5x40

Mounting instructions
1
2
M8x16
8 pcs. 4 on each side
Small holes up
M6x20
4 pcs. 2 on each side
Small holes up
M8x20
2 pcs. 1 on each side
Slide the rear frame with the screws in to the slots of the top frame.

Mounting instructions
3
4
M8x12
4 pcs. 2 on each side
M8x20
2 pcs. 1 on each side
TRX 6x20 rear frame
TRX 5x20 top frame

Mounting instructions
5
6
TRX 5x40
2 pcs.
Motor cable 2
Motorcable 1
Push button cable
A1
TFX 4x20
2 pcs.
Push buttons
Align table top with top frame
Flange of consoles should
be outside the worktop
Center the worktop between legs

Mounting instructions
7
8
Insert power cable to the control unit
Adjust feets if necessary
Make sure the table is in level

Mounting instructions
WFI AB Lidängsvägen 5 SE-335 32 Gnosjö
www.wfiab.se
Description
Art.Code
Max Load
WFI AB
Lidängsvägen 5
335 32 Gnosjö, Sweden
+46 (0) 370 37 13 00
www.wfi.se
Table of contents
Languages:
Other WFI Tools Storage manuals
Popular Tools Storage manuals by other brands

IAC INDUSTRIES
IAC INDUSTRIES Quick Ship WORKMASTER Assembly instructions

Husky
Husky HBR782478W4 Use and care guide

Craftsman
Craftsman 706.366440 Operator's manual

Craftsman
Craftsman 76633 Butcher Block Operator's manual

Costway
Costway TH10046 manual

Homak
Homak PROFESSIONAL Series Owner's manual & operating instructions

Ranger design
Ranger design T4-RS36-3 installation guide

Wen
Wen 453BV instruction manual

Craftsman
Craftsman PROFESSIONAL SERIES Operator's manual

Olympia Tools
Olympia Tools 88-128-917 Owner's manual & safety instructions

Supatool
Supatool STP7726 Operation manual

kupper
kupper 70330 Series Assembly instruction