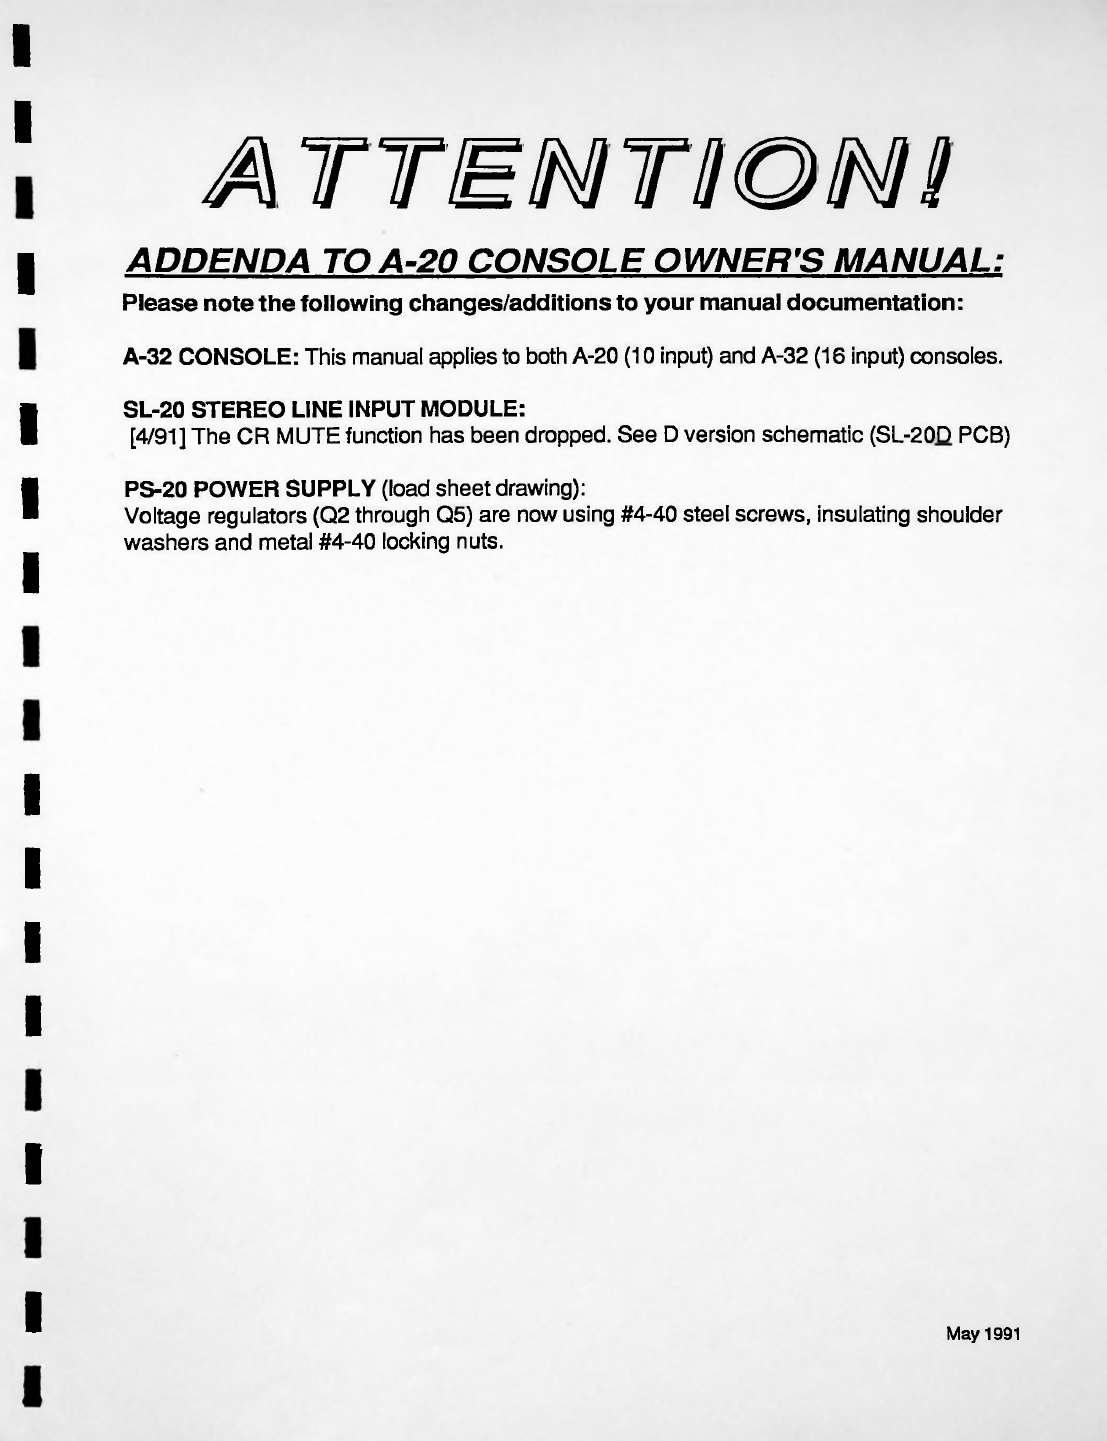
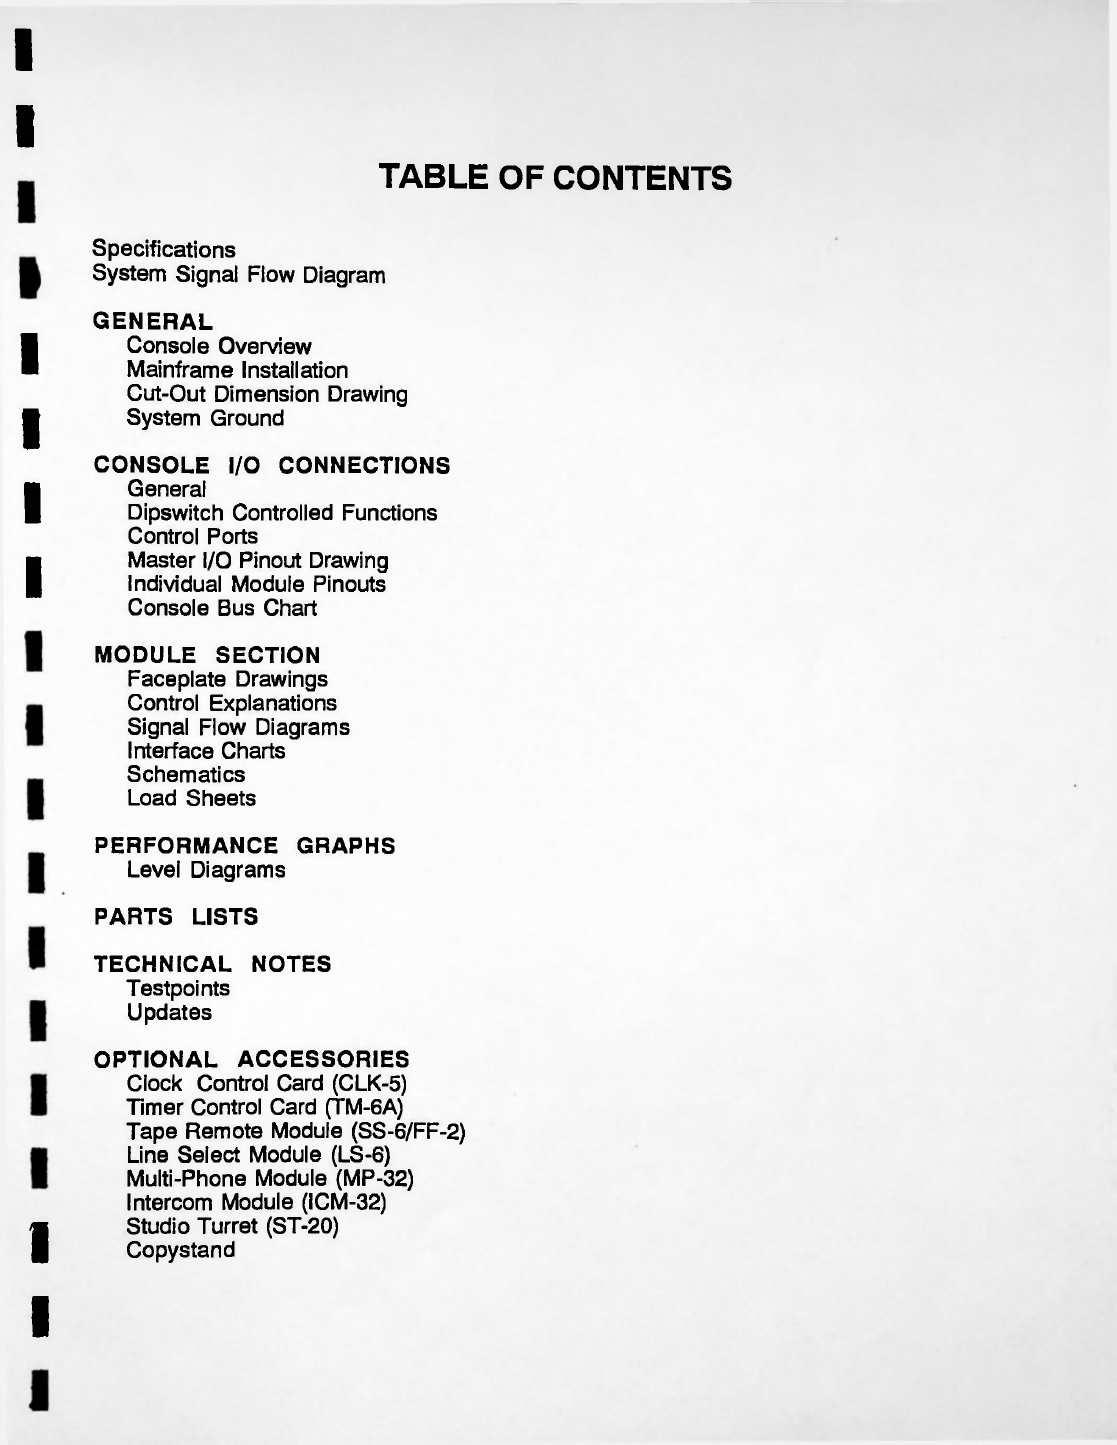
Wheatstone Corporation A-32 User manual
Other Wheatstone Corporation Recording Equipment manuals

Wheatstone Corporation
Wheatstone Corporation A-2000 User manual

Wheatstone Corporation
Wheatstone Corporation TV-1000 User manual

Wheatstone Corporation
Wheatstone Corporation D-5.1 User manual

Wheatstone Corporation
Wheatstone Corporation Talent Station TS-22 User manual

Wheatstone Corporation
Wheatstone Corporation D-9 User manual

Wheatstone Corporation
Wheatstone Corporation EMX User manual

Wheatstone Corporation
Wheatstone Corporation A-5000 User manual

Wheatstone Corporation
Wheatstone Corporation E-6 User manual

Wheatstone Corporation
Wheatstone Corporation Dimension Three User manual

Wheatstone Corporation
Wheatstone Corporation DMX-8 User manual