TABLE
OF
CONTENTS
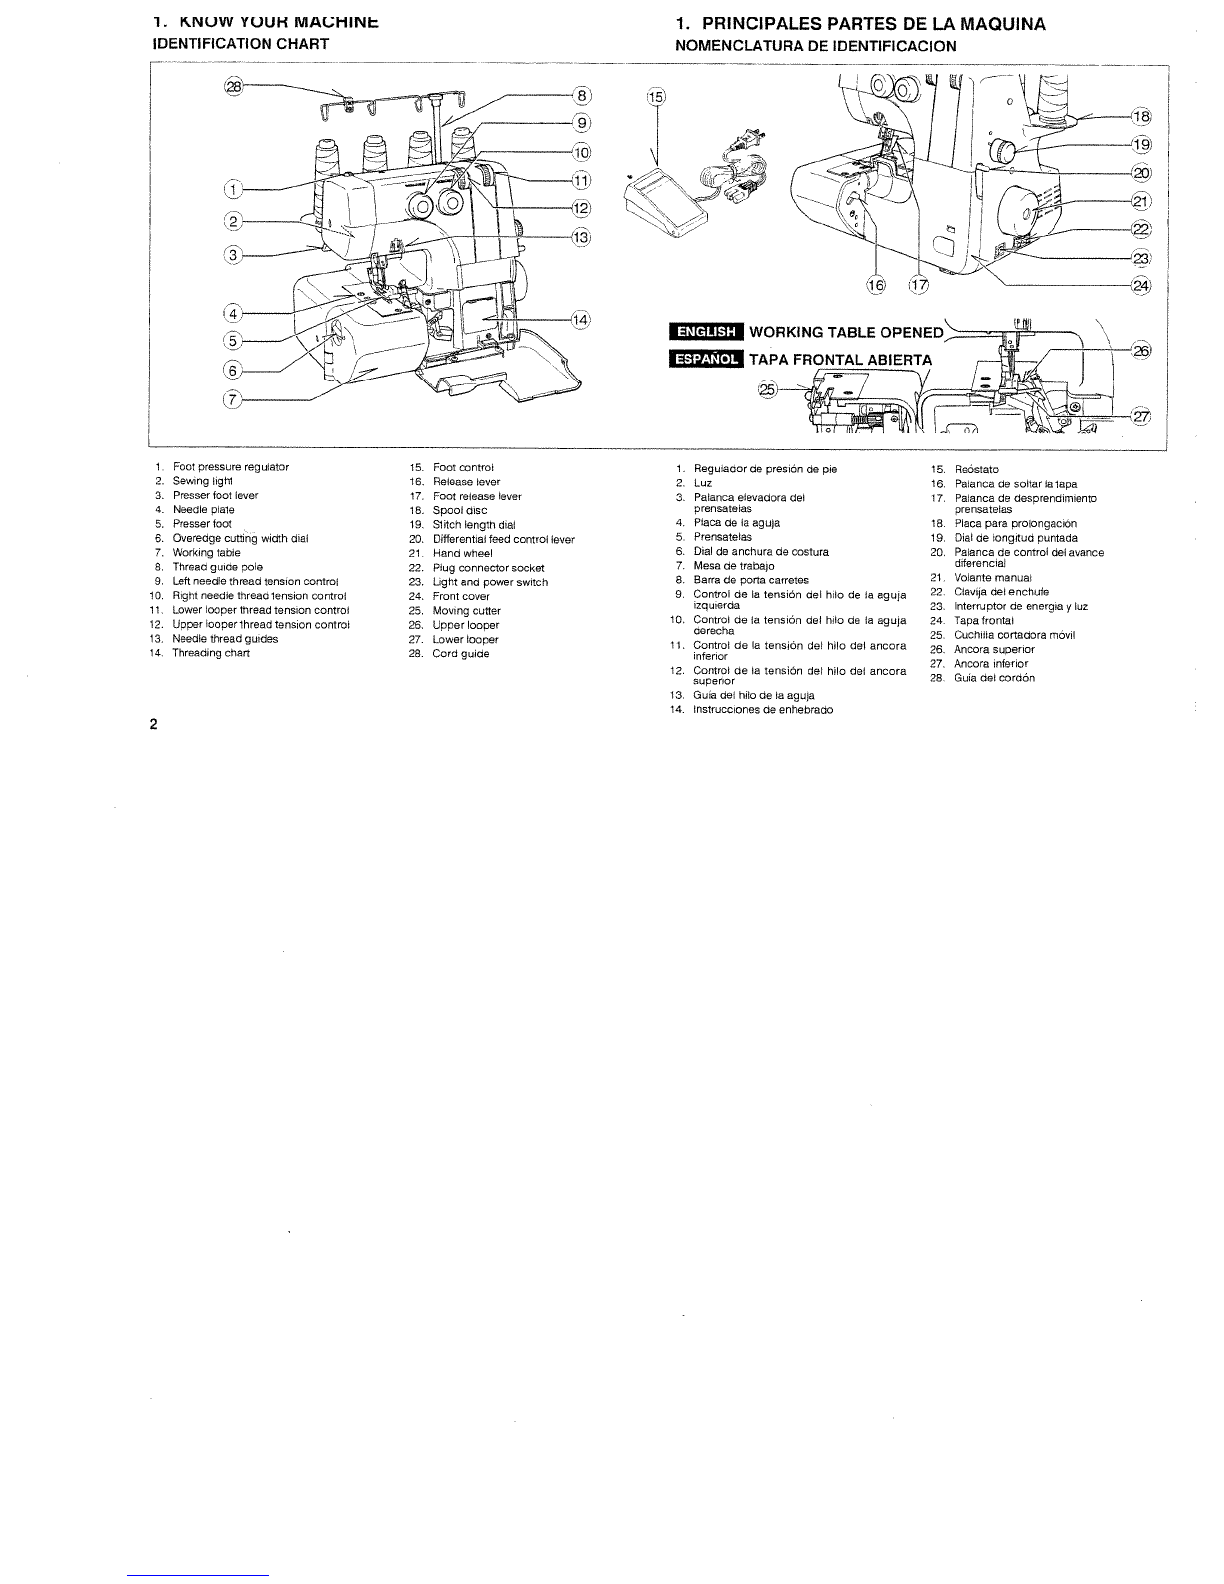
I.
KNOW
YOUR
MACHINE
Identification
chart
Accenaonen
Setting
up
your
macnineS
Preparation
for
threading
Changing
preaaer
feet.
Cf
Needle
thread and
fabric
2.
STARTING
TO
SEW
Threading
yuui
8-6
-machine
10-12
t-ieiprai
nints
13
Teat ntdch
oneriach atitchen 14
Sernngchart
in-Id
Three-thread
cuerlanir
with
one
needle
r
7
Narrow
and
rolled
new,
picat
stdca 18-
19
Ad
1
ushng
threaa
tenaiann
20
-
21
Adjusting stitch length.
Aduating
oneredge
caning
wid
22
Stitch finger
181
(Narrow)
22
Differential
teed
23
24
Font
pressure
regaiam
Sewing
with
eetre
aeanyweght
fabric
or
multiple
layers
of
fabric
24
Basic
tenhnipuea
Turning
outside corners
without
cuffing
threedu,
Turning
corned
edgen
25
Remaning
stitches
from
newn fabric 25
Corded
one
rionli
26
Denaratine
effects 27
Differential
feeo applications
“—“
28
3.
CARING FOR
YOUR
MACNINE
Replacing
moning
cutter,
Disengaging
wourng
caine
29
Rewaning
lace
cone 39
Cleaning
and
oiling
3D
4.
CHECKING PERFORMANCE PROBLEMS
31
5.
OPTIONAL
ACCESSORIES
32
-
3ó
INDICE
DE
CONTENIDOS
1.
FRINCIPALES
PARTE,S
GE
LA
MAQUINA
7
Cambia
del
pie
prensetelas,
Mactar
8
Materials,
hilan
y
aguen
2,
5-6
EMPEZAR
A
COSER
Enhebrer
so
wanarna
Suoerencias
de
anode
1D-
12
13
Cawprabar
Ins
uonrehiladoa Id
Table
De
filacian
18
-
16
Soarenf
eons
de
cnn
hilns
non
one
agaa”’
17
Dabledilledan enrolladon.
estrenhas
yoe
farm
18-19
Ajaster
las
tensianes
de
Ins
hilan
3D
-
21
Ajaster
la
longitad
oe
panraoa.
Ajaster
Ia
enchura
ae
le
casrare
22
Dnda de
pantede
(8)
22
Trensparfe
aiferennial
23
Regiador de
prenion
do
pie 34
Caser
can
materiel
de
genera
graesa
n
capes
waltipea
de
materiel 24
Tinnines
bbsices
Direr
ei
materiel
sin
carter
Ian
hilas,
Direr
Ian
borden narvedan
28
Eliminer las
sabrehiledan
del
material
casida
28
Pespante
esnardaneao
26
Planrns
decarerinns
27
29
Aplicaciones
del
Irenapane
difernnniel
3.
CUIOAOOS
PARA
SU
MAOUINA
Cemnier
le
nannilla macu 39
Desengrener
la
nanhille
macil,
Gaiter
Ia
cabienafrantel
39
Limpieze
p
engrane
3D
4.
VERIFICANDO
LOS
PROBLEMAS
08
EJECUCION
31
5,
ACCESORIOS
OPCIONALES
32-
3-6
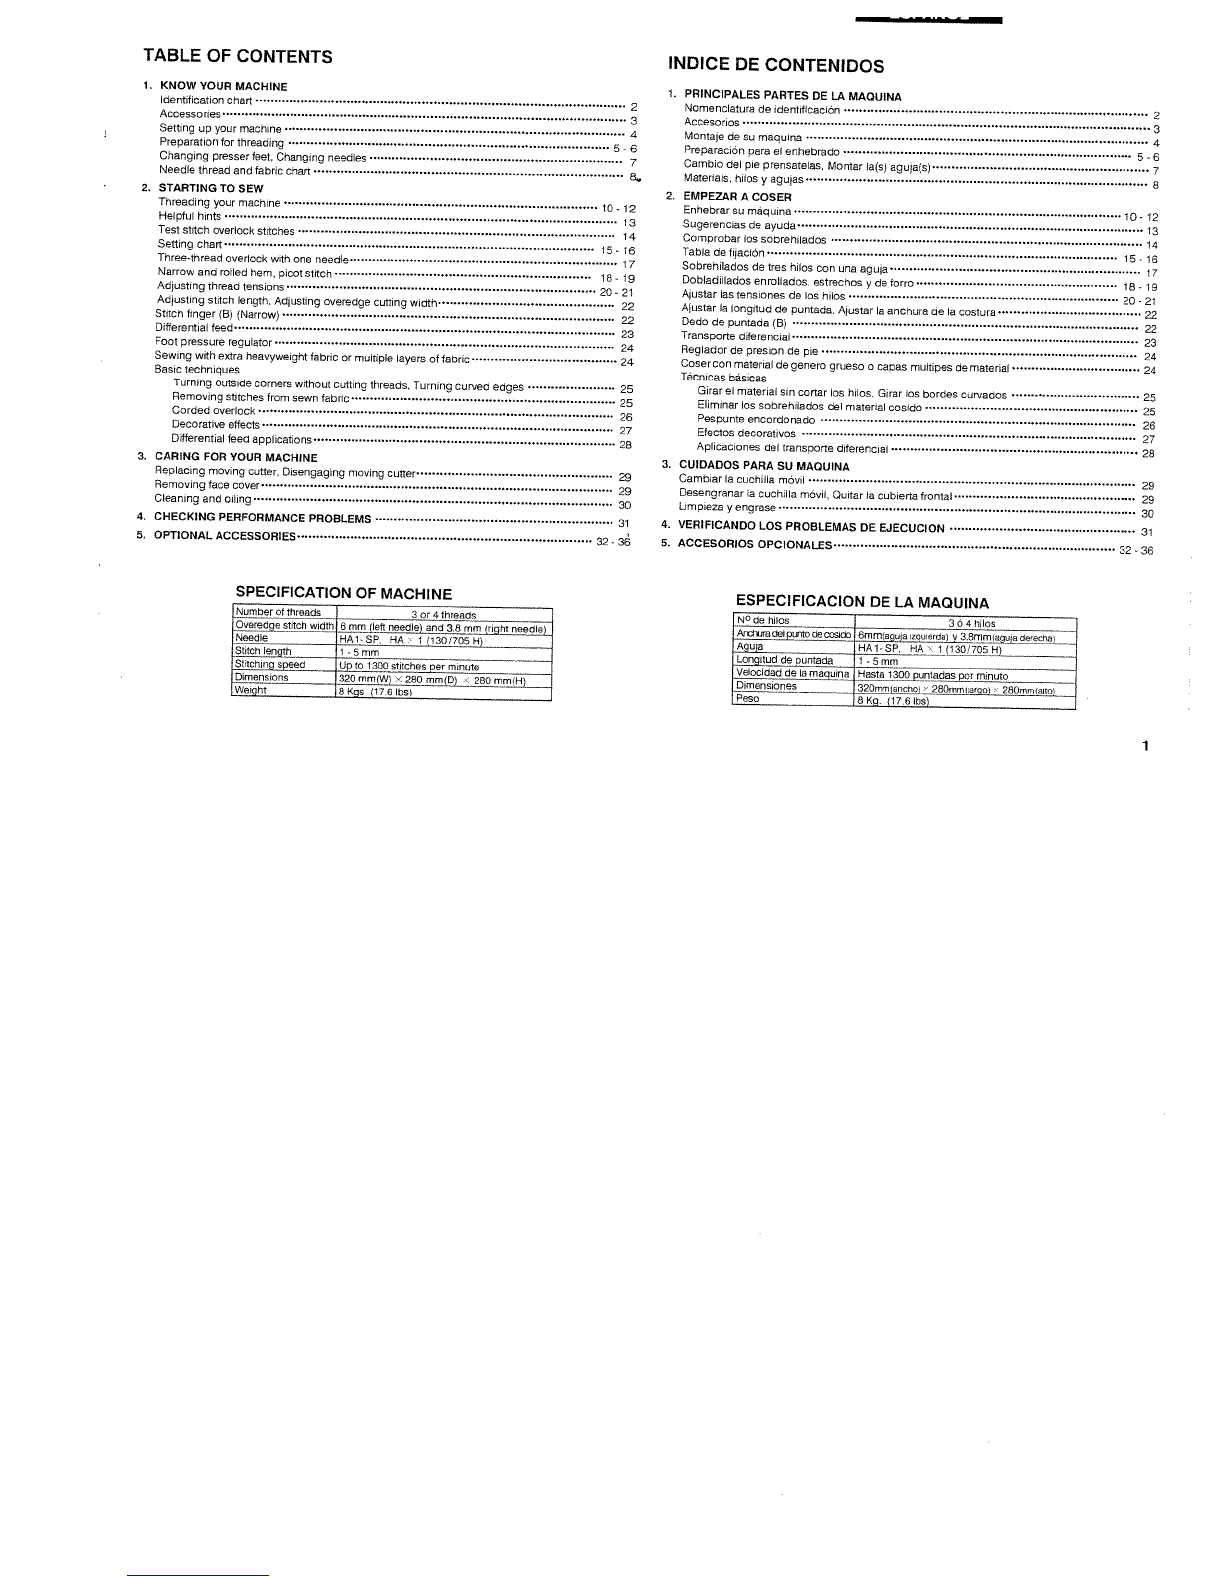
SPECIFICATION
OF MACHINE
Laawner
at
tnreads
3
ore
tnreads
[pyfffpdnp,ytirns
wiggtjm
lien
needle)
end3.8wp(jpn(eedle
jppgie
HA1-SP,
HA
I
li30l705H)’
Catch
lepggt,,,,,,
1-
bmw
—
________
Stitching
speed
Up
In
t3an
stitches nar
rninnre
Dimensions
33n
mm(w)
7280
mwiD)
.‘.
280 nrw)H
rwaignr
BRan
(176
lad
ESPECIFICACION
DE
LA
MAQUINA
Peale
3a4irilsn
i
dwmla
aain
cmido
3.8wipjaqpjauernrn,,,,
HAl-SF.
HA
1
Il3ai7OnHl