Do Not Over Tighten Nuts!
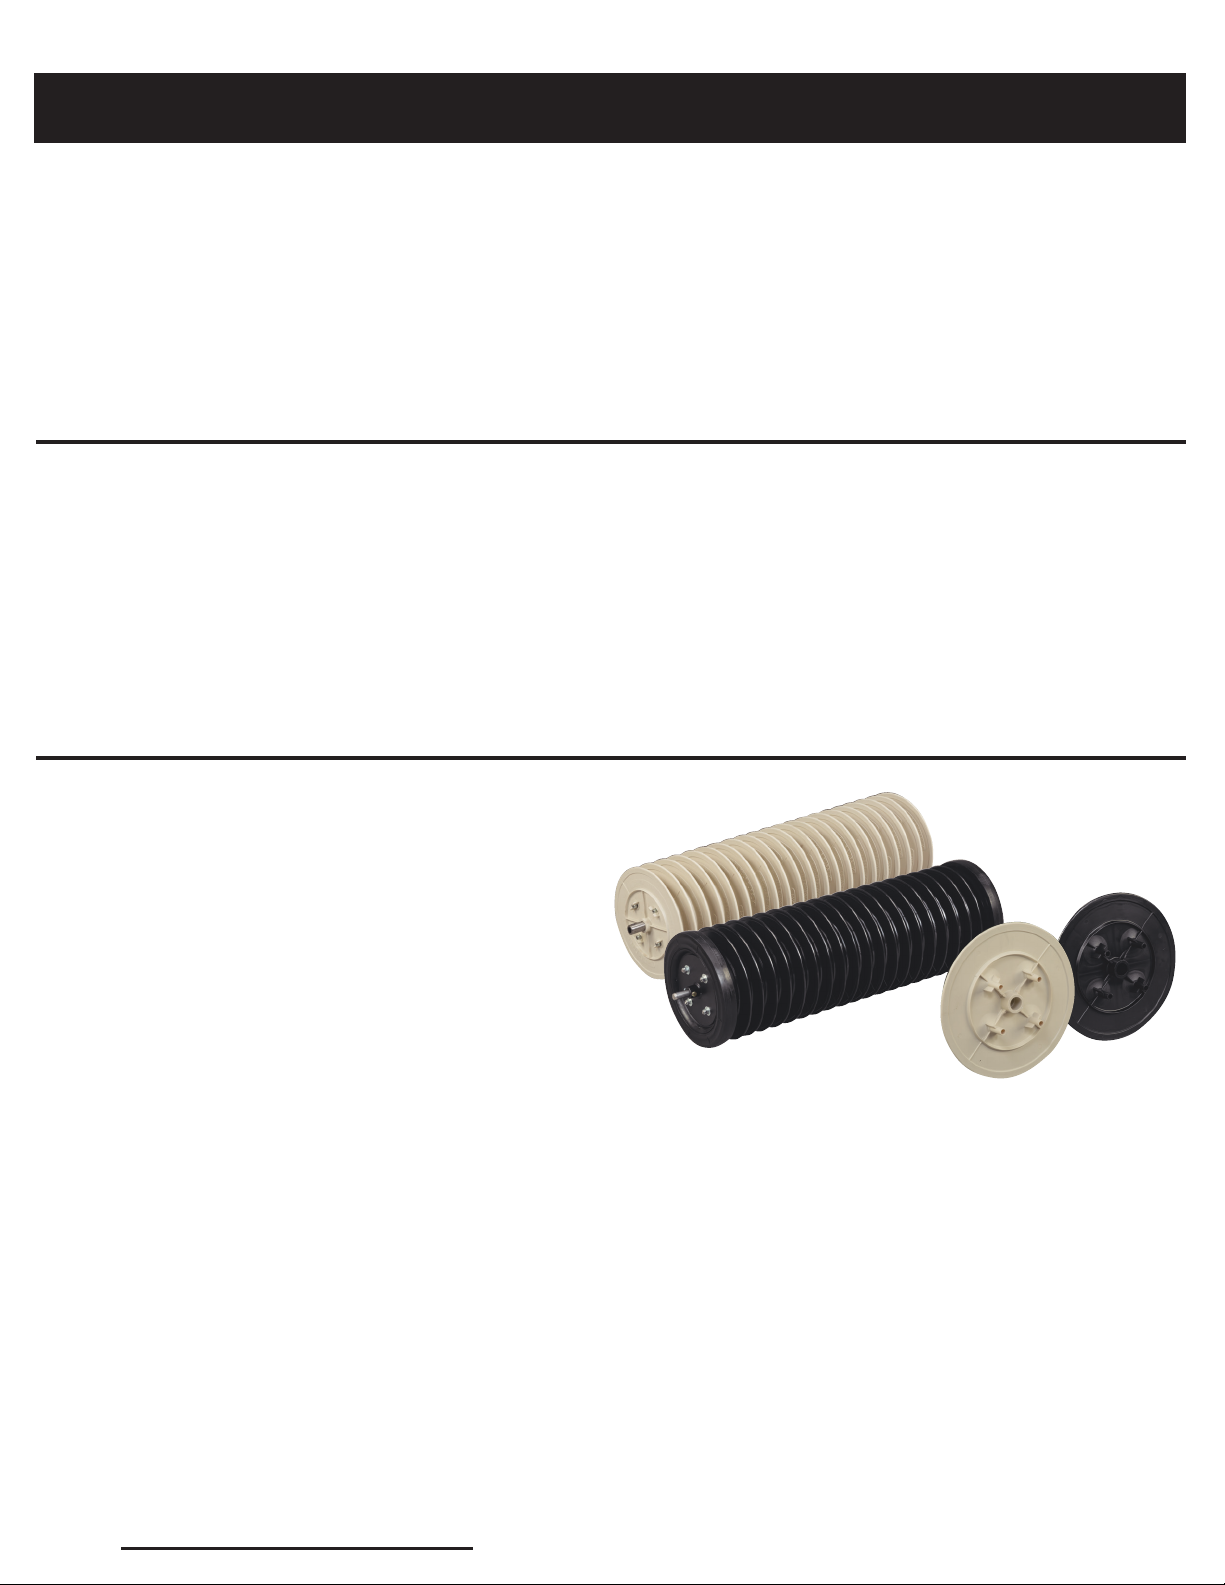
Replacing Worn or Damaged Discs
These instrucons are for replacing worn or
damaged discs of the drum secon.
Preparaons:
1. Remove drum secon from frame.
2. Determine the shortest point to
worn/damaged disc.
3. Remove pillow block bearings from the
axle on the end you are working with by
loosening the set screw.
NOTE: It might be dicult to remove the
bearings because of the beveled edge created
by the set screws.
Removing discs:
1. Remove nylon lock nuts and washers from
e rods.
NOTE: WITTEK uses nylon lock nuts on all nuts
and bolts combinaons. It is recommended
that when replacing the lock nut, a new nylon
lock nut is used. Nylon lock nuts can be
purchased at any hardware store (standard size
of 3/8” is used).
Reassembling discs:
1. Replace disc(s) that were removed.
2. Replace the spacer, wheel only, re and
wheel only.
NOTE: Before replacing the end plate and
pillow block bearings, lightly sand the sha to
smooth out beveled edges or other nicks
created by the set screw (this will make it
easier to replace the end plate and pillow
block bearings).
3. Replace end plate.
4. Replace washers and nuts on e rods.
5. Finger ghten all nuts evenly.
6. Place drum secon on a at surface
(i.e. worktable).
7. Using a golf ball as a guide tool, insert the
golf ball in the space between each disc to
determine that the golf ball ts “snugly”
and that the golf ball does not slide down.
If sliding occurs, reghten the nuts on the
e rods unl you have reached the
desired snugness in each disc secon.
8. Replace nut and bolt on end plate.
9. Replace pillow block bearings.
DO NOT TIGHTEN SET SCREW on the pillow
block bearing.
10. Loosen the set screw on the
pillow block bearing on the other end of
drum secon.
11. Replace drum onto frame of picker.
12. Align the drum secon by centering the
ngers on the frame in each disc secon.
13. TIGHTEN set screws on the pillow block
bearings on both ends of drum secon.
8
2. Remove end plate by loosening and
removing the nut and bolt.
3. Remove the wheel only, re and the spacer.
4. Begin to remove discs unl you reach the
worn/damaged disc.
5. Replace old disc with new disc.