wolfappliance.com
|
9
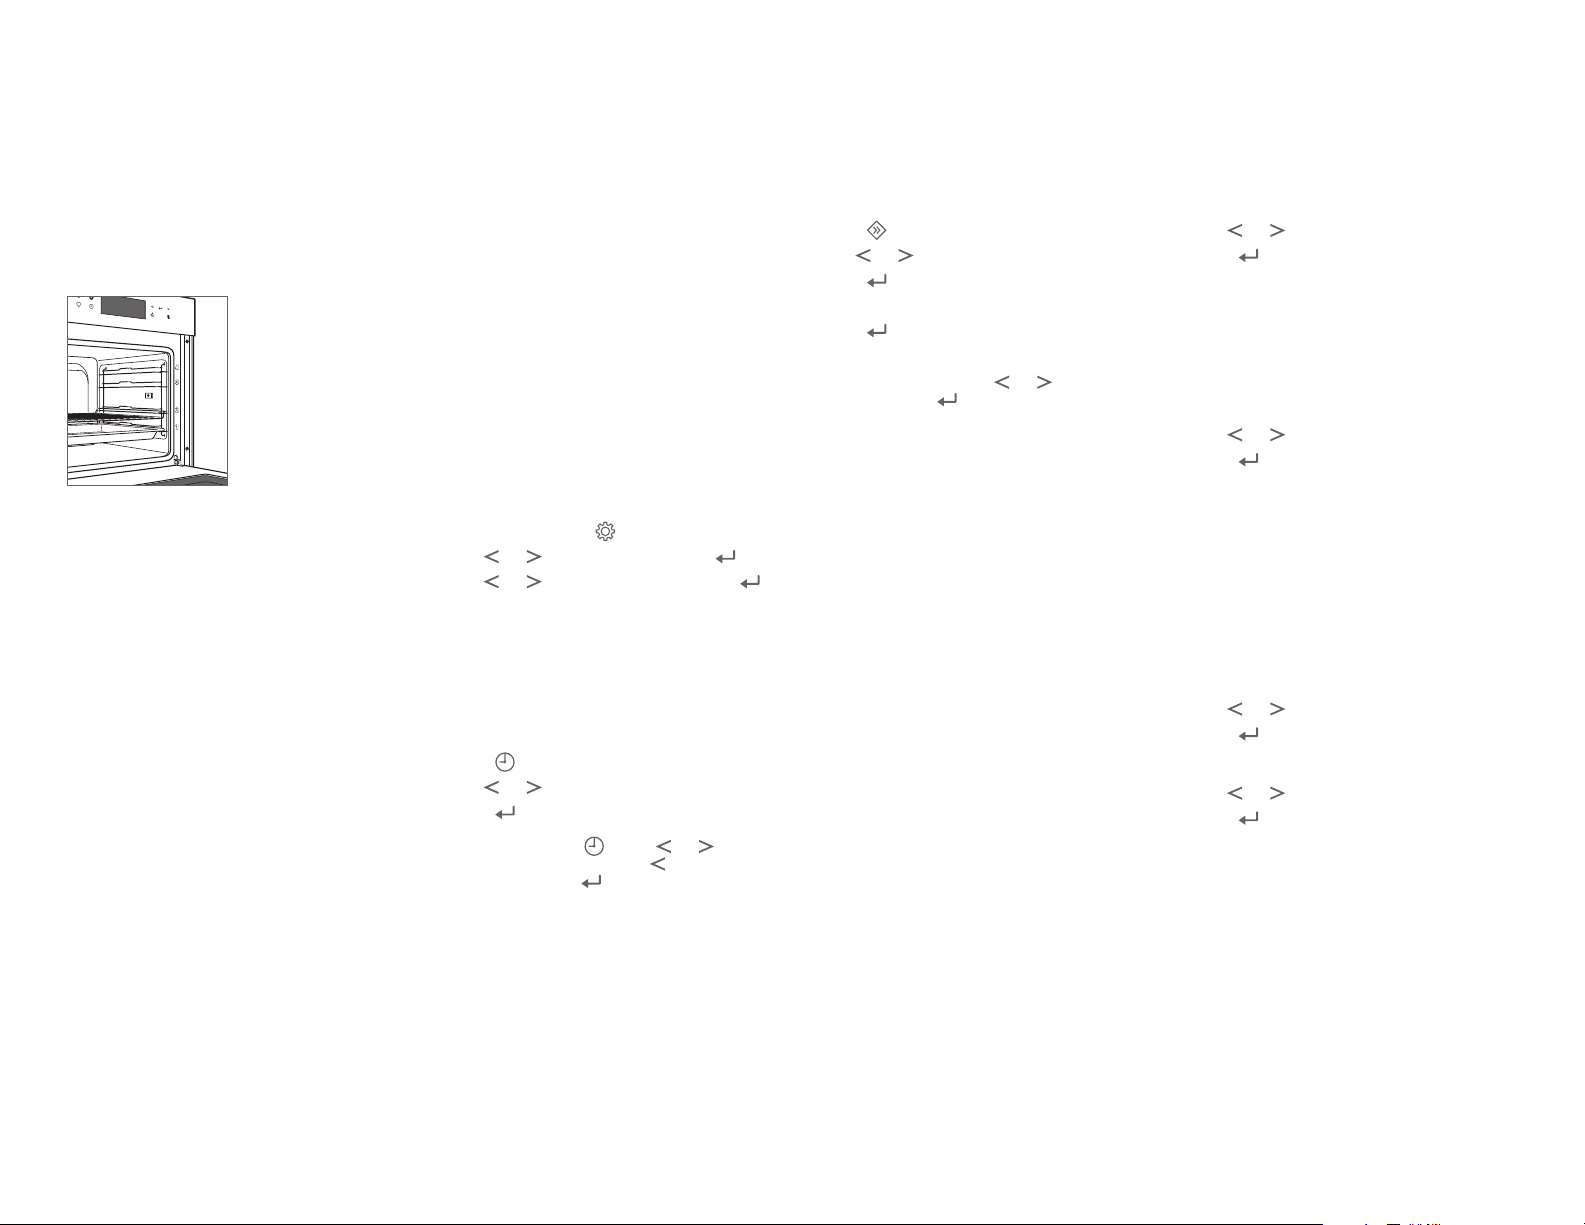
RACK GUIDE REMOVAL
To remove the rack guides, push the top of the rack guide
towards the rear of the oven cavity. Tip the top of the guide
in towards the center of the oven and lift the bottom posts
of the guide out of the positioning holes.
To reinstall, insert the bottom posts into the positioning
holes and tip the rack guide up into position. Gently pull the
guide forward until it engages the top holes. Refer to the
illustration below.
RACK
GUIDE
Rack guide removal
Care Recommendations
OVEN DOOR REMOVAL
The oven door can be removed for a thorough cleaning.
To remove, open the oven door completely. Rotate both
hinge latches forward to the open position. Close the door
to approximately 30° open, then lift up and out. Refer to the
illustrations below.
To reinstall, insert the door hinges into the frame open-
ings. Open the oven door completely and rotate both hinge
latches back to the closed position.
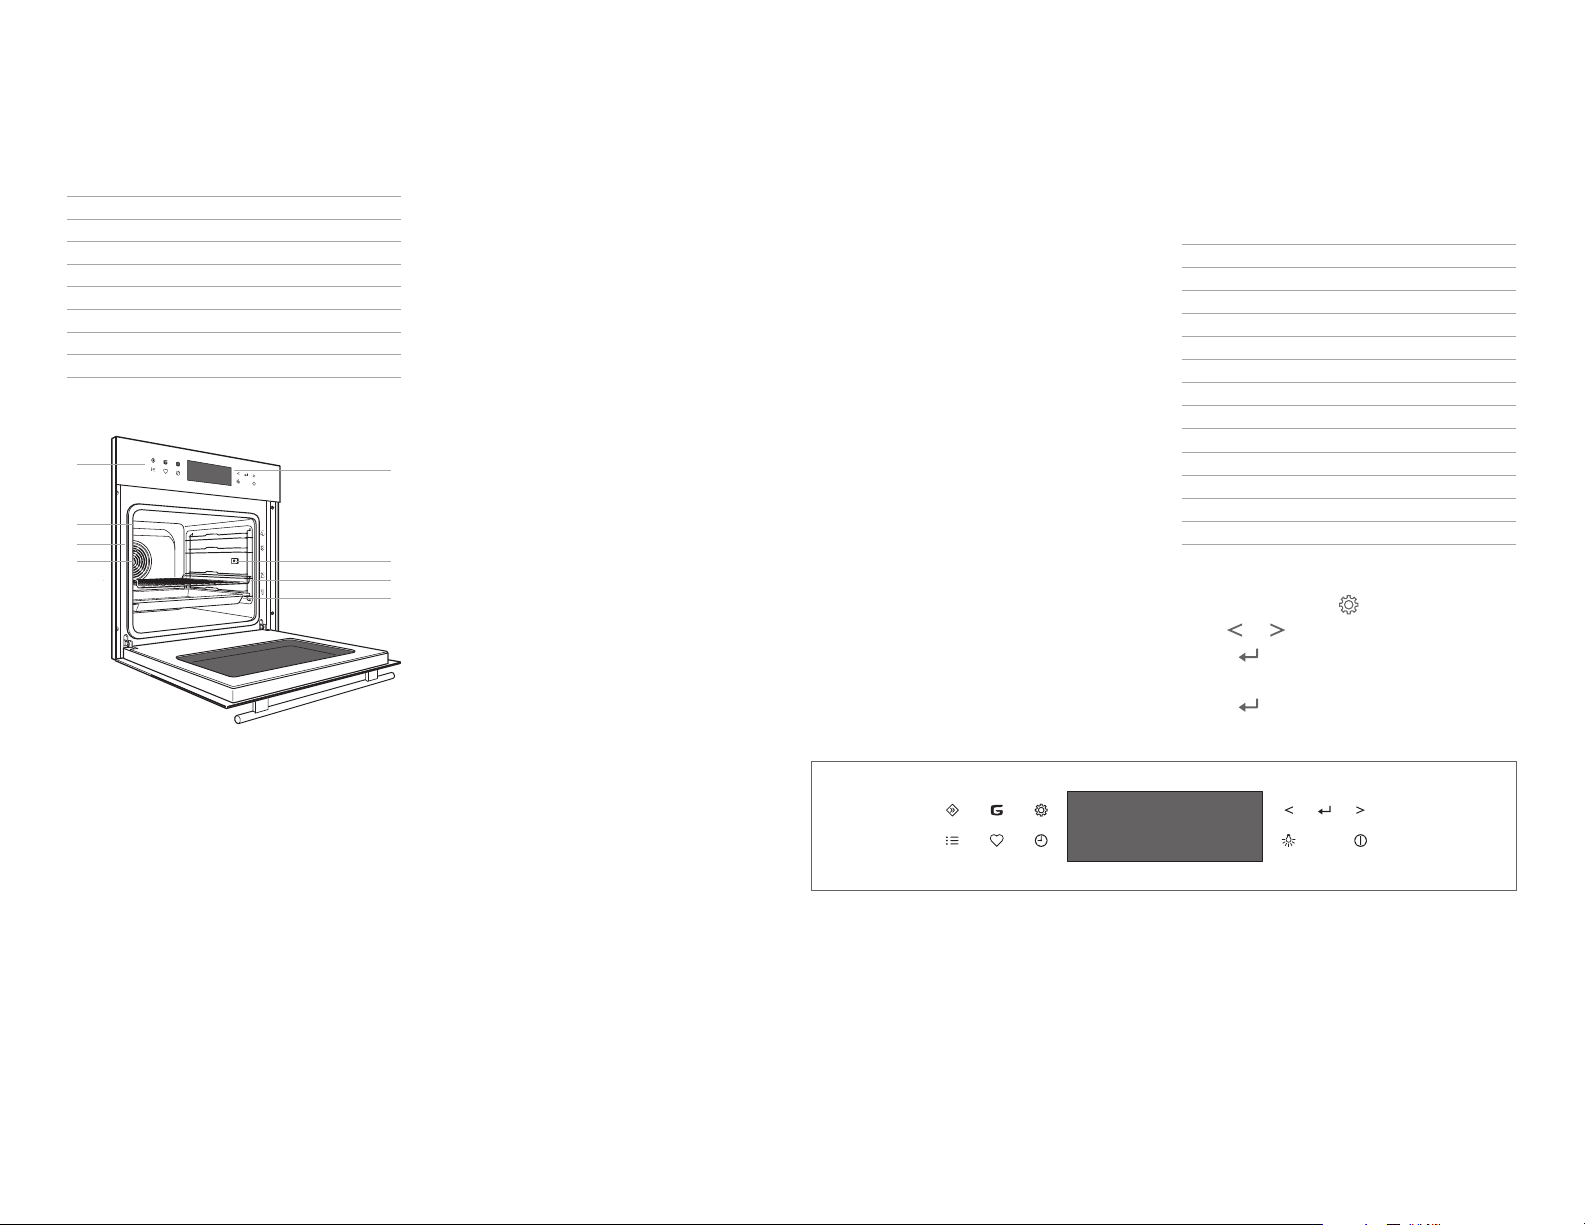
CARE RECOMMENDATIONSOVEN OPERATION
Self-Clean
During Self-Clean, the oven is heated to an extremely high
temperature to burn off food soil. Remove the oven rack,
oven pan and rack guides. They will discolor if left in during
Self-Clean.
The duration of the Self-Clean cycle can be adjusted for the
level of cooking residue. For light soil, the duration of the
cleaning cycle is 1.5 hours and 2 hours for heavy soil. The
complete cycle can take up to 5 hours including cool down.
Setting Self-Clean:
1Touch .
2Select Self-Clean and touch .
3Use and to select the desired level of cleaning,
then touch . The door locks automatically once the
cycle begins.
The unit starts 20 seconds after the last key touch. To start
the mode immediately, use and to select Start Opera-
tion, then touch .
Setting Delayed Start Self-Clean:
1Touch .
2Select Self-Clean and touch .
3Use and to select the desired level of cleaning,
then touch .
4Select Set End and touch .
5Use and to select desired switch-off time, then
touch .
To cancel Self-Clean mode at any time, touch . The oven
door locks and remains locked until the Self-Clean cycle
is complete and the oven temperature has cooled below
300°C.
OPEN
POSITION
CLOSED
POSITION
Oven door hinge latch
Door open 30°
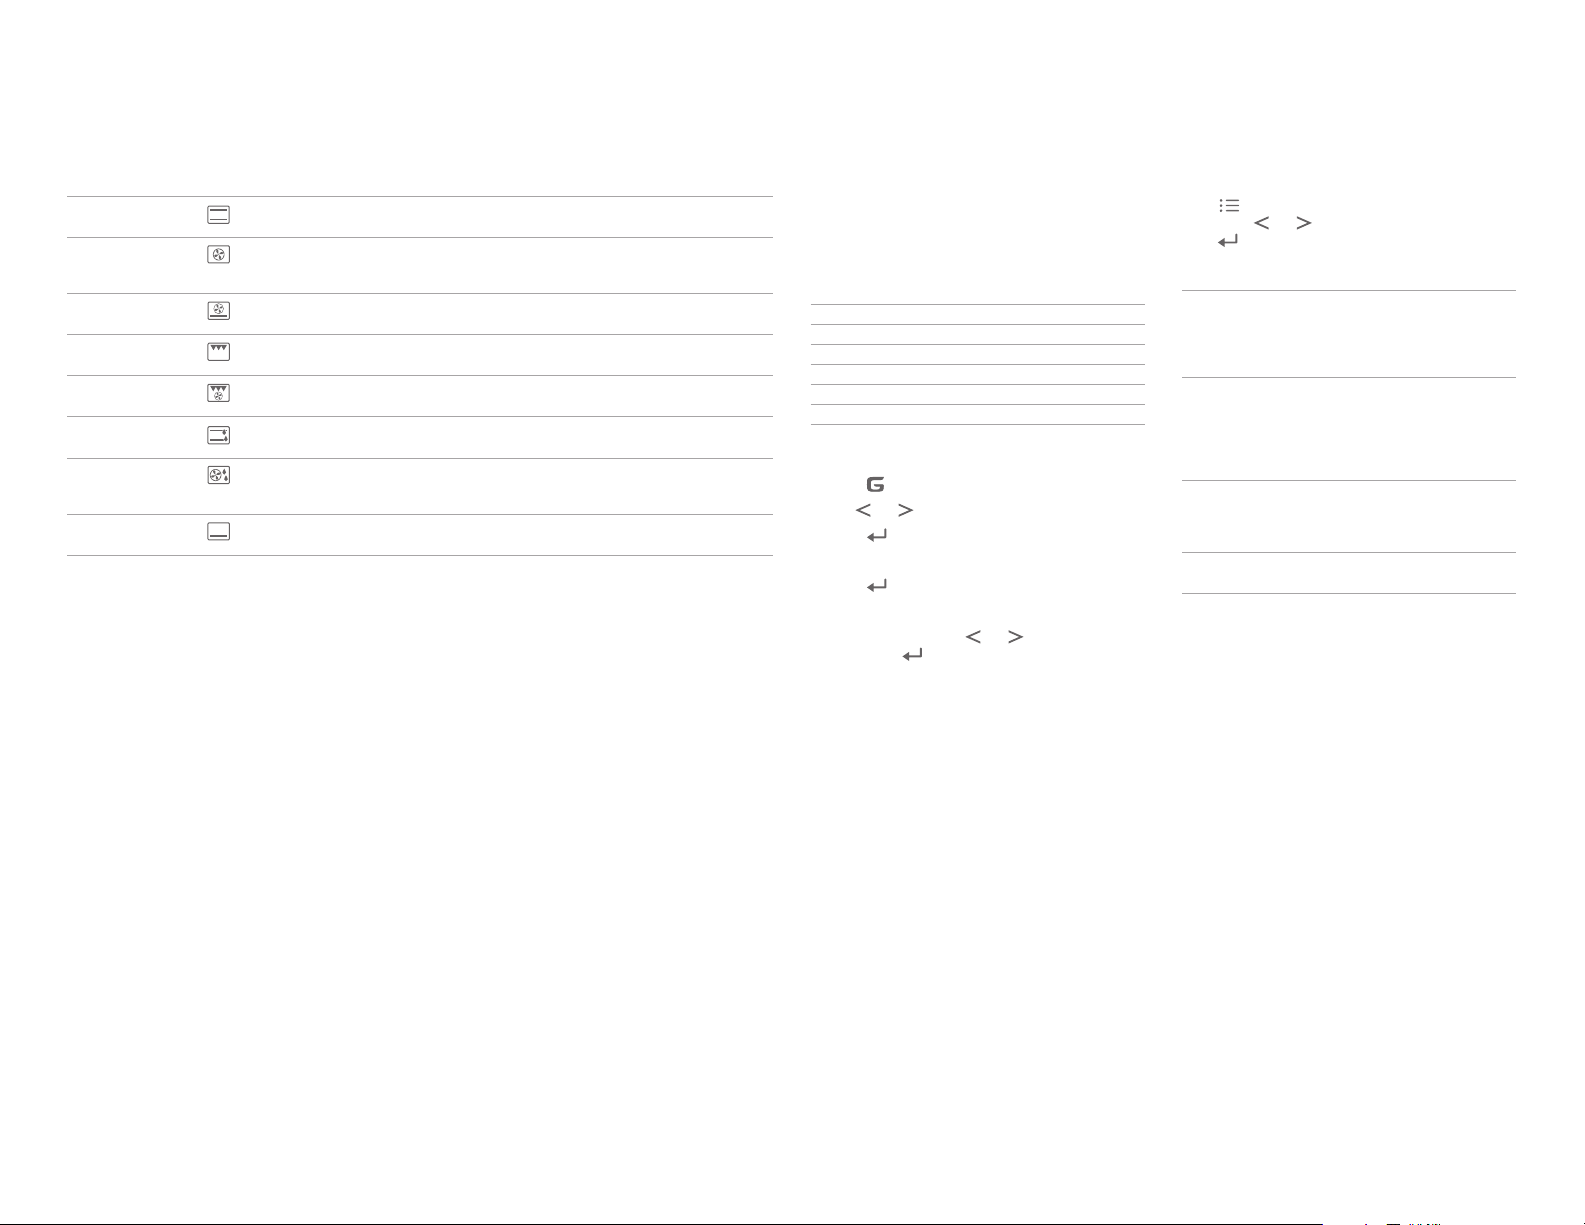
Cooking Modes
FAVORITES
Commonly used cooking modes or foods can be saved in
the system for easy access through the Favorites function.
Up to 24 favorites can be stored at a time.
Creating a Favorite:
1Select the desired food and doneness or cooking mode
and temperature.
2Before the cooking mode starts, touch .
3Select an open le.
4Touch .
5Using and , enter a name for the le.
6Touch .
Selecting a Favorite:
1With the oven on, touch .
2Use and to select the le to be used.
3Touch .