manuals.online logo
Brands
  1. Home
  2. •
  3. Brands
  4. •
  5. Woodley
  6. •
  7. Laboratory Equipment
  8. •
  9. Woodley Clinispin Micro II User manual

Woodley Clinispin Micro II User manual

4. The rotor must be loaded symmetrically.
5. Donot use the centrifuge or rotor if it is not installed correctly or it is damaged.
6. Do not use the centrifuge or rotor if it shows any sign of external mechanical
or electrical damages.
7. The centrifuge must be used only for the specified application. It must not
be operated ina hazardous or flammable environment and no hazardous or
flammable content should be centrifuged.
8. Donot fill tubes while they are in the rotor. Liquid spillage may harm the device.
9. If liquid is spilled on the rotor or rotor chamber, the centrifuge must be cleaned
immediately.
10. “Tube Holders” are a part of the Rotor. They should be placed in the rotor
whether 2,3,4, 6...12 tubes are being used.
11. TROUBLESHOOTING
The centrifuge has a self-diagnostic function. If a problem occurs, an
error/warning code will be displayed on the screen and the operator can
determine the malfunction with the warning code below.
IMPORTANT NOTE:
1. If the centrifuge is working slowly or is hot due to overdraw current, restart the
centrifuge and check it again.
2. Do not use liquid with density higher than 1.2g/ml for full load operation.
12. MAINTENANCE AND CLEANING
1. The rotor and the outside of the centrifuge should be cleaned regularly with a
damp cloth.
2. Ensure the centrifuge is not connected to power during cleaning.
3. The brushless motor in the centrifuge does not require routine maintenance.
Any service required should be performed by Woodley Equipment Company
only. Repairs performed by unauthorised personnel may void the warranty.
4. Always keep the centrifuge housing, rotor chamber, rotor and rotor
accessories clean. All parts should be wiped down periodically with a soft
cloth. For more thorough cleaning, use a neutral cleaning agent (Ph
between 6 and 8) applied with a soft cloth. Excessive amounts of liquid
should be avoided. Liquid should not come into contact with the motor.
5. After cleaning, ensure that all parts are dried.
6. Do not place the rotor into the cleaning solution
13. WARRANTY STATEMENT
This product is warranted to be free from defects in material and workmanship
for a period of two (2) years from date of purchase. Your product will be duly
repaired upon prompt notification in compliance with the following conditions:
This warranty is valid only if the product is used for its intended purpose and
within the guidelines specified in this instruction manual. This warranty does
not cover damage caused by accident, neglect, misuse, improper service,
natural forces or other causes not arising from defects in original material or
workmanship. This warranty does not cover any incidental or consequential
damages, commercial loss or any other damages from the use of this product.
The warranty is invalidated by any non-factory modification, which will
immediately terminate all liabilities for the products or damages caused by its
use. The buyer and its customer shall be responsible for the product or use of
products as well as any supervision required for safety. If requested the
products must be returned in well packed and insured manner and all shipping
charges must be paid.
Some states do not allow limitation on the length of implied warranties or the
exclusion or limitation of incidental or consequential damages. This warranty
gives you specific legal rights. This warranty is given expressly in lieu of all other
warranties, expressed or implied.
The purchaser agrees that there is no warranty of merchantability or of fitness
for any intended purpose and that there are no other remedies or warranties,
expressed or implied, which extend beyond the description on the face of the
agreement. This warranty is only applicable to the original purchaser.
Products received without proper authorisation will not be entertained. All
items returned for service should be sent postage prepaid in the original
packaging or other suitable carton, padded to avoid damage. Woodley
Equipment Company will not be responsible for damage incurred by improper
packaging.
14. PRODUCT DISPOSAL
In case the product is to be disposed of, the relevant legal regulations are to be
observed. The disposal of electrical devices is regulated within the European
Community by national regulations based on EU Directive 2012/19/EU on
waste electrical and electronic equipment (WEEE). According to these
regulations, any devices supplied after 13.06.05 in the business to business
sphere, to which this product is assigned, may no longer be disposed of in
municipal or domestic waste. Products are marked with the symbol
to indicate this.
Woodley Equipment Company Ltd
Old Station Park Buildings, St. John Street, Horwich, Bolton, BL6 7NY,
United Kingdom
Tel: +44 (0) 1204 669033 Fax: +44 (0) 1204 669034
www.woodleyequipment.com Email: sales@woodleyequipment.com
User Manual
ERROR
PROBLEM
SOLUTION
No display
No mains power connection
Check power and properly plug in
power adaptor at both ends
Power failure
Check the mains power fuse
Improper connection
Connect adaptor properly
Lid open
Lid isn’t closed correctly
Close lid correctly
Error with lid closing and
opening mechanism
Contact Woodley Equipment Company
Err 55
Rotor not loaded symmetrically
Load the rotor symmetrically and
restart the centrifuge
Centrifuge lid
cannot be opened
Rotor is still spinning
Wait for the rotor to come to a stop
Power failure
Press emergency lid release after rotor
stops
Centrifuge shakes
during acceleration
& makes loud
running noises while
running
Rotor is not loaded
symmetrically
Load rotor symmetrically and
restart operation
Either a broken tube, damage to
the rotor or motor is the cause for
run noise
Replace broken tube. For damaged
rotor/motor, contact Woodley
Equipment Company
Rotor is damaged
Remove and change rotor
Display error
Loose connection of display
Contact Woodley Equipment Company
Err 1
Latch motor damaged, latch
jammed or any limit switch of latch
got damaged
Contact Woodley Equipment Company
Err 52
Rotor is stuck
Turn OFF the centrifuge, Check and fit
the rotor properly and turn ON the
centrifuge
Power tripping
Cable not fit properly
Remove cable and connect properly
Last run memory
not displayed
Turning ON centrifuge immediately
after turning it OFF
Maintain 3 seconds gap between
switching OFF and switching ON again
System freezes
Electronics error
Switch off centrifuge and then switch it
ON again. If the error still shows,
contact Woodley Equipment Company
1. INTRODUCTION
This manual provides important safety information for the Clinispin Micro II
Centrifuge. It should be kept near the centrifuge for quick and easy reference. The
Clinispin Micro II is a high speed centrifuge equipped with a maintenance free
drive, is microprocessor controlled with a digital display and has an imbalance
control safety feature. Multiple rotor options make it suitable for a wide range of
applications.
2. INTENDED USE
This centrifuge is designed for separation of solid suspensions in liquids such as
cells, macromolecules such as DNA, RNA and proteins. This centrifuge can be used
in various research environments including veterinary practices, laboratories and
research institutions.
3. KEY FEATURES
•Maximum volume of 12 x 2ml
•Imbalance detector with auto cut off for safe operation
•Brushless DC motor for maintenance free performance
•Lid lock safety –the lid opens automatically on run completion
•Digital display with speed and time indicator
•RPM setting from 500 - 15,000 RPM with a count of 100
•One press changeover from RPM to RCF functionality
•Reduction adaptors for 0.1/0.2 and 0.5ml tubes
•Emergency lid release during power failure
•Automatic internal diagnosis and error display
NOTE: Before using Clinispin Micro II, please read this user manual carefully. This user manual is intended
to assist withtheoperationandcareoftheunitonlyandnotitsrepair. Forrepair pleasecontactWoodley
Equipment Company.
4. TECHNICAL SPECIFICATION
Motor Type
Brushless DC Motor
Maximum Volume
12 x 2 ml (microtubes)
Speed Setting
500 - 15,000 RPM
Maximum RCF
15,596 x g
Speed Accuracy
± 100 RPM
Run Time
1 - 99 minutes & infinite mode
Acceleration Time
60 ± 2 seconds
Deceleration Time
50 ± 2 seconds
Size (L x W x H)
190 x 120 x 270 mm
Weight
2.45 KG approx. (with rotor)
Input Voltage
24V 2.3A
Power Consumption
55 W
5. ACCESSORIES
•Power Adaptor - 100-240 VAC, 50/60Hz, 1Amp (Input), 24V 4A (Output)
•12 - Slot Rotor (Pre-installed) with reduction adaptors for 0.1/0.2 and 0.5ml
tubes
•T-Allen Key
•Product User Manual
•Warranty Card
•PCR strip rotor (optional)
6. INSTALLATION
Gently remove the upper packaging and take out
the centrifuge by holding it from the base. When
the centrifuge is used for the first time, ensure
that all the packaging and accessories are
removed from the rotor chamber. The rotor is pre-
installed. Please make sure that the rotor is firmly
tightened. Accessories and the user manual are
kept inside the box with the centrifuge. Please
keep all the packaging in safe storage for at least 2
years for warranty purposes.
7. ROTOR AND REDUCED ADAPTORS
The tablebelow shows the Maximum RCF of the rotor and Maximum RCF with
different tubes and adaptors.
CONNECTING POWER ADAPTOR & ROTOR INSTALLATION
1. Connect one side of the power adaptor to the rear side of the centrifuge and
the other to the power supply as shown in the figure below.
2. Rotate the adaptor nut clockwise to tighten the adaptor with the centrifuge.
Ensure the power switch is OFF while connecting the power adaptor.
3. The sticker on the body and jack are indicating the position of the rib on the
jack. While fitting the adaptor to the unit, please match the sticker position as
shown in the figure below & gently push it in.
4. If matched correctly the plug will go in easily without much force (do not try to
force the plug in if it is not matched properly). Once the plug is inserted into
position, turn the loose upper ring clockwise to tighten and secure the fitment.
The rotor is pre-installed. If any spillage occurs, remove the rotor as shown in the
above figure to clean the rotor and its chamber thoroughly.
8. BALANCING THE ROTOR
Always balance the rotor before centrifugation - symmetrical loading of tubes in
the rotor is necessary otherwise vibration or imbalance can occur which can
damage the centrifuge. The diagram below shows the correct method of
symmetrical loading of centrifuge tubes inside the rotor. The samples in the tubes
should be of equal volume. To achieve a balanced condition, "Reduction
Adaptors” are mandatory to place inside the rotor.
9. OPERATION
After properly installing the centrifuge, switch ON the centrifuge from the rear
side by pressing the power switch. The lid status will be seen in the display. If the
lid is open, the display will show “Lid” and if it is closed, the set RPM will be
displayed. Please ensure that the Tube Holders are inside the rotor.
9.1 START
After setting speed and time parameters as
instructed below press the “START”button to run
the machine.
9.2 STOP/OPEN LID
To stop the machine at any point of time press the
“STOP” button. The lid will open automatically. The
lid will open on its own upon completion of the
run. During acceleration no other button will work
except for the STOP button.
9.3 SPEED
Upon turning the power on the centrifuge, RPM/RCF display will show the
previous set speed. The speed can be set from 500-15000 RPM. The speed can be
set by using “+” button for increment & “-” button for decrement of the values.
The increment/decrement is in values of 100 RPM. The displayed values will be in
multiples of 10 (x10). The values are saved automatically after the display flashes
5 times.
9.4 RPM-RCF SWITCH
Long press the RPM/RCF button to change the mode from RPM to RCF. The
switch over will be indicated by the LED on respective mode. While RCF mode is
ON, speed is to be read as value x10 in the display window. The maximum RCF of
the centrifuge is 15596 xg. Press ‘SPEED’ button to see the corresponding value.
9.5 TIME
Upon turning the power on the centrifuge, TIME display will be of previous set
timer. The timer can be set from 1 minute - 99 minutes and infinite mode. The
timer can be set by using the increment (+) and decrement (-) buttons. The set
time will automatically be saved. The timer operates as a countdown so will run in
descending order during operation of the centrifuge.
9.6 SHORT-SPIN OPERATION
The centrifuge can be operated for a short run by pressing and holding the
SHORT SPIN button. The centrifuge will continue to run as long as the Short-Spin
button is pressed. The time will count up in seconds on the time display for 1
minute then in minutes. After releasing the short spin button, the time in the
display shows the short spin duration. The Short- Spin speed is based on the last
run settings in the memory or set rotational speed prior to short spin as required.
9.7 INCREMENT / DECREMENTS
Press “+” and “-” buttons to increase or decrease the speed or time values.
9.8 OPENING THE CENTRIFUGE LID IN CASE OF POWER FAILURE
Disconnect the centrifuge from the
mains power supply. Wait until the
rotor comes to a standstill. Once the
rotor has stopped, pull out the
emergency lid release (as shown in the
diagram) to open the centrifuge lid.
After the centrifuge lid opens, push the thread back in the hole with your hand
and fit the emergency release cap back in the hole.
9.9 IMBALANCE DETECTION
This centrifuge is equipped with an imbalance detection safety feature. When the
rotor is not loaded symmetrically the imbalance detector is activated. This will cut
off the centrifugation and error “Err55” will be shown on the display. To correct
the imbalance, open the centrifuge lid and correct the imbalance load using
methods described in the balancing the rotor section (page no.4) of this manual.
After correctly loading the tubes into the rotor, turn off the centrifuge and turn it
back on.
10. SAFETY PRECAUTION
1. Never use the centrifuge in any manner not specified in the manual.
2. Never move the centrifuge while it’s operating.
3. The rotor must always be securely fastened. If the centrifuge makes an
unusual noise during the operation, the rotor fit needs to be checked.

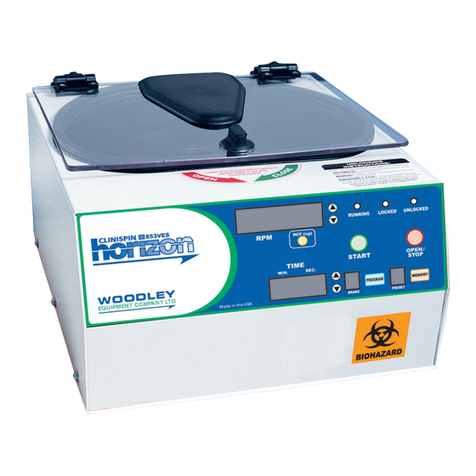
Other Woodley Laboratory Equipment manuals

Woodley CLINISPIN HORIZON 842VES User manual

Woodley

Woodley CLINISPIN HORIZON 842VES User manual

Woodley Clinispin HORIZON 12 Flex User manual

Woodley

Woodley Clinispin HORIZON 12 Flex User manual

Woodley Clinispin HCT II User manual

Woodley

Woodley Clinispin HCT II User manual

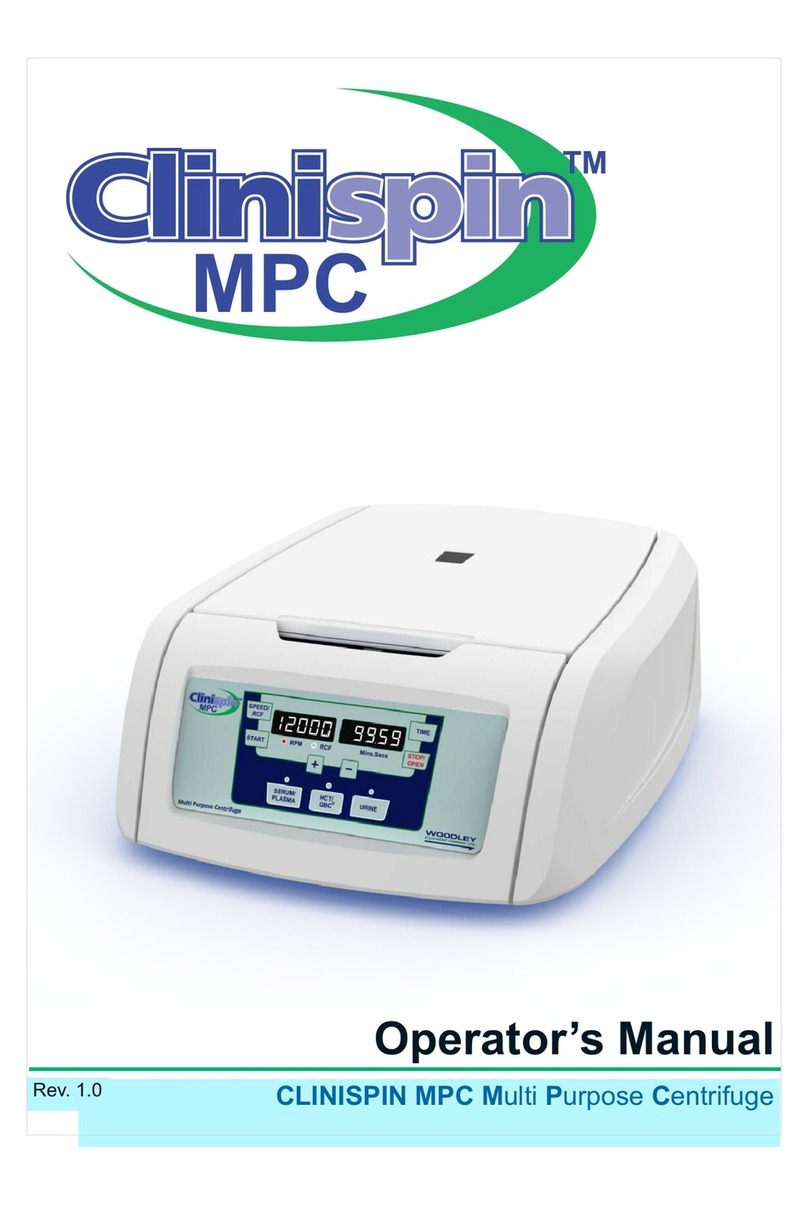
Woodley Clinispin MPC User manual

Woodley

Woodley Clinispin MPC User manual

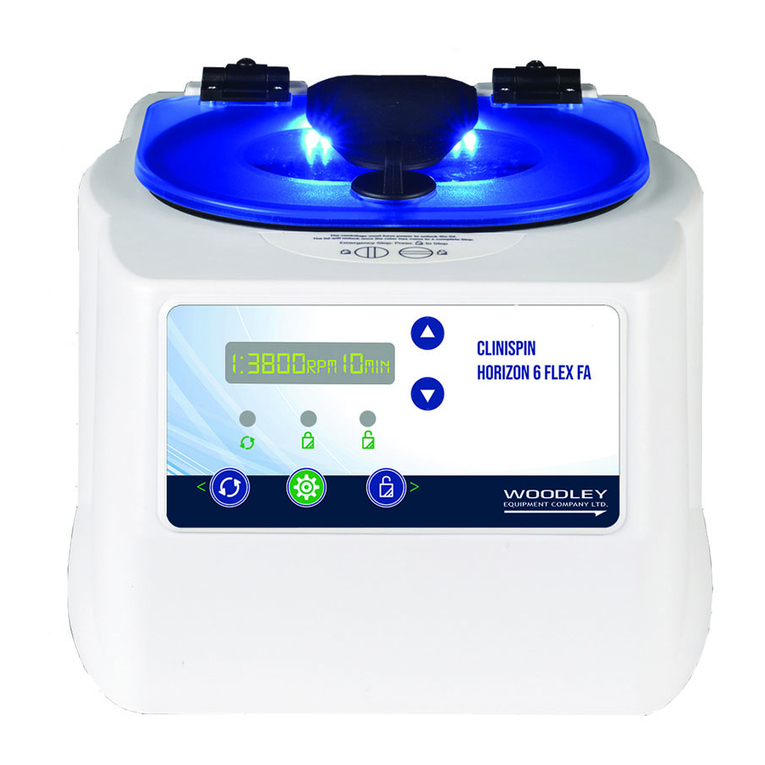
Woodley Clinispin Horizon 6 Flex User manual

Woodley

Woodley Clinispin Horizon 6 Flex User manual

Woodley Clinispin HCT User manual

Woodley

Woodley Clinispin HCT User manual

Woodley Clinispin CT25 User manual

Woodley

Woodley Clinispin CT25 User manual

Woodley Clinispin Vet Combi User manual

Woodley

Woodley Clinispin Vet Combi User manual

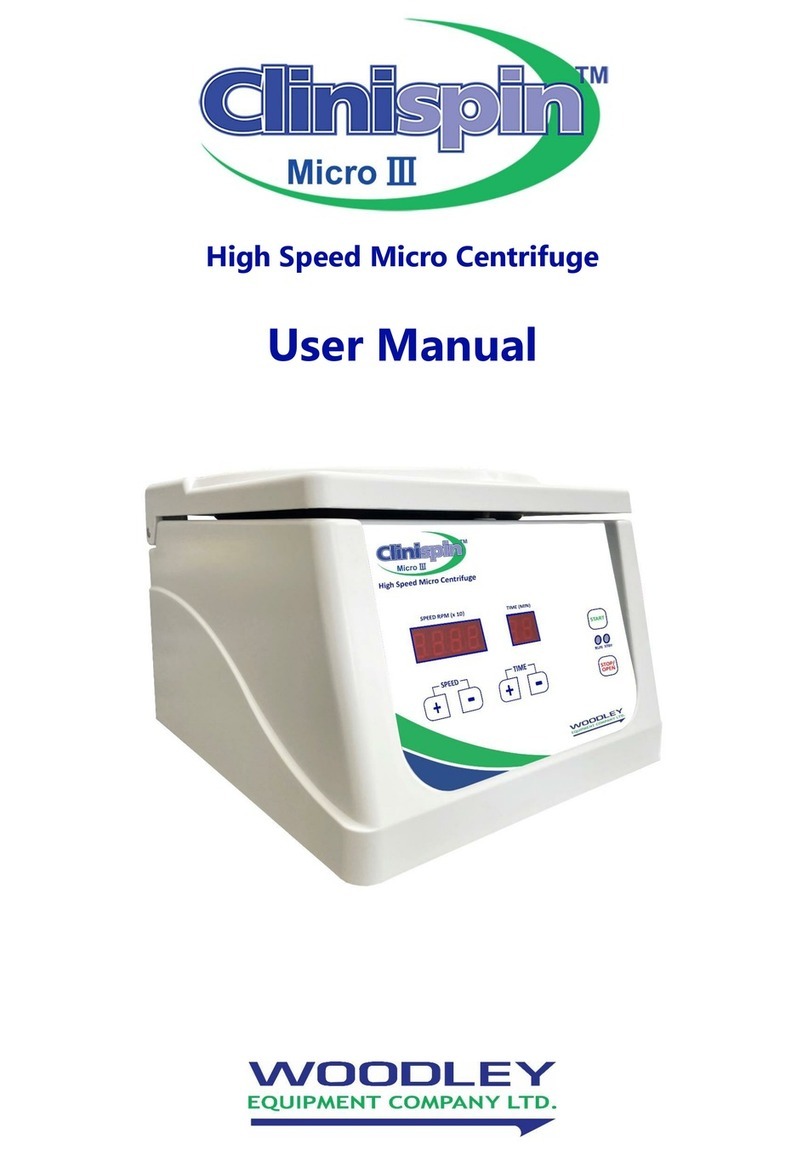
Woodley Clinispin Micro III User manual

Woodley

Woodley Clinispin Micro III User manual

Woodley Clinispin Horizon 853VES User manual

Woodley

Woodley Clinispin Horizon 853VES User manual

Popular Laboratory Equipment manuals by other brands

OPENTEXT Tableau Forensic TX1 Quick reference guide

OPENTEXT

OPENTEXT Tableau Forensic TX1 Quick reference guide

Isotech TWIST user manual

Isotech

Isotech TWIST user manual

Smith & Nephew TRIGEN SURESHOT user manual

Smith & Nephew

Smith & Nephew TRIGEN SURESHOT user manual

MetaSystem Metafer quick guide

MetaSystem

MetaSystem Metafer quick guide

Millar MPVS Ultra user guide

Millar

Millar MPVS Ultra user guide

PerkinElmer Lambda 25 user guide

PerkinElmer

PerkinElmer Lambda 25 user guide

Asahi KASEI IBD 1K user manual

Asahi KASEI

Asahi KASEI IBD 1K user manual

J.P. SELECTA FRIGITERM TFT-10 instruction manual

J.P. SELECTA

J.P. SELECTA FRIGITERM TFT-10 instruction manual

PerkinElmer aanalyst 200 user guide

PerkinElmer

PerkinElmer aanalyst 200 user guide

Thermo Forma 923 Operating and maintenance manual

Thermo Forma

Thermo Forma 923 Operating and maintenance manual

3D Histech P1000 Service guide

3D Histech

3D Histech P1000 Service guide

R+M Suttner easyfoam365+ ST-167 user manual

R+M Suttner

R+M Suttner easyfoam365+ ST-167 user manual

PerkinElmer TriNEST Instrument manual

PerkinElmer

PerkinElmer TriNEST Instrument manual

Feelgood mr. steam AromaFlo Installation & operation manual

Feelgood

Feelgood mr. steam AromaFlo Installation & operation manual

Porvair Sciences MiniVap Gemini instruction manual

Porvair Sciences

Porvair Sciences MiniVap Gemini instruction manual

MagCore EDA Operation manual

MagCore

MagCore EDA Operation manual

cytiva Amersham ERASER operating instructions

cytiva

cytiva Amersham ERASER operating instructions

Biotage V-10 Touch quick guide

Biotage

Biotage V-10 Touch quick guide

manuals.online logo
manuals.online logoBrands
  • About & Mission
  • Contact us
  • Privacy Policy
  • Terms and Conditions

Copyright 2025 Manuals.Online. All Rights Reserved.