Oxi 330i/340i Saving data
9
Saving data
Saving data
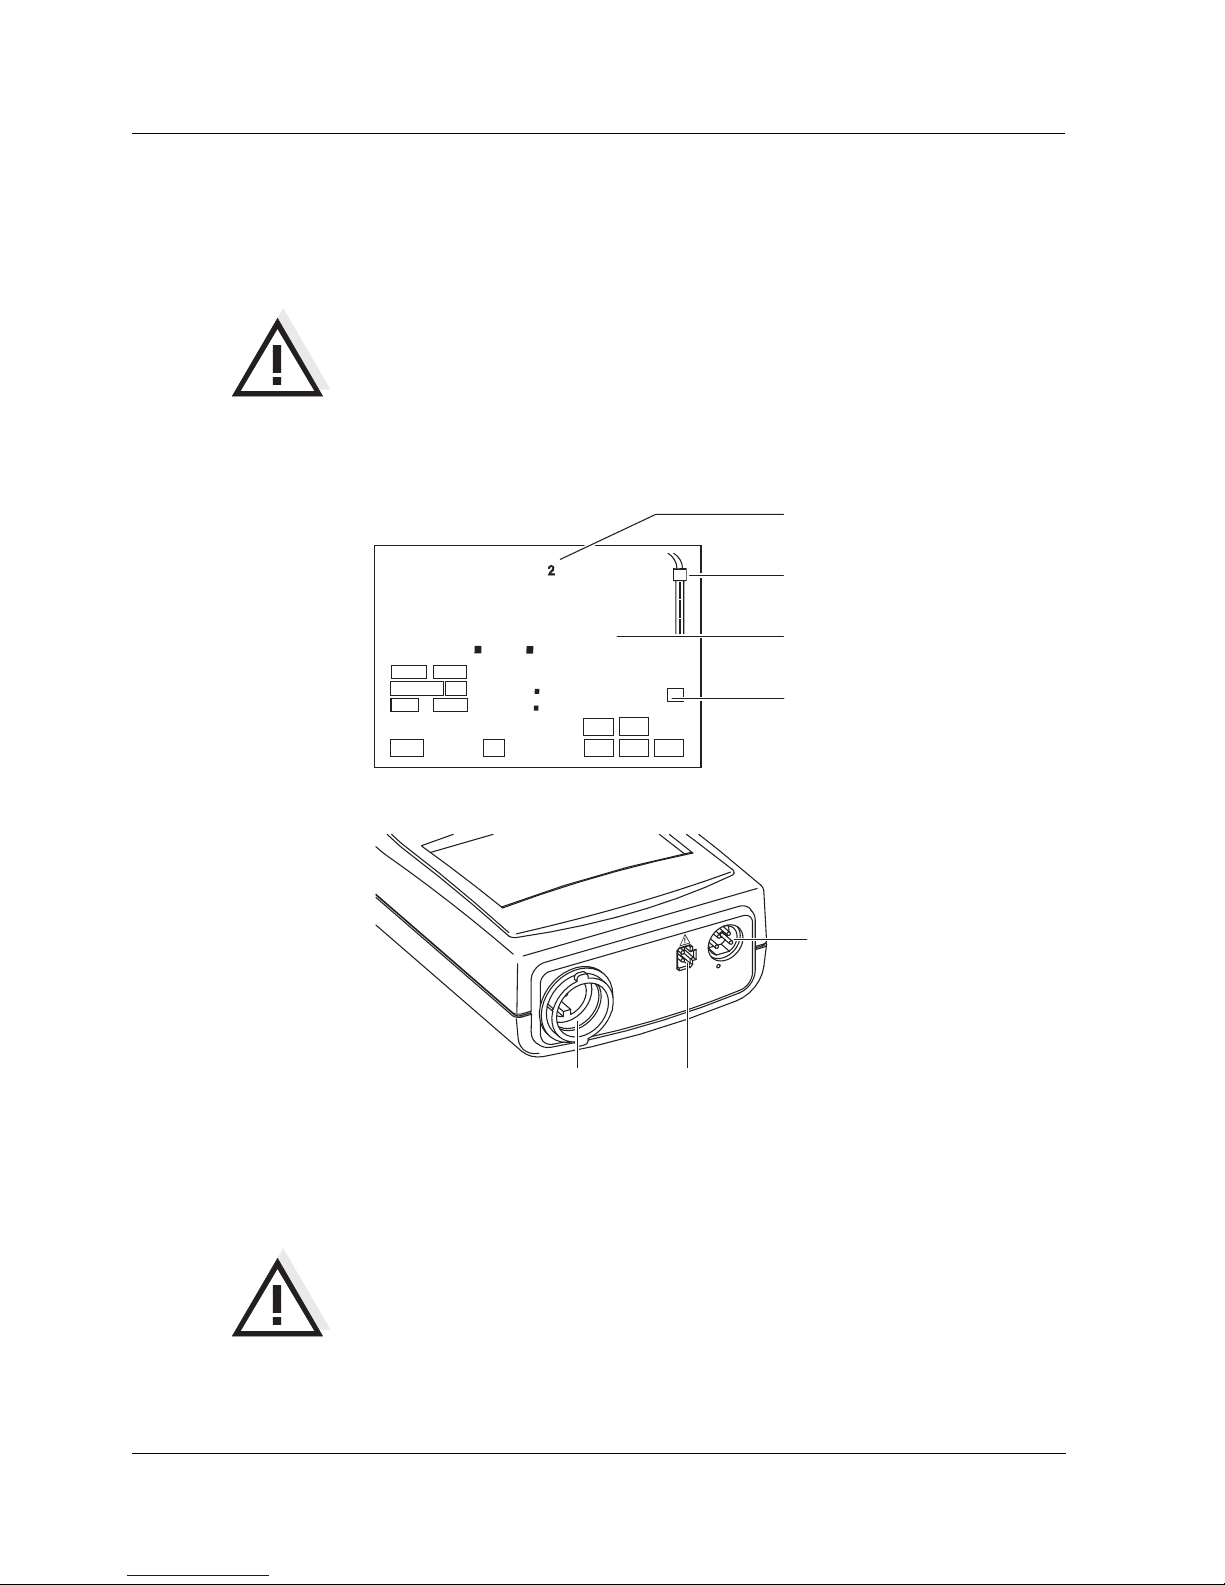
manually Press the <STO> key in the measuring mode (display No. with the number of
thenextfree memory location).Then,press<RUN/ENTER> and enter theID
number with <▲> <▼>. Terminate the save with <RUN/ENTER>. The instru-
ment changes to the measuring mode.
Saving data
automatically
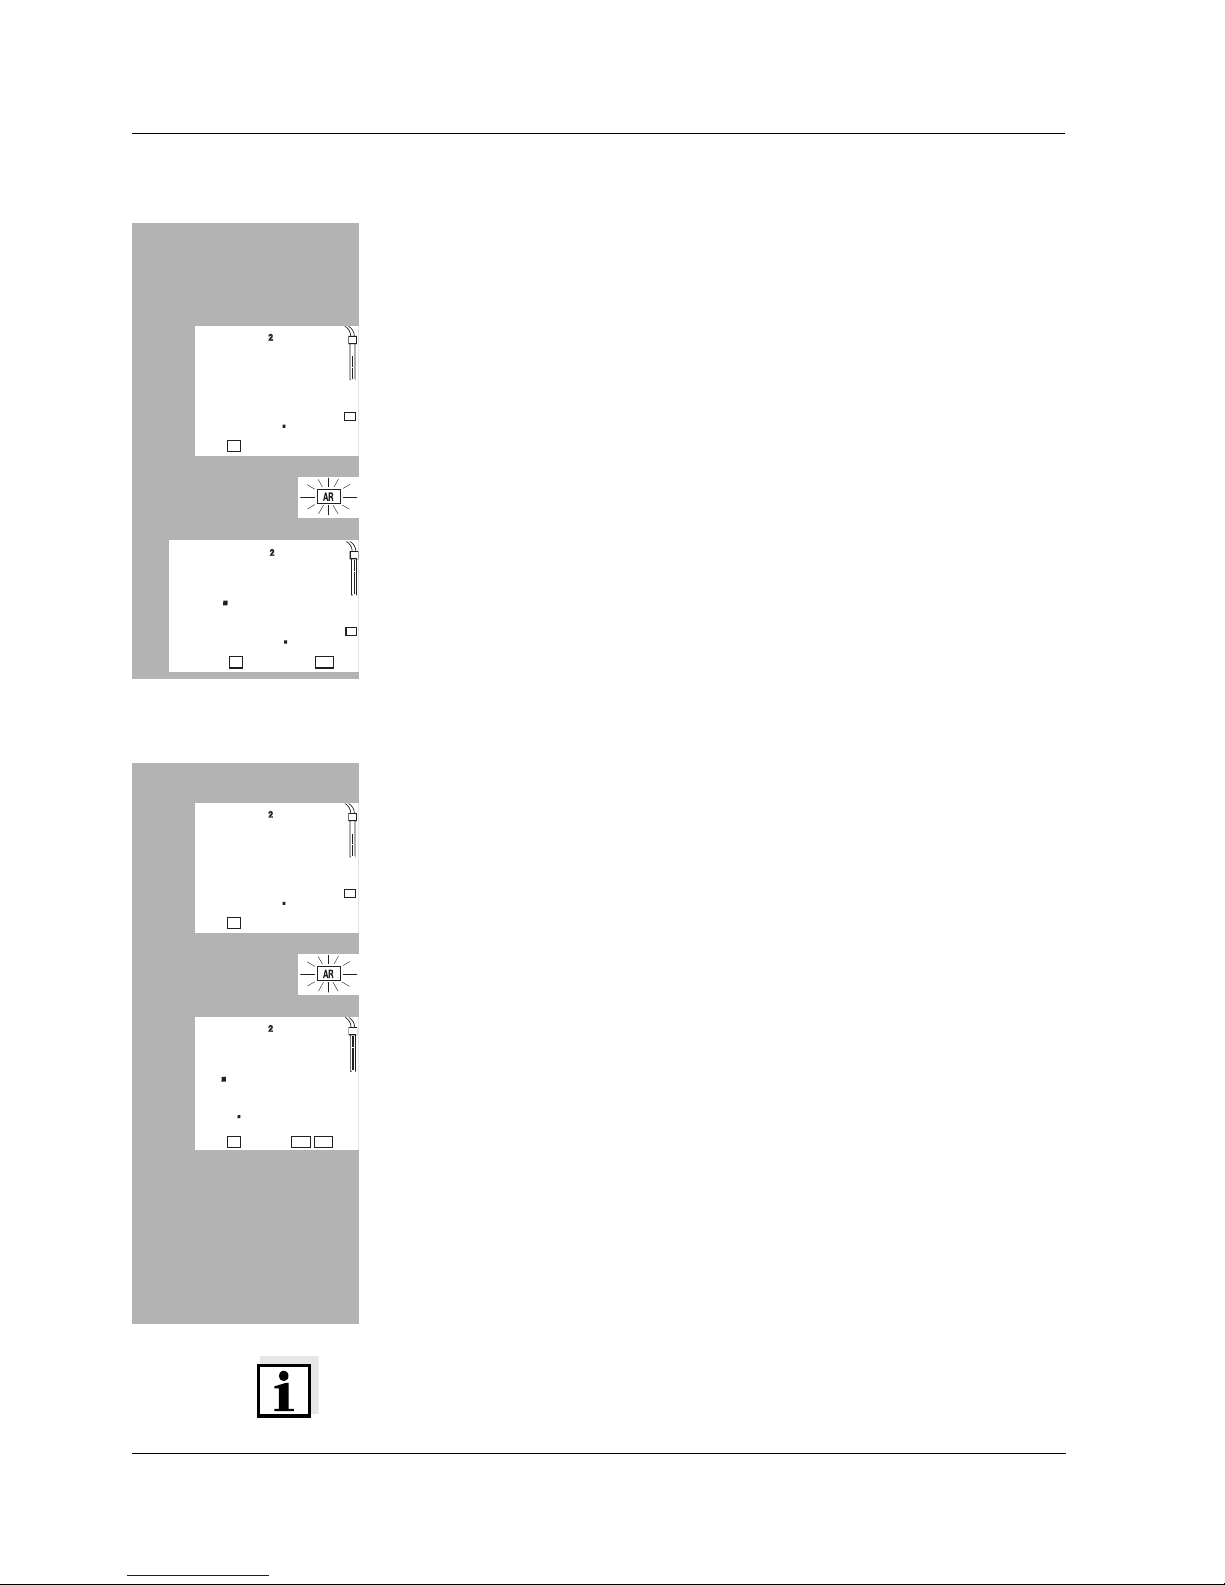
Int 1
The portable measuring instrument Oxi 330i/340i has an internal data mem-
ory. It can store up to 800 datasets. The save interval (Int 1) determines the
chronological interval between automatic save processes.
To set up the save interval, press <STO> while pressing the <RUN/ENTER>
key (display Int 1) and set the interval with <▲> <▼>key. Then, press
<RUN/ENTER> and enter the ID number with <▲> <▼>. Change to the last
activemeasuringmodewith<RUN/ENTER>.Theautomaticsaveisswitched
on (display Auto Store)
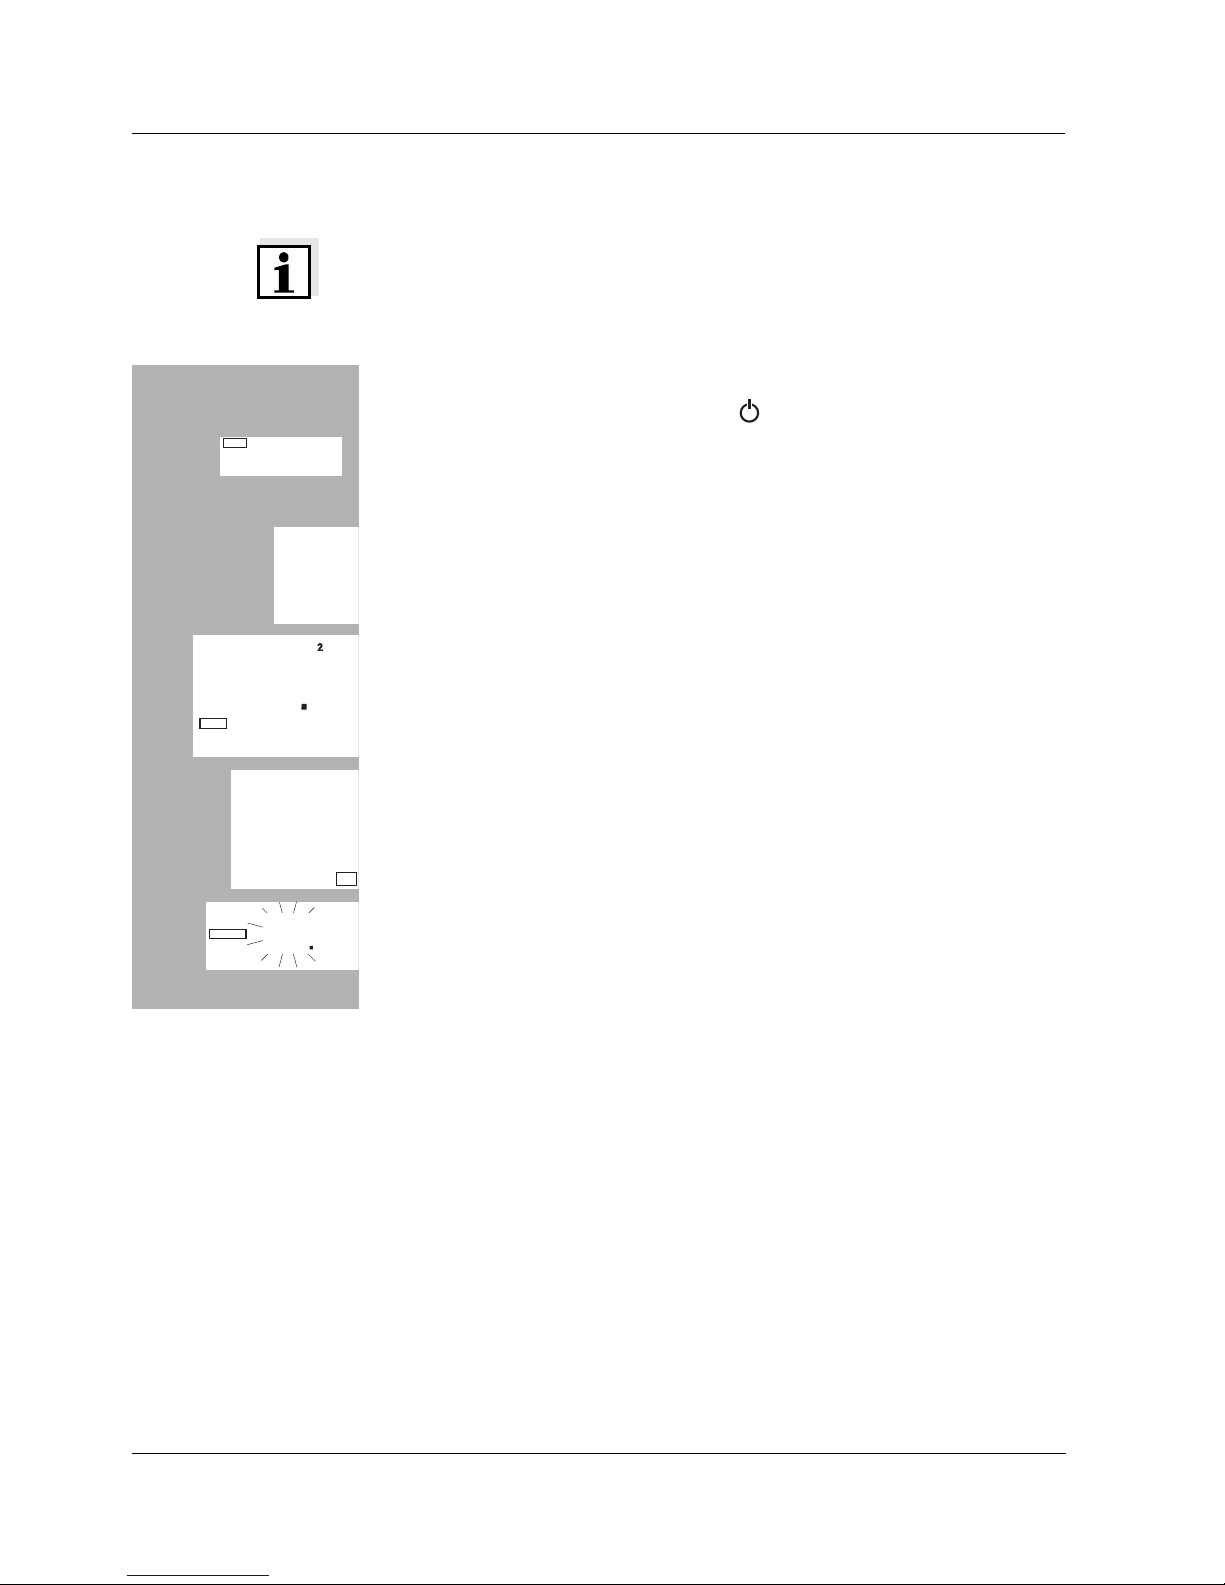
Outputting the data memory
You can output the data memory with the <RCL> key. By repeatedly press-
ing the <RCL> key, you reach the following functions:
Start the output with <RUN/ENTER>.
Transmitting data (only Oxi 340i)
Transmitting data
manually Press the <RUN/ENTER> key in the measuring mode.
This manually triggers a data transmission of the current measured value to
the serial interface at any time - independently of the selected intervals.
Transmitting data
automatically
Int 2
The interval to the data transmission (Int 2) determines the chronological in-
terval between automatic data transmissions. After the selected interval ex-
pires, the current data record is transmitted to the interface. To set up the
transmission interval, press <RCL> while holding down the <RUN/ENTER>
key (display Int 2). Then, set the interval with <▲> <▼>.
StO dISP Output stored data on the display
StO SEr Output stored data via the serial interface (only Oxi 340i)
CAL dISP Output calibration data on the display
CAL SEr Output calibration data via the serial interface (only Oxi 340i)