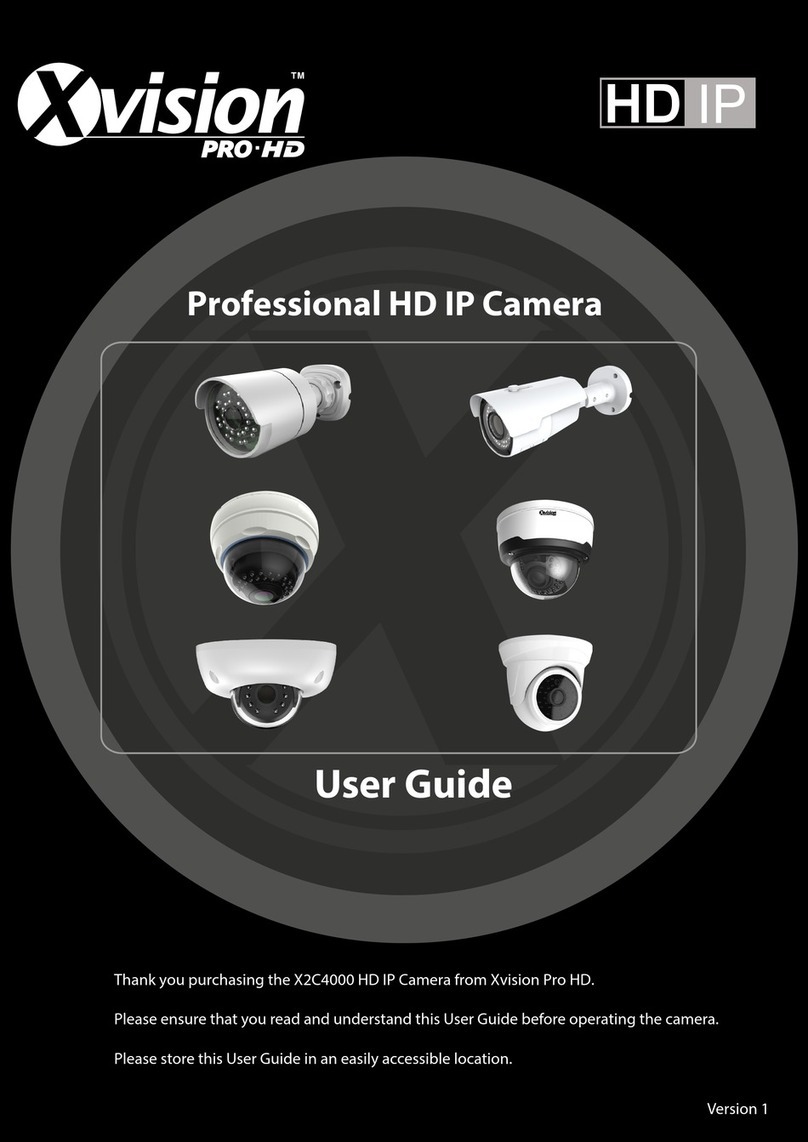
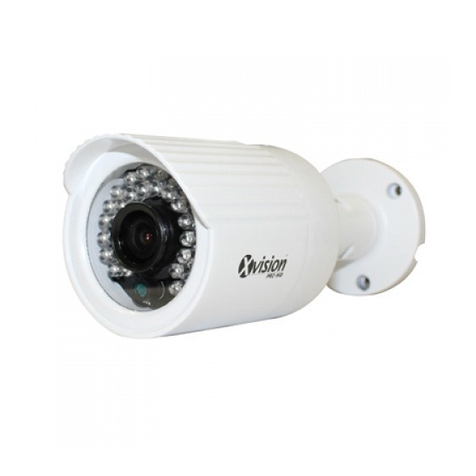
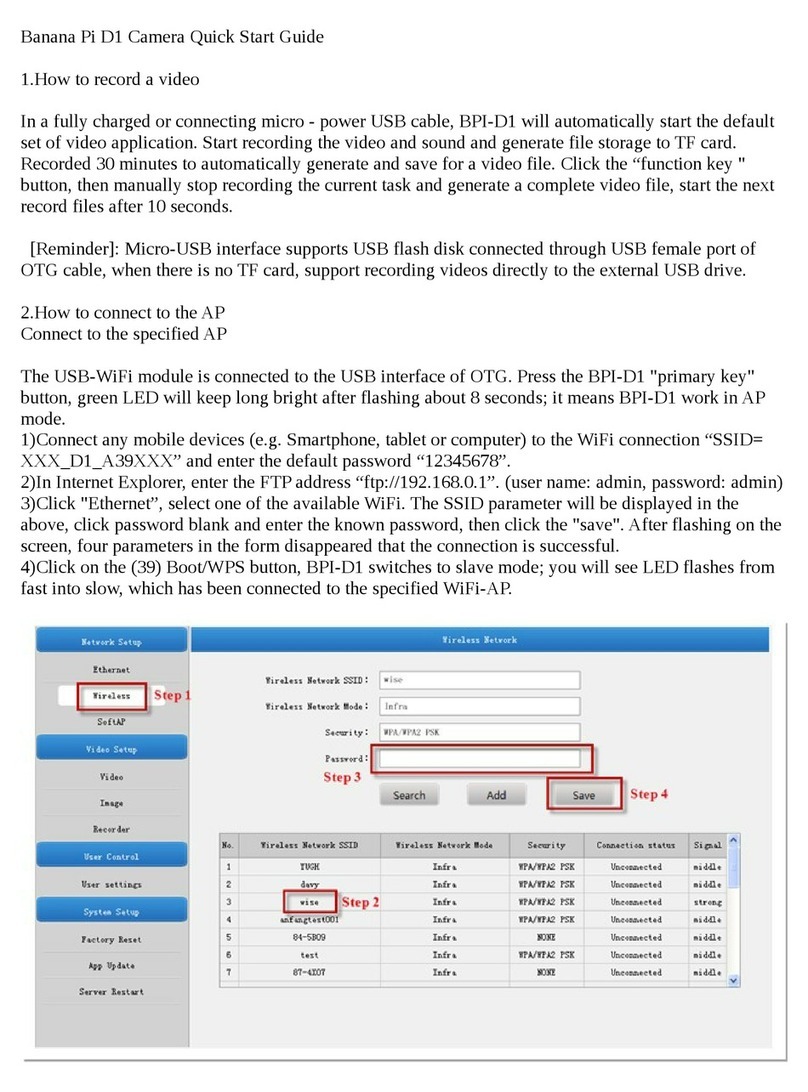
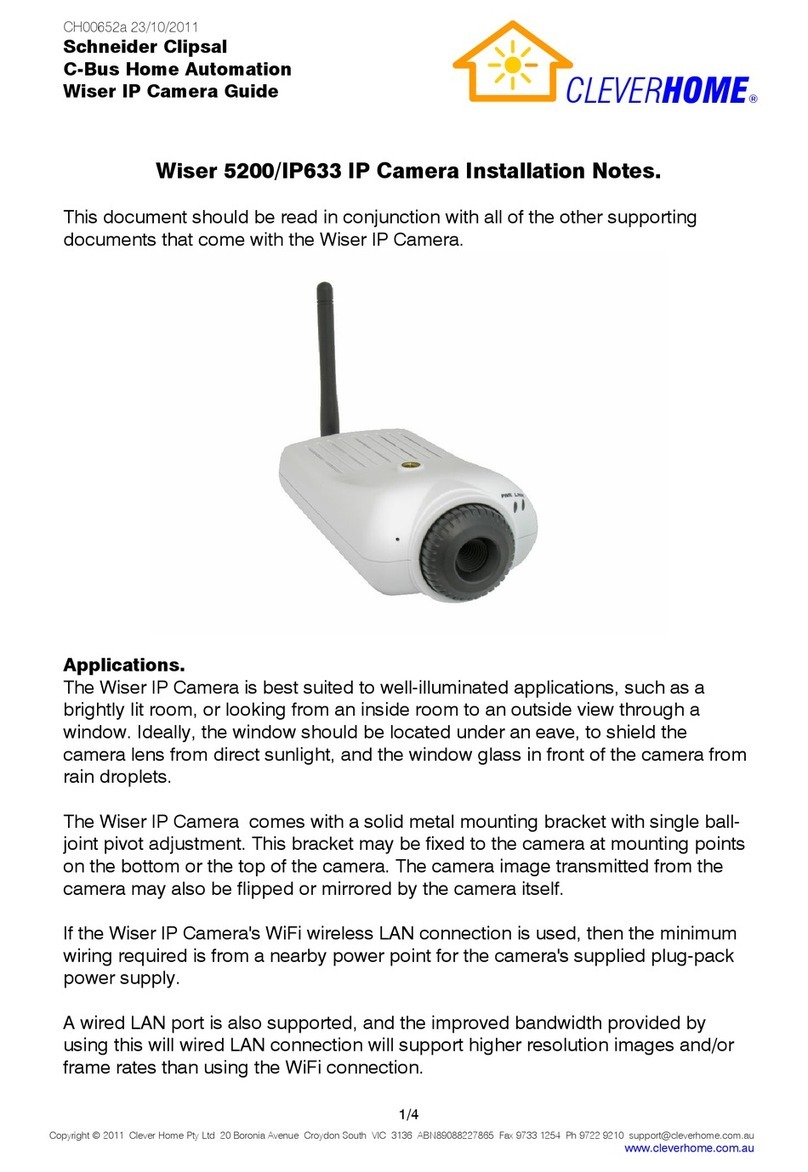
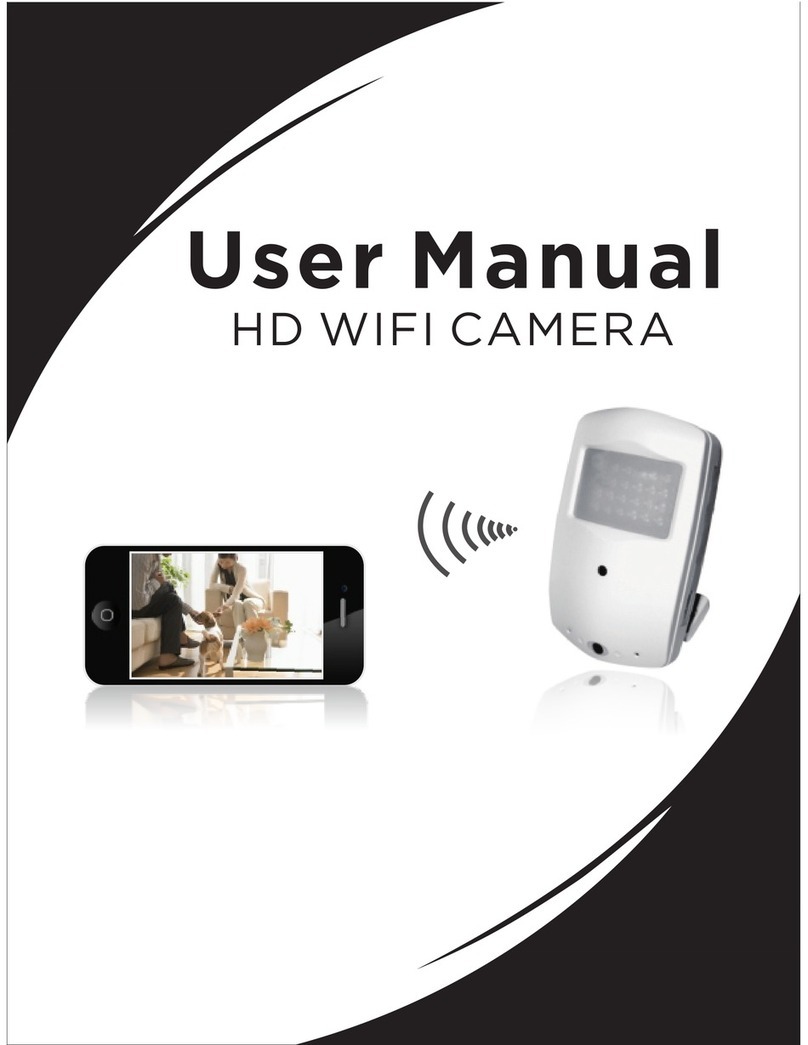
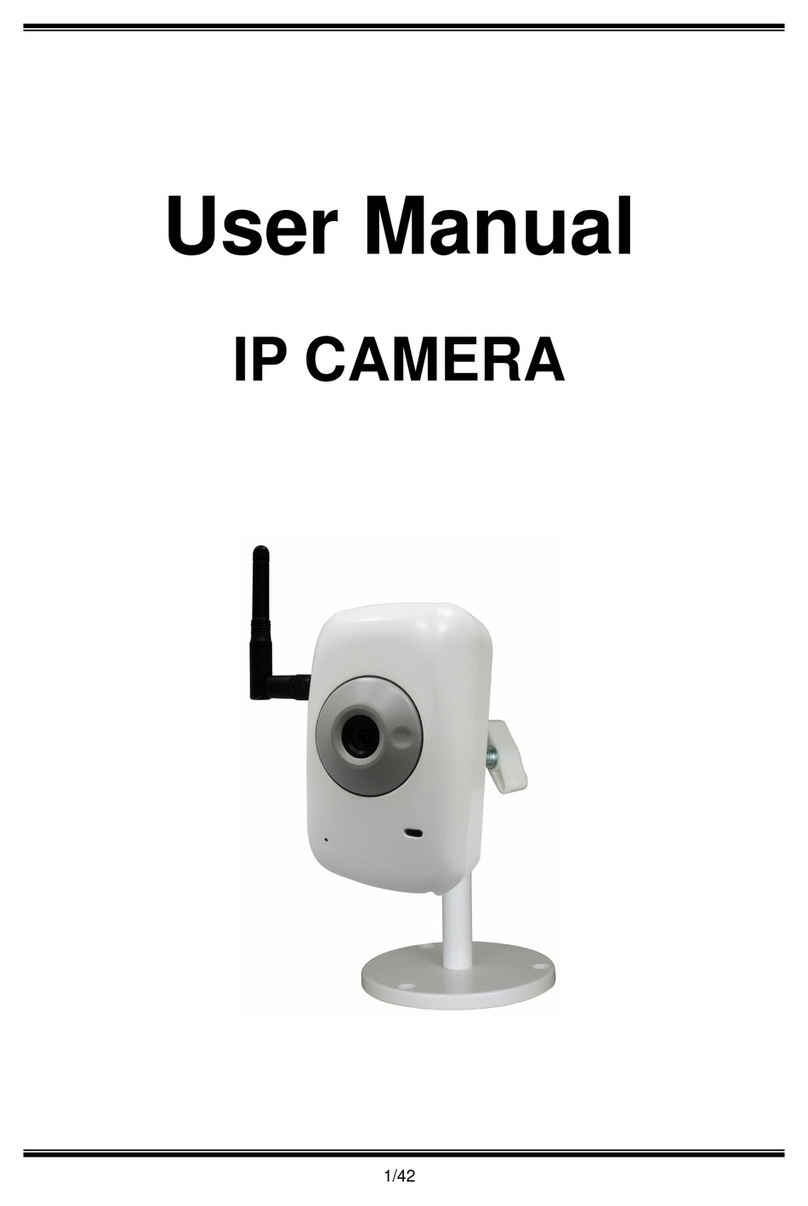
X-Vision X2C4000BP User manual

Professional HD IP Camera
User Guide
Version 1
Thank you purchasing the XRN HD IP Camera from Xvision Pro HD.
Please ensure that you read and understand this User Guide before operating the camera.
Please store this User Guide in an easily accessible location.
IP
HD
PRO
XHD

Table of Contents
Functional Descriptions and Features.................................................................................4
Introduction............................................................................................................................2
Pre-requisites .........................................................................................................................2
IPC Description and Device Connection..............................................................................3
Appearance Description...........................................................................................................3
SchematicDiagram(X2C4000BVP)......................................................................................4
SchematicDiagram(X2C4000DVP).....................................................................................6
SchematicDiagram(X2C4000VP)........................................................................................7
Installation of Indoor Dome Cameras.....................................................................................10
Device Connection.................................................................................................................13
Device Search Tool...............................................................................................................14
Active X Setup......................................................................................................................17
Web Browser Interface ........................................................................................................19
Live View................................................................................................................................19
Remote Setting.....................................................................................................................21
Display ...................................................................................................................................21
Live.........................................................................................................................................21
Image Control.........................................................................................................................22
Privacy Zone..........................................................................................................................23
ROI.........................................................................................................................................21
Record....................................................................................................................................22
Schedule................................................................................................................................23
Network..................................................................................................................................24
Video Streaming.....................................................................................................................25
Email......................................................................................................................................26

DDNS.....................................................................................................................................27
IP Filter...................................................................................................................................28
RTSP......................................................................................................................................29
FTP ........................................................................................................................................30
Alarm......................................................................................................................................31
Motion ....................................................................................................................................31
Alarm......................................................................................................................................32
Lens Shade............................................................................................................................33
Device....................................................................................................................................34
SD Card .................................................................................................................................34
Log.........................................................................................................................................35
Audio......................................................................................................................................36
System...................................................................................................................................37
Date/Time...............................................................................................................................37
Users......................................................................................................................................38
Info.........................................................................................................................................39
Advanced...............................................................................................................................40
Firmware Update....................................................................................................................40
Load Default...........................................................................................................................41
Maintain..................................................................................................................................42
PEA (Perimeter Alarm)...........................................................................................................43
OSC –Object Care.................................................................................................................46
X2C4000 Specification’s ......................................................................................................49
FAQ........................................................................................................................................55

Functional Descriptions and Features
Note:
•IPC refers to Internet Protocol Camera.
•Default IP address of IPCamera:192.168.1.168
•IP Camera default Username: admin (lower case), Password:
admin (lowercase)
•Default web port:80,Default mediaport:9988
•LAN refers to Local Area Network (Inside your router)
•WAN refers to Wide Area Network (outside your
Router/Home/Office)
Features
Brief Description
Real time
monitoring
OptimizedH.265/H.264/MJPEG video compression algorithms; Multi-
stream transmission ensures high definition image transmission on both
narrowband and wideband.
Recording
Support simultaneous connection of up to 5video streams.
Onvif
Support ONVIF protocol, please check with www.xvision.comfor latest
supported version.
Network
protocols
Support multiple network protocols, such as TCP/UDP
,IP,HTTP,DHCP,RTP,RTSP,FTP,SMTP,DNS,DDNS,NTP,ICMP,IGMP
,ARP, GB28181
Record backup
Backup via Browser and some IPC support MSD card.
POE
POE Power over Ethernet support on allIPC-12 VDC±10%, PoE
Network
operation
Authorized access in go for remote client to ensure the system security.
APP Support
Smartphone video monitoring XIQCMS
Operating
Temperature/IP
Rating
-10 °C ~ 60 °C(14 °F ~140°F–IP66-below90%RH

SAFETY INSTRUCTION
Do not install the equipment in an environment with too much
moisture, dust or smoke dust as this may result in fire or electric
shock.
In the unlikely event that the equipment should malfunction and emit
an abnormal smell of smoke, please immediately stop it, shut off the
power and contact your supplier.
Please do not place this equipment near a heat source to avoid risk of
fire.
Please do not store, install and use this product in danger areas with
inflammable or explosive substances.
Please make sure the power is turned off when installing the product.
Please do not use the IPC in an environment where temperatures that
exceed either -20°C to+55°C.

Introduction
This guide is for the Xvision Pro HD X2C4000 Range of IP Cameras.
It is recommended that the units are setup and tested before being mounted or installed.
These instructions are for guidance only detailed information is in accordance with the
product.
The instructions may include some technical inaccuracies or typographical errors, these
will be corrected in future updates.
The product or procedures described in the instructions may be changed or updated at
any time without prior notice. Screenshots used in the instruction are only for indications
and explanations.
Screenshots used in the instruction are only for indications and explanations.
This Manual will cover the following:
•Schematic Diagram of XC Cameras
•Basic setting setup
•Setting an IP address
•Active X Controls
•Viewing on IE
•Specifications
Pre-requisites
Note before you begin installation:
•Connect only one X2C4000 range IPC at a time to your LAN, as
all cameras share the same default IP192.168.1.168
•Screw Drivers
•Router/Switch/Hub for your LAN, this is needed to connect all Network
IP equipment together.
•A Windows PC/Laptop on site connected to the same LAN
(Router/Switch) as your equipment.
•Cat 5 Patch cables to connect your X2C4000 and Router/Switch all
together

IPC Description and Device Connection
Appearance Description
The X2C4000 cameras can be wall or ceiling mounted, so to install the camera you will need
toadjustittothedesiredangle.Belowyouwillseehowtoinstalleachcameratype
SchematicDiagram(X2C4000BP)
Items
Descriptions
①Front cover
Helps protect the IPC from sunlight and rain.
②Rear cover
Fixed with the front cover.
③Lens
Lens of IPC
④Infrared IR’s
Infrared IR’s behind glass cover
⑤Ball and sleeve
Rotatable, used to adjust the angle of view of the IPC.
⑥Locknut
Fix the ball sleeve and the base.
⑦Base
Base to be secured against wall.
⑧Fixing hole
Screw holes to secure IPC to wall.

SchematicDiagram(X2C4000BVP)
Items
Descriptions
① Front cover
Helps protect the IPC from sunlight and rain.
② Rear cover
Fixed with the front cover.
③Focusing lever
Adjust the focal length of the IPC.
④Lens
Lens of IPC
⑤ Infrared IR’s
Infrared IR’s behind glass cover
⑥ Ball and sleeve
Rotatable, used to adjust the angle of view of the IPC.
⑦Base
Base to be secured against wall.
⑧ Fixing hole
Screw holes to secure IPC to wall.

SchematicDiagram(X2C4000DVP)
Items
Descriptions
① Transparent cover
Protects the IPC lens and IR’s.
② Infrared IR’s
Infrared IRLED’s
③ Main housing
Rotatable and used to adjust the installation angle
④Lens
Lens of IPC
⑤ Base
Secures the IPC to the wall

SchematicDiagram(X2C4000VP)
Items
Descriptions
①Lens
Lens of IPC
② Infrared lamp
Infrared LED lamp
③ Main housing
Rotatable and used to adjust the installation angle
④ Fixed guard
Secure the position of the Main housing.
⑤Base
Secures the IPC to the wall.

8

9

Installation of Indoor Dome Cameras
Ceiling Mounting
Setup of Sticker
Paste the sticker in place at the proper position as selected.
Remove the shield off the camera by rotating the collar down

Fix the base by drilling locking holes around the sticker and inserting three expansion
bolts into the holes and fastening it with three locking screws. Adjust it to an appropriate
angle.
Locking Screw
Expansion Bolt

After angle adjustment, mount the shield back by rotating the collar up.
Completion of Installation

Device Connection
There are two types of connection method:
1. Connect the IPC with your PC.
ForadirectconnectionyouwillneedtouseaCAT5/6Crossovercable.Youwillstill need to
provide power to the IPC, this can be done with a 12v Dc power supply or POE
Injector.
Both IPC and your PC will need to be in the same IP subnet e.g. IPC192.168.1.168
(Default), PC192.168.1.100.
2. Connecting the IPC to your Router/Switch.
This is the most commonly used way to connect the IPC to your network.
You will need a CAT5/6Patchcable, connect this to your IPC and your router/switch. If you
have a POE switch you can connect this directly from your IPC to your switch and the IPC
will receive power as well. If you do not have a POE switch you will need to provide power to
your IPC.

Device Search Tool
The search software will search your LAN, you can also use the XIQCMS to find your IPC.
Firstly, install .exe file (Device Search) found on the included CD by the following
procedures, you can also download this from http://www.Xvision.com.
1. Double click the .exe file 2. Click next to continue
3. Select installation folder and click [Next] to continue.

5. Click [Finish] to finish the installation
4. Click [Install] to begin the
installation.

Once installed, run the Search tool. This will search your LAN for the IPC. Once found it will
bring back the IPC, IP Address, Sub net mask and MAC Address. As shown in the following
picture:
If the searched IP address and PC IP address are not in the same network segment, you will
have to change your PC IP Address to be in the same LAN IP range. You can change the IP,
IP,Subnet mas, port number and other parameters using the device search.
Youwill need to have the Administrator password to change any settings, Default is User
name admin and admin as the password.
For the following examples we will change the IPC IP to192.168.1.100.

Active X Setup
BeforewecanaccessournewlysetupX2C4000onIEthereafewmoresteps.
Open Internet Explorer and type in your IPC IP address in the address bar and press
enter on the keyboard.
The correct way to type the address ishttp://192.168.1.100.
Youwill be prompted for Active X controls to be installed. For this to go
successfully we need to change your settings of your IE browser. Tosetup the
ActiveX Controls and Plug-ins, please follow the steps below.
Open up Internet options, this can either be done
from Control Panel on your PC or through Internet
Explorers settings as shown below, click on the cog
on the top right of your Internet explorer page.
Once open select the Security tab from the top of the
page.
In the security tab you will be given the options
for Internet, Local Intranet and Trusted Sites.
Select Trusted Sites and then click on the Sites
button below.
This manual suits for next models
3
Table of contents
Other X-Vision IP Camera manuals
X-Vision
X-Vision X720B User manual
X-Vision
X-Vision XIP3101 User manual
X-Vision
X-Vision XPB700WDR User manual

X-Vision
X-Vision XIP3101 Setup guide

X-Vision
X-Vision XPB750WIR User manual
X-Vision
X-Vision XP5000T User manual

X-Vision
X-Vision X101T User manual
X-Vision
X-Vision VIS600E User manual

X-Vision
X-Vision VIS449EX User manual
X-Vision
X-Vision XPB731WIR-2 User manual
