.X10WirelessTechnology,Inc.LIMITED1-YEARWARRANTY
X10.com,adivisionofX10WirelessTechnology,Inc.(X10)warrantsX10productstobefree
fromdefectivematerialandworkmanshipforaperiodofone(1)yearfromtheoriginaldateof
purchaseatretail.X10agreestorepairorreplace,atit’ssolediscretion,adefectiveX10product
if returned to X10 within the warranty period and with proof of purchase.
If service is required under this warranty:
Merchandise Authorization (RMA) number.
2. Return the defective unit postage prepaid to X10 (see address on back).
3. Enclose a check for $4.00 to cover postage and handling.
4. Enclose a dated proof of purchase.
5. X10 is not responsible for shipping damage. Units to be returned should be packed
carefully.
Pleasevisitwww.x10.com/warranty
tocompleteyouron-linewarrantyregistration.Thankyou.
Forhelpormoreinformationonsetup,pleasevisit:www.x10.com/support
RC6600(KR22A+TM751)Installationandoperatinginstructions
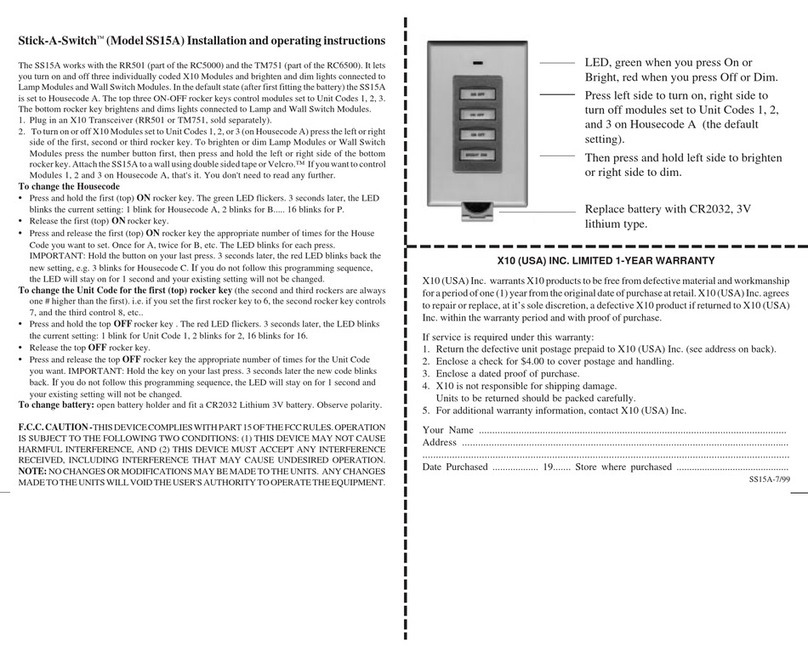
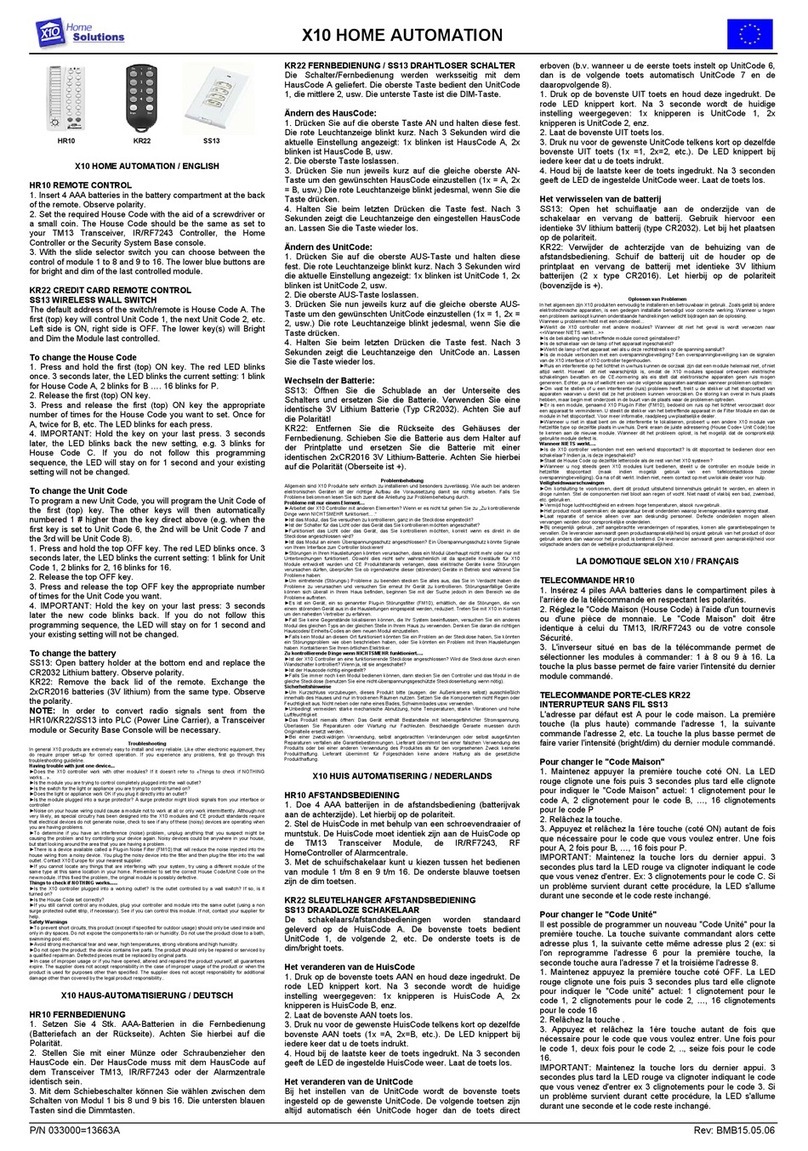
The KR22A turns on or off a light or appliance plugged into the TM751. It also lets you turn on and
off4individuallycodedX10ModulesandbrightenanddimlightsconnectedtoLampModulesandWall
Switch Modules (sold separately). In the default state (after first fitting the batteries) the KR22A is set
to Housecode A. The first (top) two ON-OFF buttons control modules set to Unit Code 1. The second
two buttons control A2, the third A3, and the fourth A4.
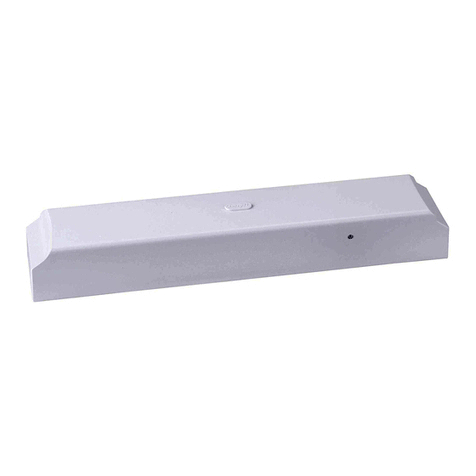
1. Plug in the X10 Transceiver, TM751, included with this RC6600 kit.
2. Plug a lamp or appliance into the TM751 (observe ratings on back of TM751).
3. To turn on or off the TM751 (which is Unit Code 1 and Housecode A) press the first (top) ON
or OFF button. To turn on or off other X10 Modules set to Unit Code 2 (on Housecode A) press
thesecondONorOFFbutton,andsoon.TobrightenordimLampModulesorWallSwitchModules
press the number button first, then press the Bright or Dim button. If you want to control Modules
1 thru 4 on Housecode A, that's it. You don't need to read any further.
To change the Housecode
•Press and hold the first (top) ON button. The red LED blinks once. 3 seconds later, the LED
blinks the current setting: 1 blink for Housecode A, 2 blinks for B..... 16 blinks for P.
•Release the first (top) ON button.
•Press and release the first (top) ON button the appropriate number of times for the Housecode
you want to set. Once for A, twice for B, etc. The LED blinks for each press. IMPORTANT:
Hold the button on your last press. 3 seconds later, the red LED blinks back the new setting, e.g.
3 blinks for Housecode C. If you do not follow this programming sequence, the LED will stay
on for 1 second and your existing setting will not be changed.
To change the Unit Code for the first (top) two buttons (the next three buttons always run in
sequence, i.e. if you set the first button to 6, the four buttons will control 6, 7, 8, and 9, etc.).
•Press and hold the top OFF button. The red LED blinks once. 3 seconds later, the LED blinks
the current setting: 1 blink for Unit Code 1, 2 blinks for 2, 16 blinks for 16.
•Release the top OFF button.
•Press and release the top OFF button the appropriate number of times for the Unit Code you
want. IMPORTANT: Hold the button on your last press. 3 seconds later new code blinks back.
If you do not follow this programming sequence, the LED will stay on for 1 second and your
existingsetting willnot bechanged.
To change the batteries: Pry the unit apart and fit two CR2016 Lithium 3V batteries. Observe polarity.
F.C.C.CAUTION-THISDEVICECOMPLIESWITHPART15OFTHEFCCRULES.OPERATION
IS SUBJECT TO THE FOLLOWING TWO CONDITIONS: (1) THIS DEVICE MAY NOT CAUSE
HARMFUL INTERFERENCE, AND (2) THIS DEVICE MUST ACCEPT ANY INTERFERENCE
RECEIVED, INCLUDING INTERFERENCE THAT MAY CAUSE UNDESIRED OPERATION.
NOTE:NO CHANGESORMODIFICATIONS MAYBEMADE TOTHEUNITS. ANY CHANGES
MADETOTHEUNITSWILLVOIDTHEUSER'SAUTHORITYTOOPERATETHEEQUIPMENT. RC6600-9/01
Press to turn
A3 ON.
After pressing a
number, press and
hold to Brighten.
After pressing a
number, press and
hold to Dim.
Press to turn
A4 ON.
Press to turn
A3 OFF.
Press to turn
A4 OFF.
Press to turn
A2 ON.
Press to turn
A2 OFF.
Press to turn
A1 ON.
Press to turn
A1 OFF.
