X10 Wireless Technology, Inc. LIMITED 1-YEAR WARRANTY
X10.com, a division of X10 Wireless Technology, Inc. (X10) warrants X10 products to be
free from defective material and workmanship for a period of one (1) year from the original
dateofpurchaseatretail.X10agreestorepairorreplace,atitssolediscretion,adefectiveX10
product if returned to X10 within the warranty period and with proof of purchase.
If service is required under this warranty:
Return Merchandise Authorization (RMA) number.
2. Return the defective unit postage prepaid to X10 (see address on back).
3. Enclose a check for $4.00 to cover postage and handling.
4. Enclose a dated proof of purchase.
5. X10 is not responsible for shipping damage. Units to be returned should be packed
carefully.
Please visit www.x10.com/warranty
to complete your on-line warranty registration. Thank you.
For help or more information on setup, please visit: www.x10.com/support
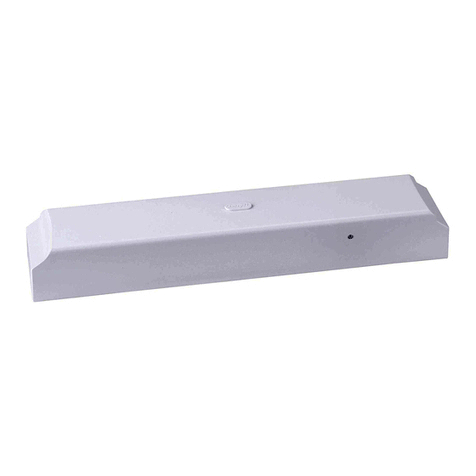
Installation and operating instructions for Universal Module,
Model UM506
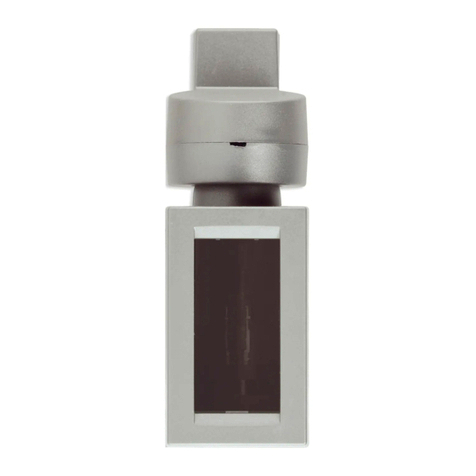
The UM506 can be used to control something that is triggered by a contact closure,
oryoucanswitchalowvoltage“through”thecontactsofthemodule.However,the
terminals are exposed, therefore for safety you should not connect voltages higher
than 30VAC (42 VDC) to these terminals. If you connect voltages higher than this
to the terminals, a shock hazard can exist.
1. Use a small screwdriver to set the red Housecode dial to the same letter as you
set on your X10 controller(s).
2. Set the black Unit Code dial to a number between 1 and 16.
3. Set the Momentary/Continuous slide switch to the left for a momentary contact
closure when you activate the module, or to the right for a continuous contact
closure (close when you send an ON, open when you send an OFF).
4. Set the other switch to the left if you want to use the module as an annunciator
(beeper). Set the switch to the right if you want to use it as an isolated contact
relay. Set the switch to the middle position if you want it to operate as both.
5. Using low voltage wire, connect the unit you want to operate to the terminals on
the UM506. Note the warning label on the UM506.
6. Plug the UM506 into an AC outlet.
7. Test the desired mode of operation by pressing the ON button.
8. If set for continuous operation, turn the module off by pressing the OFF button.
9. When set for momentary operation, the UM506 can be turned on remotely by
pressing the ON button on any X10 controller corresponding to the Unit Code
yousetontheUM506.Thecontactswillcloseforbetweenapproximately1.5and
2.5secondseverytimeyoupressON.Ifcontinuousoperationisselectedyoucan
turn the module off by pressing the OFF button on any X10 controller
corresponding to the Unit Code you set on the UM506. The UM506 also
responds to the All Units Off code, but does not respond to the All Lights On
code.
UM506-8/02
Check Out our Web site at:
www.x10.com
For more information on X10 products and
special promotional offers.
