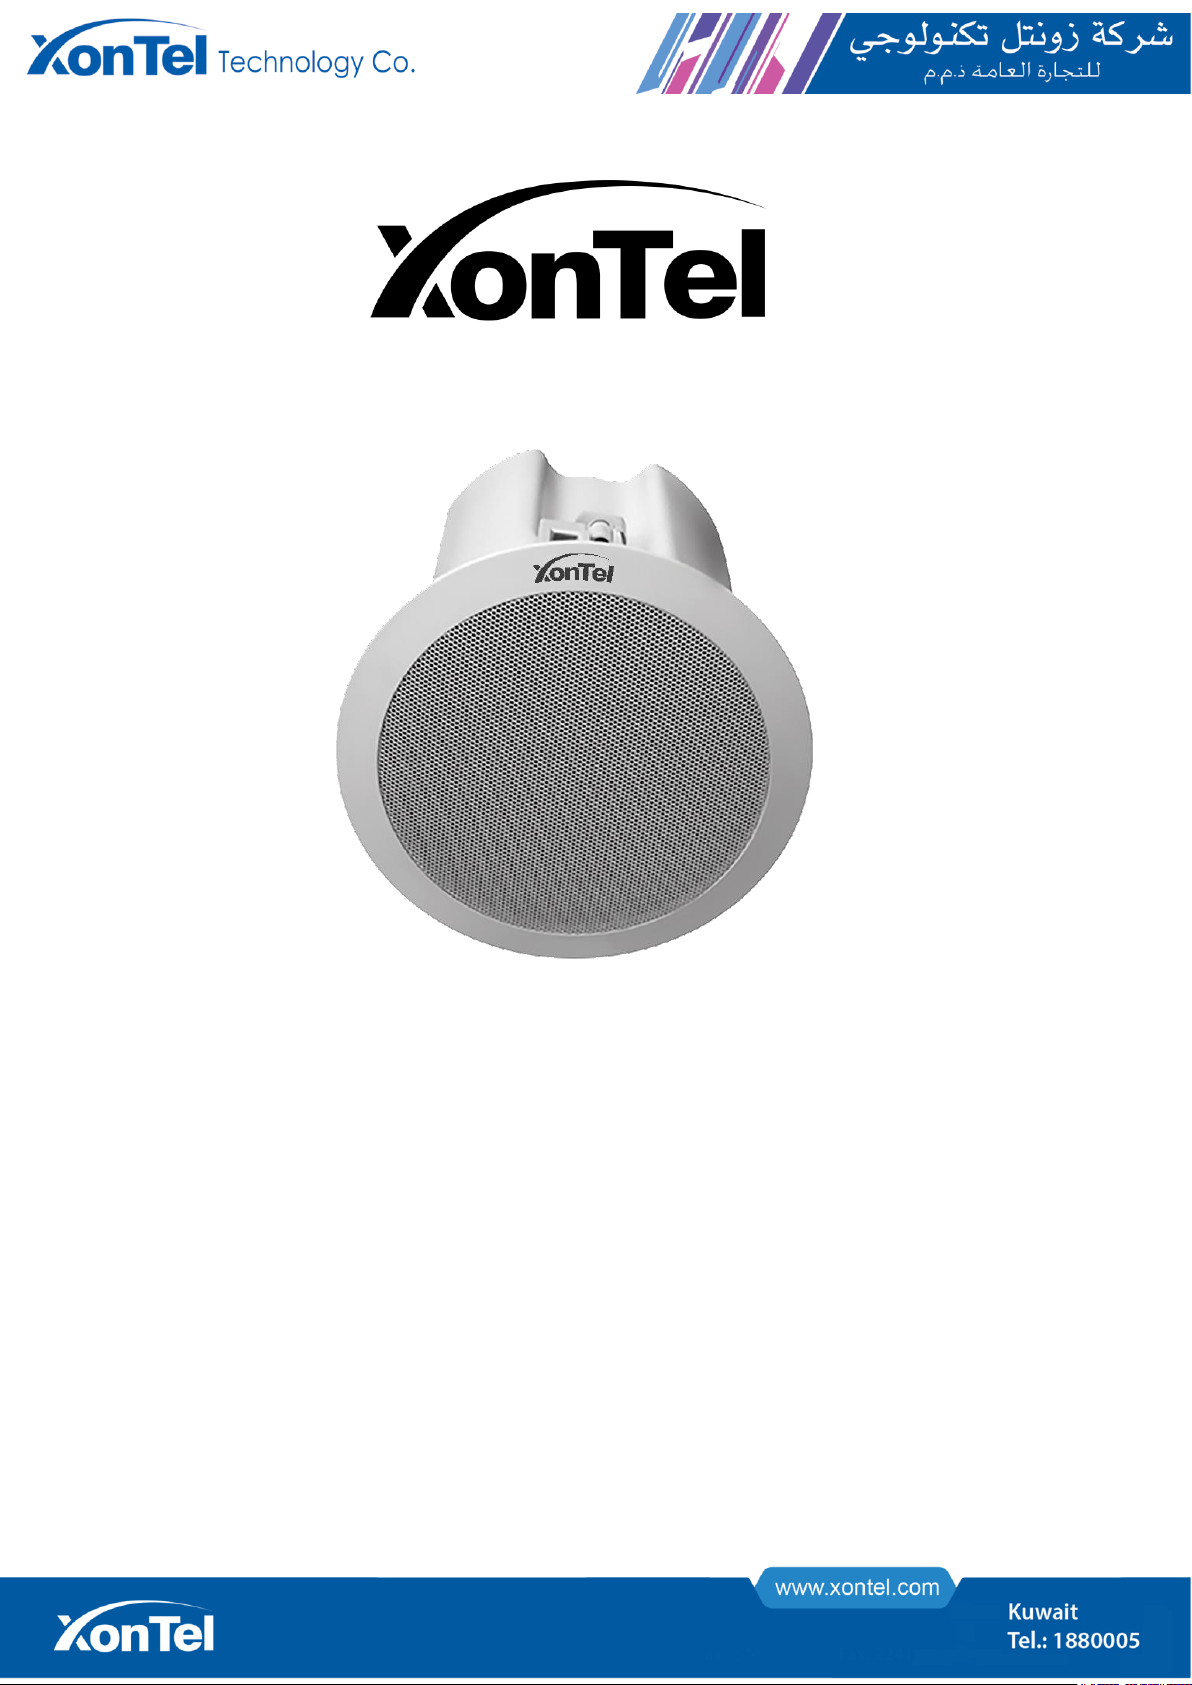
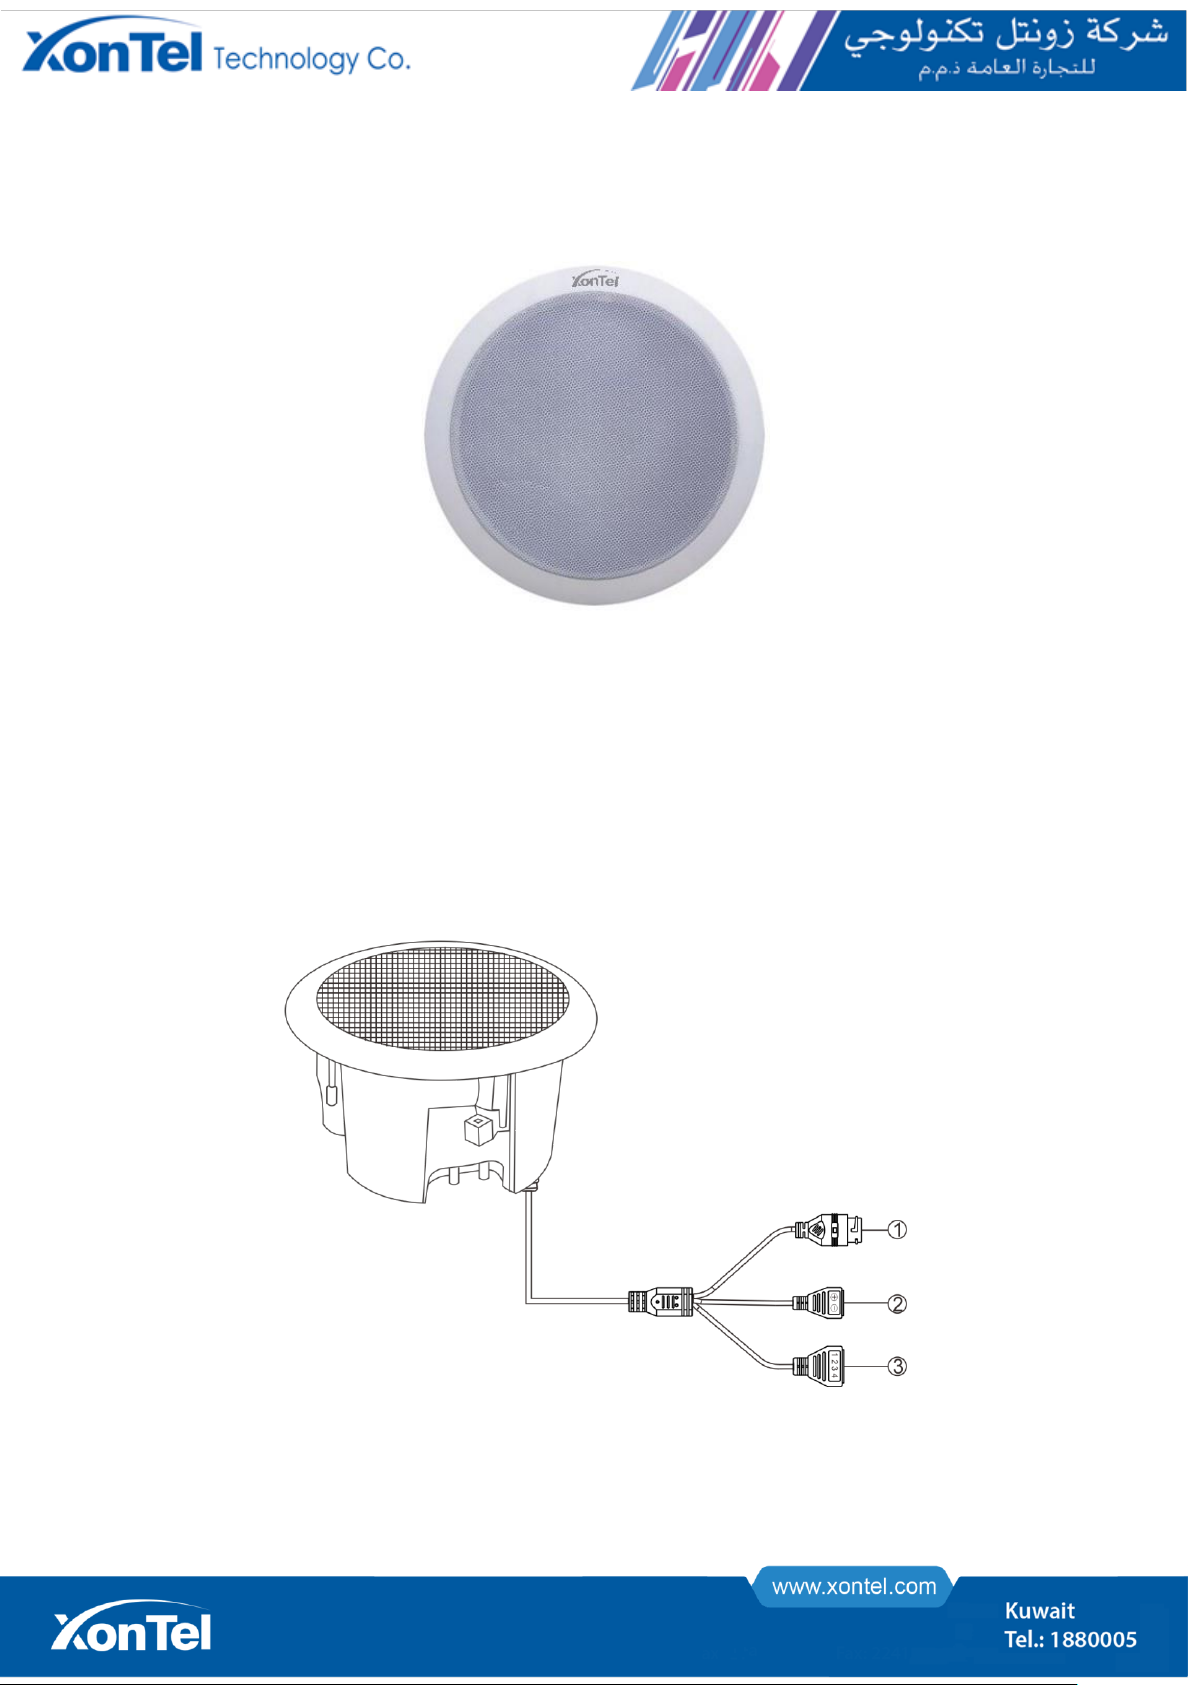
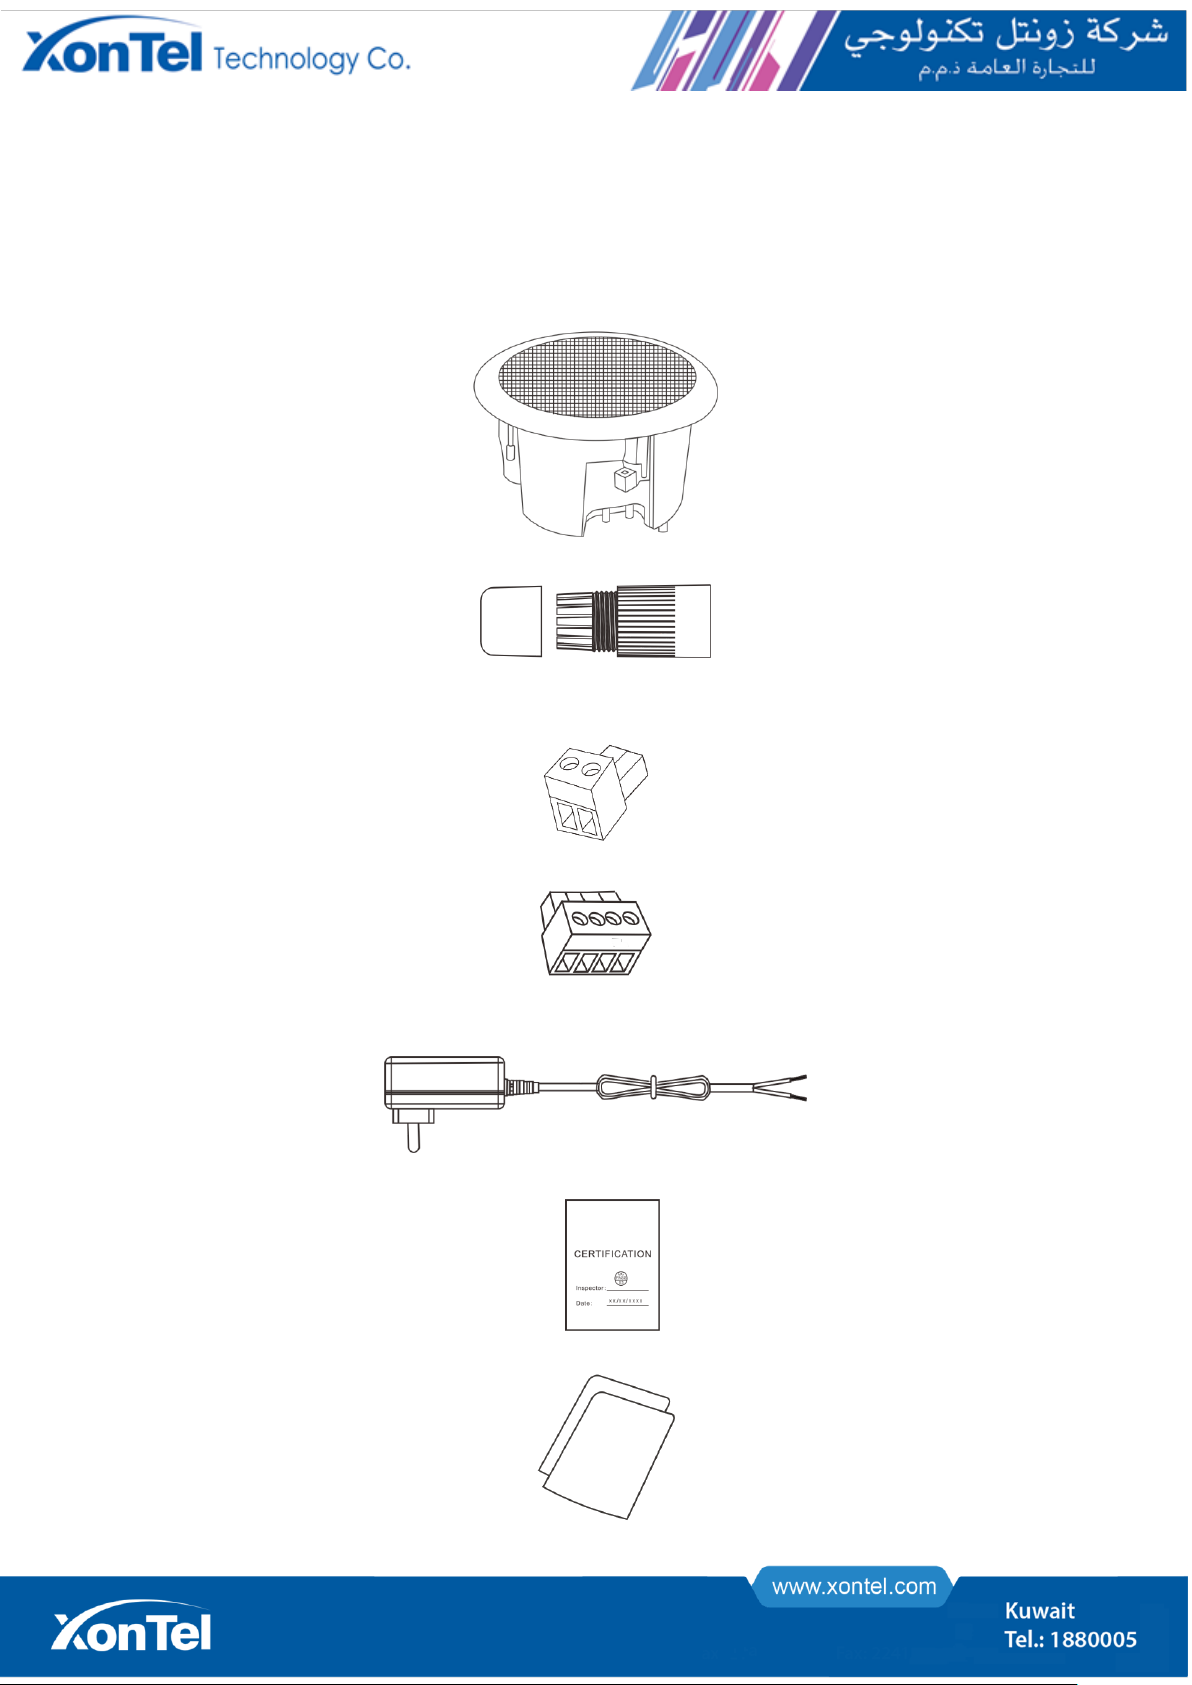
XONTEL XT-20P User manual

XT-20P
Ceiling SIP IP Speaker

0
Contents
Summary...........................................................................................................................................................................................................3
Safety Precaution..............................................................................................................................................................................................3
Product Introduction..........................................................................................................................................................................................4
Interface Description.........................................................................................................................................................................................4
Introduction......................................................................................................................................................................................................5
Packing List........................................................................................................................................................................................................5
Wiring..................................................................................................................................................................................................................6
User-define Terminal Parameters...............................................................................................................................................................6
Login Webpage.................................................................................................................................................................................................6
Running Status..................................................................................................................................................................................................7
Network Parameter...........................................................................................................................................................................................8
Server Parameter..............................................................................................................................................................................................9
Audio Parameter.............................................................................................................................................................................................11
Alarm options...................................................................................................................................................................................................12
Multicast...........................................................................................................................................................................................................12
System Settings..............................................................................................................................................................................................13
Language Settings..........................................................................................................................................................................................13
Time To Restart...............................................................................................................................................................................................14
Protocol Settings.............................................................................................................................................................................................15
User Management ..........................................................................................................................................................................................15
Upgrade............................................................................................................................................................................................................16
System Logs....................................................................................................................................................................................................16
Fault Exclude.................................................................................................................................................................................................17
Copyright Statement....................................................................................................................................................................................18

Summary
Safety Precaution
• Read the safety precaution carefully before installing or using.
•Please abide by the warning and the relevant safety tips. Please put this manual in convenient place for future reference.
Warning
This symbol means there are potential safe troubles, it may cause death or serious injury with incorrect operation.
This symbol used to remind the user that this device attached the important operation and maintenance instructions.
Setting and Installing Device
1) Avoid wet by water.
Do not put the machine to be exposed to rain water or other liquid stained environment, otherwise it may lead to fire or get an
electric shock.
2) Do not use the other power voltage.
Using the device marked voltage to connect it.
It may lead to fire or electric shock if using the higher voltage.
3) Do not scratch the power cord.
Don’t scratch, cut or twist the power cord .
Please keep the power line far away from the heated object and do not put heavy things on it, otherwise it may lead to fires or
electric shock.
Using Machine
1) In case of the anomalies appears
Please shut off the power supply immediately when finding the following abnormal phenomena within using, please contact
with supplier. It may cause fires or electric shock if it`s still using it .
·When the device with smoking or strange flavor .
·The device internal is invaded by water or other things.
·Device fall off or device shell is damaged.
·The power cord is damaged (wire core is exposed or broken etc).
·Device fault (it can`t connect network, no sound etc.).
2) Do not open the device internal or modify the device
Don`t make other things invaded to the device internal.
Don’t make the metal items or inflammable objects inserting to device internal, otherwise it will cause fires or electric shock.
3) Do not touch when lightning
To avoid electric shock, please do not touch the device and the plug while lightning.
4) Do not put the liquid container or metal object on the device
If the container is fall down and make the liquid permeate into the device, it will cause fire or electric shock.
5) Do not open the device internal or modify the device
The device internal contains high voltage parts, once open the cover or modify the device, it may cause fires or cause shock.
All about device maintenance and modification should be operated by professional personnel.
6) The notice for maintenance or long time without using
Please shut down the power and pull out the power line while maintenance or the device won`t be used for 10 days or more. It
may cause electric shock or fires if do not make it.

Product Introduction
IP network ceiling speaker embedded IPAudio Digital Network audio technology with independent intellectual property rights.
It can accept broadcasting initiated by other terminals and servers and support function settings through browser. With Circuit
fault detection function, it can detect the working status of the horn and display on the server software.
⚫Receive broadcast: it can receive a broadcast from a server or other terminals.
⚫Circuit detection: With Circuit fault detection function, it can detect the working status of the speaker.
⚫Timing broadcast: it will upload all the audio source need to be daily broadcast on server, and make broadcasting schedule.
Ceiling speakers can be configured by the server's scheduled task to achieve automatic broadcast.
⚫System settings through browser: the user can set the network parameters, audio parameters, and change the password
etc. to realize the personalization.
⚫Support POE power supply.
Interface Description
①Network interface: Insert a cable to the switch or POE switch.
②Power Supply Port: DC24V/1A, provide the power for IP ceiling speaker.(This equipment is supportive of POE power
supply. If the network interface has connected to POE swithcher, it does not need to connect to the power.)
③Line in port: 3 is Line in, 4 is GND; 1 and 2 are reserved.

Introduction
Packing List
IP ceiling speaker is including the following fittings, please check the fittings before the installation, if any missing, please
contact the distributor.
(1) IP ceiling speaker 1 pcs
(2) Waterproof connector 1 pcs
(3) Wiring terminal (3.81-2P)1 pcs
(4) Wiring terminal (3.81-4P)1 pcs
(5) Power adapter(24V/1A)1pcs (Optional)
(6) certification 1 pcs
(7)Installation manual 1pcs

Wiring
Wiring method 1:
Wiring method 2:
Note: POE switcher can not be connected, when using power adapter.
Basic Network Settings
Enter into the webpage of IP ceiling speaker, and then modify all the parameters according to the live environment. After
finishing, click “save”.
User-define Terminal Parameters
Login Webpage
(1)Please input the IP address of IP ceiling speaker to the address column of the browser (the factory default IP address
is 192.168.1.101, it will automatically play the IP address when the press the terminal key without the cable inserted), then
enter.

(2)Enter the username and password to log in.
Note: Default username and password are both admin.
(3)Press login to enter IP ceiling speaker web page.
(Note: If the relevant parameter modification in the web page does not take effect after saving, please clear the
cache and set them again.)
Running Status
When login to the web page, click “Running Status”, it will show the information of: Terminal ID, server IP, server port, device
task status, MAC address, terminal IP, gateway and other information.

Network Parameter
Please set the terminal’s network parameters according to the environment of the terminal. Click [save] after setting, the
parameters will take effect after reboot.
The relevant Settings of network parameters are as follows:
Terminal IP
The IP address of the device, the factory default IP is 192.168.1.101, which cannot
be duplicated with other terminals.
Subnet Mask
The subnet mask of the LAN network.
Gateway
The gateway of the network.
Primary DNS
The IP address of the preferred DNS server (domain name resolver) for the
network.
Secondary DNS
The IP address of the alternateDNS server (domain name resolver) for thenetwork.

Server Parameter
IP ceiling speaker support with SIP protocol and NAS protocol, you can choose the transport protocol based on the actual
server you log in to.
SIP Protocol
The default is SIP protocol. If the device is logged into the NAS (intercom) protocol server, you need to select the NAS
protocol here, please refer to the NAS protocol setting introduction for specific parameter settings.
The relevant Settings are as follows:
Transport Protocol
Setting the protocol for normal communication between device and sever.
Sip Server IP, port
IP address of the SIP server that the terminal logs into. Please enter the correct
IP address of the SIP server. The port number cannot be changed except in
special cases. (Default is 5060)
Account
The SIP account of the terminal, it can not be duplicated with other terminals.
Password
Password for terminal to login to SIP server, default is 1234.
Local port
Configure the local port according to the actual situation; the default is 5060.
Audio port
Configure the audio port according to the actual situation.
Switch To Multicast
Set whether to enable telephone transfer to multicast function.
If enable it , when receiving a SIP call initiated by an IP phone, multicast streams
are simultaneously initiated to a plurality of other SIP speakers including
themselves.
Assistant Ringing
Account
Enable and set the assistant ringing SIP account, any call or broadcast to the
auxiliary ringing account, the speaker will output the ringing sound. The ringing
SIP account and SIPphone can be put into a group. When calling a phone in the
group, all terminals in the same group will ring. After the call is connected, all
ringing in the group will stop. XC service software ring group configuration
method: Add a ring group in the service software [Basic Settings] - [Intercom
Settings].
Handshake time(s)
Set the time to make handshake with server.

NAS Protocol
The relevant Settings are as follows:
Transport Protocol
Setting the protocol for normal communication between device and sever.
Terminal ID
Unique number to identify the terminaland cannot be duplicated with terminals or
other hosts.
Local port
Configure the local port according to the actual situation; the default is 5060.
Primary Server IP,
port
IP address of the NAS server that the terminal logs in to. Please enter the
correct IP address or domain name of the NAS server. The port number cannot
be changed except in special cases (the default is 2048).
Secondary Server
IP, Port.
The IP address and port of the backup NAS server.
Login Interval(s)
Interval of login server.
Handshake time(s)
Set the time to make handshake with server.

Audio Parameter
Set the audio related parameters of the device, Click [save] after setting, the parameters will take effect after reboot.
The relevant Settings are as follows:
Broadcast output volume
The total volume of audio input by the device during broadcasting, range: 0-15;
Audio Check
When enable it, if the real-time noise of the device is less than or equal to the
average noise, the server will pop up the window to display the fault
information.
Dynamic Volume Adjust
When you enable dynamic volume adjustment, the device will adjust the output
volume during broadcasting according to the surrounding environment noise
level.
For example, when the average noise of the surrounding environment is
greater than the reference noise and the range exceeds the set noise detection
calibration value, the real-time volume level of equipment broadcasting will
increase;
When the average noise of the surrounding environment is less than the
reference noise and the range of less than the set noise detection calibration
value, the real-time volume level of the equipment broadcast will be reduced.
Dynamic volume adjustment function is invalid when it is disabled.
Power Supply Mode
Select the power supply mode, support POE and DC.
Network Adaptability
Audio quality can be adjusted according to network environment. Low latency,
low bandwidth, and custom are optional. You can customize the audio cache
time when you choose Custom.
Noise Detect Adjust
Set the calibration value of noise detection (default is 16dB). The larger the
value, the larger the real-time noise value detected.
Remarks: Noise detection calibration value = noise decibel value
measured by decibel meter when calibration value is 0-average noise
decibel value detected by equipment.
Noise Reference
The average decibel value of noise in normal environment. The default is 60dB.
Noise Detect Interval
Set the average noise detection interval. It is 30S by default.
Average noise varies according to the setting time.

Alarm options
Reserved.
Multicast
Set whether to enable multicast or not. Support up to 10 multicast addresses as maximum.
Parameters as following:
Multicast function
Set whether to enable multicast function or not.
In the case where there are multiple servers in the LAN, different servers must
fill in different addresses and port numbers when they initiate multicast
broadcasts without interference.
Support up to 10 multicast addresses as maximum and priority settings (priority
from high to low is 1-10).

Beep Sound
Set whether to enable the broadcast prompt tone or not.
System Settings
Reboot the device: Click on this button will reboot the device.
Default: Click this button and all parameters of the device will be restored to factory Settings (please use with caution)
Language Settings
You can change the language in this page. It supports Chinese and English.
After save the setting, rebooting the web page to take effect.

Time To Restart
After this function is enabled, you can set the time for restarting the device every day. The default value is disabled.

Protocol Settings
ICMP: You are advised to disable ICMP when using the new IP configuration tool to configure network parameters.
FTP: Set whether to enable FTP remote file transfer function. The default value is disable.
TELNET: Set whether to enable the TELNET remote login function. The default value is disable.
User Management
You can change the password for logging into the WEB in this page. After save the password change, rebooting the web
page to take effect.

Upgrade
Click the "Upgrade" button, you will enter the firmware upgrade mode after 15 seconds.
Click on "Select file", select the upgrade file provided by the manufacturer, and click "Start upload" to start the upgrade.
Note: Do not power off during the upgrade process, otherwise the upgrade may fail and the device fails.
Finally, click reboot and back to normal settings.
System Logs
IP ceiling speaker can automatically record the running process and generate logs, and support users to download system
logs.

Fault Exclude
Why the terminal cannot login the server?
1).Check the software server and the main controller is normal opened or not. It`s required to close all firewall before open the
software server (including system built-in firewall and other antivirus software firewall).
2).Check the network connection is normal or not. After the terminal powered on, the network port green light is norm on,
meantime the orange light will be short and fast flash, it means the network cable hard-connected normal. If the network port
green light is not on, it means the network hard-connected problem, please check the terminal network cable and switcher
whether they work normal, damaged and disconnect or not etc.
3).Check the terminal IP setting. Please check the terminal ID, sever IP, local IP, gateway IP ...etc parameters.
Why web show abnormal?
Please clear the caches or change the browser.
How to change the web login password?
1. Click the user management in webpage.
2. Input the old pass word in old password column.
3. Input the new pass word in new password column.
4. Input the new password again for confirmation
5.Click save.
The new password will be effective after reboot.

Copyright Statement
Copyright
The copyright is reserved of the XonTel Technology Co., LTD, if without the permission
of the company in written form, any company and personage shall not arbitrarily excerpt, copy mentioned file information,
and shall not spread in any forms.
According to the legal provisions, copy including translate to other language or switch to other format.
Mentioned document spreading in network media, XonTel allow download and print for personal uses.
Any parts of the document cannot be modified and for commercial uses. If any damage and losses which is caused by
illegality modify and switch the document, XonTel shall not take any responsibility.
Other manuals for XT-20P
2
Table of contents
Other XONTEL Speakers manuals