https://www.XPOtool.com Item 51678 Page 3
The Tool Experts
01 2023-1
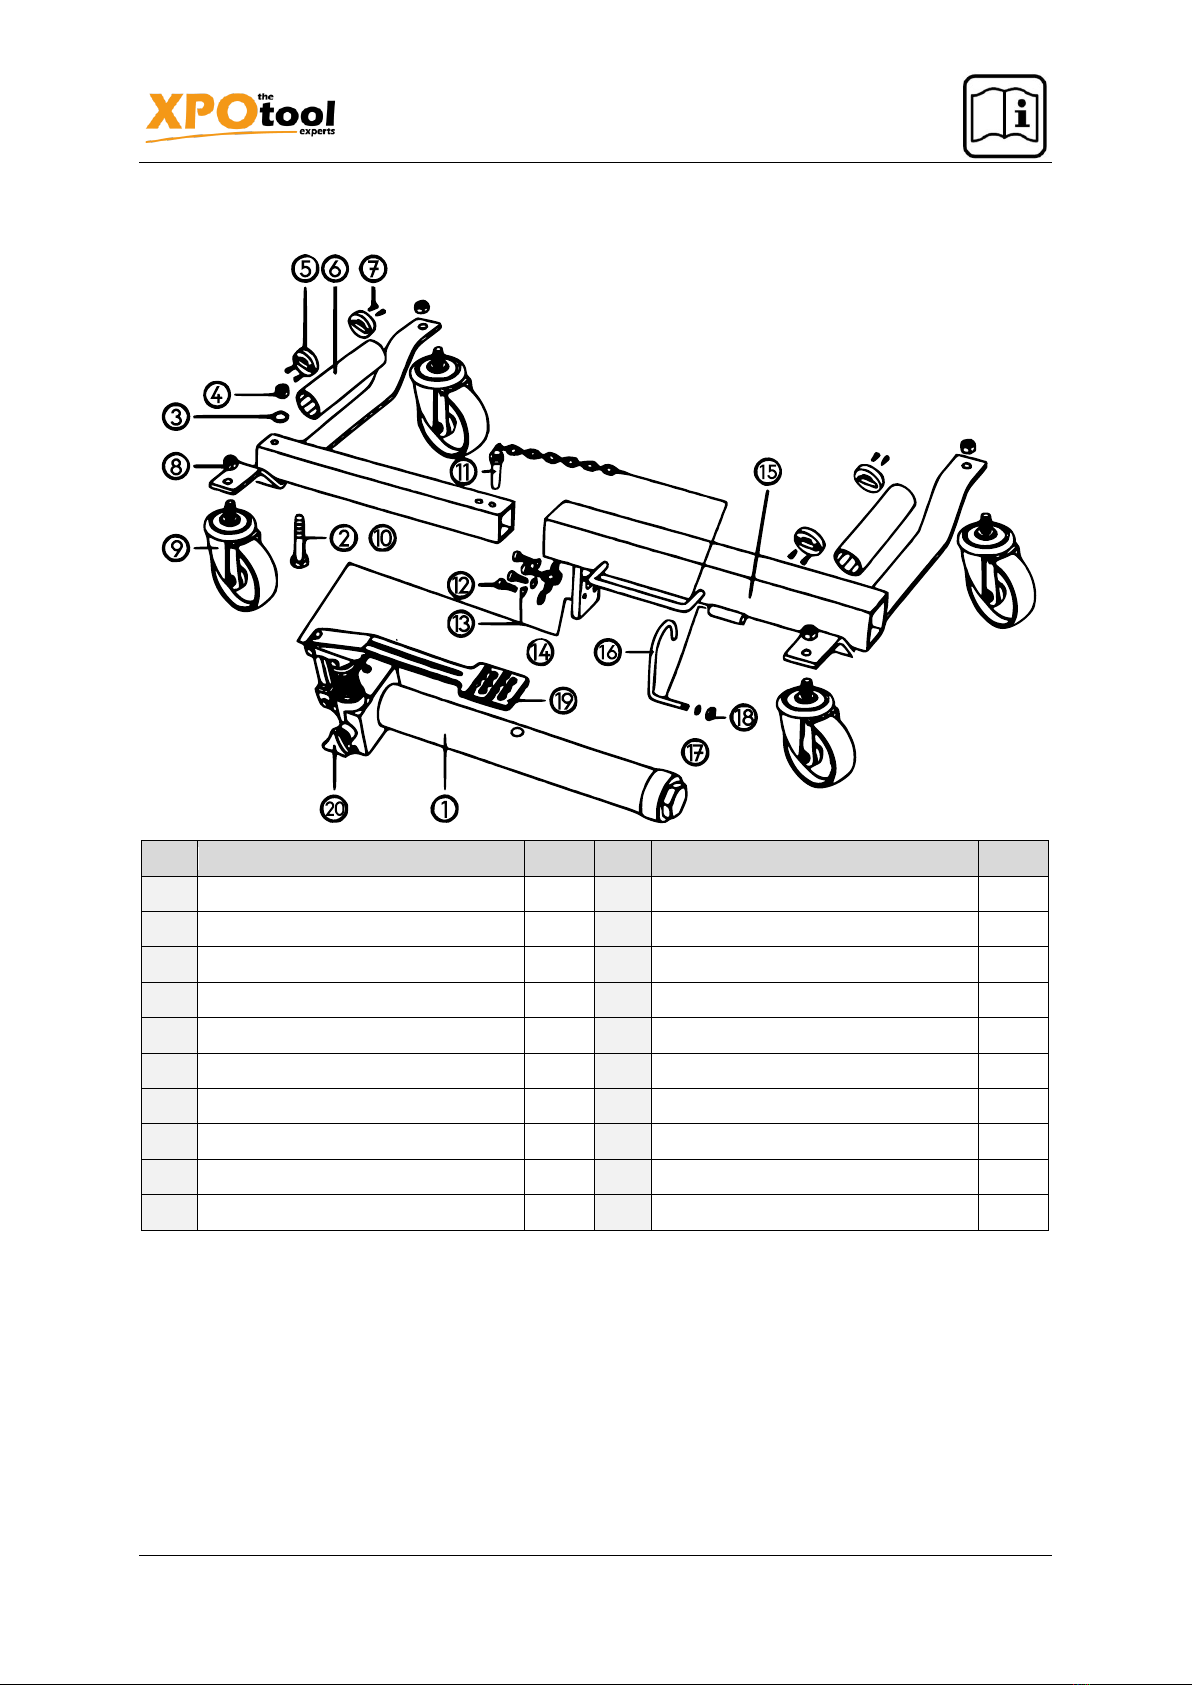
Introduction
Thank you for choosing to purchase this quality product. To minimise the risk of injury, we ask you to
always take some basic safety precautions when using this product. Please read this operating manual
carefully and make sure that you understand it.
Keep these operation instructions in a safe place.
Safety instructions
•Never operate the manoeuvring aid on uneven or inclined surfaces. The dolly may only be used
on a level surface. Otherwise, as soon as the tyre is lifted from the surface, the device could
move unpredictably.
•Do not overload the manoeuvring aid more than its maximum charge load (680 kg per rack).
•Never start the engine of the vehicle and do not put it into operation during the use of the
manoeuvring aid. The manoeuvring aid is only designed to move a vehicle by hand.
•The manoeuvring aid is not suitable for tyre whose width exceeds 30 cm.
•Do not push the manoeuvring aid over obstacles
•Make sure that, before using the device, the pin has been inserted. Remove the safety pin after
work, then untighten the valve.
Operation
1. Place the manoeuvring aid onto the floor and push the pedal down to untighten the pedal lock.
Remove the safety pin from the frame.
2. Before use, open the purge valve by turning the hand wheel counter-clockwise. Open the
manoeuvring aid using the hand wheel until the tyre can be positioned on it. Position the tyre so
that both rollers touch the tyre tread. To have optimal control over the manoeuvring aid, while it
is expanded around the tyre, place your left hand on the left-hand axle and your right hand on
the centre of the pedal. Close the purge valve by turning the hand wheel clockwise until it is in
a snug-tight position. The jack may now be used.
3. Position the manoeuvring aid so that the unit is parallel to the sidewall of the tyre to be lifted.
Attention! Leave approx. 2 cm between the tyre and the manoeuvring aid. If the unit is misa-
ligned, the tyre might hit the axle and not the rollers, which will damage the jack.
4. To lift the tyre, flip the directional lever up. Place a foot on the pedal and depress it with smooth,
even strokes. Apply the pedal until the tyre is lifted from the surface 3 cm or less. The lower the
tyre is above the ground after lifting, the more stable the manoeuvring aid is. After lifting, make
sure that the safety pin has been inserted before use. Repeat with the other tyres, then move
the vehicle as required.
5. To release the jack, remove the safety pin and open the valve by slowly turning the hand wheel
counter-clockwise. The manoeuvring aid can be removed when the rollers disengage from the
tyre.