XtraVac XtraVac860A User manual

XtraVac860A
HEAVY DUTY DOUBLE CHAMBERS
AUTOMATIC VACUUM MACHINE
ISO-9001

1
Content
Chapter 1:Safety precautions
1.1 Precautions of transportation, installation and packing
1.2 Precautions before and after machine starting
Chapter 2:Overall description of the machine
2.1 Features of the machine
2.2 Function of the machine
2.3 Product proper for this machine
2.5 Marking location and content description
2.6 Specification of the machine
Chapter 3:Function description of the pushbuttons on
the panel
Chapter 4:Instructions of operation, maintenance and
troubleshooting
4.1 Operation sequence
4.2 Maintenance
4.3 Troubleshooting
Chapter 5:Related environment and accessories of the
machine
5.1 Accessory
5.2 Airborne noise level
5.3 Storage condition
5.4 Operation environment

2
Chapter 1 Safety precautions
1.1 Precautions of transportation, installation and packing
1.1.1 Preparations before installation
1.1.1.1 Power requirement:
Voltage: Look at the nameplate
Current: Look at the nameplate
Frequency: 50/60Hz
Phase: 3Ø
1.1.1.2 Installation requirement
1.1.1.2.1 Prevent to install the machine in the environment full of dust and corrosive
atmosphere with acid and alkali.
1.1.1.2.2 Prevent to install the machine in the environment with abnormal vibration.
1.1.1.2.3 Prevent to install the machine under direct sunlight or near vapor. Such will
affect its vacuum degree.
1.1.1.2.4 The ground circuit should be independently or parallel.
1.1.1.2.5 Don’t install the machine in the potentially explosive atmosphere.
1.1.1.2.6 Installation space includes the requirement of the operator and machine
Length × Width × Height = 4m×2m×2.5m

3

4
1.1.2 Preparations during transportation
1.1.2.1 The weight of this machine is 350-450kg, so that the loading capacity of any
handling device is recommended to be more than 1000kg. If you are not sure of the
safe loading capacity, please contact the manufacturer of such handling device. If
the situation is clearly understood, don’t try to handle the machine by yourselves.
1.1.2.2 Either by lifting or by handling, it’s necessary to check the balance carefully in
advance.
1.1.2.3 The work of lifting or by handling should be carried out by means of qualified
operator.
1.1.2.4 During machine handling, any people or car is not allowed to approach the
surrounding of the machine.
1.1.2.5 During handling, notice that whether there is any person or barrier on the handling
path and the surrounding of the machine. If it is, clear it before machine handling.
1.1.3 Precautions during packing
1.1.3.1 Packing material: Wood case.
1.1.3.2 Packing sequence: Put the wood base on the ground. Then, put the machine on it.
Next, pack the machine with plastic film and put vibration-absorbing board around
the machine. Then, assemble the wood case. At last, Use nails to fix the wood base
and case.
1.2 Precautions before and after machine starting
1.2.1 Precautions before machine starting
1.2.1.1 Before using this machine, read and realize the contents of this manual in detail.
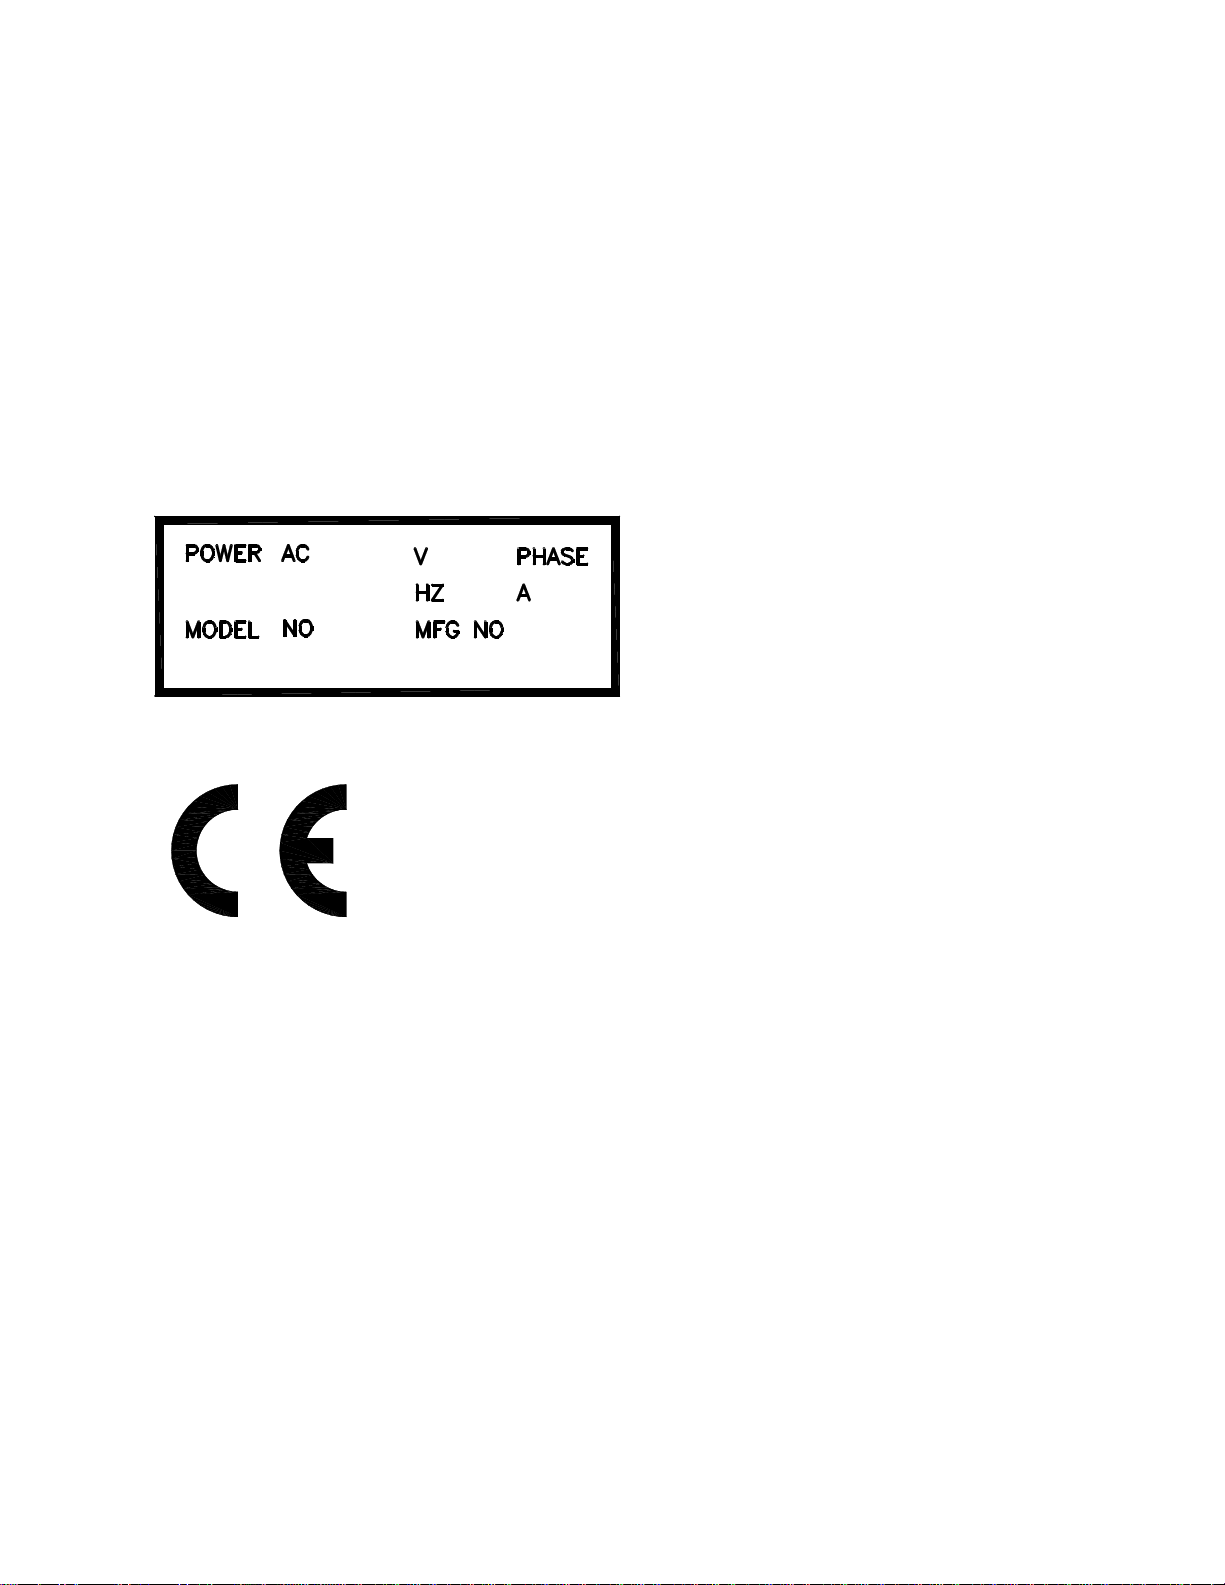
1.2.1.2 Check that whether the voltage is correct.
1.2.1.3 Confirm that whether the electric power and its rating is sufficient.

5
1.2.1.4 Check that whether all the safety related devices are normal, and notice that whether
anyone within the danger zone.
1.2.1.5 Visual check that whether all mechanical and electric parts are normal, and also
notice that whether the surrounding environment is clean.
1.2.1.6 Sequences of power on:
1.2.1.6.1 Turn on the factory power.
1.2.1.6.2 Turn on the main switch of the machine.
1.2.1.6.3 Connect the air to the machine by quick connector.
1.2.2 Precautions after machine starting
1.2.2.1 Confirm that whether the display is correct.
1.2.2.2 Confirm that whether the sound coming from pump running is normal (refer to
clause 3.12.3).
1.2.2.3 Confirm that whether the pneumatic pressure is sufficient. Normal pressure is 5 bars.
1.2.2.4 Wear safety shoes, protection clothes and mask to ensure safety and hygiene of the
operator.

6
Chapter 2:Overall description of the machine
2.1 Features of the machine
2.1.1 The machine main body is made of stainless steel with features of well endurance.
Also, it’s flat packing table design make easy loading/unloading and cleaning without
space limit.
2.1.2 The machine is provide with two vacuum chambers for one operator. Such design will
increase the packaging speed.
2.1.3 The machine adopts high vacuum pump (imported from Europe) micro-computerized
auto control system with water-resistance design.
2.1.4 The machine is fitted with 10 sets of friendly memory function with independent
display.
2.1.5 Equip with moving wheels (with brake device) for easy movement without limit of
environment.
2.1.6 It is adequate for any processing factory or laboratory.
2.1.7 It is adequate for mass production factories.
2.2 Function of the machine
2.2.1 Keep food fresh, original taste, anti-septic
2.2.2 Extend the preservation limit.
2.2.3 Prevent humidity and stain on electronic and ironmongery components.
2.2.4 It is proper for contents of solid, powder or liquid.

7
2.3 Product proper for this machine
2.3.1 Meat, seafood, agriculture products, dehydrated food, herbs, vegetarian food, pickles
and spices.
2.3.2 Electronic components, ironmongery components, medical equipment, clothes, powder
and flavoring
2.5 Marking location and content description
2.5.1 Nameplate: stuck on the right/upper side of the machine
2.5.2、CE marking: stuck on the right/upper side of the machine。
2.5.2 Warning sign: stuck on the rear side of the machine

8
2.6 Specification of the machine
Type XtraVac860A
Machine dimension 2050 x 1020 x 1050 mm
Vacuum chamber
dimension
1005 x 840 x 200 mm x 2
Sealing line dimension 860 mm x 4
Optional accessory Nitrogen filling function
Machine weight 350 kg
Motor 4.86 kW
Heater 2.4 kW
Available bag length
Chapter 3:Function description of the pushbuttons on the
panel
720mm

9
A Memory set display (10 sets)
B Vacuum time display
C Nitrogen filling time display
D Sealing time display
E Cooling time display
F Memory release key
G Memory input key
H Reserved key
I E-stop key
J Time increase key
K Time decrease key
3.1 Memory set display(A): display the current memory set (e.g. ”3” means the 3rd set)
3.2 Vacuum time display(B): display the current setting of vacuum time (unit: 1/s)

10
3.3 Nitrogen filling time display(C): display the current setting of nitrogen filling time
(unit: 1/s)
3.4 Sealing time display(D): display the current setting of sealing time (unit: 0.1/s)
3.5 Cooling time display(E): display the current setting of cooling time (unit: 0.1/s)
3.6 Memory release key(F): press key for modifying memory function
3.7 Memory input key(G): press key for locking memory function
3.8 Reserved key(H): key reserved for further use.
3.9 E-stop key(I): make timing function stop, and release the upper lid.
3.10 Time increase key(J): press key for time adding
3.11 Time decrease key(K): press key for time reducing
3.12 Sequence of trial run:
3.12.1 Connect the power.
3.12.2 Connect the pneumatic source by quick connector.(C-25)
3.12.3 If the running condition sounds smoothly, it’s clockwise rotating. If there is abnormal
noise coming out, it’s counterclockwise rotating, and please turn off the machine
immediately. Then, change the power wires.
※Attention: remember to ground the machine.
3.12.4 Packaging test:
(A) Test the sealing temperature and adjust the sealing time in accordance with Chapter 3
page 10(D).
(B) Test the vacuum degree and adjust the vacuum time in accordance with Chapter 3 page
10(B).
3.12.5 If everything is OK, operate the machine according to the instructions in Chapter 4 for
normal production.

11
Chapter 4 Instructions of operation, maintenance and
troubleshooting
4.1 Operation sequence:
4.1.1 Press power switch, then the indicator of the display screen is lit.
4.1.2 Press “memory release” key, then the display screen starts flashing.
4.1.3 Press “↑” or “↓” to input set number and time.
4.1.4, Then, press “Memory input” key to set program. After that, start packaging process.
4.1.5 If you want to start packaging process after setting, press start button to proceed it. Then,
the upper lid will automatically open and swing to another side. If it’s necessary to stop
or change program memory function during vacuum or sealing process, press E-stop
key (L) to achieve it. Only press the upper lid will re-start the normal process.
※Attention: keep hands away from the packaging area.
4.1.6 single/auto mode switch: If you want to use single packaging mode, turn the single/auto
mode switch (G-6) to single mode. Then, press start button for single packaging process.
If you want to use auto packaging mode, turn the single/auto mode switch to auto mode.
Then, press start button for auto process. If you want to stop packaging, press “stop
button” to stop it.
※Attention: keep hands away from the packaging area during auto mode.

12
4.1.7 Usage of the adjusting valve and FRL
4.1.7.1 Adjusting valve(C10):
1. Connect the air inlet.
2. Pull up the adjusting knob to adjust the required pressure (rotate clockwise to
increase the pressure, and counterclockwise to reduce the pressure). Then, push
it down.
4.1.7.2 FRL(C6):
1. Connect the air inlet.
2. Pull up the adjusting knob to adjust the required pressure (rotate clockwise to
increase the pressure, and counterclockwise to reduce the pressure). Then, push
it down. If the lubricant(5#) level is lower than “MIN” mark after a period of
time, fill the lubricant to “MAX” level.

13
Part list
Adjusting valve FRL
No. Description(C10) No. Description(C6)
1 Air inlet 1 Air inlet
2 Pressure gauge 2 Pressure gauge
3 Adjusting knob 3 Adjusting knob
4 Air outlet 4 Oil cup
5 Oil adjusting knob
6 Oil filling hole
4.2 Maintenance:
4.2.1 Cleaning of vacuum chamber
4.2.1.1 If the working process is finished, use clean and wet cloth to wipe the vacuum
chamber and sealing set.
4.2.2 Vacuum oil replacement.
4.2.2.1 Recommended vacuum oil: BP Engergol RC100, Esso Nuto H100, Mobil Rarus 427.
4.2.2.2 Drain the oil completely before filling new oil.
4.2.2.3 Oil capacity should be kept at least two-thirds of total amount.
4.2.3 If the heat-resistance cloth on the heater is damaged, please replace it immediately.
4.2.4 Change the oil of the vacuum pump for every 300 hours. If the packaged product is full
of juice, shorten the oil replacing cycle time. Also check the oil level from oil sight
glass every week. Oil capacity should be kept at least two-thirds of total amount. If the
oil is dirty, please replace it immediately.

14
4.2.5 The disposal of discarded material should be in accordance with the local environmental
regulations.
4.2.6 Detail drawing of the oil pump
1. Air release hole
2. Oil filling hole
3. Oil sight glass
4. Oil draining hole
Troubleshooting
Situation Reason Measure
Sealing line is not
complete
Heat-resistance cloth is
damaged
Replace it
Poor sealing on bag mouth Heating wire is burned Replace it
Insufficient vacuum Vacuum oil is not enough
Oil quality becomes worse
Rubber gasket is damaged
Fill it
Replace it
Replace it

15
Chapter 5:Related environment and accessories of the
machine
5.1 Accessory:
5.1.1 Standard accessory:
5.1.1.1 Heat-resistance cloth: 1 piece
5.1.1.2 Heating wire: 4 pieces
5.1.2 Optional accessory
5.1.2.1 Nitrogen filling function
5.1.2.2 Nitrogen container: 6000 liters.
5.1.2.3 High pressure hose: inner diameter 7.5 mm
5.1.2.4 Solenoid valve for nitrogen filling: 7 mm
5.2 Airborne noise level: 81 dB(A)
5.3 Storage condition:
5.3.1 Temperature: 0-45ºC
5.3.2 Humidity: 20-95 %RH
5.4 Operation environment
5.4.1 Temperature: 0-45ºC
5.4.2 Humidity: 20-95 %RH
5.4.3 Attitude: 0-1000 m sea level.
5.4.4 Space requirement:
5.4.4.1 It’s necessary to provide enough space for heat emission, handling and maintenance.
5.4.4.2 The machine should be installed in separation of others. Do not too close.

17

18

19
XtraVac860A - A
Spare Parts List
NO.
Descr
iption
Component No.
NO.
Description
Component No
.
01
Swing bar
002
-
03
-
04
-
005
02
Inner Hex. Screw
004
-
04
-
01
-
004
25
Bearing. ball and socket
009
-
12
-
03
-
001
03
Flat washer
004
-
06
-
01
-
003
26
Hex. screw
004
-
04
-
01
-
004
04
Hex. cap nut
004
-
05
-
03
-
003
27
Crank
005
-
03
-
02
-
001
05
Axle screw
004
-
17
-
01
-
005
28
Spring washer
004
-
06
-
02
-
002
06
Key
004
-
10
-
01
-
004
29
Hex. Screw
004
-
05
-
02
-
002
07
Axle bush
003
-
04
-
01
-
007
30
Key
004
-
10
-
01
-
004
08
Hex. Screw
004
-
04
-
01
-
004
31
Axle screw
004
-
17
-
01
-
005
09
Crank
005
-
03
-
02
-
001
32
Hex. cap nut
004
-
05
-
03
-
003
10
Spring washer
004
-
06
-
02
-
002
33
Flat washer
004
-
06
-
01
-
003
11
Hex. Nut
004
-
05
-
02
-
002
34
Inner Hex. screw
004
-
04
-
01
-
004
12
Axle bush
003
-
04
-
01
-
007
35
Swing bar
002
-
03
-
04
-
003
36
Hex.
screw
004
-
04
-
01
-
009
13
Bearing. ball
and socket
009
-
12
-
03
-
001
37
PE washer
003
-
04
-
01
-
010
14
Hex. Nut
004
-
05
-
02
-
003
37
-1
PE washer
003
-
04
-
01
-
008
15
Spring washer
004
-
06
-
02
-
003
38
Spring washer
004
-
06
-
02
-
002
16
Hex. Nut
004
-
05
-
02
-
003
39
Flat washer
004
-
06
-
01
-
003
17
Bearing
009
-
12
-
02
-
005
18
Hex. nut
004
-
05
-
02
-
002
19
Cylinder
007
-
01
-
05
-
001
20
Hex. Nut
004
-
05
-
02
-
002
21
Bearing
009
-
12
-
02
-
005
22
Hex. Nut
004
-
05
-
02
-
003
23
Spring washer
004
-
06
-
02
-
003
24
Hex. Nut
004
-
05
-
02
-
003

20
Table of contents
Other XtraVac Packaging Equipment manuals
Popular Packaging Equipment manuals by other brands

Fervi
Fervi 0635/25 User and maintenance manual

Get Packed
Get Packed EXP-108W Operation manual

Plas-Ties
Plas-Ties XL2 operating manual

Fromm
Fromm A383.0003 Operation manual & spare parts list

Atlanta Attachment Company
Atlanta Attachment Company 1390BX Technical Manual & Parts Lists

Interpack
Interpack TWA 1000-M Operation manual