Yaesu FT-65 User manual

Yaesu FT-65 User Manual pradiofun.com
October 30, 2021
This is a dual band (VHF & UHF) Amateur Radio with an FM radio built in
with an FCC ID K66 20665X20 granted on 2/13/17 under part 15B.
Receiver Ranges are: 65 –108 MHz FM Broadcast
136 –174 MHz VHF
400 –480 MHz UHF
Antenna connection
The antennas for this radio need to be SMA female. I suggest the Nagoya NA-702.
Special Note
The 0 SET button: SET has no function or purpose on this radio. This is confusing for
users of other Yaesu radios like the FT-60 where F/W & SET opens the menu.
VFO / CH mode
Press the *V/M button. This switches between VFO and Memory.
Switch bands
In VFO mode, press the #BAND button.
Pressing the #BAND button in memory mode switched to offset tunning. It is also a
way to see the frequency of the channel you are on. Press #BAND again to exit.
FM & WX & Flashlight
FM Broadcast In VFO mode, press the #BAND button to cycle to FM
Weather Press and hold the 1 button to turn on or off
Use the arrow buttons to cycle through the WX channels
Weather Alert Press and hold the FUNCTION key (bottom key with 2 lines)
Move to menu item 38 using the arrow buttons
Press the FUNCTION key
Use the arrow buttons to choose On or Off
Press the FUNCTION key
Press the PTT key to exit the menu system
Flashlight Press the orange button next to the volume knob to turn it On or Off

Yaesu FT-65 User Manual 2
Accessing the menu system
NOTE: Yaesu calls the menu system “Set Mode.”
The menu item list is in alphabetical order.
Press and hold the FUNCTION key (bottom key with 2 lines)
Move to menu item you want in the list by using the arrow buttons
Press the FUNCTION key
Use the arrow buttons to make your choice
Press the FUNCTION key to return to the menu item list
Press the PTT key to exit the menu system
Roger beep
This radio does not have this feature
Lock keys
Press and hold the number 6 button to lock or unlock the buttons
A lock icon will appear on the screen
Menu item 15 KEY LOCK allows you to change what gets locked out.
The front panel keypad, the PTT, or both.
Tuning
Tune to a frequency in the VFO (variable frequency oscillator) mode.
Cycle through the bands by pressing the #BAND button. VHF →UHF →FM
Directly input the frequency using the numbered keypad.
Adjust the frequency using the up and down arrows.
Menu item 30 STEP allows you to change the tuning steps.
Adjust the MHz step if it jumps away from the exact frequency you need.
This radio does not receive Air-Band so it does not need a 8.33kHz frequency step.
It does have 5 / 6.25 / 10 / 12.5 / 15 / 20 / 25 / 50 / 100 kHz and AUTO settings.

Yaesu FT-65 User Manual 3
Repeater Shift + - ARS
FUNCTION KEY (bottom key with 2 lines) for navigating multi-selection menus.
•Press and hold the FUNCTION key
oEnters the menu list
oBacks out of the numbered menu item
•Press the FUNCTION key
oSelects an item in the menu list
oGoes into or out of the menu sub selection
Menu item 24 REPEATER allows you to change all repeater settings on one screen.
ARS : ON, OFF automatic repeater shift
MODE : SIMPLEX, +REP, -REP This is for manual setting of shifts
Mode is ignored if ARS is ON
SHIFT : Set the MHz shift for a repeater. It is a different number depending on
the band you are in.
VHF 0.600M
UHF 5.00M
Squelch Codes
The FT-65 does allow “split tones” to be set from one menu screen on the radio.
FUNCTION KEY (bottom key with 2 lines) for navigating multi-selection menus.
•Press and hold the FUNCTION key
oEnters the menu list
oBacks out of the numbered menu item
•Press the FUNCTION key
oSelects an item in the menu list
oGoes into or out of the menu sub selection
Bold is most common
8 CTCSS 11 DCS CODE 29 SQL TYPE
CTCSS TONE DCS CODE OFF
TX : 100.0Hz TX : OFF R-TONE
RX : 100.0Hz RX : OFF T-TONE no RX tone used
TSQL Both TX &RX used
The settings in menu items 8 and 11 are REV TN
activated by the setting in menu item 29. DCS Use the DCS codes
FUNCTION then P3 accesses menu item 29 SQL TYPE. PAGER

Yaesu FT-65 User Manual 4
Memory
There are 200 memory location.
10 memory banks that can be filled with any of the 200 memory channels.
In VFO mode, select the frequency and settings.
Press and hold the *V/M button
Use the up and down arrow buttons to go to the channel number you want to save
to.
TAG: Use the letter buttons to input the characters.
Press the FUNCTION key to move the cursor to the next character position.
Press and hold the *V/M button to store the frequency and settings
Saving memory name “Tag”
One nice feature of the FT-65 is that the process of saving to memory includes
naming it. (see above)
If you want to change the name, go to the memory channel, then use menu item 20
NAME TAG and follow the TAG process above.
Recall a memory
There are two ways to recall a channel when in Memory mode
1) Use up and down arrow buttons
2) Type in the memory channel number

Yaesu FT-65 User Manual 5
Memory Banks
The 10 memory banks that can be filled with any of the 200 memory channels.
Use (recall) Banks
Exit Banks
Add Memory
to Bank
Remove Memory
from Bank
In Memory mode
In Bank mode
In Memory mode
select the channel
Recall (go to) Bank
Press & Hold
#BAND
Press & Hold
#BAND
Press & Hold
#BAND
Select the channel
to remove
Select
BANK 1 thru 10
Select
NO BANK
Select
BANK 1 thru 10
Press & Hold
#BAND
Press *V/M
Press *V/M
Press & Hold
FUNCTION key
Press & Hold
FUNCTION key
Press PTT
Move Memory Frequency and settings to the VFO
This radio does not have this feature
Scan
Press and hold the up or down arrow button.
Press an up or down arrow button to stop scanning.
Menu item 25 RESUME sets how the scan resumes after stopping on a frequency.
This radio does not have a CTCSS/DCS scanning feature
Skip a memory on scan
NOTE: A skipped memory channel will have a M-in-an-arrow-box icon
Press and hold the FUNCTION key (bottom key with 2 lines)
Move to menu item 28 SKIP by using the arrow buttons
Press the FUNCTION key
Use the arrow buttons to move to the memory channel you want to skip
Press the FUNCTION key to cycle between skip and scan (skip is the highlighting)
Press and hold the FUNCTION key to return to the menu item list
Press the PTT key to exit the menu system

Yaesu FT-65 User Manual 6
Output power
NOTES: Power levels are 0.5, 2.5 and 5 Watts
Low and Medium power display their letter in the lower left of the screen
Two ways to change power levels (This can be done in VFO & Memory mode)
1) Menu item 32 “TX PWR”
2) Press the FUNCTION key then press the P2 button, press FUNCTION key to exit
Battery voltage
The bars in the battery icon are accurate.
Two ways to check the actual battery voltage
1) Watch the screen when you turn on the radio
2) Menu item 10 DC VOLT
The battery is labeled 7.4 Volts DC
It charges up to about 8.3 Volts and is empty at about 6.9 volts
Function buttons P1, P2, etc.
The FT-65 has four programmable buttons. The preassigned functions are accessed by
pressing FUNCTION and then the P button.
Keystrokes
Function called
FUNCTION then P1
Go to HOME channel
How to change the home channel:
In VFO, press the #BAND button (VHF, UHF, FM)
and select the desired frequency.
Press the P1 button. HOME-IN will appear.
FUNCTION then P2
TX PWR setting
FUNCTION then P3
SQL TYPE setting
FUNCTION then P4
REV (reverses the repeater input and outputs)
What happens when the P buttons are pressed can be user programmed.
1. Go to a frequency, Memory channel, Menu item or FM station.
2. Then press and hold the P button you want to program.
Recall the setting by pressing the P button.
Battery options
SBR-25LI 1,950 mAh Lithium Ion
SBR-26LI 2,500 mAh Lithium Ion

Yaesu FT-65 User Manual 7
MARS CAP modification to unlock, open TX
This is a software reset on the radio. It does not delete the memories or settings.
With the radio Off. Press and hold the PTT and MONI key (middle key with 1 lines)
Turn on the radio and release the keys
Type 62406665
The radio will restart with extended transmit enabled
Repeat the process to disable extended transmit
Extras
This is a “user” radio that is specialized for Amateur radio operators of all skill levels.
By “user” radio, I mean that its type of operation can be limited so you can put the
radio in anyone’s hands and they can’t mess anything up.
RESET / USER LIMITS / CLONING
With the radio Off. Press and hold the PTT and MONI key (middle key with 1 lines)
Turn on the radio and release the keys
Purpose
Display
Description
Reset
F1: SET RESET
Reset the set (menu) settings to factory defaults.
Reset
F2: MEM RESET
Clear the memory settings to factory default.
Reset
F3: BANK RESET
Clear the memory bank assignments.
Reset
F4: ALL RESET
Clear all memory and other settings to factory default.
User
F5: MEM-ONLY
Operation on Memory mode only. Using at an event?
User
F6: VHF-ONLY
Operation on the VHF band only. Antenna restrictions?
User
F7: UHF-ONLY
Operation on the UHF band only. Antenna restrictions?
User
F8: DUAL DISP
See Dual Display
on next page
Display both VFO-A and VFO-B on the same screen.
Two-line display in Memory mode.
Or Split band VFO use. RX on one band and TX on another
Cloning
F9: CLONE
Enters clone mode.
For User settings, do the process again to turn it off.
Cons
Has a non-standard speaker/microphone jack. The Yaesu part numbers that work are:
Speaker/Mic SSM-17B and Earpiece/Mic SSM-512B

Yaesu FT-65 User Manual 8
FT-65 Dual Display – the undocumented feature
Turn dual display function on and off
FT-65R/FT-65E Operating Manual, page 24 Steps 1 –5
FT-65R/FT-65E Advance Manual page 7 Steps 1 –4
•With the radio turned off
•Hold the PTT and Monitor (single line) buttons (these are the top two buttons on the side)
•Turn the radio on
•Release the side buttons
•Move in the menu to F8:DUAL DISP
•Press the Function (two lines) button
•The screen will flash and enter the new mode
VFO Split Mode or Dual Display
Once in the F8:DUAL DISP dual display mode you have two VFO functions to choose from.
1) Split Mode Set menu item 34 VFO.SPL to ON
•Split mode is for working repeaters with odd splits or communicating with astronauts on orbiting
space vehicles.
oThe top line is the receive frequency.
oThe bottom line is the transmit frequency.
•The split mode is well described in FT-65R/FT-65E Advance Manual, page 7, Steps 1 –14.
2) Dual Display Set menu item 34 VFO.SPL to OFF default
•This is the setting that most people are expecting to see when they think of a dual display radio.
•The dual display mode VFO screen is shown in FT-65R/FT-65E Operating Manual, page 13.
•No other documentation is in the manuals for the non-split dual display operation.
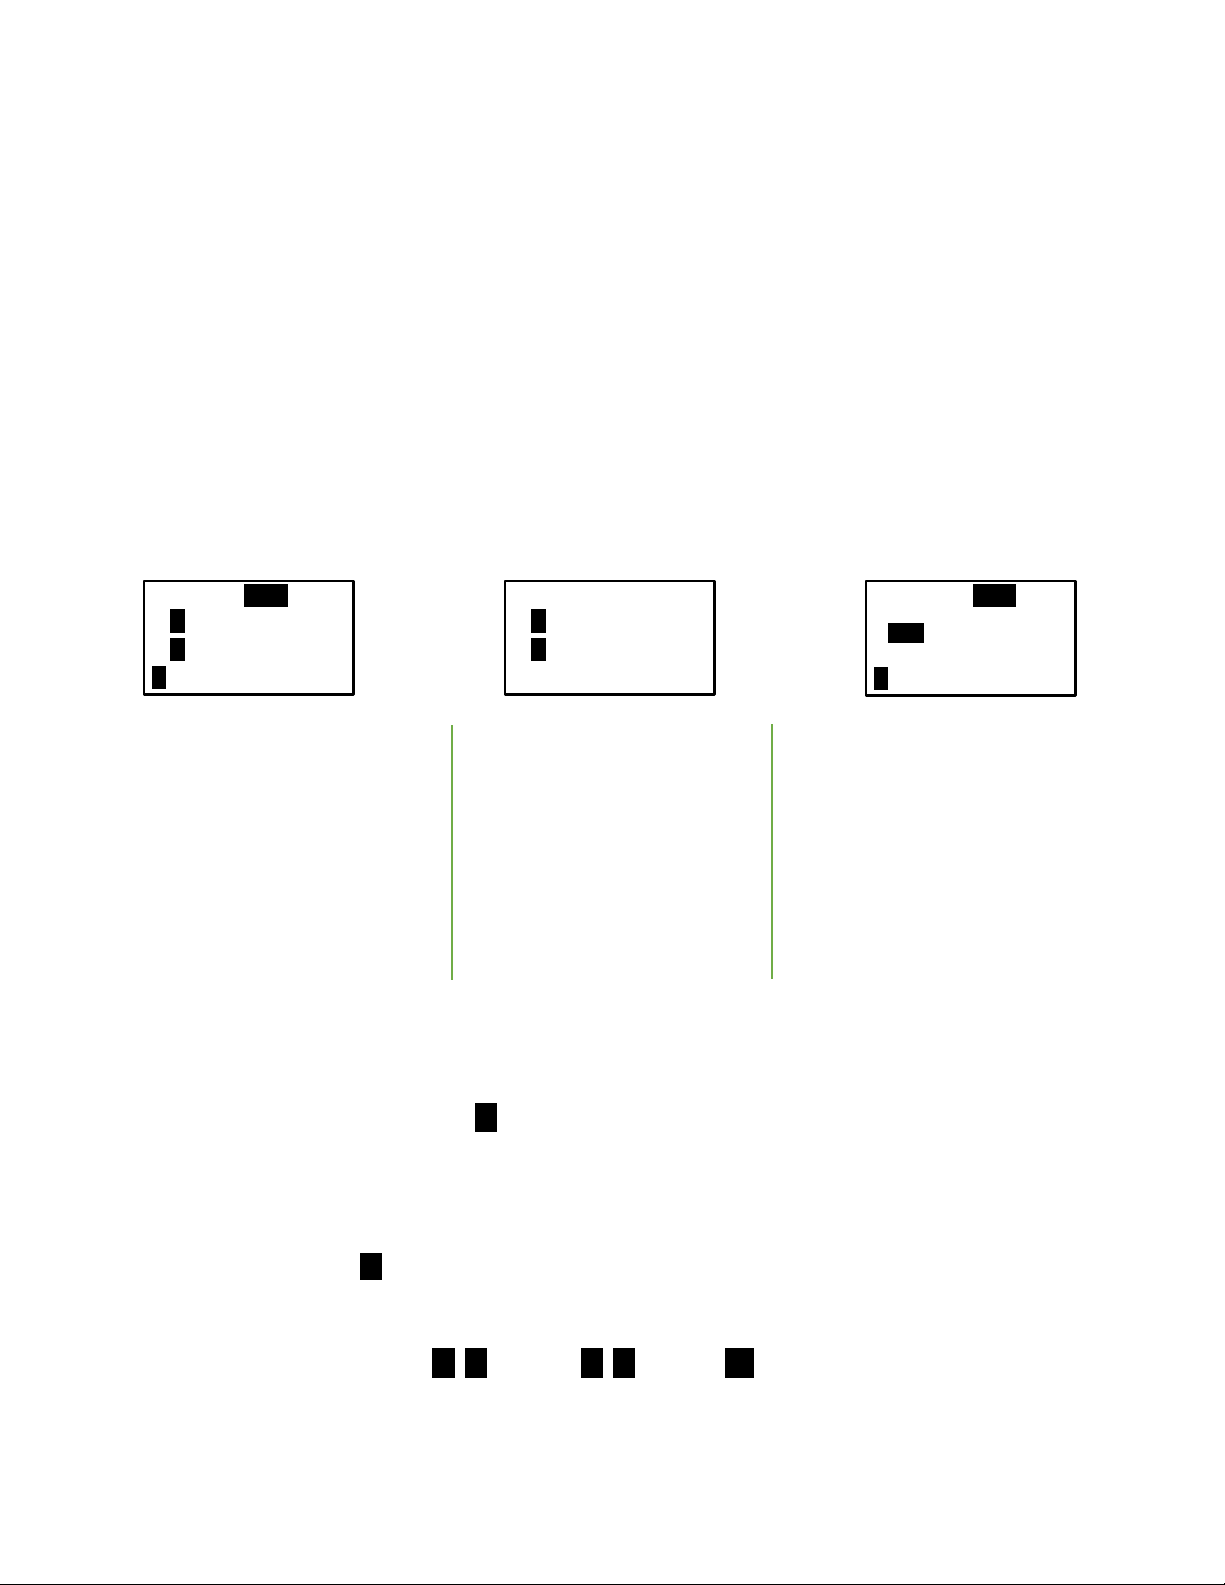
•Dual Display has three screens
oA VFO as the main channel with B underneath. Transmits on A .
oB VFO as the main channel with A underneath. Transmits on B .
oDual display for a memory channel.
▪Memory name (tag) on top
▪Memory frequency on the underneath
How to change 34 VFO.SPL
•Menu item 34 VFO.SPL can only be chosen if you are in F8:DUAL DISP dual display mode.
•Press and hold the Function (two lines) button
•Use the arrow keys to find menu item 34 VFO.SPL
•Press the Function (two lines) button
•Use the arrow keys to select ->VSP.ON or ->VSP.OFF (default is OFF)
•Press the PTT button or press and hold the Function (two lines) button to accept and exit
↓Undocumented ↓
↓In the Manual ↓

Yaesu FT-65 User Manual 9
Press
FT-65 Dual Display – the undocumented feature
How Dual Display Works 34 VFO.SPL to OFF
Overview
* Transmit happens on the main band (top frequency display).
* The settings in the display are for the main band.
* Receive happens on both A & B, but only one at a time unless the FM radio is being listened to.
* FM broadcast radio can only be received on B band.
The Three Screens
VFO VFO Memory
Press *V/M Press *V/M
Ais the main band Bis the main band You are in memory mode
Medium power 2.5W High power 5W Low power 0.5W
144.010 –repeater shift UHF simplex Local repeater with + offset
With Digital Coded Squelch No squelch tone is set Tone Squelch (TX & RX)
The alpha name and frequency
are shown for memory 081
#BAND button #BAND button #BAND button
VHF -> UHF -> VHF VHF -> UHF -> FM -> VHF memory offset tuning (page 33)
Listening to FM broadcast stations
FT-65R/FT-65E Operating Manual page 22
•Press the *V/M button until B is on top
•Press the BAND# button to cycle to the FM broadcast
•Type in the station frequency or
•Search for a station by holding down an arrow key
i. Press the arrow key when found (the decimal point will stop blinking)
ii. B will flash when a station is heard
Quick Reference
*V/M A B B A M ↩
#BAND UHF FM VHF ↩
Dual/single display: 1 )Hold the PTT and Monitor (single line) buttons while turning the radio on
2) Move in the menu to F8:DUAL DISP 3) Press the Function (two lines) button
- DCS
A145.290
B430.000
M
A145.290
B430.000
+ TSQ
L
081
MM
LOCAL-R1
147.300
Table of contents
Other Yaesu Radio manuals

Yaesu
Yaesu FT-530 Manual

Yaesu
Yaesu FT-23R MKII Manual

Yaesu
Yaesu FT1DE User manual

Yaesu
Yaesu FTC-2003 User manual

Yaesu
Yaesu FRG-9600 User manual

Yaesu
Yaesu FT-23R MKII Manual

Yaesu
Yaesu FR-101 User manual

Yaesu
Yaesu VX-150 Operating instructions

Yaesu
Yaesu FT-911 User manual

Yaesu
Yaesu FTM-400XDR User manual