FTM-350 SERIES APRS®MANUAL 7
PREPARATIONS
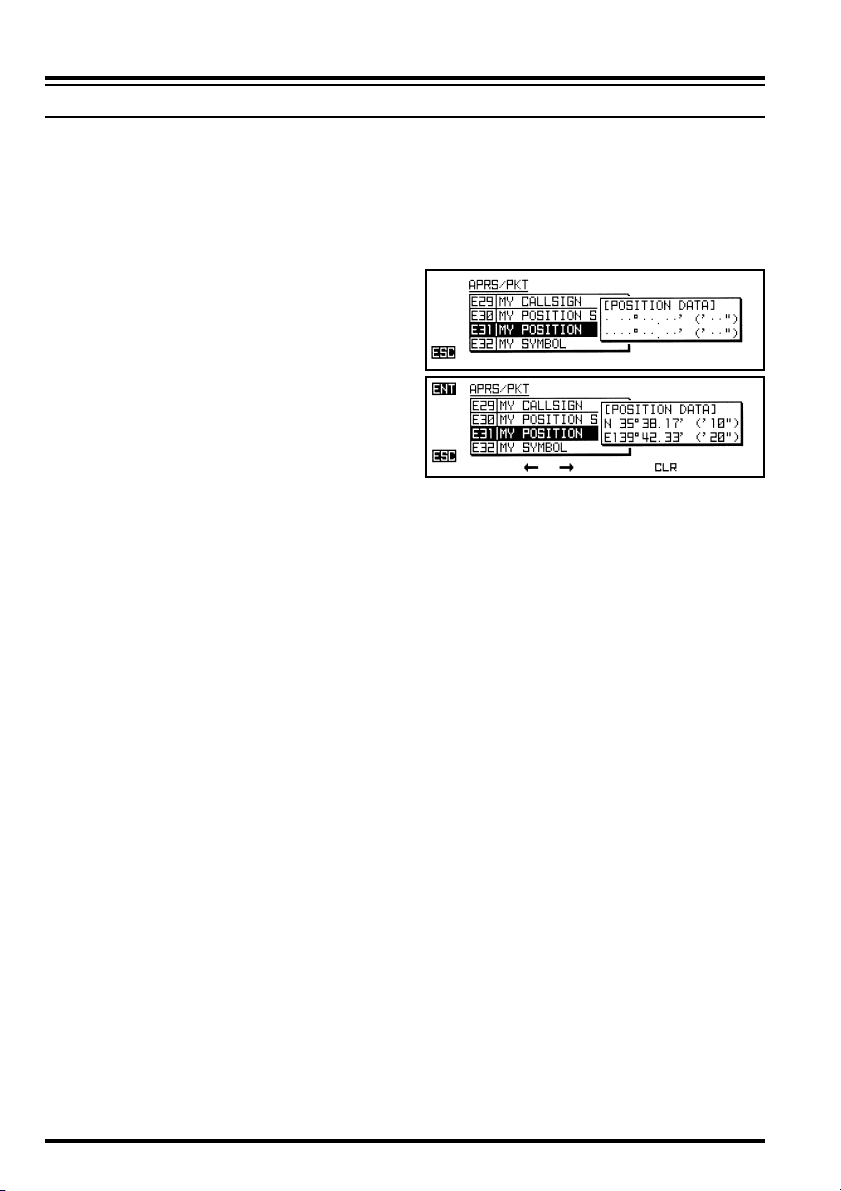
CALLSIGN SETTING
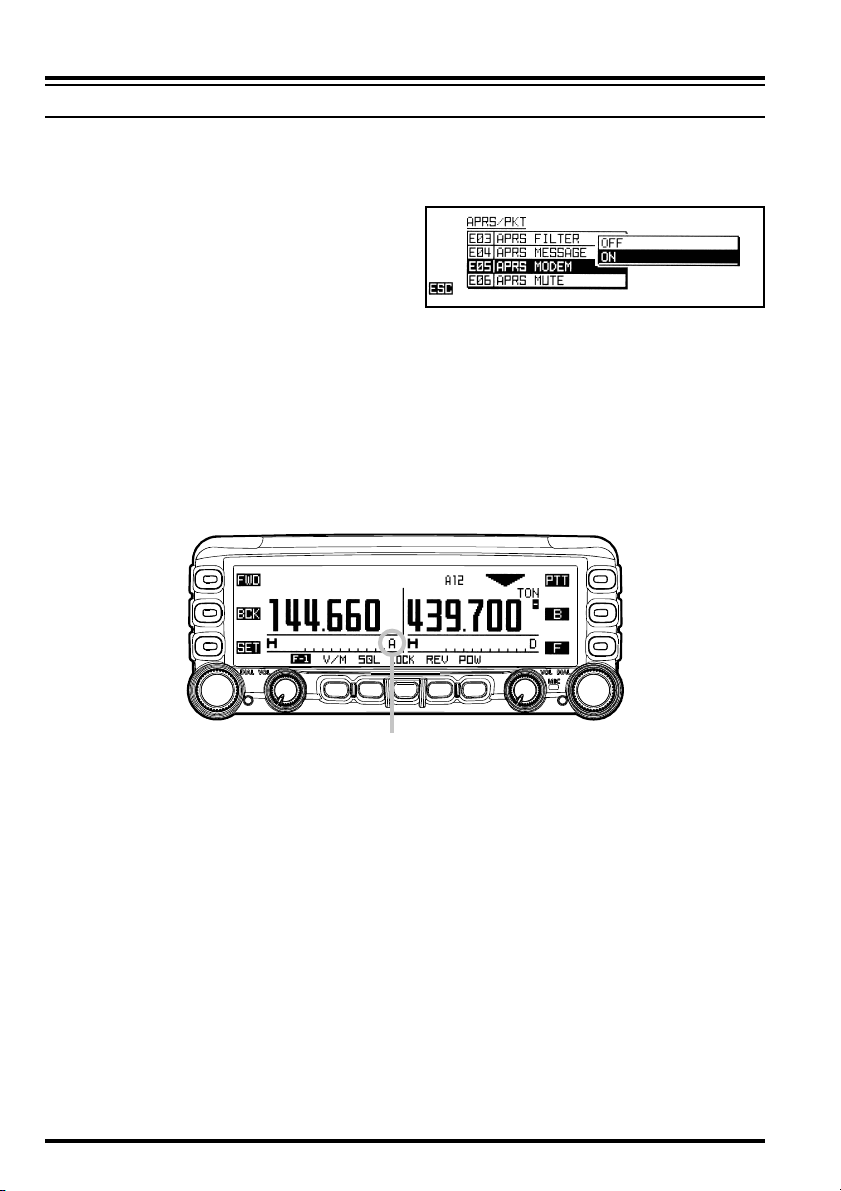
1. Press the [SET]key to enter the Set Mode.
2. Rotate the left side [DIAL]knob to select “APRS/PKT” group, then press the left side
[DIAL]knob.
3. Rotate the left side [DIAL]knob to select
Set Mode item “E29 MY CALLSIGN”.
4. Press the left side [DIAL]knob twice, then
enter your callsign by using the left side
[DIAL]knob to select the number/character.
Use the []/ []key to move the cursor.
5. When you have completed entering your
callsign, press the []key to move to the
SSID slot.
6. Rotate the left side [DIAL]knob to select the SSID, then press the []key to save the
new setting.
7. Press the [ESC]key to exit from Set Mode item “E29 MY CALLSIGN”, then press
the [ESC]key twice to exit from Set Mode.
ADVICE:
We recommend that you select an SSID of “-9”.
You may also select the number/character of your callsign using the buttons on the
microphone keypad.
You may delete all data after the cursor that may have been previously stored, by press-
ing the [CLR]key. You may undo the erased data by pressing the [ESC]key just after
erasing the data.
Visit http://aprs.org/aprs11/SSIDs.txt to examine the latest SSID list.
As of October, 2010
SSID
Non
-1
-2
-3
-4
-5
-6
-7
-8
-9
-10
-11
-12
-13
-14
-15
SSID LIST
DETAILS
Your primary station is usually fixed and message capable
Generic additional station, digi, mobile, wx, etc
Generic additional station, digi, mobile, wx, etc
Generic additional station, digi, mobile, wx, etc
Generic additional station, digi, mobile, wx, etc
Other network sources (Dstar, Iphones, Blackberry’s etc)
Special activity, Satellite ops, camping or 6 meters, etc
Walkie talkies, HT’s or other human portable, such as VX-8 Series
Boats, sailboats, RV’s or second main mobile
Primary Mobile, such as FTM-350 Series (usually message capable)
Internet, Igates, echolink, winlink, AVRS, APRN, etc
Balloons, aircraft, spacecraft, etc
APRStt, DTMF, RFID, devices, one-way trackers, etc
Weather stations
Truckers or generally full time drivers
Generic additional station, digi, mobile, wx, etc