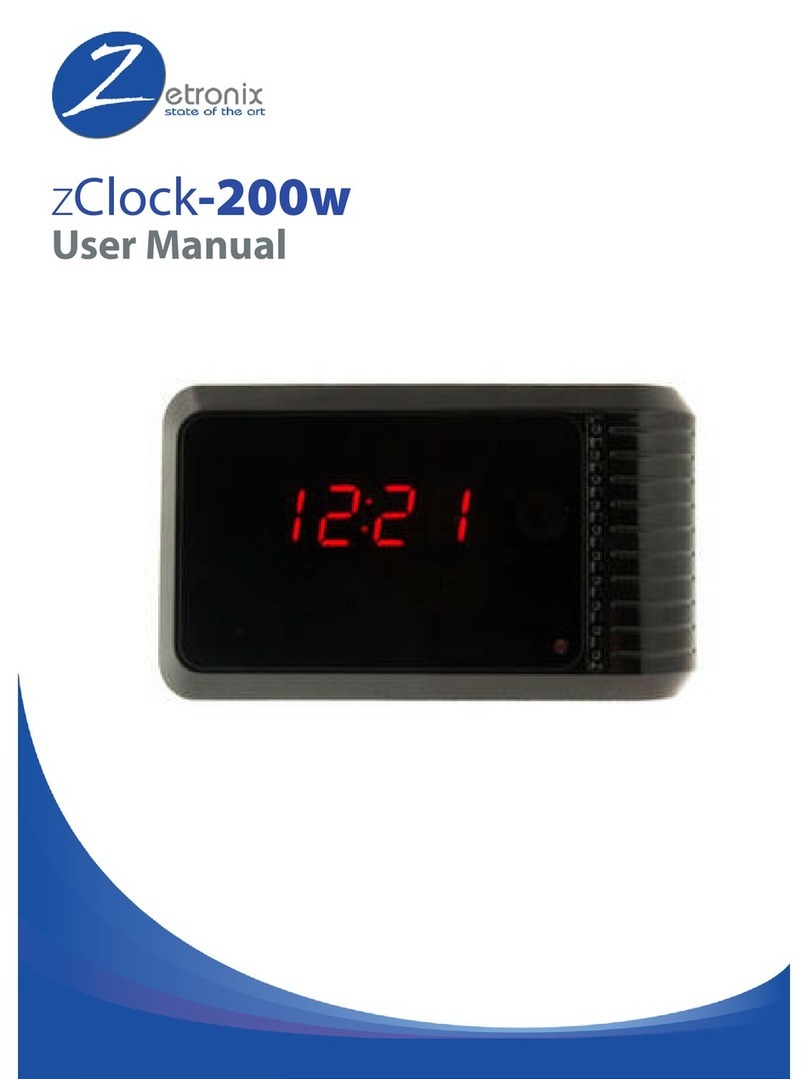
Zetronix zClock-4000W User manual

zClock-4000W
USER MANUAL

IN THE BOX
❻
❺
❹
❶
❷
❸
❹Cleaning cloth
❺AC power adapter/charger
❻This User Manual
❶Camera Unit
❷Micro SD Card Reader
❸USB Cable

DIAGRAM
③ ④
① ②
①Hidden camera USB/Charge Port
②Clock display
③Clock controls
④Night vision IR Emitters

④ ⑤⑥⑦⑧⑨⑩
④USB/Charge Port
⑤MicroSD Card Slot
⑥Camera function ON/OFF Button
⑦Camera ON/OFF indicator light
⑧ Wi-Fi Indicator light
⑨Reset Switch
⑩Charge Indicator Light

QUICK SETUP GUIDE
Download Free App TinyCam from App Store or
GooglePlay.
Scan this QR code with your
phone to download the
TinyCam app.

Power Up
Take off the back cover and pull out the battery insulator,
Press and hold ON/OFF switch for 2 seconds, wait for the
power indicator light to turn on and Wi-Fi indicator to turn
green.
Connect to Camera’s Wi-Fi
Open your smartphone setting, search and connect to the
Wi-Fi wireless signal with the name starting with "HCAM-“
Wait for the Wi-Fi to connect, and the phone’s status
bar to appear showing the Wi-Fi symbol:

Add the Camera in the App
Enter the app and hit the search icon to search for
the camera device.
On the next screen it should list at least one device.
Hit the “Add” text to add it.

You will be asked to change password, the default or
“Old Password” is 888888. Choose and confirm your
new password.
Setup Remote Accesss
From the main screen hit the setting icon on the listed camera,
and then choose WiFi Config on the next menu.

Click on SSID to pick your Local WiFi from the list then
enter you WiFi password.
If you don’t know this information, please check with your
internet service provider.
Open your smartphone setting again, search and re-
connect to your local Wi-Fi wireless. Wait for the WiFi
Symbol to turn blue again:
Restart the app and you should now have remote access
and video stream setup.

GETTING STARTED
APP INTRODUCTION
Recorded Media
Stored in Phone
Add network camera
Search new Camera
Recorded Media
Stored in Micro SD
Alert Messages
Refresh Internet
Weather
Camera Settings
Play live feed

GETTING STARTED
A
Video Recording
Resolution
Alerts notification
Full Screen
2 Way Talk
Take Pictures
Listen
Record Videos

GETTING STARTED
① Reset Password
② Share camera with others
by QR code.
③ Wi-Fi connection
configurations.
④ Alert Motion activation
sensitivity settings.
⑤ Micro SD Card Record
Configurations.
⑥ Change password: Set camera
new password
⑦ Time, Device reset, FTP or
Mail settings
①
②
③
④
⑤
⑥
⑦

GETTING STARTED
LOCAL RECORDING SETUP
Local recording allows for recording media to a MicroSD card
installed in the zClock-4000W.
First, please install a MicroSD card in the card slot ⑤ on the
back of the clock.
Go to settings from the menu camera, and then select
Micro SD Card Config.

GETTING STARTED
Checkmark the Full time recording
to continually record video to the
memory card.
You can also set the video file
segment length under Recording
length.
To record on motion activation only,
checkmark Alarm recording instead.
Anytime motion is detected you will
receive an alert on your phone, a
snapshot will be taken and video will
record for the specified Recording
length time.
The Time-lapse video option records
video in ultra-low frame rate.
You can use the app to review the media recorded to the card, but you
can also connect the memory card to your computer and view it there.
We recommend using the free VLC Media player to play back media in
your computer. http://
www.videolan.org.
Download from

GETTING STARTED
CLOCK FUNCTION
Press to change temperature
display in between Fahrenheit
and Celsius, Press and hold to
shut off display.
Increase/decrease number values
Time and Alarm setup
Press to Snooze, Press and hold to
turn alarm on/off.

GETTING STARTED
Specifications:
Resolution
1 Mega CMOS
Video pixel in phone
Max 1920*1080
Video pixel in card
1080*720
Frame Rate
25FPS
Compressed format
H.264
Viewing angle
120 Degree
Type of memory card
TF card>=Class 4/10 and HC marked
Maximumcapacityofmemorycard
128GB
PC operation system
Windows 7, 8 / Mac OS X
Playback software
VLC Player / SMPlayer
Mobile phone operation system
Android / iOS
Web browser
IE+ ,Chrome, Firefox
Power consumption
300MA/3.7V
Recording storage rate
~
20MB per Minute
Working time in day time
Around 8 hours
Working time in night time
Around 3 hours
Charging time
3-4 hours
Power adapter
5V / 2A

GETTING STARTED
TROUBLESHOOTING
Most issues can be solved by resetting the device and the Wi-Fi:
1. Unplug camera from the AC charger, and disconnect the battery
for 1 minute, then plug it back in.
2. Turn on camera and wait 1 minute, press and hold the reset
switch ⑨ for 10 seconds.
Time display is not stable or always blinking.
Battery may be low, please try charging it.
Unable to get device Wi-Fi signal.
A. Check that the power adaptor is connected.
B. Remove the battery for 30 seconds, plug it back in and
wait 1 minute.
C. Press and hold the reset switch ⑨for 10 seconds,
wait then 1 minute.
D. Turn off the camera by pressing the button on the back ⑥, then
turn it on again;
E. Restart you smartphone’s Wi-Fi for a minute then turn it back
on to search again.
Can’t add or set camera after connected to Wi-Fi.
Please wait for the phone status bar appear Wi-Fi symbol, then to
do follow settings.

GETTING STARTED
The live video screen shows up black and a searching circle spins in
center but nothing ever displays.
If camera’s Wi-Fi speed is slow, please wait 10-30 seconds for live video
appear; Select top right 480p resolution to check for lower stream rate.
Live video jitters or unclear.
The Wi-Fi data rate may not be fast enough for live video stream. Try
changing the resolution to 480p or a different network.
Camera keeps disconnecting from Wi-Fi.
Make sure camera inside the range of good Wi-Fi signal;
Ensure the battery has a good charge or the camera is powered to the
AC charger.
Forgot the camera’s password.
Turn on camera and wait 1 minute, press and hold the reset switch ⑨
for 10 seconds. The password will reset to “888888”. The camera will
restart in about 1 minute.
The App is similar but not exactly the same as in the manual.
The App is frequently updated with better interface and function.

GETTING STARTED
Table of contents
Other Zetronix Clock manuals