manuals.online logo
Brands
  1. Home
  2. •
  3. Brands
  4. •
  5. Zibro
  6. •
  7. Electric Heater
  8. •
  9. Zibro R 24 C User manual

Zibro R 24 C User manual

Other Zibro Electric Heater manuals

Zibro SRE 167 User manual

Zibro

Zibro SRE 167 User manual

Zibro SRE 229 TC User manual

Zibro

Zibro SRE 229 TC User manual

Zibro SRE 155 User manual

Zibro

Zibro SRE 155 User manual

Zibro Kamin RCA-68 User manual

Zibro

Zibro Kamin RCA-68 User manual

Popular Electric Heater manuals by other brands

Heatrex 240 Series owner's manual

Heatrex

Heatrex 240 Series owner's manual

U-Line H-6100 quick start guide

U-Line

U-Line H-6100 quick start guide

EINHELL QHT 1500 operating instructions

EINHELL

EINHELL QHT 1500 operating instructions

CONVECTAIR FOR Installation and user guide

CONVECTAIR

CONVECTAIR FOR Installation and user guide

Kogan KAHTP20BLKA quick start guide

Kogan

Kogan KAHTP20BLKA quick start guide

Black & Decker STANLEY ST-02-230-E manual

Black & Decker

Black & Decker STANLEY ST-02-230-E manual

Heatscope PURE Installation and instruction manual

Heatscope

Heatscope PURE Installation and instruction manual

Heylo DE 2 XL user manual

Heylo

Heylo DE 2 XL user manual

Harvia GL70 Instructions for installation and use

Harvia

Harvia GL70 Instructions for installation and use

Heylo DE 20 SH user manual

Heylo

Heylo DE 20 SH user manual

Harvia PP70SP Instructions for installation and use

Harvia

Harvia PP70SP Instructions for installation and use

Sunbeam Calentador SFH457A instruction manual

Sunbeam

Sunbeam Calentador SFH457A instruction manual

Harvia K10.5GS Instructions for installation and use

Harvia

Harvia K10.5GS Instructions for installation and use

THERMEx Frame E Wi-Fi Series user manual

THERMEx

THERMEx Frame E Wi-Fi Series user manual

Creda Heating Solution brochure

Creda

Creda Heating Solution brochure

SHUFT UniMAX-R 1400VE EC Technical manual

SHUFT

SHUFT UniMAX-R 1400VE EC Technical manual

HUUM CLIFF Series Installation and operation manual

HUUM

HUUM CLIFF Series Installation and operation manual

Harvia HL70S Instructions for installation and use

Harvia

Harvia HL70S Instructions for installation and use

manuals.online logo
manuals.online logoBrands
  • About & Mission
  • Contact us
  • Privacy Policy
  • Terms and Conditions

Copyright 2025 Manuals.Online. All Rights Reserved.

2
14
26
38
50
62
74
86
MANUEL D'UTILISATION
GEBRAUCHSANWEISUNG
BRUGSAN ISNING
INSTRUCCIONES DE USO
OPERATING MANUAL
ISTRUZIONI D’USO
BRUKSAN ISNING
GEBRUIKSAANWIJZING
3
2
6
5
4
>
u
1
R 24 C
Dear Sir, Madam,
Congratulations on your purchase of this heater. You have purchased a quality
product, which will serve you for many years to come. This, of course, provided
you use the heater correctly. Please read these Directions for Use first, to ensure
the maximum lifetime for your heater.
This appliance comes with a 48-month manufacturer’s warranty on all defects in
material or workmanship.
We wish you much warmth and comfort from your heater.
Yours sincerely,
PVG Holding b.v.
Customer Service Department
1 READ THE DIRECTIONS FOR USE FIRST.
2 IN CASE OF ANY DOUBT, CONTACT YOUR DEALER.
3 BEFORE YOU START READING, FOLD OUT THE LAST PAGE.          
4
50
GENERAL DIRECTIONS FOR USE
B low you will find th main st ps to b tak n for
using your h at r. For mor d tails, pl as r f r to
th MANUAL (pag s 53 ff.).
• As a fire precaution, the tank must be filled either
when the heater has been switched off or in
another room than the room where the heater is
installed.
• Always ensure that the tank is closed properly
after filling it at a safe distance from all sources of
heat and open flames (see chapter B).
• The first time the heater is ignited it will smell like
“new” for a short time.
• Store all fuel containers with their original caps
and seals in a cool and dark place.
• Fuel ages. Use new fuel at the start of every
heating season.
• The use of Zibro Extra, Zibro ristal or Zibro Bio as
a heating fuel assures you that you have a good
quality fuel.
• Before changing brands and/or types of fuel make
sure that the mobile heater first completely
empties all of the remaining fuel inside the
heater.
MAIN COM ONENTS
OFF - button
Knurled wick
adjustment knob
Ignition button
Combustion
chamber
Combustion
chamber handle
Fuel indicator
Grill
Lid for removable
tank
Removable tank
Fuel gauge
removable tank
Ignition coil
Battery holder
Air quality control
system













                      
Remove all packaging materials (r f r to S ction A, Fig. A).
Fill the removable tank and wait 30 minutes before you
ignite the heater (r f r to S ction B, Fig. I).
Insert the batteries into the battery holder 
(r f r to S ction A, Fig. G).
Check whether the combustion chamber is fully upright
(r f r to S ction A, Fig. F).
Ignite the heater by turning the knurled wick adjustment
knob  as far to the right as possible and then gently push the
ignition button  (r f r to S ction C, Fig. K and L).
After igniting the heater it will take 10 to 15 minutes before
you can check if the heater burns well (r f r to S ction D).
Switch off the heater (r f r to S ction E).
1
2
3
4
5
6
7
4
51
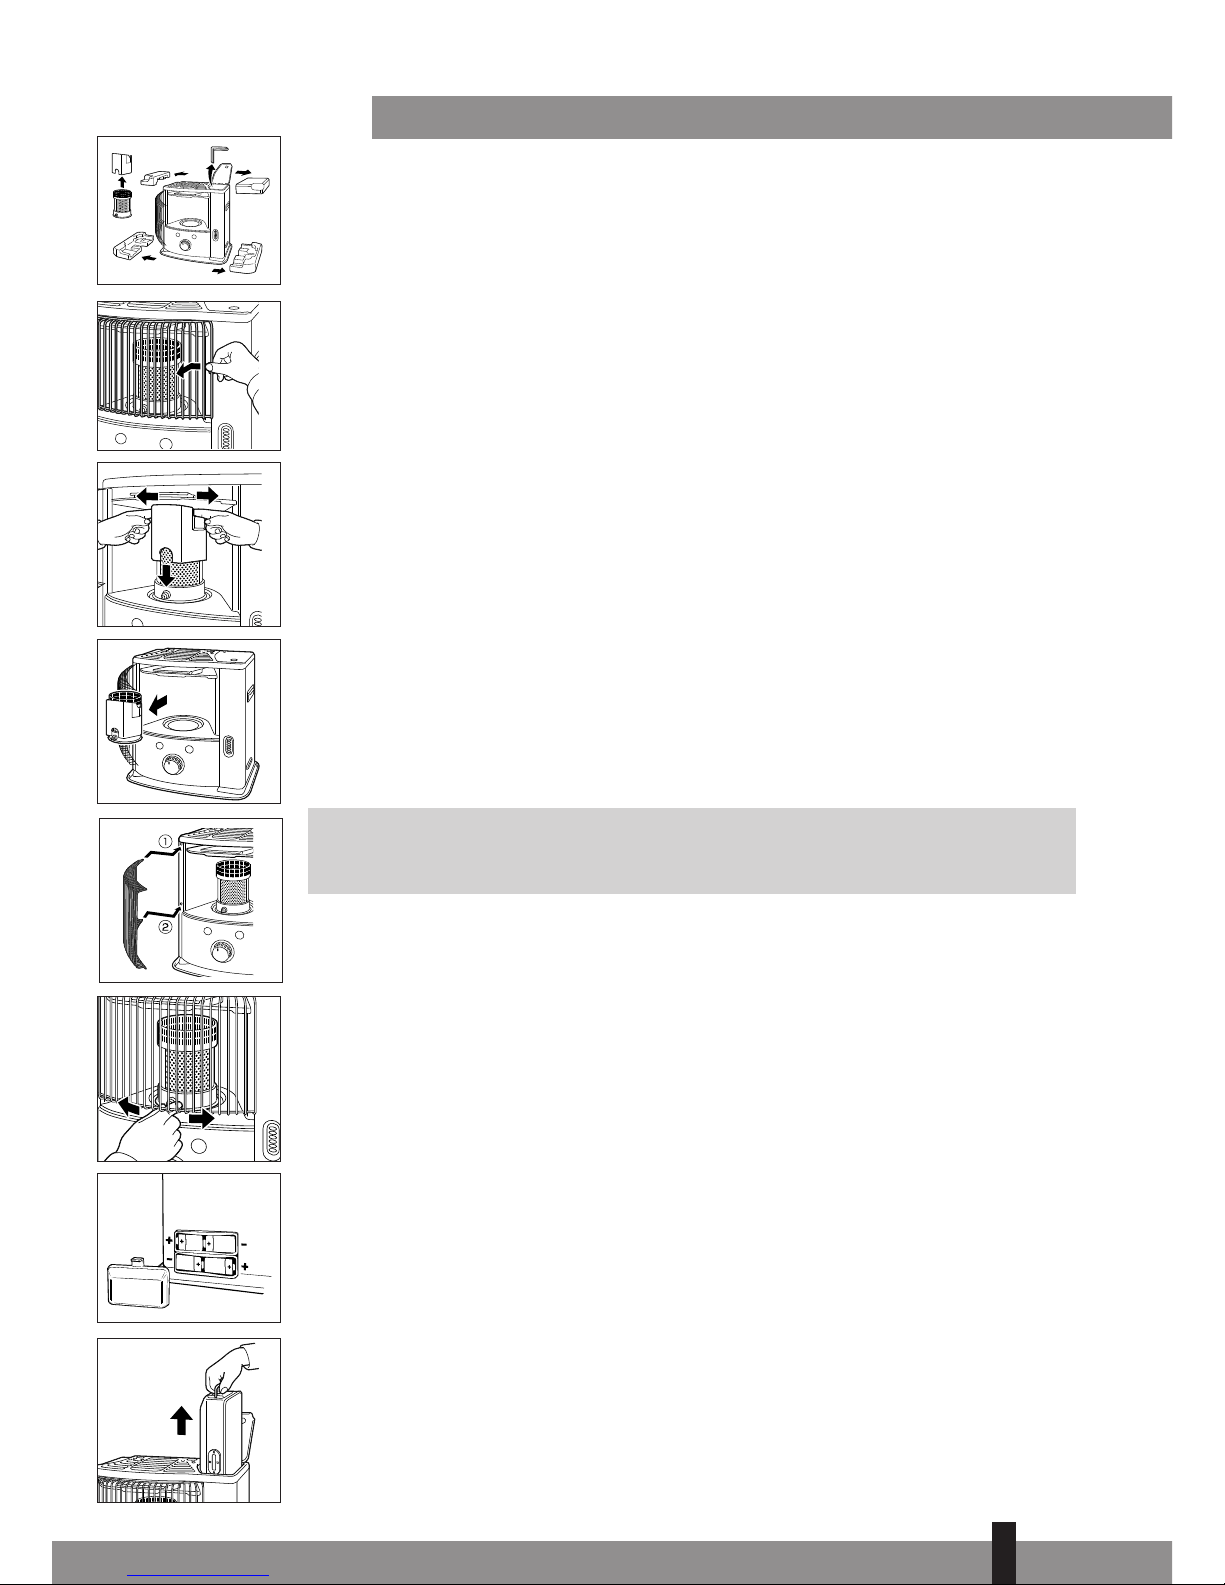
This transportation cap
is pac ed separately in
the box. Only this cap
ensures trouble-free
transportation of the
heater after use.
Store it well!
WHAT YOU NEED TO KNOW IN ADVANCE
VENTILATE SUFFICIENTLY
This heater is equipped with an air quality control system . When there is
insufficient ventilation in the room or when the heater is being used in a room
which is too small, the heater will shut off automatically. For comfortable and safe
heating ensure that there is sufficient ventilation. Note: To avoid unexpected shut
off, we recommend to put a door or window ajar when the heater is operating.
Read this user manual carefully before using the appliance and keep it for future
reference. Install this device only when it complies with local/national legislation,
ordinances and standards. This product is intended to be used as a heater in
residential houses and is only suitable for use in dry locations, in normal household
conditions, indoors in living room, kitchen and garage.
Regardless of the model, you must always make sure that the heater is used in a
room large enough to enable the heater to be used safely without extra
ventilation. If the room is smaller than required, you must always open a door or
window slightly (ensuring an opening of approx. 2.5 cm). It is important that every
room where the heater is used has sufficient air intake and efficient air outflow
(both openings must have a minimum cross section of 50 cm2). No modifications
to the safety system are allowed, as that will invalidate the guarantee that the air
probe will work properly. Consult your dealer in case of doubt.
Avoid any contact with the top plate and grille.
Especially for France: Your heater was designed to operate exclusively on fuel for
liquid fuel-operated mobile heaters in accordance with the Decrees of 08-01-1998
and 18-07-2002. The use of other fuels is forbidden.
Ask your dealer or check our website for the addresses of our retailers.
The liquid fuel-operated mobile heater is intended as an extra heater, and not as a
continuous source of heat.
Especially for United Kingdom: Only use Class C1 paraffin fuel in accordance with
BS2869; Part 2, or equivalent.
The user must comply with the following instructions for proper use:
DO NOT
- use the liquid fuel-operated mobile heater in caravans, boats, and vehicle cabins;
- use the liquid fuel-operated mobile heater in insufficiently ventilated rooms
(consult the table of properties for the minimum dimensions of the room to be
heated), underground rooms and / or at a height of over 1500 metres;
- modify the heater safety features.
The use of this type of heating in public rooms is subject to prior regulatory
permission. Obtain proper information on this in advance.
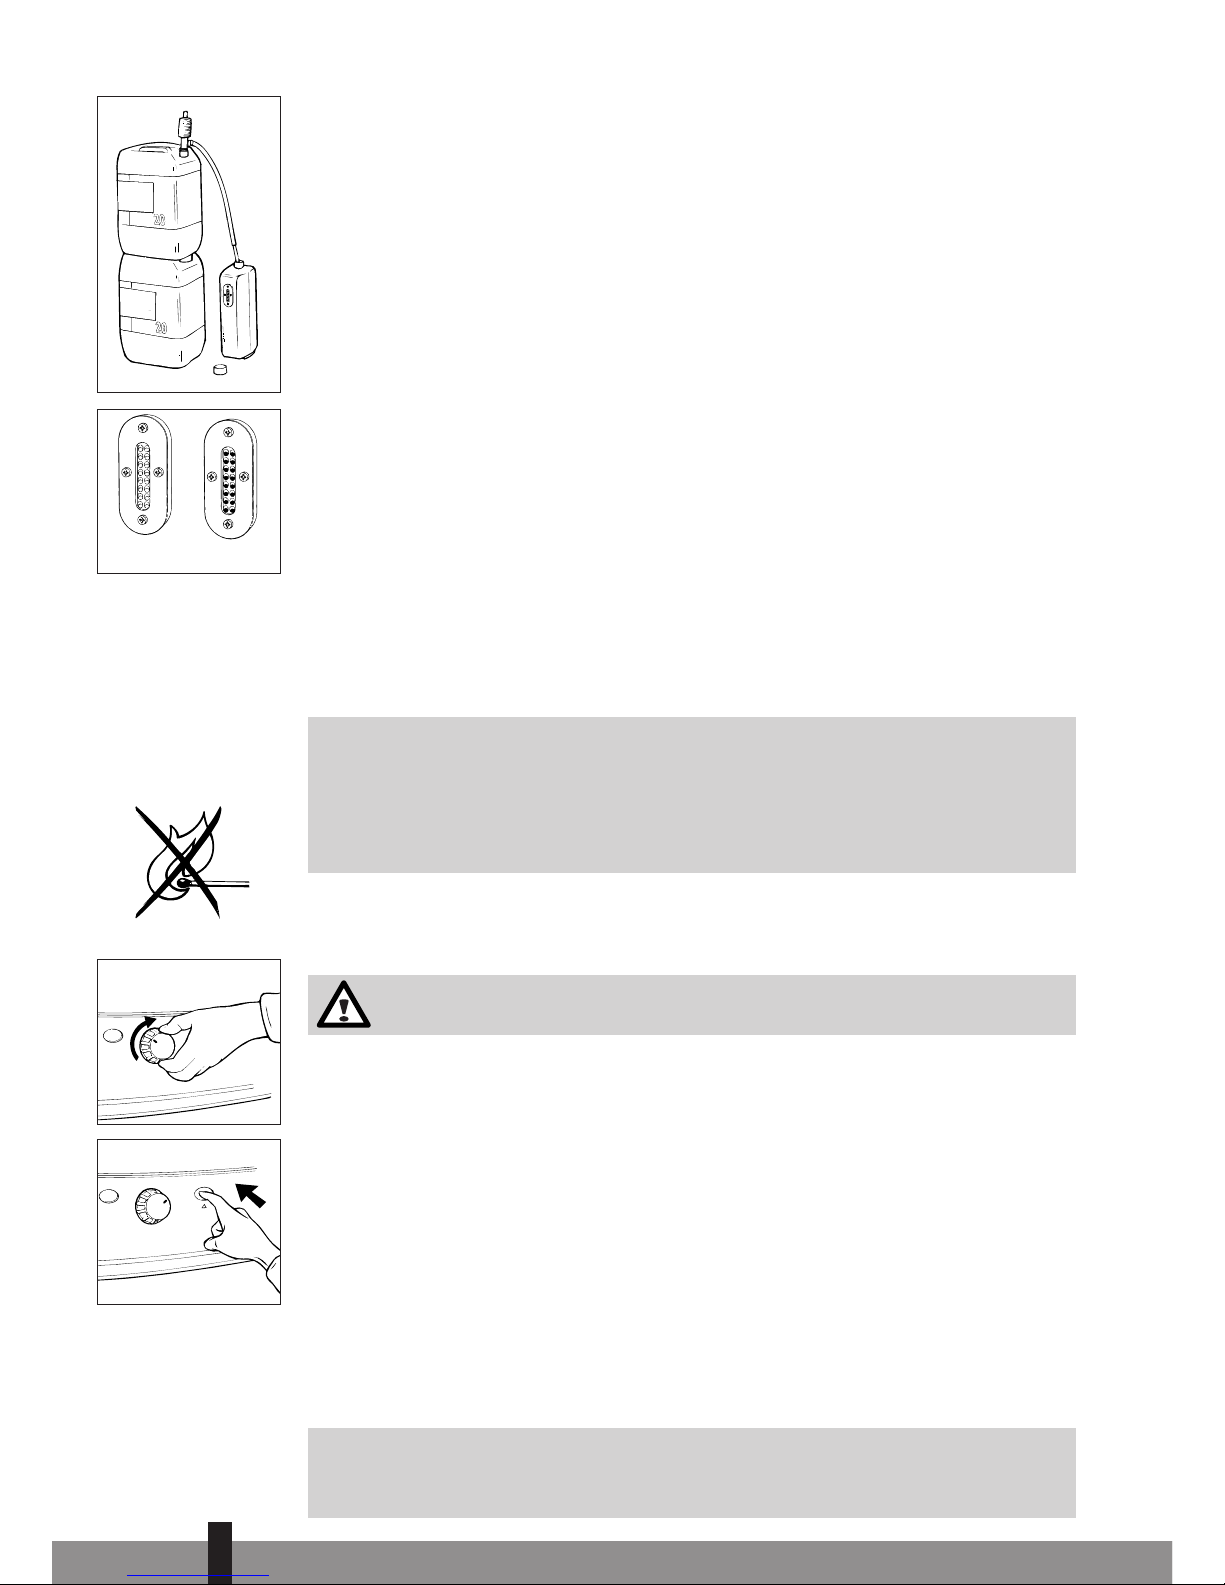
THE RIGHT FUEL
Your heater has been designed for use with high-quality water-free pure paraffin
oil, such as Zibro Extra, Zibro ristal or Zibro Bio. Only fuels of this kind will ensure
clean and proper burning. Lower quality fuel may result in:
increased possibility of malfunctioning
incomplete combustion
reduced heater lifetime
smoke and/or fumes
deposits on the grid or mantle
Using the right fuel is therefore essential for safe, efficient, and comfortable use
of your heater.
Damage and/or malfunctions of the heater due to the use of other than high-
quality water-free pure parafine oil is not covered by the warranty.
Always refer to your local dealer for the right fuel for your heater.
Only the use of the
correct fuel will ensure
safe, efficient, and
comfortable use of your
heater.
4
52
☞
MANUAL
AINSTALLING THE HEATER
Carefully remove your heater from the box and check the contents.
In addition to the heater you also need to have:
a transportation cap
these directions for use
manual fuel pump
eep the box and the packaging materials (Fig. A) for storage and/or
transportation.
Remove the other packaging materials:
Release the right side of the grill from the two slots by pulling the right
side of the grill to the left and then pull it forward (Fig. B).
Pull both ends of the packaging to the rear and at the same time slightly
downwards (see Fig. C).
Remove the combustion chamber from the heater and remove the pack-
aging underneath (see Fig. D).
Put the combustion chamber back into its place. The combustion chamber
is positioned correctly when it can be smoothly moved a little to the left
and to the right by its handle (Fig. F). Close the grill: Slightly lift it to
reposition it in its slot.
Open the lid of the removable tank and remove the piece of cardboard.
If the left side of the grill has been removed, first insert the flattened upper left
end of the grill into the upper left slot and then insert the other flattened end
into the lower left slot (Fig. E).
Fill the removable tank as indicated in S ction B.
Insert the batteries into their holder at the back of the heater (Fig. G).
Ensure that the positive and negative poles match the + and - marks indicated
on the battery housing. It is best to use new alkaline batteries (4x D-size).
The floor should be firm and completely level.
Reposition the heater, when it is
not level. Do not correct the situation by placing books or other goods under the heater.
Your heater is now ready for use.
BFILLING FUEL
Fill the removable tank in a suitable place since there can always be some spillage.
Follow the procedure below:
Make sure that the heater is switched off.
Open the upper lid and lift the removable tank out of the heater (Fig. H).
Note: Some drops may leak from the tank. Put down the removable tank
4
53
     
H
B
C
D
F
G
E
A
☞
(cap pointing upwards, handle on floor (Fig. I) and screw off the fuel cap.
Fill the removable tank using a fuel pump (refer to fuel pump operation
instructions.) Make sure that it is in a higher position than the removable tank
(Fig. I). Insert the ribbed hose into the opening of the removable tank.
Check the removable tank fuel gauge while filling the tank (Fig. J). Stop
filling once the gauge indicates that the tank is full. Never overfill the tank,
especially not when the fuel is very cold (fuel expands when it heats up).
Let the remaining fuel in the pump flow back into the jerrycan and carefully
remove the pump. Carefully screw the fuel cap back on the tank. Clean off
any spilled fuel.
Check whether the fuel cap is straight and tightened properly. Reinstall the
removable tank in the heater (cap down). Close the lid.
CIGNITING THE HEATER
A new heater may give off some smells for a short while, when it is used for the
first time. You should therefore provide extra ventilation or ignite the heater
outside the living room.
When you use the heater for the first time, first put the filled removable tank into
place, and then wait approximately 30 minutes before you ignite the heater. This
allows the glass fibre wick to soak up the fuel. Follow the same procedure when you
have completely burnt up all fuel from the tank, and after the glass fibre wick has
been replaced.
Before igniting the heater, always check the fuel indicator to see whether the
removable tank needs filling up.
Always ignite the heater with the ignition coil . Never use matches or a cigarette
lighter.
Follow the procedure below:
Turn the knurled wick adjustment knob clockwise to its stop (Fig. ). If you
apply more pressure you may turn it slightly further; however, it will automatically
return to the startposition.
Push in the ignition button (Fig. L), but do not apply too much force.
Release the ignition button as soon as a flame is visible in the combustion
chamber .
When you have ignited the heater and it shuts off again shortly after, the batteries
need to be replaced. It is best to use new alkaline batteries (4x D-size).
If the heater has been used only a few times and the wick adjustment knob is not
locked, first turn the wick adjustment knob (Fig. M) completely left, before putting
the wick in the highest position for ignition (Section C).
4
54
J
I
empty full
☞
K
L
☞
After having ignited the heater, always check whether the combustion
chamber is level, by sliding it slightly to the left and the right by its handle 
(Fig. F). This should be a smooth movement. If the combustion chamber is not
level, this will cause smoke and soot to develop.
DBURNING OF THE HEATER
After you have ignited the heater, it will take 10 to 15 minutes before you can check
whether the heater is burning well. A too high flame may cause smoke and soot,
whereas a too low flame causes smells. The page opposite the folding page shows
the minimum and maximum permissible burning heights of the flame (Fig. Q). The
flame can be slightly adjusted with the knurled wick adjustment knob (Fig. M).
Burning that is too low may be caused by:
insufficient fuel (fill the tank)
poor fuel quality (contact your dealer)
insufficient ventilation (put window or door ajar)
wastage of the wick (contact your dealer or replace the wick,
refer to section L)
When there is insufficient ventilation in the room, the heater shuts off automati-
cally. After improving the ventilation of the room (e.g. by opening a door or win-
dow a little more), the heater can be ignited again.
This heater is equipped with a safety mechanism which switches off the heater when
the removable fuel tank is taken out of its compartment. To re-ignite the heater, place
the removable fuel tank back in the heater and follow the instructions as described in
chapter C.
ESWITCHING OFF THE HEATER
Push the OFF-button . The flame will extinguish after a little while (Fig. N).
FMALFUNCTION, CAUSES AND SOLUTIONS
If any malfunctioning cannot be solved from the directions below, please contact
your dealer.
THE HEATER DOES NOT IGNITE
The batteries are not positioned correctly in the holder.
Ch ck (Fig. G).
There is not enough power left in the batteries for the ignition.
R plac (Fig. G).
You have run out of fuel from the tank or the wick has been replaced.
Aft r having r fill d and r plac d th r movabl tank, wait for 30 minut s
b for igniting th h at r.
You are pushing the ignition button with too much force.
Push it in l ss forc fully (S ction C).
The ignition coil  is defective.
Contact your d al r.
4
55
☞
M
N
G
F
IRREGULAR FLAME AND/OR SOOT AND/OR SMELLS
The combustion chamber has not been positioned correctly.
Us th handl to put it l v l, until you can asily slid it slightly to th l ft
and to th right and th chamb r is l v l.
You are using fuel which is past its ‘use by’ date.
Start v ry h ating s ason with fr sh fu l.
You are using the incorrect type of fuel.
Rf r to THE RIGHT FUEL (S S ction ’What you n d to know in advanc ’).
Dust has gathered in the lower part of the heater.
Contact your d al r.
The wick height is not correct.
Contact your d al r.
THE HEATER SLOWLY EXTINGUISHES
The removable tank is empty.
S S ction B.
The lower reservoir is contaminated by moist.
Contact your d al r.
The wick has hardened on the upper side.
Burn th h at r until all fu l is us d (S ction G). Us th right fu l.
You are using fuel which is past its ‘use by’ date.
Start v ry h ating s ason with fr sh fu l.
THE HEATER REMAINS BURNING LOW
Wick position too low.
Contact your d al r.
Before you refilled the tank, the heater had burnt up almost all the fuel.
Aft r having r fill d and r plac d th r movabl tank, wait for 30 minut s
b for igniting th h at r.
You are using the incorrect type of fuel.
R f r to THE RIGHT FUEL (S S ction ’What you n d to know in advanc ’).
The room is insufficiently ventilated.
L av a window or a door wid op n for a whil .
THE HEATER IS BURNING TOO HIGH
You are using an incorrect, too volatile type of fuel.
R f r to THE RIGHT FUEL (S S ction ’What you n d to know in advanc ’).
Wick position too high.
Contact your d al r.
GMAINTENANCE
Your heater needs hardly any maintenance. It is, however, important that you
remove dust and stains in time with a damp cloth, because otherwise these may
cause stains that are hard to remove. Under normal conditions, only three
components are subject to wear:
4
56
1. THE BATTERIES
You may replace the batteries yourself. Do not dispose of old batteries along with
the other domestic waste. Follow the locally applicable regulations regarding the
disposal of domestic chemical waste.
2. THE IGNITION COIL
The ignition coil will have a longer life, if you ignite the heater in the correct
manner. Replace the batteries in time and take care not to push in the ignition
button with too much force. If the filament is broken, the ignition coil must be
replaced.
3. THE WICK
To extend the glass fibre wick life, you must occasionally let the heater burn until
the tank is completely emptied and the heater extinguishes by itself. Do this when
you notice that the flame is weakening. The burn-out will cause some smells, so it
is recommended that you take the heater outside of the living room.
Do not remove any heater components yourself. Always contact your dealer for
repairs.
Let the heater cool down first, before you start any maintenance or service work.
HSTORAGE (END OF THE HEATING SEASON)
We recommend that you burn up all the fuel in the fuel tank at the end of the heating
season and store the heater properly. Follow the procedure on the next page:
Ignite the heater outside the living room and let it burn until all fuel is used.
Let the heater cool down.
Clean the heater with a damp cloth and then dry it with a dry cloth.
Remove the batteries from the holder and store them in a dry place.
Clean the fuel filter (r f r to s ction G).
Store the heater in a dust-free place, if possible in its original packaging.
Unused fuel cannot be used for the next heating season. If there is still some
fuel left, do not throw it away, but dispose of it in accordance with the local
regulations for the disposal of domestic chemical waste. Always start the new
heating season with fresh fuel. When you start re-using the heater, follow the
instructions again (starting from S ction A and as sp cifi d).
4
57
☞
☞
bro en ignition coil
ITRANS ORTATION
Take the following measures to avoid fuel leakage during the transportation of
the heater:
Let the heater cool down.
Remove the removable tank from the heater and remove the fuel filter
(Fig. O). Some drops may leak from the filter; keep a cloth at hand. Store the
fuel filter and the removable tank outside the heater.
Place the transportation cap into the position of the fuel filter (Fig. P).
Press it tight. The transportation cap will, as much as possible, prevent oil
leakage from the heater during transport.
Always move the heater in an upright position.
Make the fixed tank empty with a fuel pump before transportation or in case
of wrong or dirty fuel. First remove the fuel filter and then insert the fuel
pump into the empty fixed tank. Follow the same procedure if the fuel tank
contains water.
JS ECIFICATIONS
Ignition electrical Dimensions (mm) width 422
Fuel paraffin
(including base plate)
depth 281
Capacity (kW)*2.20 height 446
Suitable space (m3)** 35-80
Accessories: transportation cap, manuel fuel pump
Fuel consumption (l/hr)*0.229 Required batteries
4x LR20, MN 1300
Fuel consumption (g/hr)*183 1.5V, size D
Burning time per tank (hr)*
17.5 Wick type F
Capacity removable tank (litres) 4.0
Monitoring of the quality of ventilation (air renewal):
Weight (kg) 7.5
Direct measurement of the CO2level (NDIR CO2sensor ).
* At maximum setting
** Specified values are indicative
KWARRANTY ROVISIONS
Your heater comes with a 48-month warranty starting on the date of purchase.
Within this period all defects in material or workmanship will be repaired without
any charge. The following provisions shall apply regarding this warranty:
We expressly dismiss all other claims for damages, including consequential
damages.
Any repairs or replacements of components within the term of warranty will
not result in an extension of the term of warranty.
The warranty will no longer apply, when the heater has been modified,
non-original parts have been used, or when it is repaired by third parties.
4
58
Transportation cap
P
O