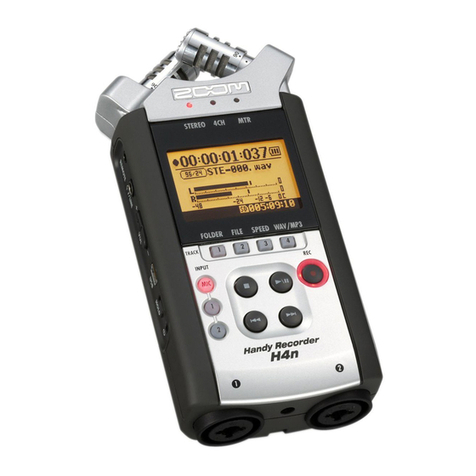
CVTN: Zoom H1 Handy Recorder – Basic Instructions
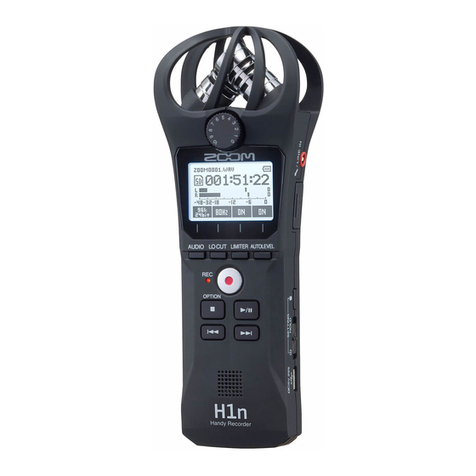
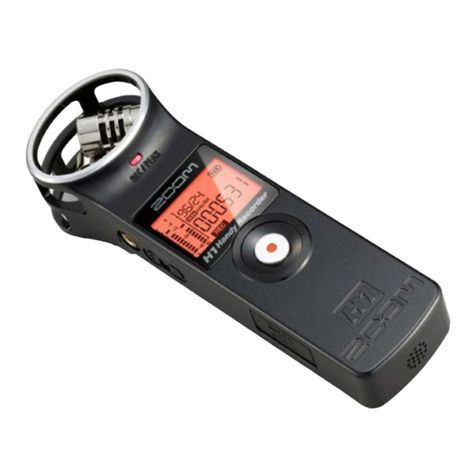
ON/OFF SWITCH: is a slider on the RHS of the Recorder (Fig.4)
To s itch ON: slide it do n and hold until screen says HI and then release
To s itch OFF: slide it do n and hold until screen says BYE and then release
To RECORD: Press the button ith the red spot (the RECORD button) on the front
of the Recorder (Fig.1)
To STOP recording: press it again.
To PLAY BACK: press the button labelled MARK on the RHS (Fig.4)– ill play all the
recorded tracks in order, starting ith the most recent
To STOP play back: press the same button again. Press the RECORD button to
return to the main screen
To DELETE a recording: press the button marked ith a aste bin (just above the
ON/OFF s itch – see Fig.4) during play-back and then press the RECORD button
Main Screen
Sho s a number like 72:54:08 – this is the recording time still available on the chip
in hours: minutes: seconds
Recording-le el: is sho n on the left of the screen – may be adjusted using the +
and – buttons on the RHS of the Recorder labelled INPUT LEVEL (Fig.4), or
preferably you can use AUTO-LEVEL (see belo ). Please note – the recorded level
is quite lo and ill need normalising to match live studio recordings for CVTN.
Also – keep the mics pointed to ards the voices (ie recorder end on to the people)
for best quality. And… use the tripod if possible to avoid handling noise.
Three other Buttons:
On the back of the Recorder (Fig.3) there are 3 other buttons:
LO CUT: s itching it on reduces background noise, e.g. ind noise
AUTO-LEVEL: automatically adjusts recording-level (recommended)
REC FORMAT: can be set to record in WAV or MP3 format – e usually use MP3
Associated Equipment
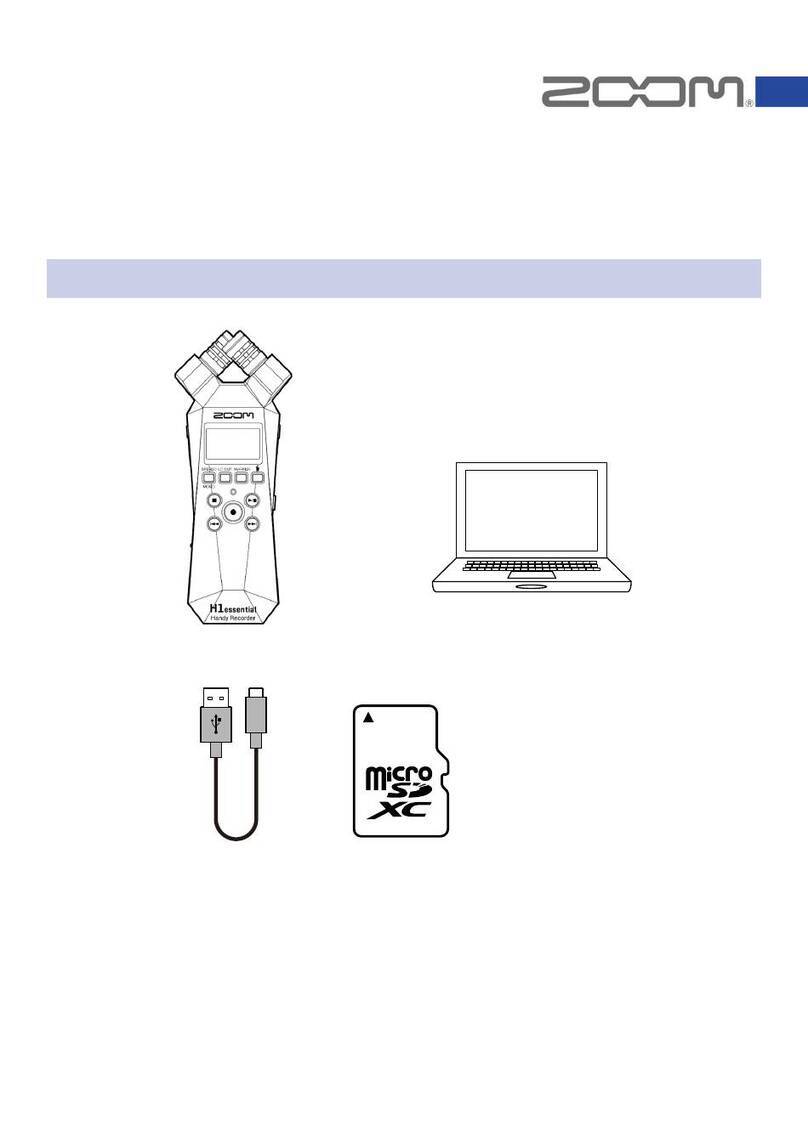
The Recorder contains one AA battery and records onto a micro-SD chip.
We also have a mini-USB to standard USB lead for transferring files to a computer,
and a micro-SD to SD adapter.
Recordings may be transferred to a computer:
-via the lead (recommended) – Recorder should be s itched OFF – press
RECORD button hen CARD is displayed on its screen.
-by removing the micro-SD chip from the Recorder, inserting it into the SD
adapter ( hich looks like a standard SD chip), and inserting the adapter into
the SD slot in a computer (not recommended as removing the micro-chip
from the Recorder) is fiddly).
Issue 05 - Da id Moss – 14 Mar 2019
