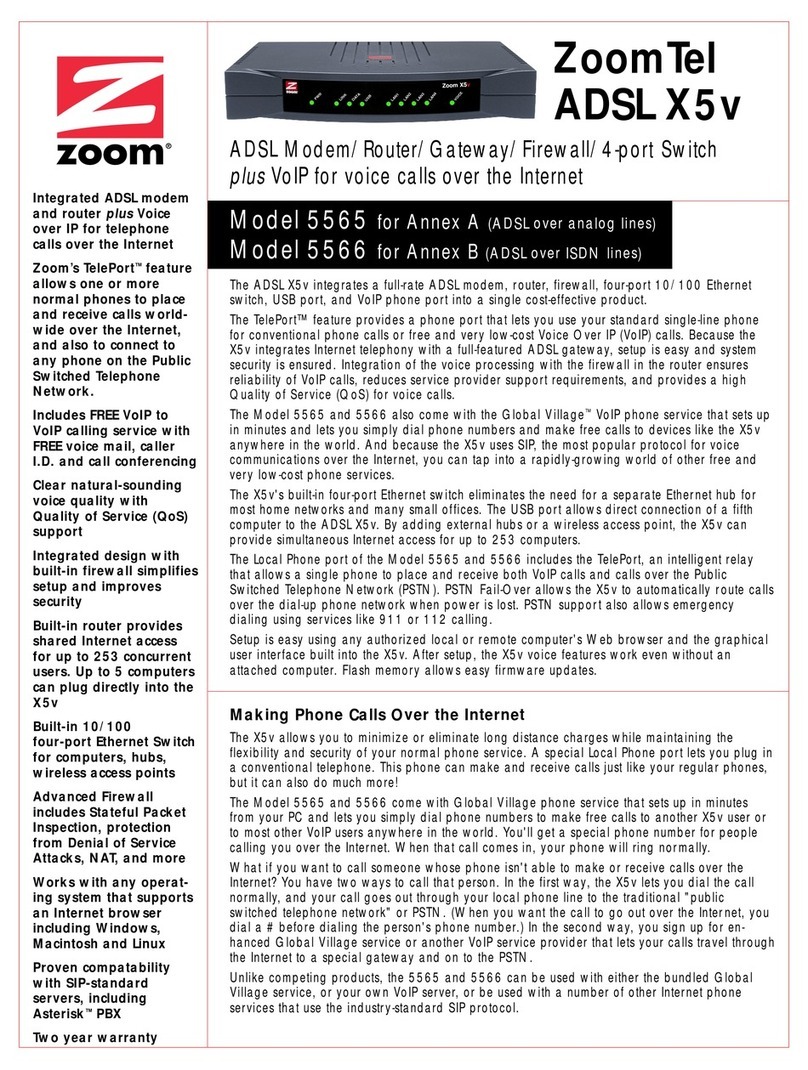
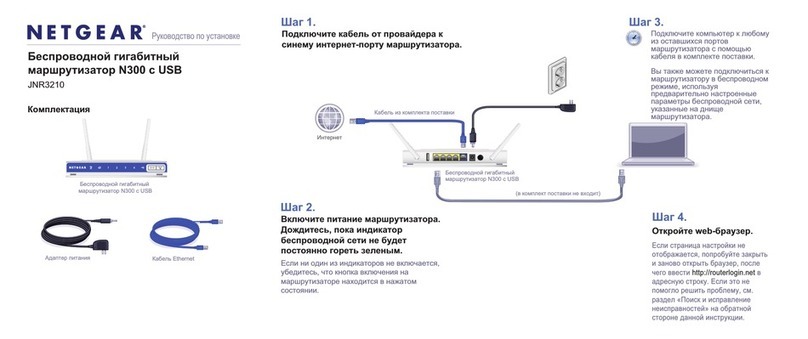
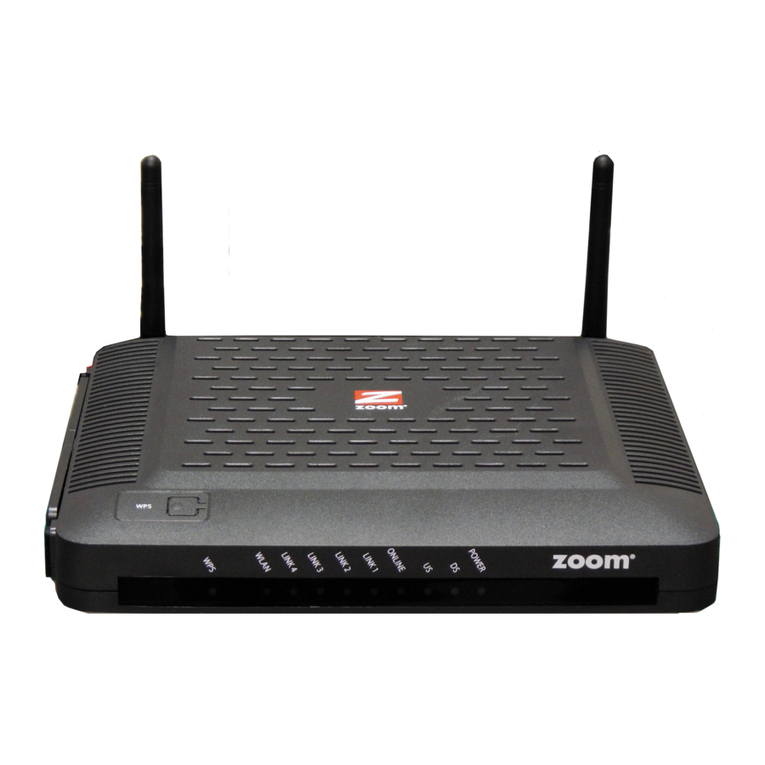
Zoom Realtek Series User manual

GPON HGU | 4GE+WIFI(Dual-Band) + Voice
User Guide
Version:V1.0

Content
1Note ..........................................................................................................................................1
1. 1 Installation Precautions.............................................................................................1
1. 2 Precautions for Use ...................................................................................................1
2Brief ..........................................................................................................................................2
2.1 Product Features........................................................................................................2
2.2 Product Operation Introduction................................................................................3
2.3 Product Specifications...............................................................................................3
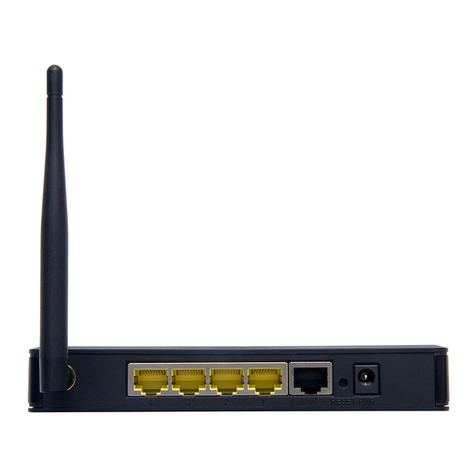
2.4 Device Interface Definition........................................................................................3
2.5 LED Definitions ..........................................................................................................4
2.6 Device Connection ....................................................................................................4
2.7 Applications ................................................................................................................5
3Login Web Management Locally..........................................................................................5
3.1 Physical Connection of ONU and PC .....................................................................5
3.2 PC Access the WEB of ONU ...................................................................................6
4ONU Register Information Config (When adaptive to GPON mode)..............................7
4.1 View ONU Status.......................................................................................................7
4.2 View ONU Optical Power Information.....................................................................8
4.3 LOID Authentication Config......................................................................................8
5ONU Register Information Config(When adaptive to EPON mode)................................9
5.1 View ONU Status.......................................................................................................9
5.2 View ONU Optical Power Information.....................................................................9
5.3 LOID Authentication Config....................................................................................10
6Basic Configuration for Internet..........................................................................................10
6.1 Route Mode Configuration...................................................................................... 11
6.1.1 Configure PPPoE WAN Connection for Internet in Route Mode .............. 11
6.1.2 Configure DHCP WAN Connection for Internet in Route Mode................12
6.1.3 Configure Static IP Address WAN Connection for Internet in Route Mode
14
6.2 Configure Bridge WAN Connection for Internet ..................................................16
6.3 View the WAN Connection Status.........................................................................17
6.4 Delete the WAN Connection ..................................................................................18
7ONU LAN Configuration ......................................................................................................18
7. 1 LAN IP Address Configuration ...............................................................................18
7. 2 View LAN Client.......................................................................................................19
8Multicast/IPTV Configuration ..............................................................................................20
8.1 Multicast/IPTV Service Setting ..............................................................................20
8.2 IGMP Snooping Setting ..........................................................................................20
9WLAN Configuration ............................................................................................................20
9.1 Wireless 2.4G Wi-Fi configuration.........................................................................20
9.1.1 2.4G WLAN Advance Configuration .............................................................20
9.2 Wireless 5G Wi-Fi configuration ............................................................................21
9.2.1 5G WLAN Advance Configuration.............................................................21
10 TR069 Remote Management .....................................................................................22
10.1 Configure Channel for TR069 Remote Management.........................................22
10.2 TR069 Client Configuration....................................................................................22
11 The Configuration for VoIP .....................................................................................................23
11.1 SIP Settings...................................................................................................................23
11.2 Check the VoIP Register Status and VOIP Call History ..........................................24
12 Device Management...............................................................................................................26
12.1 Restore Default Setting ...............................................................................................26
12.2 Firmware Upgrade .......................................................................................................26
12.3 Device Reboot..............................................................................................................27
Concluding Remarks....................................................................................................................28

1
1 Note
1.1 Installation Precautions
Do not place the equipment near flammable or conductive items, high temperatures (such as direct
sunlight) or in wet conditions, or on a PC chassis, and check that the surrounding appliances are stable.
Check the cable for aging. Check and verify that the AC or DC input voltage is within the permissible range
of the device and that the polarity of the DC is correct.
Unless the manufacturer permit, use the type of power indicated on the label and the adapter supplied
with the product.
To prevent damage to the product from lightning, make sure that the ground of the power outlet and the
power adapter is securely grounded. In the thunderstorm, be sure to unplug the power and all the
connections.
Equipment input voltage fluctuation should be less than 10%, the power plug, refrigerators, hair dryer and
iron should not use the same socket.
To avoid electric shock or fire due to overload of the power outlet, damage to the cord or damage to the
plug, check the power cord regularly. If damage is found, replace it immediately.
Please place the device on a flat surface and cannot place items on the device.
Equipment is easy to produce heat when working, should maintain the appropriate cooling space to avoid
damage caused by overheating products. The elongated hole on the shell is designed for heat dissipation.
Keep the ventilation clean and avoid falling from the heat sink into the equipment. Otherwise, the
equipment may be damaged or fire. Do not spill liquid onto the surface of the equipment.
1.2 Precautions for Use
Please read the user manual carefully before using the equipment and follow all the precautions on the
user manual and the product.
Avoid eye looked at the optical interface directly, so as to avoid the laser beam emitted by the interface
damage the eyes. Please try to wear safety glasses to effectively protect your eyes from damage. It is best
to plug in the fiber optic interface jacket when the optical interface is not in use.
Turn off the power when the device is not in use
Before plugging the power supply, make sure that the power switch is turned off to avoid surge. Be careful
when unplugging the power supply and the transformer temperature may be high.
To ensure safety, do not open the enclosure of the device, especially when the device is powered up.
Unplug the power supply before cleaning the equipment. Use a soft dry cloth to clean the equipment to
avoid the use of liquids or sprays.
Do not connect this product to any electronic product unless it is instructed by our customer engineer or
your broadband supplier, as any incorrect connection may cause power or fire hazard.

2
2 Brief
Realtek series GPON ONU is satisfying with Telecom, Radio and Television(IPTV),
and Fiber to the home (FTTH) multi-service access. It’s based on the mature, stable, high-
cost performance EPON/GPON technology and has Gigabit and Fast Ethernet switching
HFC technology, WLAN technology and powerful routing forwarding technology. Realtek
series GPON ONU has a higher bandwidth, higher reliability, easy management, and good
quality of service (QoS) guarantee with technical performance of equipment meet the ITU-
T G. 984 requirements and have good compatibility with third party manufacturers OLT.
Realtek series GPON ONU can integrate wireless function with meet 802.11 n/b/g/ac
technical standards and built-in high gain directional antenna, the wireless transmission
rate up to 867 Mbps. It has the characteristics of strong penetrating power and wide
coverage. It can provide users with more efficient data transmission security.
Note:This document is written in reference to 4GE+WIFI(Dual Band)GPON HGU,
the rest of GPON HGU can be referenced to this document configuration.
2.1 Product Features
Single-fiber access, providing broadband Wi-Fi, Internet service access, and so
on.
Comply with ITU-T G.984 and IEEE802.3ah technical standards
WIFI-type equipment exact match 802.11 n/b/g/ac wireless standard protocol,
support 20Mhz / 40Mhz/80MHZ
Support PPPoE, DHCP, static IP broadband service access
Support NAT, static routing, port forwarding
Support data encryption, VLAN transparent transmission, vlan tag and other
functions
Support up and down bandwidth limit function
Support upgrade through the OLT remote / local ONU WEB
Support broadcast storm suppression
Different data ports are isolated from each other
Support OLT as SNMP-agent way of the unified management of the network
management, easy to install and maintain
Provide a variety of fault alarm function, easy to fault diagnosis
Support DBA technology and priority based on the dual management model to
ensure that the user's minimum specified bandwidth requirements

3
2.2 Product Operation Introduction
The dual-mode ONU is a "combination" of GPON and EPON ONU. Compared with
the single-mode EPON/GPON ONU, the main difference lies in the registration process.
The dual-mode ONU adds a pre-judgment to the current application system (EPON/GPON).
That is, the dual-mode ONU first switches mode, and then starts and completes registration
process in the corresponding mode. When the ONU runs normally in the current system,
its configuration and processing of various messages are basically the same as single-
mode EPON/GPON ONU.
This product mode switch depends on the packet sent by the front-end OLT device to
the ONU. When ONU receives OAM message sent by the EPON OLT, the ONU
automatically switches to the EPON mode after detecting it. In this case, the ONU can be
regarded as the EPON ONU. When the ONU receives OMCI message sent by the GPON
OLT, the ONU automatically switches to the GPON mode after detecting it. In this case, the
ONU can be used as the GPON ONU.
2.3 Product Specifications
Ambient temperature: 0°C~50°C
Relative humidity:10% to 90% (non-condensing)
Power adapter input:12 V/1.5A
TX Optical Power:0.5~5dBm
RX Opitcal Power:-8~-28 dBm (GPON)
-3~-27 dBm (EPON)
2.4 Device Interface Definition

4
2.5 LED Definitions
Indicator Description
1 PWR Power status
On: The ONU is power on
Off: The ONU is Power off
2 WIFI WIFI
Blinking:Data is being transmitted
On:WIFI function Opens
3 LAN1-4 GE port status
On: Ethernet connection is normal
Blinking: Data is being transmitted through the
Ethernet port
Off: Ethernet connection is not set up
4 LOS GPON optical signals
On: Optical power lower than receiver sensitivity;
Off: Optical in normal
5 PON ONU Register
On: Success to register to OLT
Blinking: In process of registering to OLT
Off: Failed to register to OLT;
6 TEL Te lephone
port status
On:The connection between the TEL
port and the voice server has been set up
Blinking:The voice service of the TEL
port is established.
Off:The connection between the TEL
port and the voice server is not set up.
7 USB USB port status
On: USB connection is normal.
Off: USB connection is not set up;
8 INT
Internet status
indicator
On: The routed WAN Internet access
service is normal.
Off: The routed WAN Internet access
service is abnormal.
9 OPT-DIG
Light intensity
indicator
On: higher than ONURX maximum
threshold.
flashing: lower than ONU RX minimum
threshold;
off: ONU RX is within the normal
threshold range.
2.6 Device Connection
-Connect the fiber: Insert the SC fiber connector into the PON connector on the rear
panel of the ONU.
-Connect the Ethernet cable: Connect the RJ-45 Ethernet cable to any LAN port
and each home device.
-Connect the AC adapter: Plug the AC / DC adapter into the AC wall jack and the
ONU 12V DC power jack.

5
2.7 Applications
3 Login Web Management Locally
3.1 Physical Connection of ONU and PC
a) Local NIC of PC connects to LAN port or ETH port of ONU via wires.
b) Set the IP address of PC’s local NIC as 192.168.101.X (X:2-254).
c) Open cmd windows and make sure that PC can ping the management IP
(192.168.101.1) of ONU.

6
3.2 PC Access the WEB of ONU
Make sure you can ping the ONU like #3.1. Open the IE Web browser (IE, Fir
efox, Google), copy and paste URL: http: //192.168.101.1, the following pop-up Prom
pt landin-g page:
Input Username:adminisp Password: adminisp
Click green button. The product basics page appears, as follows:

7
You can start further configuration.
4 ONU Register Information Config (When adaptive
to GPON mode)
4.1 View ONU Status
1. Login ONU WEB, select Status -> Network information -> PON, view the
ONU PON status

8
4.2 View ONU Optical Power Information
1. Login ONU WEB, select Status ->Network information-> PON, view Rx power and
Tx power of ONU:
4.3 LOID Authentication Config
LOID of ONU is mainly applicable of the authentication mode of LOID and LOID +
Password for ONU. By default, ONU registers for the OLT by SN and rarely uses LOID for
register. Normally, we needn’t to configure LOID. But the configuration as follows:
1. Login ONU WEB, select Admin ->PON Setting, view or configure LOID and
password of ONU:

9
5 ONU Register Information Config (When adaptive
to EPON mode)
5.1 View ONU Status
2. Login ONU WEB, select Status ->Network information-> PON, view the ONU
status:
5.2 View ONU Optical Power Information
1. Login ONU WEB, select Status ->Network information-> PON, view Rx power and
Tx power of ONU:

10
5.3 LOID Authentication Config
LOID of ONU is mainly applicable of the authentication mode of LOID and LOID +
Password for ONU. By default, EPON ONU registers for the OLT by MAC and rarely uses
LOID for register. Normally, we needn’t to configure LOID. But the configuration as follows:
1. Login ONU WEB, select Admin -> PON Settings ->EPON Settings, view or
configure LOID and password of ONU:
6 Basic Configuration for Internet
Home Gateway Unit (HGU) ONU supports route function, so that there are route mode
and bridge mode for internet. The difference between route mode and bridge mode as
follows:
Route mode:ONT as a home gateway equipment, ONT IP address can be obtained
in three ways, which includes DHCP, Static IP Address and PPPoE. The IP address of the
device on the user side is obtained through the DHCP address pool of the ONT, or by
manually setting.
Bridge mode:The ONT does not obtain the IP address assigned by the upper device
or cannot manually set the static IP address. It is used as a relay device and does not
process the data. There are three ways to obtain the IP address of the user side device,
namely DHCP, PPPoE, Static IP Address.

11
6.1 Route Mode Configuration
6.1.1 Configure PPPoE WAN Connection for Internet in Route Mode
1. Login ONU WEB, select Network -> WAN->WAN, and then there are some
parameters for us to configure as follows:
【Enable Vlan】We can set this option according to your network plan. If there is
vlan in the network for internet, we have to check ‘Enable VLAN ‘ option. If not, we needn’t
check this option, which will be VLAN transparent mode.
【Vlan ID】Configure this option according to our network plan.
【802.1p_Mark】Set the priority of vlan, The same as "enable Vlan", depending on
the network vlan planning to configure. The default priority is 0.
【Service Type】Choose PPPOE.
【Eable NAPT】Check ‘ NAPT ’ feature;NAPT is mainly used for address translation
function of local network and external network. The default is checked enable status. If you
do not check this option, maybe you can’t surf the internet.
【Admin Status】default is Enable.
【Connect Type】Choose Internet.
【MTU】The default is 1492; we have to change to lower MTU, such as 1400, if we
can ping the DNS but not access the website via WEB broswer.
【IP Protocol】Select ‘Ipv4’; If there is Ipv6 in the network, we can select ‘ Ipv4/Ipv6 ’.
【User Name】Type PPPoE account, normally offered by ISP, for Internet;
【Password】Type PPPoE password, normally offered by ISP, for Internet;
【Bind port】Bind the physical ports (Lan port 1-4 and wireless) with PPPoE WAN
connection.
Note: By default, all LAN ports and WIFI data are not bound by this WAN connection
(a LAN and WIFI SSID can only be bound to a WAN connection at the same time).

12
2. After configuring the parameters of PPPoE WAN connection as above, click ‘Apply
Changes’ to finish the setting.
6.1.2 Configure DHCP WAN Connection for Internet in Route Mode
1.Login ONU WEB, select Network -> WAN->WAN, and then there are some
parameters for us to configure as follows:
【Enable Vlan】We can set this option according to your network plan. If there is
vlan in the network for internet, we have to check ‘Enable VLAN ‘ option. If not, we needn’t
check this option, which will be VLAN transparent mode.

13
【Vlan ID】Configure this option according to our network plan.
【802.1p_Mark】Set the priority of vlan, The same as "enable Vlan", depending on
the network vlan planning to configure. The default priority is 0.
【Service Type】Choose IPOE.
【Eable NAPT】Check ‘ NAPT ’ feature;NAPT is mainly used for address translation
function of local network and external network. The default is checked
enable status. If you do not check this option, maybe you can’t surf the
internet.
【Admin Status】default is Enable.
【Connect Type】Choose Internet.
【MTU】The default is 1500; we have to change to lower MTU, such as 1400, if we
can ping the DNS but not access the website via WEB browser.
【IP Protocol】Select ‘Ipv4’; If there is Ipv6 in the network, we can select ‘ Ipv4/Ipv6 ’.
【Ty p e 】Select ‘ DHCP’.
【Request DNS】Selected ‘enable’, the ONU will get DNS from upper DNS server
automatically; Selected ‘Disable’, we have to configure an static
DNS for the ONU by manual. We can configure one of them
according to network plan.
【Port Mapping】Bind the physical ports (Lan port 1-4 and wireless) with DHCP
WAN connection.
Note: By default, all LAN ports and WIFI data are not bound by this WAN connection (a
LAN and WIFI SSID can only be bound to a WAN connection at the same time).
2.After configuring the parameters of DHCP WAN connection as belows, click
‘Apply Changes’ to finish the setting.

14
6.1.3 Configure Static IP Address WAN Connection for Internet in Route Mode
1.Login ONU WEB, select Network->WAN->WAN, and then there are some
parameters for us to configure as follows:
【Enable Vlan】We can set this option according to your network plan. If there is
vlan in the network for internet, we have to check ‘Enable VLAN ‘option. If not, we needn’t
check this option, which will be VLAN transparent mode.
【Vlan ID】Configure this option according to our network plan.
【802.1p_Mark】Set the priority of vlan, The same as "enable Vlan", depending on
the network vlan planning to configure. The default priority is 0.
【Service Type】Choose IPOE.
【Eable NAPT】Check ‘ NAPT ’ feature;NAPT is mainly used for address translation
function of local network and external network. The default is checked

15
enable status. If you do not check this option, maybe you can’t surf the
internet.
【Admin Status】default is Enable.
【Connect Type】Choose Internet.
【MTU】The default is 1500; we have to change to lower MTU, such as 1400, if we
can ping the DNS but not access the website via WEB broswer.
【IP Protocol】Select ‘Ipv4’; If there is Ipv6 in the network, we can select ‘ Ipv4/Ipv6 ’.
【Ty p e 】Select ‘ Fixed IP’.
【Local IP Address】Set static IP address;
【Remote Address】Fill in the address of the gateway
【Subnet Mask】Set the mask of static IP address;
【Primary DNS Server】Set static primary DNS address and secondary DNS
address;
【Secondary DNS Server】Set static second DNS address and secondary DNS
address;
【Port Mapping 】Bind the physical ports with Static WAN connection.
Note: By default, all LAN ports and WIFI data are not bound by this WAN connection
(a LAN and WIFI SSID can only be bound to a WAN connection at the same time).

16
2. After configuring the parameters of Static IP WAN connection as above, click ‘Apply
Changes’ to finish the setting.
6.2 Configure Bridge WAN Connection for Internet
1.Login ONU WEB, select Network -> WAN->WAN, and then there are some
parameters for us to configure as follows:
【Enable Vlan】We can set this option according to your network plan. If there is
vlan in the network for internet, we have to check ‘Enable VLAN ‘option. If not, we needn’t
check this option, which will be VLAN transparent mode.
【Vlan ID】Configure this option according to our network plan.
【802.1p_Mark】Set the priority of vlan, The same as "enable Vlan", depending on
the network vlan planning to configure. The default priority is 0.
【Service Type】Choose Bridged.
【Admin Status】default is Enable.
【Connect Type】Choose Internet.
【Port Mapping】Bind the physical ports (Lan port 1-4 and wireless) with Bridge
WAN connection.
Note: By default, all LAN ports and WIFI data are not bound by this WAN connection
(a LAN and WIFI SSID can only be bound to a WAN conection at the same time).

17
2.After configuring the parameter of Bridge WAN connection as above, click ‘Apply
Changes’ to finish the setting.
6.3 View the WAN Connection Status
1.Login ONU WEB, select Status ->Network Information->WAN. In here, we can view
WAN connection status, check the route WAN connection if it gets an IP address and Bridge
WAN connection if it is UP. As follows:
Table of contents
Other Zoom Network Router manuals

Zoom
Zoom 4504 User manual

Zoom
Zoom 5651F User manual

Zoom
Zoom 5800F User manual

Zoom
Zoom Zoom ADSL X4 5551 User manual

Zoom
Zoom Zoom ADSL X3 5660 User manual

Zoom
Zoom Zoom ADSL USB Modem Quick Start guide None User manual

Zoom
Zoom 4402 User manual

Zoom
Zoom 5360 User manual

Zoom
Zoom 5590BF User manual

Zoom
Zoom Zoom ADSL X3 5560 User manual