Vibration Sensor
Parameter 17: Use it to disable the
vibration sensor.
Values: 0 - vibration sensor is
disabled, 1 - vibration sensor is
enabled (default).
Size: 1 byte dec.
Low Battery Alert
Parameter 32: Use it to set battery
level for low battery reports.
Values: 10-50, where 10 stands for
10% battery le and 50 stands for
50% battery le. Default set to 10.
Size: 1 byte dec.
Please refer to your controller's
user guide for advanced program-
ming instructions as they are a little
different for every soware.
Not sure where to start? Let us
Associate your Motion Sensor with
other Z-Wave devices for direct
communication between them so
your rules and automations can
take place even if the hub is down.
The Motion Sensor supports Group
1 (motion detection and battery
level) and Group 2 (BASIC SET) with
up to 5 devices for lifeline commu-
nication. To associate the sensor
with other devices, put your Z-Wave
controller in Association mode by
sending the appropriate command
and wake up the sensor by pressing
and holding the Z-Wave button for
5 seconds.
Motion Sensor
Parameter 12: Use it to adjust PIR
sensor sensitivity.
Values: 1 - 8, where 1 = low
sensitivity and = high sensitivity. 8
Default set to 4.
Size: 1 byte dec.
Parameter 14: Use it to enable or
disable BASIC SET reports when
motion is triggered for Group 2 of
associated devices.
Values: 0 - disabled (default), 1 -
enabled
Size: 1 byte dec.
Parameter 15: Use it to reverse
values sent in BASIC SET reports
when motion is triggered for Group
2 of associated devices.
Values: 0 - BASIC SET value 255 is
sent when motion is triggered,
BASIC SET value 0 is sent when
motion times out (default).
1 - BASIC SET value 0 is sent when
motion is triggered, BASIC SET
value 255 is sent when motion
times out.
Size: 1 byte dec.
Parameter 18: Use it to set trigger
interval - the time when motion is
reported again aer initial trigger.
Values: 3 - 65535 where 3 stands for
6 seconds and 65535 stands for
65538 seconds (add 3 seconds to
each value number). Default set to
30 seconds (value 27).
Size: 2 byte dec.
NOTE: Small interval will increase
activity and decrease battery life.
LED Indicator
Parameter 20: Use it to disable the
LED indicator.
Values: 0 - LED indicator is
disabled, 1 - LED indicator is
enabled (default).
Size: 1 byte dec.
This device requires the following
command classes to be supported
and recognized by your Z-Wave
controller:
COMMAND_CLASS_ASSOCIATION_GRP_INFO
COMMAND_CLASS_ASSOCIATION_V2
COMMAND_CLASS_BATTERY
COMMAND_CLASS_CONFIGURATION
COMMAND_CLASS_DEVICE_RESET_LOCALLY
COMMAND_CLASS_FIRMWARE_UPDATE_MD_V3
COMMAND_CLASS_MANUFACTURER_SPECIFIC_V2
COMMAND_CLASS_NOTIFICATION_V5
COMMAND_CLASS_POWERLEVEL
COMMAND_CLASS_SECURITY
COMMAND_CLASS_SECURITY_S2
COMMAND_CLASS_SUPERVISION
COMMAND_CLASS_TRANSPORT_SERVICE_V2
COMMAND_CLASS_VERSION_V2
COMMAND_CLASS_WAKE_UP_V2
COMMAND_CLASS_ZWAVEPLUS_INFO_V2
This product can be included and
operated in any Z-Wave network
with other Z-Wave certified devices
from other manufacturers and/or
other applications. All non-battery
operated nodes within the network
will act as repeaters regardless of
vendor to increase reliability of the
network.
This product features the latest
Security 2 (S2) framework to re-
move smart home network hacking
risks. This device is equipped with
unique authentication code for
trusted wireless communication.
This product is covered under a 12-
month limited warranty. To read
the full warranty policy or file a
warranty claim, please go to
www.getzooz.com/warranty
FCC NOTE
THE MANUFACTURER IS NOT RESPONSIBLE FOR ANY
R AD I O OR T V IN T E RF E RE N C E C A US E D BY
U NA U TH OR I ZE D MO D IF I CA TI O NS T O T HI S
EQUIPMENT. SUCH MODIFICATIONS COULD VOID THE
USER’S AUTHORITY TO OPERATE THE EQUIPMENT.
STORE INDOORS WHEN NOT IN USE. SUITABLE FOR
DRY LOCATIONS ONLY. DO NOT IMMERSE IN WATER.
NOT FOR USE WHERE DIRECTLY EXPOSED TO WATER.
This device complies with Part 15 of the FCC Rules.
Operation is subject to the following conditions:
1. This device may not cause harmful interference, 2.
This device must accept any interference received,
including interference that may cause undesired
operation.
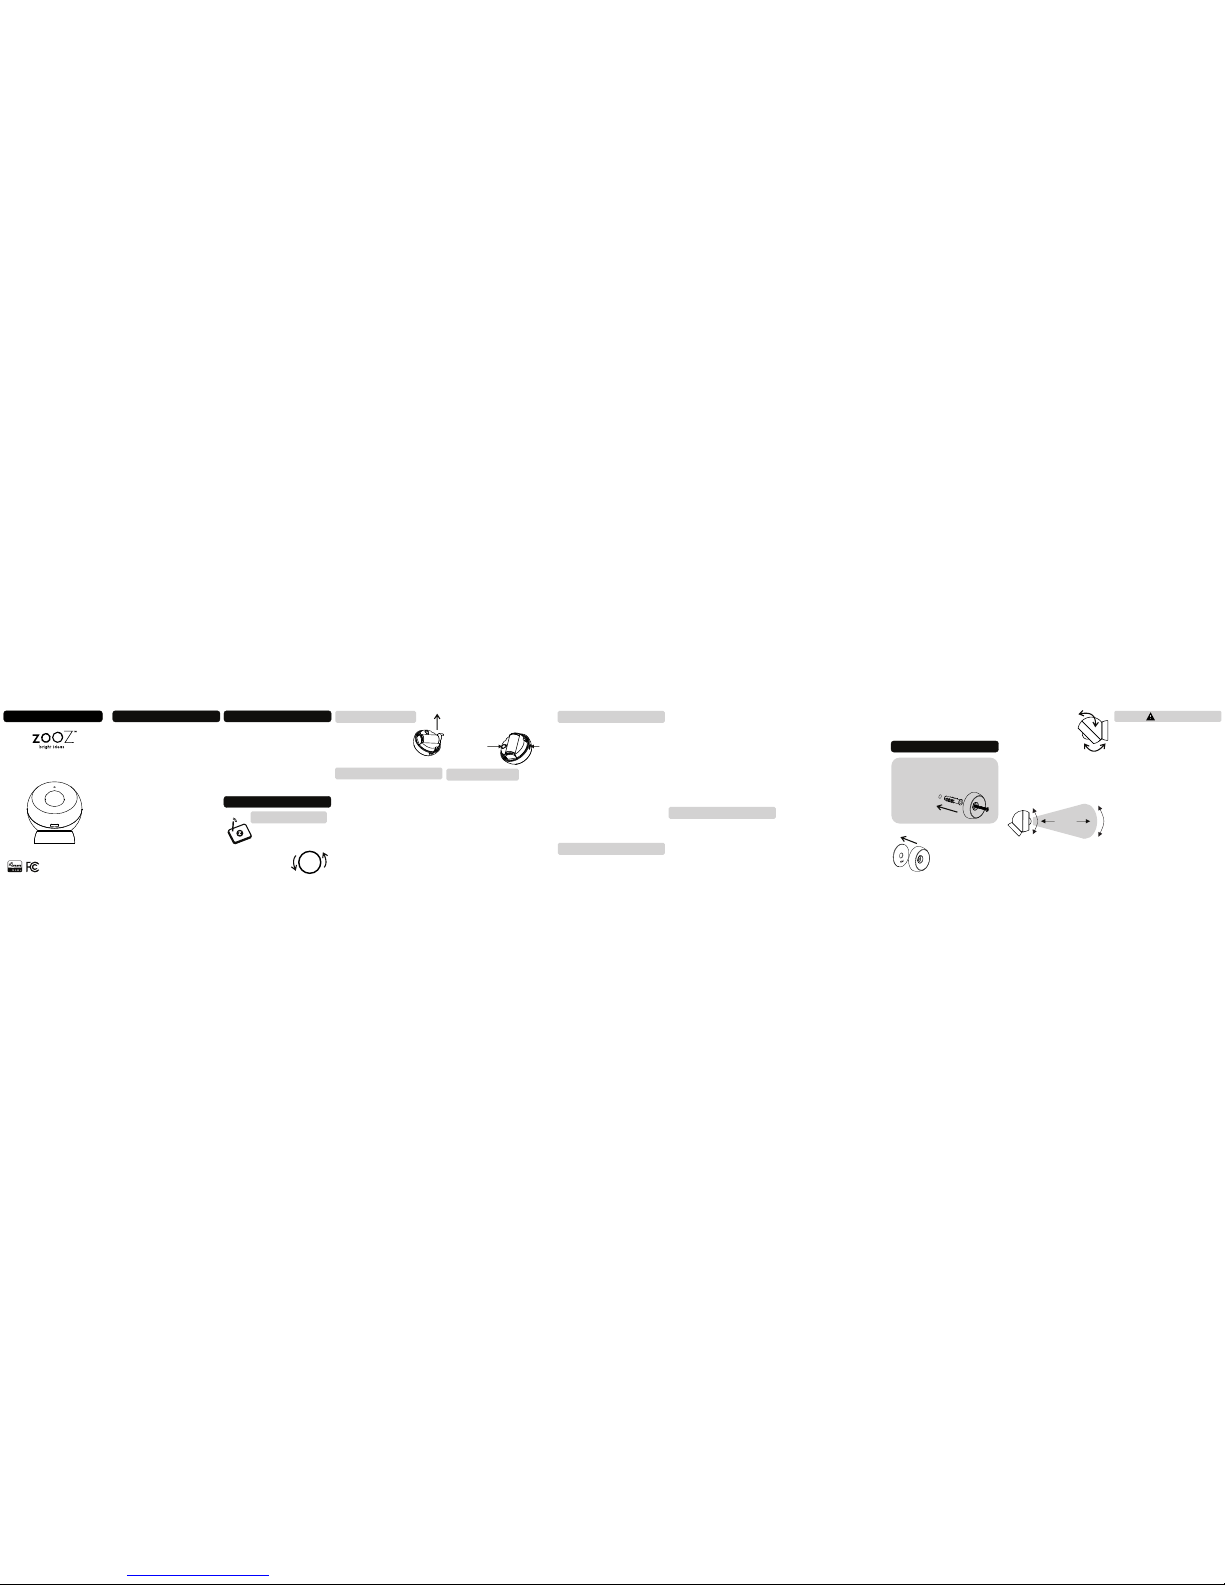
SETTINGS
ASSOCIATION CUSTOMIZE YOUR SENSOR CLICK 6 TIMES TO
DISABLE / ENABLE LED
OR
You can easily check if the sensor is
within your Z-Wave hub’s range:
Press and hold the Z-Wave button
for 10-15 seconds and release it
to start the test. The LED indicator
will then report signal strength.
Solid blue = direct communication
with the primary controller is
stable
Slow blinking blue = communica-
tion quality is fair
Fast blinking blue = communica-
tion with the primary controller has
failed
Press and release the Z-Wave
button to exit testing mode.
RANGE TEST TOOL COMMAND CLASSES S2 WARRANTY This equipment has been tested and found to
comply with the limits for a Class B digital device,
pursuant to part 15 of the FCC Rules.
These limits are designed to provide reasonable
protection against harmful interference in a
residential installation.
This equipment generates, uses and can radiate
radio frequency energy and, if not installed and used
according to instructions, may cause harmful
interference to radio communications.
However, there is no guarantee that interference will
not occur in any given installation.
f this equipment causes harmful interference to radio
or television reception, the user may try to correct
the interference by taking one or more of the
following measures:
- Reorient or relocate receiving antenna
- Increase the separation between equipment and
receiver
- Connect equipment into a separate outlet or circuit
from receiver
- Consult the dealer or an experienced radio/TV
technician for additional assistance
All brand names displayed are trademarks of
their respective holders.
© Zooz 2018
USB POWER
When used with a USB power
adapter, the sensor will act as a Z-
Wave signal repeater. Go to our
website for inclusion instructions:
support.getzooz.com