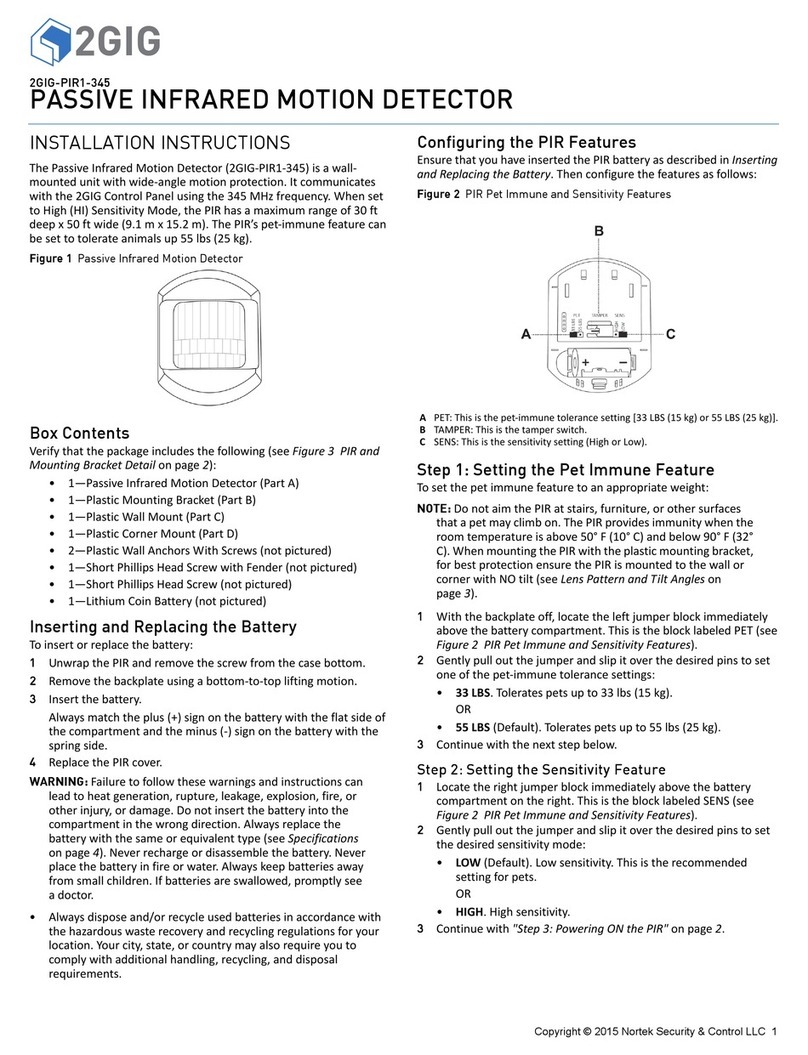
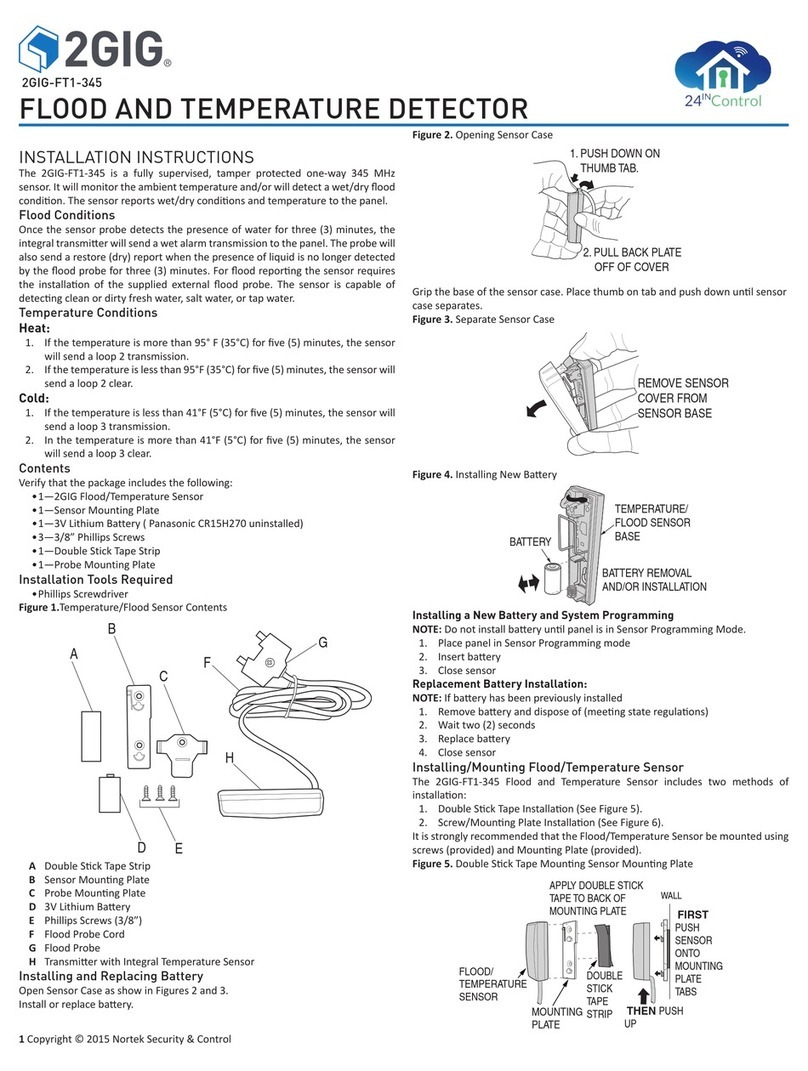
2gig Technologies 2GIG-PIR1-345 User manual

Copyright © 2015 Nortek Security & Control LLC 1
2GIG-PIR1-345
PASSIVE INFRARED MOTION DETECTOR
INSTALLATION INSTRUCTIONS
ThePassiveInfraredMotionDetector(2GIG‐PIR1‐345)isawall‐
mountedunitwithwide‐anglemotionprotection.Itcommunicates
withthe2GIGControlPanelusingthe345MHzfrequency.Whenset
toHigh(HI)SensitivityMode,thePIRhasamaximumrangeof30ft
deepx50ftwide(9.1mx15.2m).ThePIR’spet‐immunefeaturecan
besettotolerateanimalsup55lbs(25kg).
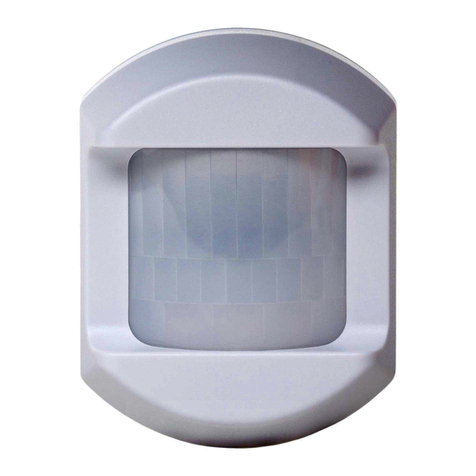
Figure 1 Passive Infrared Motion Detector
Box Contents
Verifythatthepackageincludesthefollowing(seeFigure3PIRand
MountingBracketDetailonpage 2):
• 1—PassiveInfraredMotionDetector(PartA)
• 1—PlasticMountingBracket(PartB)
• 1—PlasticWallMount(PartC)
• 1—PlasticCornerMount(PartD)
• 2—PlasticWallAnchorsWithScrews(notpictured)
•1—ShortPhillipsHeadScrewwithFender(notpictured)
•1—ShortPhillipsHeadScrew(notpictured)
• 1—LithiumCoinBattery(notpictured)
Inserting and Replacing the Battery
Toinsertorreplacethebattery:
1UnwrapthePIRandremovethescrewfromthecasebottom.
2Removethebackplateusingabottom‐to‐topliftingmotion.
3Insertthebattery.
Alwaysmatchtheplus(+)signonthebatterywiththeflatsideof
thecompartmentandtheminus(‐)signonthebatterywiththe
springside.
4ReplacethePIRcover.
WARNING: Failuretofollowthesewarningsandinstructionscan
leadtoheatgeneration,rupture,leakage,explosion,fire,or
otherinjury,ordamage.Donotinsertthebatteryintothe
compartmentinthewrongdirection.Alwaysreplacethe
batterywiththesameorequivalenttype(seeSpecifications
onpage 4).Neverrechargeordisassemblethebattery.Never
placethebatteryinfireorwater.Alwayskeepbatteriesaway
fromsmallchildren.Ifbatteriesareswallowed,promptlysee
adoctor.
•Alwaysdisposeand/orrecycleusedbatteriesinaccordancewith
thehazardouswasterecoveryandrecyclingregulationsforyour
location.Yourcity,state,orcountrymayalsorequireyouto
complywithadditionalhandling,recycling,anddisposal
requirements.
Configuring the PIR Features
EnsurethatyouhaveinsertedthePIRbatteryasdescribedinInserting
andReplacingtheBattery.Thenconfigurethefeaturesasfollows:
Figure 2 PIR Pet Immune and Sensitivity Features
Step 1: Setting the Pet Immune Feature
Tosetthepetimmunefeaturetoanappropriateweight:
NOTE: DonotaimthePIRatstairs,furniture,orothersurfaces
thatapetmayclimbon.ThePIRprovidesimmunitywhenthe
roomtemperatureisabove50°F(10°C)andbelow90°F(32°
C).WhenmountingthePIRwiththeplasticmountingbracket,
forbestprotectionensurethePIRismountedtothewallor
cornerwithNOtilt(seeLensPatternandTiltAngleson
page 3).
1Withthebackplateoff,locatetheleftjumperblockimmediately
abovethebatterycompartment.ThisistheblocklabeledPET(see
Figure2PIRPetImmuneandSensitivityFeatures).
2Gentlypulloutthejumperandslipitoverthedesiredpinstoset
oneofthepet‐immunetolerancesettings:
•33LBS.Toleratespetsupto33lbs(15kg).
OR
•55LBS(Default).Tolerates petsupto55lbs(25kg).
3Continuewiththenextstepbelow.
Step 2: Setting the Sensitivity Feature
1Locatetherightjumperblockimmediatelyabovethebattery
compartmentontheright.ThisistheblocklabeledSENS(see
Figure2PIRPetImmuneandSensitivityFeatures).
2Gentlypulloutthejumperandslipitoverthedesiredpinstoset
thedesiredsensitivitymode:
•LOW(Default).Lowsensitivity.Thisistherecommended
settingforpets.
OR
•HIGH.Highsensitivity.
3Continuewith"Step3:PoweringONthePIR"onpage2.
APET:Thisisthepet‐immunetolerancesetting[33LBS(15kg)or55LBS(25kg)].
BTAMPER:Thisisthetamperswitch.
CSENS:Thisisthesensitivitysetting(HighorLow).

2 Copyright © 2015 Nortek Security & Control LLC
Step 3: Powering ON the PIR
Withthebatteryinserted(see"InsertingandReplacingtheBattery"
onpage1),pressandreleasetheswitchlabeledTAMPER.Ittakes
approximately10secondsforthePIRtopowerON.
Mounting the PIR
TherearetwomethodsformountingthePIR:OptionA:Bracket
MountingorOptionB:Direct‐to‐WallMounting.Forbothmethods,
alwaysmountthePIRataheightof7.5ft(2.3m).
Figure 3 PIR and Mounting Bracket Detail
Option A: Bracket Mounting
SeeFigure3PIRandMountingBracketDetail.Ifyouplantomount
thePIRtoeitherthePlasticWallMountorPlasticCornerMount,you
mustfirstattachthePlasticMountingBrackettothePIRbackplate.
Step 1: Attaching the Plastic Mounting Bracket to the PIR
1RemovethePIRbackplate.
2InsertthetwostubsonthePlasticMountingBracketintothe
correspondingholesontheexteriorsideofthePIRbackplate.
3OntheinteriorofthePIRbackplate(seeFigure4PIRBackplate—
Direct‐to‐WallMountingGuides),usetheShortPhillipsHead
Screw(provided)tosecurethePlasticMountingBrackettothe
backplate
4ReplacethePIRbackplate.
5Reattachthescrewthatwasremovedearliertothebottomofthe
PIR.
6ContinuewitheitherStep2:WallMountingOptionorStep2:
CornerMountingOption.
NOTE: ForoptimumpetimmunitywhenusingthePlastic
MountingBracket,ensurethatthePIRismountedtothewall
orcornerwithNOtilt(see"LensPatternandTiltAngles"on
page3).
Step 2: Wall Mounting Option
SeeFigure3PIRandMountingBracketDetail.IfusingthePlasticWall
Mount(C),dothefollowing:
NOTE: EnsurethatyouhaveattachedthebrackettothePIR
backplate(seeStep1:AttachingthePlasticMountingBracket
tothePIR).
1Ontheintendedwall,usethetwo(2)PlasticWallAnchorstohang
thePlasticWallMountataheightof7.5ft(2.3m).
2LocatethebarrelendofthePlasticMountingBracket.Locatethe
barrelendofthePlasticMountingBracketandcarefullysetitonto
theribbedpinofthePlasticWallMountatthedesiredangle(see
LensPatternandTiltAnglesonpage 3).
3FromthetopsideofthePlasticWallMount,usetheShortPhillips
HeadScrewwithFender(provided)tosecurethemounttothe
barrelendofthebracket.
Step 2: Corner Mounting Option
SeeFigure3PIRandMountingBracketDetail.IfusingPlasticCorner
Mount,dothefollowing:
NOTE: EnsurethatyouhaveattachedthebrackettothePIR
backplate(seeStep1:AttachingthePlasticMountingBracket
tothePIRonpage 2).
1Usethetwo(2)PlasticWallAnchorstohangthePlasticCorner
Mountataheightof7.5ft(2.3m).
2LocatethebarrelendofthePlasticMountingBracketandcarefully
setitontotheribbedpinofthePlasticWallMount.Ensurethat
yousetitatthedesiredangle(see"LensPatternandTiltAngles"
onpage3).
3FromthetopsideofthePlasticWallMount,usetheShortPhillips
HeadScrewwithFender(provided)tosecurethemounttothe
barrelendofthebracket.
Option B: Direct-to-Wall Mounting
IfplanningtomountthePIRdirectlytoawall,usethebuilt‐in
mountingguidesoninteriorofthePIRbackplatetoscrewthe
backplateintothewall.
1RemovethePIRbackplate.
2Usethetwo(2)PlasticWallAnchorstoscrewthePIRbackplate
intothewallataheightof7.5ft(2.3m):
•Wall.Usethewallmountingguides(seeAbelow).
•CornerMount.Usetheleft‐orright‐cornermountingguides
(seeBbelow).
Figure 4 PIR Backplate—Direct-to-Wall Mounting Guides
APIR
BPlasticMountingBracket
CPlasticWallMount
DPlasticCornerMount
AWallMountingGuides(ForOptionB:Direct‐to‐WallMounting)
BCornerMountingGuides(ForOptionB:Direct‐to‐WallMounting)
CWallMountBracketGuide(ForOptionA:BracketMounting)

Copyright © 2015 Nortek Security & Control LLC 3
Environmental and Other Useful Information
WhilethePIRisahighlyreliableintrusiondetectiondevice,itdoes
notguaranteeagainstburglary.Anyintrusiondeviceissubjecttoa
“failuretowarn”foravarietyofreasons.Considerthefollowingwhen
installingandsettingupthePIR:
1ThisPIRhasbuilt‐inprotectiontokeepbugsfromgettingintothe
sensorareaandcausingfalsealarms.Notethatthisprotection
doesnotpreventinsectsfromcrawlingacrossthelensofthePIR,
whichcouldtriggerthePIR.
2Infraredenergycanbereflectedoffanyglossysurfacessuchas
mirrors,windows,floors,orcountertopswithglossyfinish,and
slick‐finishedconcrete.Somesurfacesreflectlessthanothers(e.g.
thePIRcanseeachangeininfraredenergyoffofreflective
surfaceseveniftheheatorcoldsourceisnotwithinthePIR
detectionpattern).
3Windowsreflectinfraredenergy.Theyalsoallowsunlightorlight
fromothersources(e.g.,cars)topassthroughtothePIR.ThePIR
candetectthesechangesininfraredenergy.Forexample,if
sunlightpassingthroughawindowshinesontoahardwoodfloor
andthechangeininfraredenergyisquickenough,thePIRcan
triggeranalarm.ThesameappliesifthePIRareaincludesa
window,eventhoughthepatternofprotectioncannot“see”
throughglass.Lightsfromapassingcarcanalsopassthroughthe
windowatnightandshinedirectlyintothePIR’slens.
4Heatingandairconditioningductsarealsoimportantbecauseif
theyblowairontoanobjectwithinthefieldofthePIR’sview,the
temperatureofthatobjectcouldchangequicklyenoughforthe
PIRto“see”achangeininfraredenergy.PIR’scannotseeair
current,onlythechangeintemperatureofaphysicalobject.
5ThePIRsenseschangeintemperature.However,astheambient
temperatureoftheprotectedareaapproachesthetemperature
rangeof95°to120°F,thedetectionperformanceofthePIR
decreases.
6EnsurethattheareayouwishthePIRtocoverisfreeof
obstructions(forexample,curtains,screens,plants,andsoon.)
thatmayblockthepatternofcoverage.
7Anythingthatcanswayormoveduetoaircurrentcancausea
changeininfraredenergywithinthefieldsofview.Draftsfrom
doorsorwindowscancausethistohappen.Plants,balloons,
curtains,andhangingbasketsshouldneverbeleftinthePIR’sfield
ofview.
8DonotmountthePIRonasurfacethatallowsforanyvibration.
VibrationsnotonlycausethePIRtomovealittle,butitalso
causesthefieldsofviewinaroomtomovewithrespectthePIR.A
littlevibrationcancausehavocwiththePIR’sfieldofview,thus
thePIRmayseeachangeinenergyandtriggerthealarm.
9AninstallationoftenrequiresthatthePIRisaimedatthedoor.
ThePIRmaydetectdoormovementbeforethedoorcontactcan
initiateanentrydelay,causingthealarmtotrigger.Ifyouinstall
thePIRfacingadoor,thenwhileprogrammingthePIR,choosean
appropriatesensor/zonetype.
10 ThePIRONLYdetectsintrusionwithinthepatternofcoverage.
11 ThePIRdoesnotprovidevolumetricareaprotection.
12 ThePIRcreatesmultiplebeamsofprotection.Intrusioncanonly
bedetectedinunobstructedareascoveredbythosebeams.
13 ThePIRcannotdetectmotionorintrusionthatoccursbehind
walls,ceilings,floors,closeddoors,partitions,glassdoors,or
windows.
14 Tamperingwith,masking,painting,orsprayingofanymaterialon
thePIRlensoranypartoftheopticalsystemcanimpairdetection
ability.
15 ThePIR,likeotherelectricaldevices,aresubjecttocomponent
failure.EventhoughthePIRisdesignedtolastaslongas10years,
theelectroniccomponentsaresubjecttofailure.
Lens Pattern and Tilt Angles
ThediagramsbelowshowthelenspatternandtiltanglesforthePIR
inmeters.
Figure 5 Lens Pattern—Top View
Figure 6 Tilt Angle—Side View
‐9° PIRtitleddownoneclick
0° PIRfacingtheoppositewall(Direct‐to‐wallormountingbracketwithno
tiltadjustment.
‐18° PIRtilteddowntwoclicks
+9° PIRtilteduponeclick

4 Copyright © 2015 Nortek Security & Control LLC
SPECIFICATIONS
REGULATORY INFORMATION
FCC Notice
ThisdevicecomplieswithPart15oftheFCC'sRules.Operationis
subjecttothefollowingtwoconditions:
1Thisdevicemaynotcauseharmfulinterference,and
2Thisdevicemustacceptanyinterferencereceived,including
interferencethatmaycauseundesiredoperation.
Thisequipmenthasbeentestedandfoundtocomplywiththelimits
foraClassBdigitaldevice,pursuanttoPart15oftheFCCRules.These
limitsaredesignedtoprovidereasonableprotectionagainstharmful
interferenceinaresidentialinstallation.
Thisequipmentgenerates,usesandcanradiateradiofrequency
energyand,ifnotinstalledandusedinaccordancewiththe
instructions,maycauseharmfulinterferencetoradio
communications.However,thereisnoguaranteethatinterference
willnotoccurinaparticularinstallation.Ifthisequipmentdoescause
harmfulinterferencetoradioortelevisionreception,whichcanbe
determinedbyturningtheequipmentoffandon,theuseris
encouragedtotrytocorrecttheinterferencebyoneormoreofthe
followingmeasures:
• Reorientorrelocatethereceivingantenna.
•Increasetheseparationbetweentheequipmentandreceiver.
• Connecttheequipmentintoanoutletonacircuitdifferent
fromthattowhichthereceiverisconnected.
•Consultthedealeroranexperiencedradio/TVtechnicianfor
help.
ThisproductcomplieswithFCCradiationexposurelimitsforan
uncontrolledenvironment.Avoidoperatingthisproductatadistance
lessthan20cmfromtheuser.
NOTE: Anychangedormodificationsnotexpresslyapprovedby
thepartyresponsibleforcompliancecouldvoidtheuser's
authoritytooperatethisequipment.
Industry Canada (IC) Compliance
ThisdevicecomplieswithIndustryCanadalicense‐exemptRSS
standard(s).Operationissubjecttothefollowingtwoconditions:(1)
thisdevicemaynotcauseinterference,and(2)thisdevicemustaccept
anyinterference,includinginterferencethatmaycauseundesired
operationofthedevice.
Repairstocertifiedequipmentshouldbemadebyanauthorized
Canadianmaintenancefacilitydesignatedbythesupplier.Anyrepairs
oralterationsmadebytheusertothisequipment,orequipment
malfunctions,maygivethetelecommunicationscompanycauseto
requesttheusertodisconnecttheequipment.
Usersshouldensurefortheirownprotectionthattheelectrical
groundconnectionsofthepowerutility,telephonelinesandinternal
metallicwaterpipesystem,ifpresent,areconnectedtogether.This
precautionmaybeparticularlyimportantinruralareas.
Usersshouldnotattempttomakesuchconnectionsthemselves,but
shouldcontacttheappropriateelectricinspectionauthority,or
electrician,asappropriate.
LIMITED WARRANTY
ThisNortekSecurity&Controlproductiswarrantedagainstdefectsin
materialandworkmanshipfortwo(2)years.Thiswarrantyextends
onlytowholesalecustomerswhobuydirectfromNortekSecurity&
ControlLLCorthroughNortekSecurity&ControlLLC’snormal
distributionchannels.NortekSecurity&ControlLLCdoesnotwarrant
thisproducttoconsumers.Consumersshouldinquirefromtheir
sellingdealerastothenatureofthedealer’swarranty,ifany.
TherearenoobligationsorliabilitiesonthepartofNortekSecurity&
ControlLLCforconsequentialdamagesarisingoutoforinconnection
withuseorperformanceofthisproductorotherindirectdamages
withrespecttolossofproperty,revenue,orprofit,orcostofremoval,
installation,orreinstallation.Allimpliedwarrantiesforfunctionality,
arevalidonlyuntilthewarrantyexpires.ThisNortekSecurity&
ControlLLCWarrantyisinlieuofallotherwarrantiesexpressedor
implied.
2GIG
NortekSecurity&ControlLLC
1950CaminoVidaRoble,Suite150
Carlsbad,CA92008‐6517USA
FortechnicalsupportintheUSAandCanada:
Dial:855‐2GIG‐TECH(855‐244‐4832)
Email:2gigtechsupport@nortek.com
Visitwww.2GIG.comordealer.2gig.comtechnicalsupporthoursofoperation
FortechnicalsupportoutsideoftheUSAandCanada:
Contactyourregionaldistributor
Visitwww.nortekcontrol.comforalistofdistributorsinyourregion
10005133Rev.A
ANortekCompany
WirelessSignalRange 350ft(106.7m),openair,withWireless
ControlPanel
CodeOutputs Alarm,AlarmRestore,Tamper,Tamper
Restore,Supervisory,LowBattery
TransmitterFrequency 345.00MHz(crystalcontrolled)
UniqueIDCodes Overone(1)milliondifferentcode
combinations
SupervisoryInterval 70minutes
SensorType Quadelement
PetImmunitySelectable 33lb(15kg)or55lb(25kg;default)
SensitivityJumperSelectable HighorLow(default)
SuggestedMountingHeight 7.5ft(2.3m)
SensorRange 30ft(9.1m)x50ft(15.2m)
MaximumHorizontalSensingAngle 90°
Dimensions(LxWxH) 3.2x2.5x1.9in(8.12x6.35x4.82cm)
Weight(includingbattery&bracket) 3.7oz(104.9g)
HousingMaterial ABSPlastic
Color White
OperatingTe mperature 32°‐120F°(0°‐49°C)
RelativeHumidity 5‐90%Non‐Condensing
Battery(installed) One(1)CR123A3Vorequivalent
Lithiumbattery
Certification Anatel,ETL,FCC,IC,IFETEL,andNOM
Other 2gig Technologies Security Sensor manuals

2gig Technologies
2gig Technologies 2GIG-FT1-345 User manual

2gig Technologies
2gig Technologies Alarm.com ADC-IS-100-GC User manual

2gig Technologies
2gig Technologies 2GIG-FT6-345 User manual

2gig Technologies
2gig Technologies 2GIG-FT1-345 User manual

2gig Technologies
2gig Technologies pir1-345 User manual

2gig Technologies
2gig Technologies 2GIG-PIR1E-345 User manual