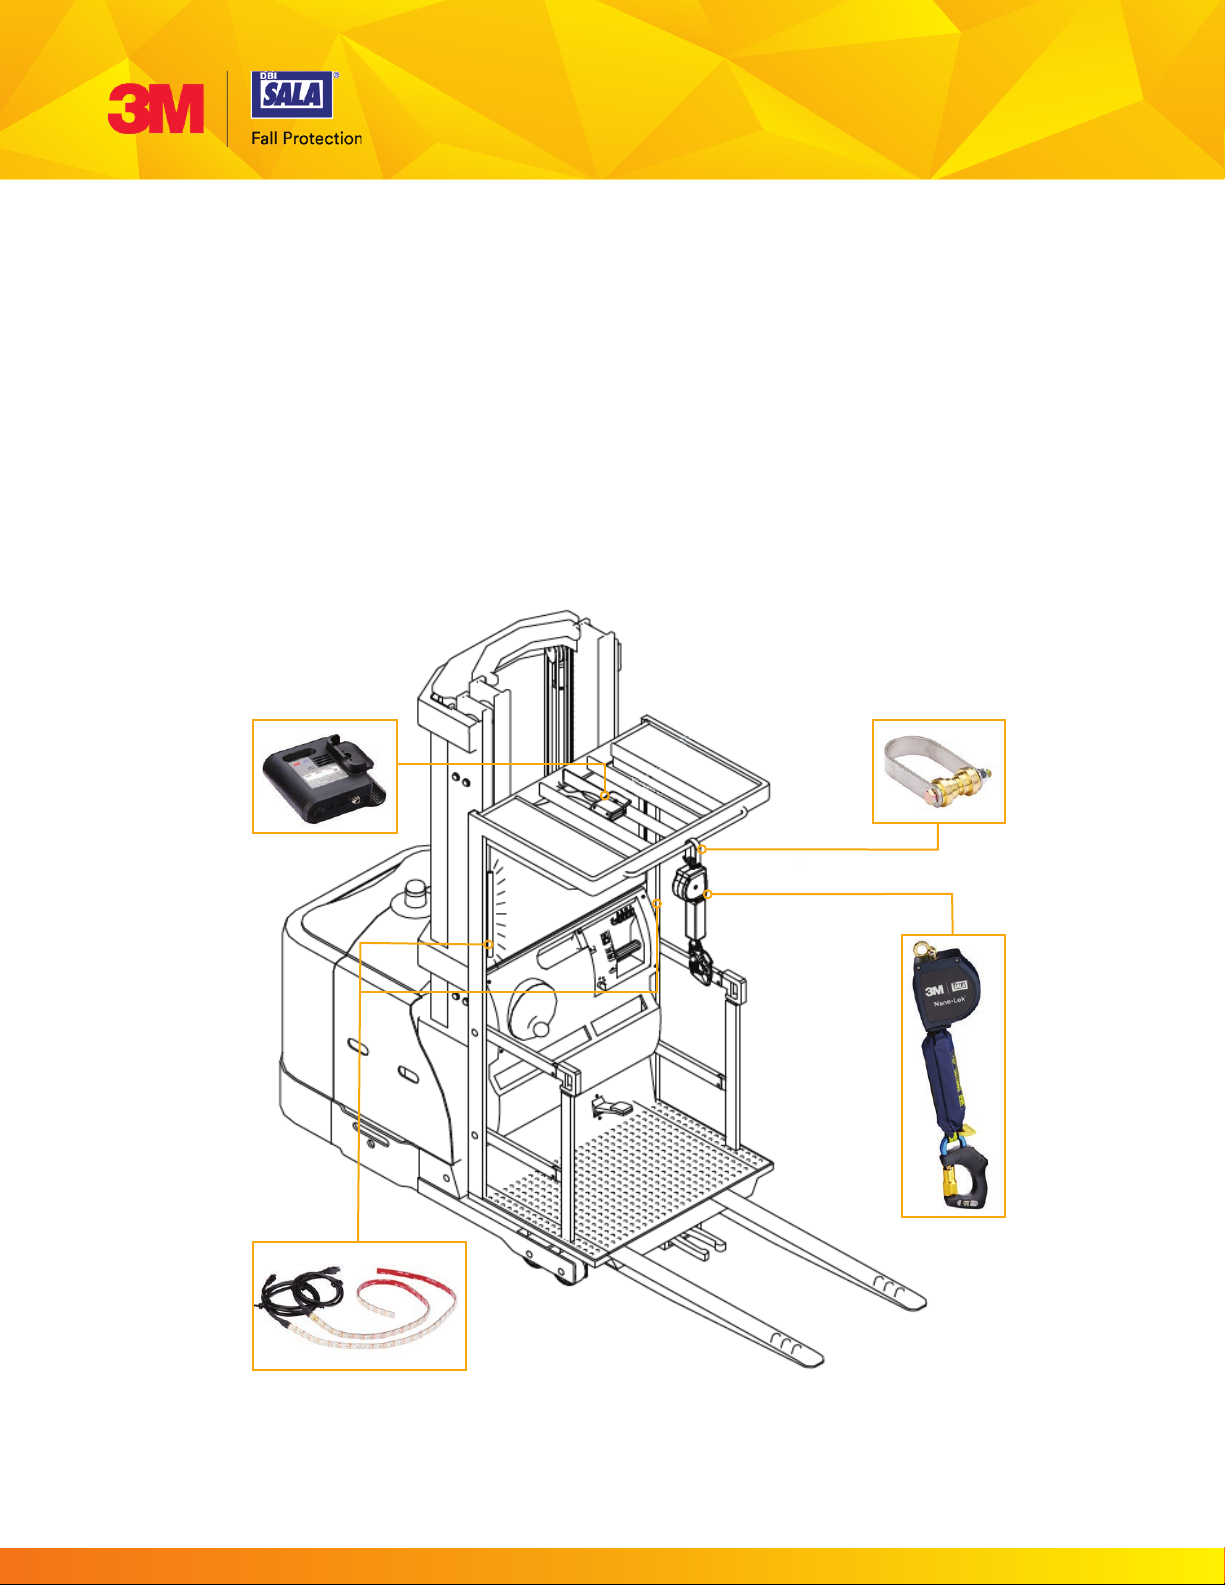
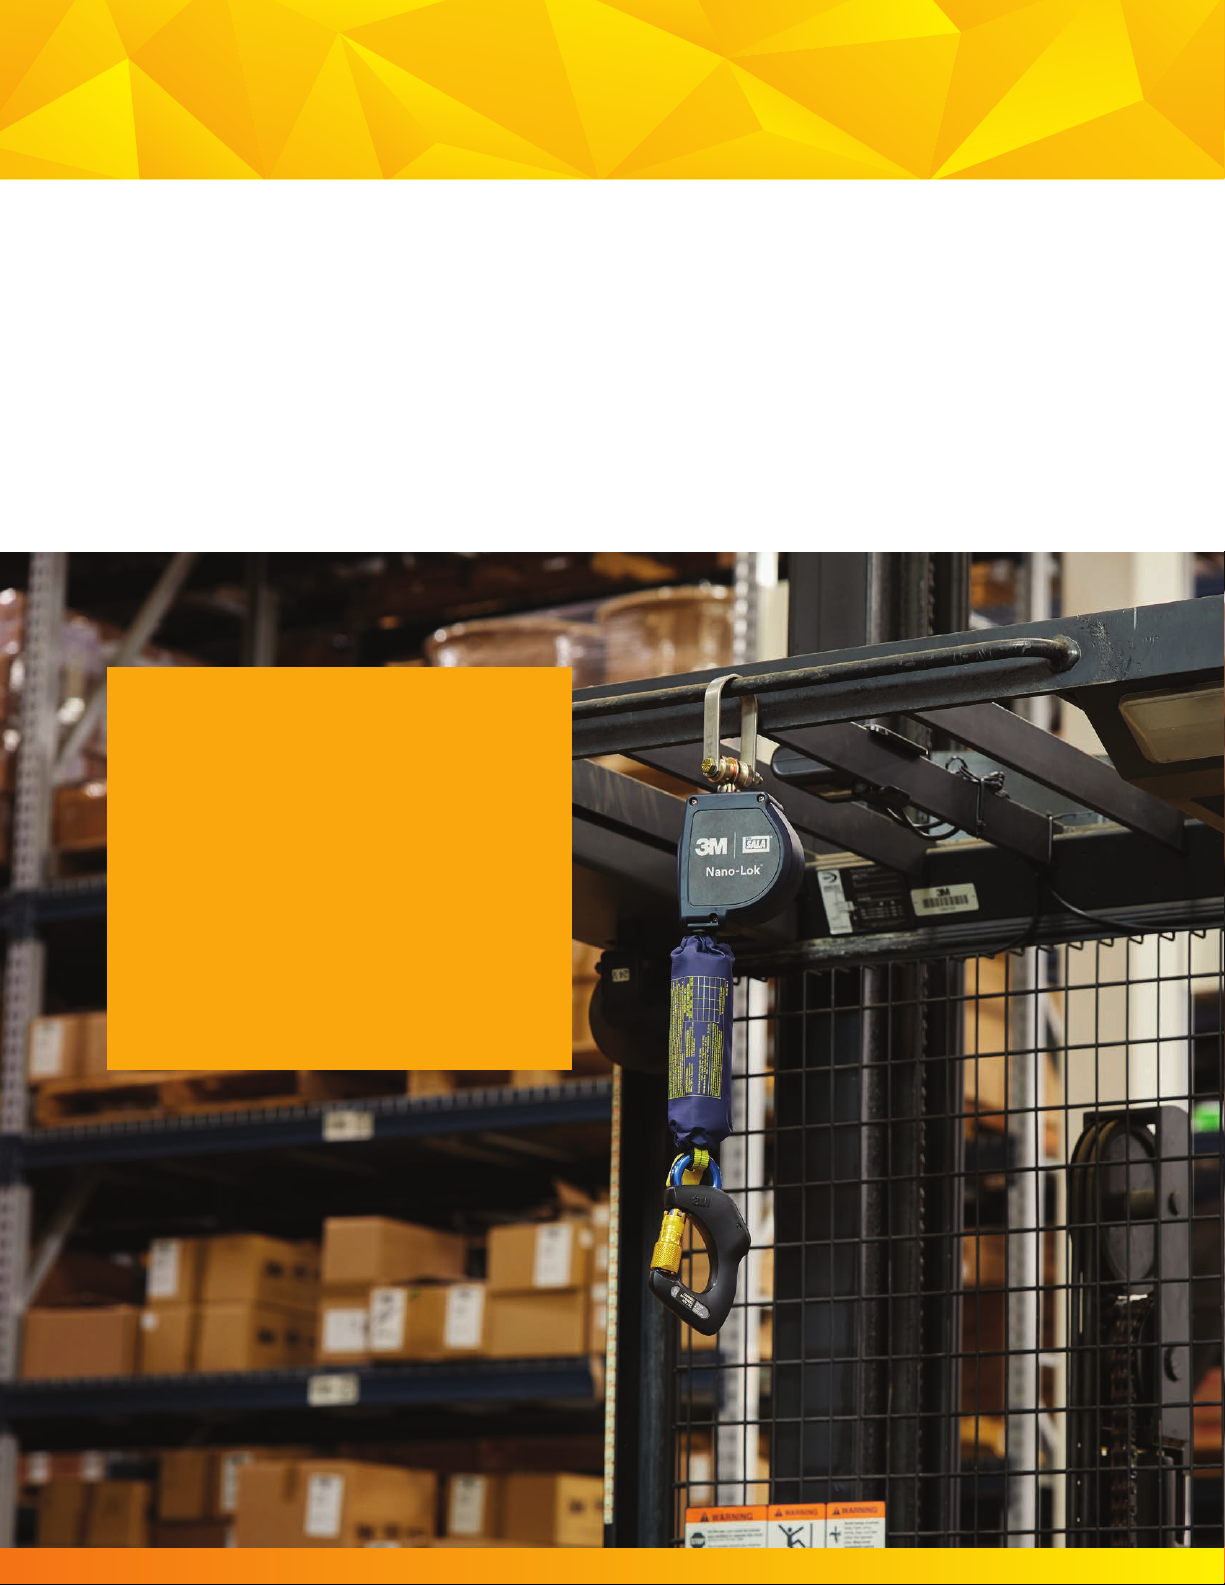
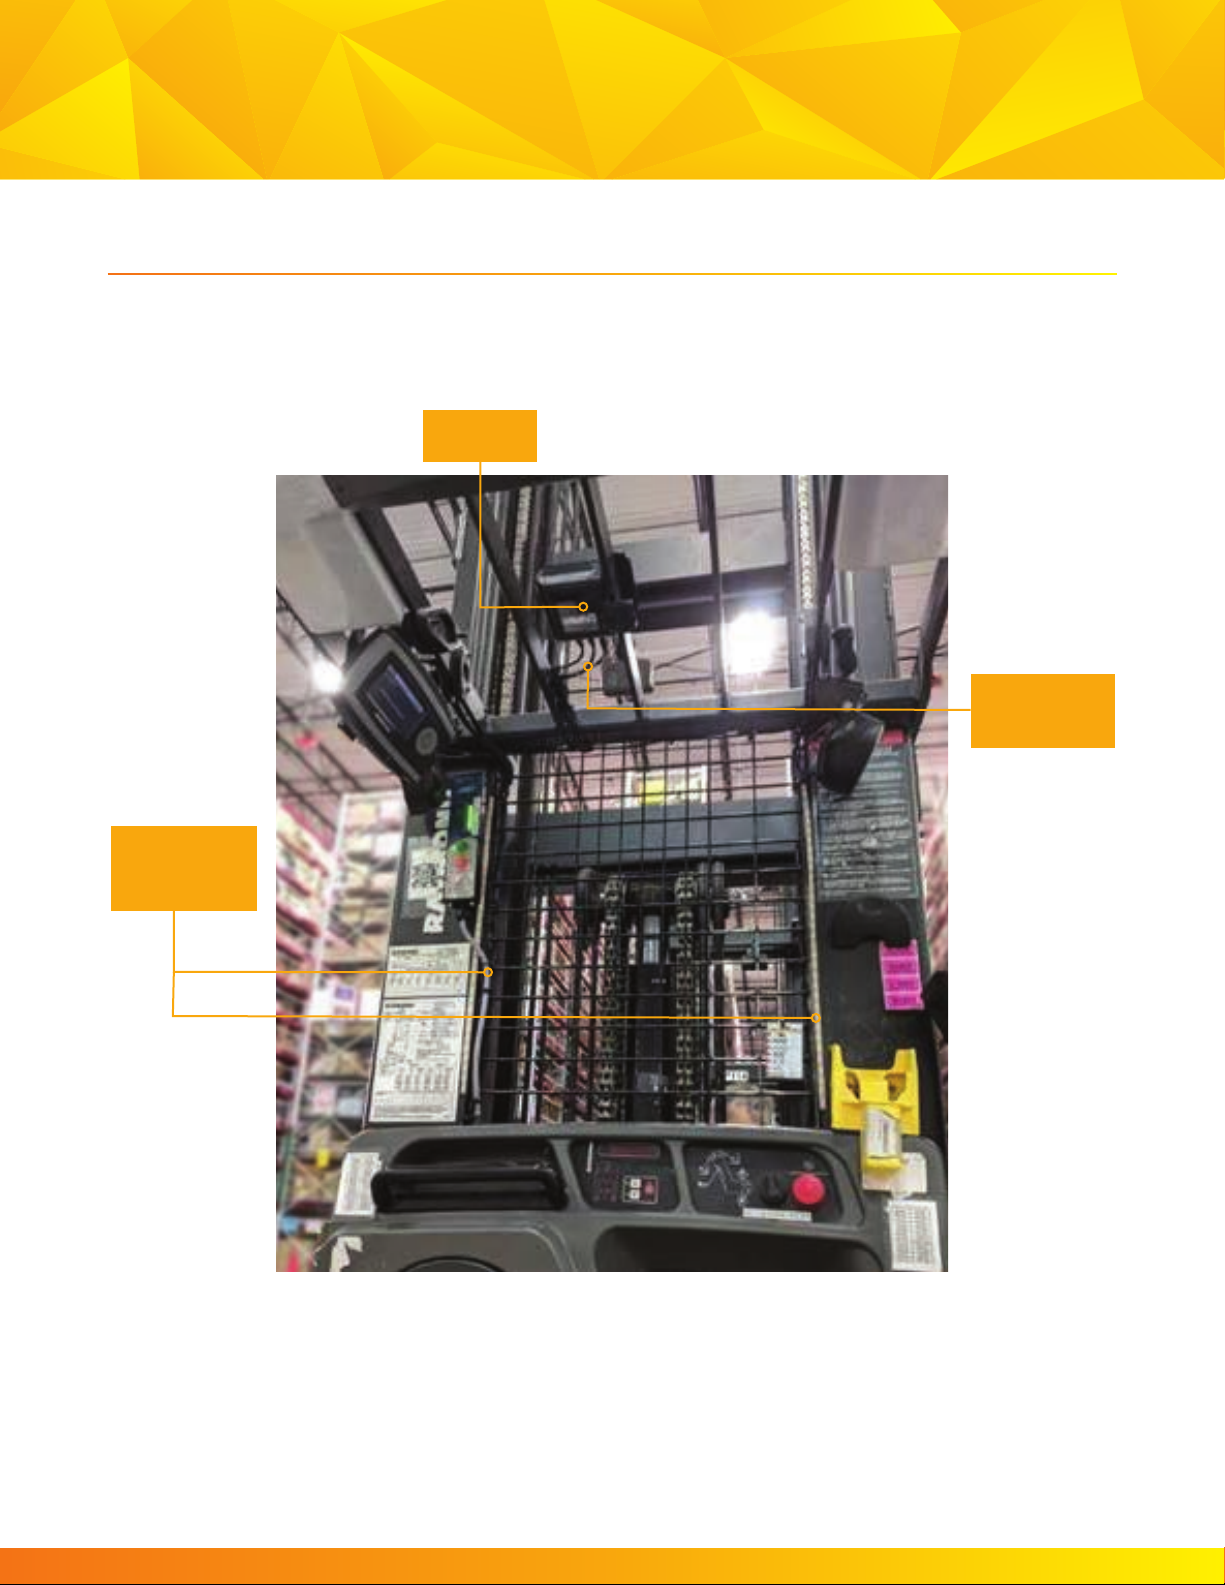
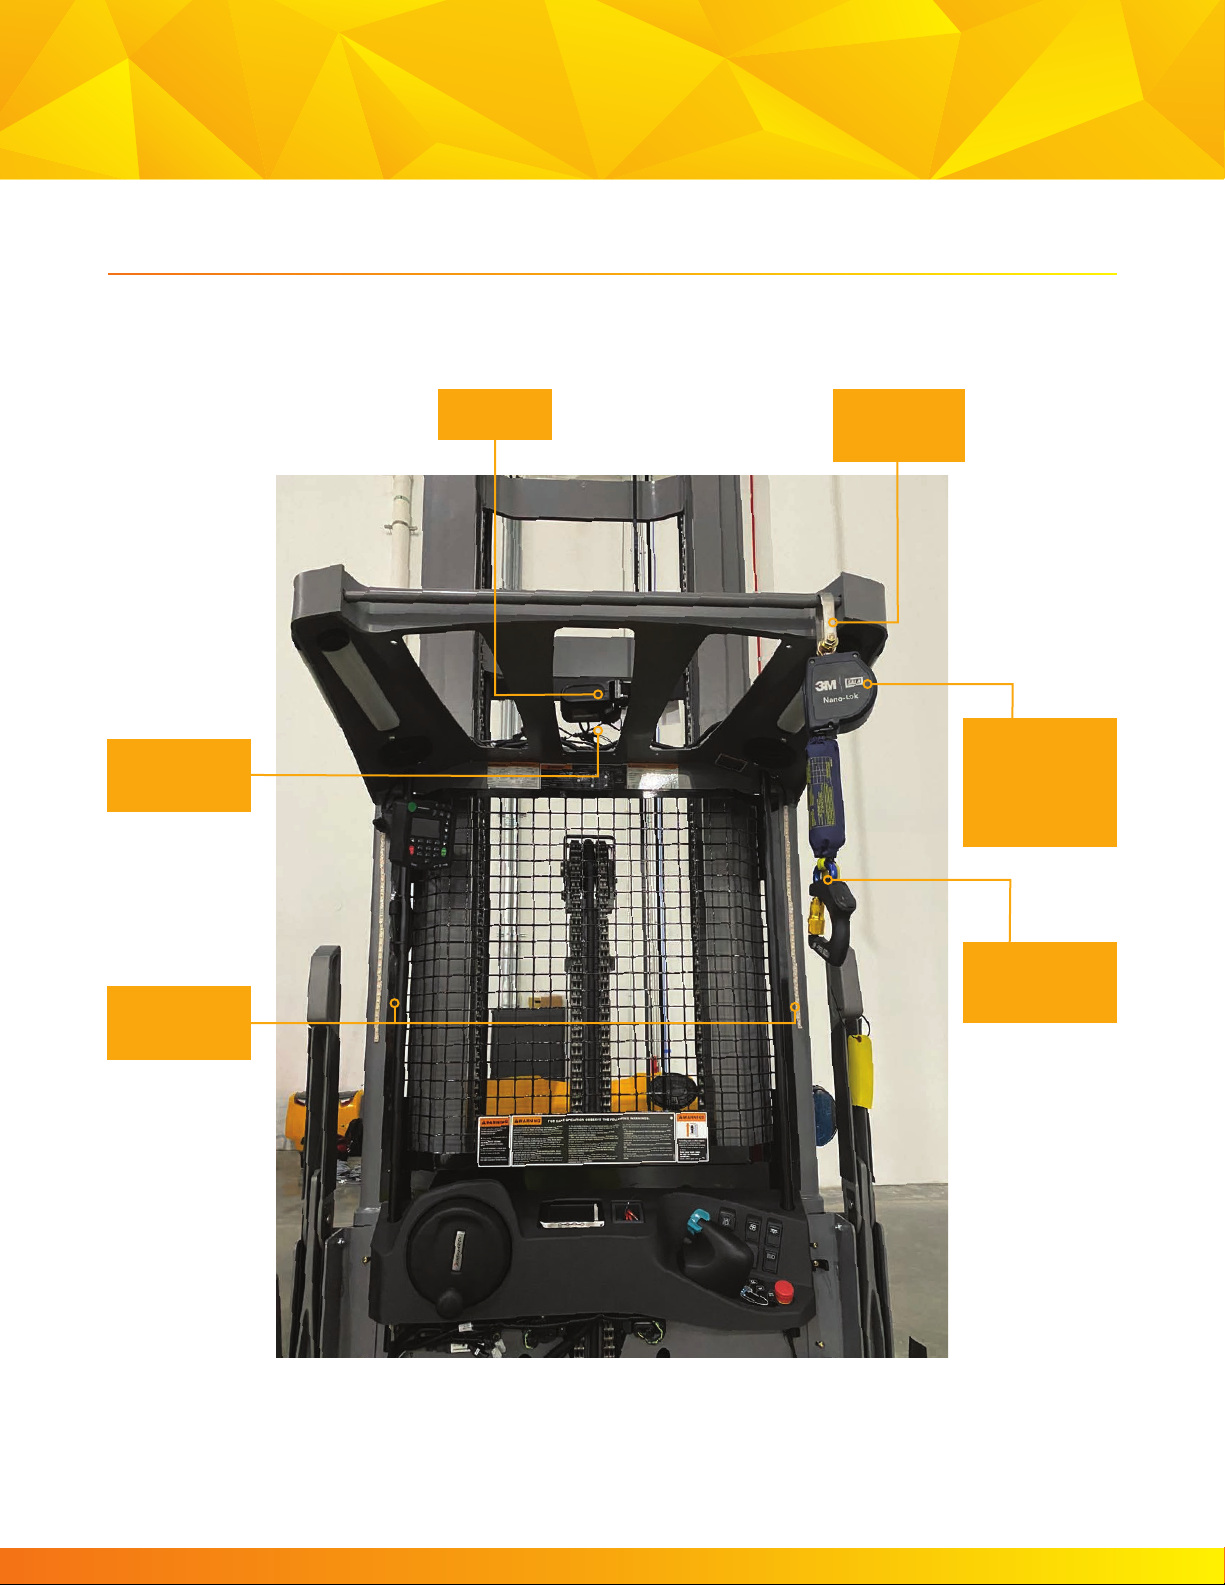
3M DBI-SALA Nano-Lok Connected Order Picker SRL... User manual
Other 3M Safety Equipment manuals

3M
3M DBI-SALA EZ-Line User manual

3M
3M Versaflo S Series Installation instructions

3M
3M 4990IPT User manual

3M
3M Scotchcast 3832 User manual

3M
3M Peltor Optime I H510A User manual

3M
3M DBI SALA NANO-LOK 3101580 User manual

3M
3M Peltor LiteCom MT53H7A4600-NA User manual

3M
3M 306S1043 User manual

3M
3M PELTOR WS LiteCom Plus Instruction Manual

3M
3M Peltor Kid 510A K User manual

3M
3M DBI SALA EZ-Line Operator's manual

3M
3M DBI-SALA EZ-Stop AJ512Y/0 User manual

3M
3M Peltor Optime H510A User manual

3M
3M PROTECTA AM100 User manual

3M
3M DBI-SALA 1246518 User manual

3M
3M ULTRA-LOK Series User manual

3M
3M DBI SALA Nano-Lok User manual

3M
3M DBI-SALA XE Series User manual

3M
3M Nanolock 3101214 User manual

3M
3M DBI-SALA EXOFIT X100 Series User manual


Popular Safety Equipment manuals by other brands

Innova
Innova Xtirpa Instruction and safety manual

bolle SAFETY
bolle SAFETY B810 quick start guide

SHENZHEN FANHAI SANJIANG ELECTRONICS
SHENZHEN FANHAI SANJIANG ELECTRONICS A9060T instruction manual

Hiltron security
Hiltron security POWER8E Installation and use manual

Hatco
Hatco B-950P installation guide

Sitec
Sitec TX MATIC operating manual