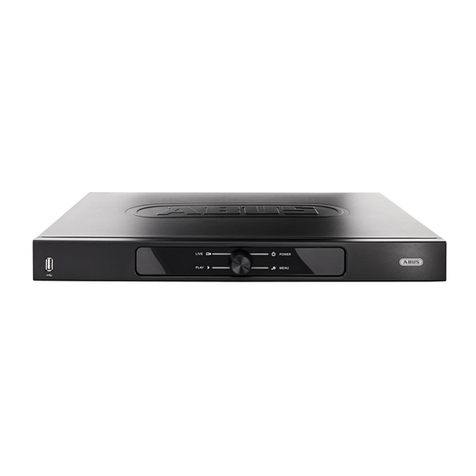
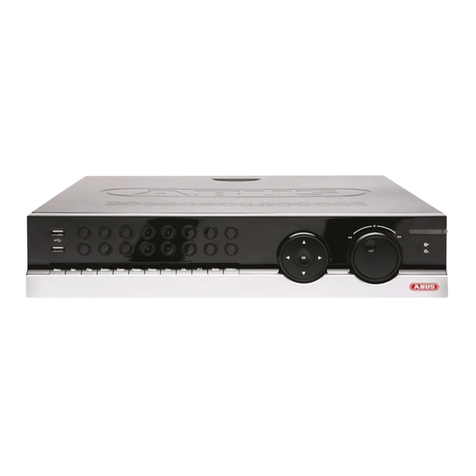
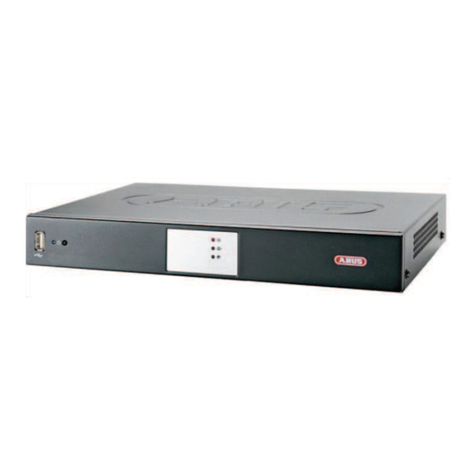
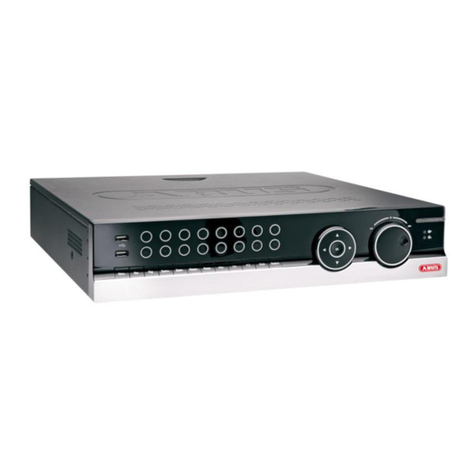
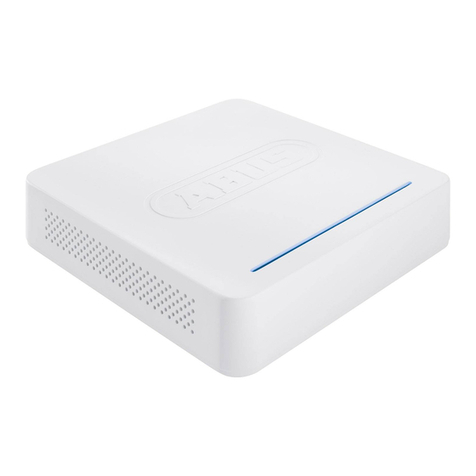
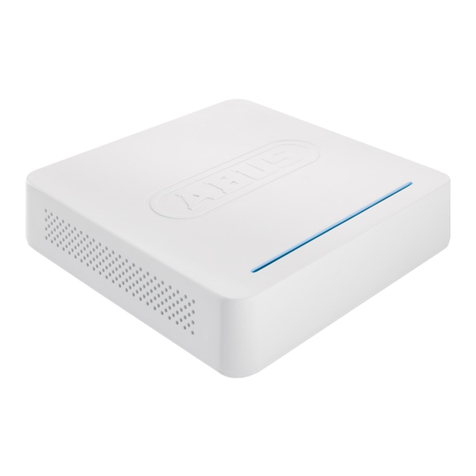
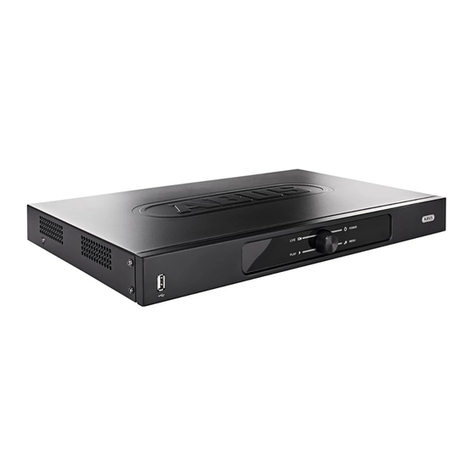
Abus NVR10020P User manual

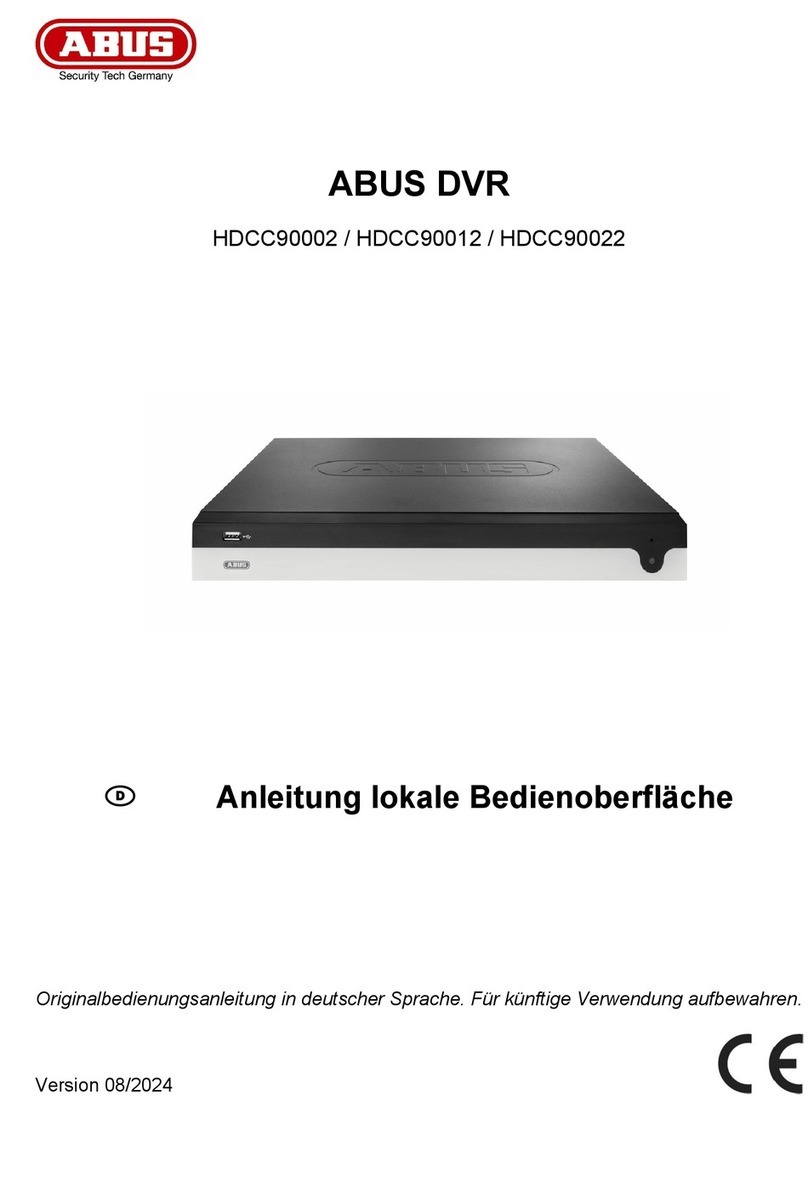
ABUS NVR
User manual local user interface
Original user manual in English. Keep for future use.
Version 02/2020

2
CONTENTS
1) Declaration of conformity..................................................................................... 5
2) Setup wizard........................................................................................................ 6
3) Live view.............................................................................................................. 6
Main menu.............................................................................................................. 8
Camera menu ......................................................................................................... 9
Camera command .................................................................................................. 9
Display menu.......................................................................................................... 9
4) Playback view.................................................................................................... 10
Camera selection.................................................................................................. 10
Calendar ............................................................................................................... 11
Camera command ................................................................................................ 11
Playback control.................................................................................................... 12
Preview.............................................................................................................. 12
Time display on time bar ................................................................................... 12
Time bar filters................................................................................................... 13
Controlling the time bar ..................................................................................... 13
5) File search......................................................................................................... 14
Saved search .................................................................................................... 15
All files............................................................................................................... 15
Search for people.............................................................................................. 15
Save search ...................................................................................................... 15
Export search results......................................................................................... 16
6) Intelligent analysis............................................................................................. 16
People counting:....................................................................................................... 16
Heat map:................................................................................................................. 16
7) Camera settings ................................................................................................ 17
Camera................................................................................................................. 17
Network overview.............................................................................................. 18
Connecting camera via PoE.............................................................................. 20
Layout................................................................................................................... 23
Private Zone.......................................................................................................... 24
Video parameters.................................................................................................. 24
Event..................................................................................................................... 25
Normal event..................................................................................................... 26
Intelligent event ................................................................................................. 27
8) Storage settings ................................................................................................ 28

3
Schedule............................................................................................................... 28
Video recording (recording plan) ....................................................................... 28
Advanced Configuration.................................................................................... 29
Image recording (detection)............................................................................... 29
Storage medium.................................................................................................... 30
Add NetHDD...................................................................................................... 32
Storage mode ....................................................................................................... 32
Mode: Quota...................................................................................................... 33
Mode: Group ..................................................................................................... 33
Auto backup.......................................................................................................... 34
Advanced settings................................................................................................. 35
9) System settings................................................................................................. 37
General................................................................................................................. 37
Users..................................................................................................................... 39
Add user............................................................................................................ 40
Editing a user .................................................................................................... 40
Delete Users...................................................................................................... 41
Live view parameters......................................................................................... 41
Individual user authorisation.............................................................................. 41
Network................................................................................................................. 42
TCP/IP............................................................................................................... 42
DDNS................................................................................................................ 43
PPPoE............................................................................................................... 44
NTP................................................................................................................... 44
NAT................................................................................................................... 44
Advanced settings –SNMP............................................................................... 45
Advanced settings –Email................................................................................ 46
Advanced settings –ABUS Link Station............................................................ 47
Advanced settings –additional settings............................................................. 48
Live view............................................................................................................... 49
General.............................................................................................................. 49
Layout / display ................................................................................................. 50
All-in-one stream (Channel-Zero)...................................................................... 50
Holiday.................................................................................................................. 51
10) Maintenance settings...................................................................................... 52
System info........................................................................................................... 52
Log book............................................................................................................... 53

4
Import/Export ........................................................................................................ 53
Update .................................................................................................................. 54
Restore defaults.................................................................................................... 54
Network................................................................................................................. 55
Hard disk drive function......................................................................................... 55
System maintenance............................................................................................. 56
Advanced settings................................................................................................. 56

5
1) Declaration of conformity
ABUS Security Center hereby declares that the enclosed product complies with the
requirements of the following directives:
EMC Directive 2014/30/EU
Low-Voltage Directive 2014/35/EU
RoHS Directive 2011/65/EU
The full EU declaration of conformity can be obtained from the following address:
ABUS Security Center GmbH & Co. KG
Linker Kreuthweg 5
86444 Affing
GERMANY
www.abus.com/product/itemnumber
(“Item number” in the link to be replaced with the item number
of the enclosed product)

6
2) Setup wizard
The setup wizard guides you through the required basic settings for the system. The
recorder should then be ready for recording and monitoring.
3) Live view
Live view starts automatically when the device is switched on.
The live view function provides the option of displaying live images and executing
camera commands for all cameras connected to the recorder.

7
•Double-clicking an image displays the selected camera image in full screen or
switches back to the original view.
•Click the right-hand button to show or hide the menu in order to display only
the relevant camera layout in full screen.
The live view is divided into the following function areas:
Main menu
For selecting the configuration and operating menus
Camera menu
For selecting and searching for cameras and/or displaying of
various analysis functions
Camera
command
For selecting camera commands and actions for the selected
camera
Display menu
For controlling the view on the local monitor
Recording
status
In live image, the current recording status will always be shown
(top right) in the form of a coloured R (“Record”). Every video
channel can have one of the following three statuses:
No symbol
No recording programmed, no HDD available,
no event
Event alarm
(for motion, alarm input or VCA)
Recording started

8
Main menu
Switches to live view
Switches to playback view
Switches to file search
Switches to intelligent analysis
Switches to menu for camera settings
Switches to menu for memory settings
Switches to menu for system settings
Switches to menu for maintenance settings
Opens the log book
All interactions and events are recorded in the log book. Entries can
be filtered according to specific criteria and displayed.
Backup. All active export downloads are displayed.
Use this to log off from the NVR or restart and/or shut down the
system.

9
Camera menu
Camera command
Display menu
Generates an instant image
Starts playback of the last 5 minutes
Opens the PTZ control
Opens digital zoom
Switches audio on/off
Opens the display priority
Shows information on the video stream
Starts/ends the recording, ATTENTION: This function overwrites the
existing recording schedules.
Opens a menu for changing views when using fisheye cameras
Switches between stream 1 and stream 2
Switches 3D positioning on/off
1/1
Switches between view pages
Changes to second monitor
Open the camera layout selection
Starts/ends sequential display
Starts/ends the recording for all cameras
Starts/ends full-screen display

10
4) Playback view
Playback allows recorded video data from cameras on the recorder to be played.
The playback view is divided into the following function areas:
Camera selection
The camera list makes it possible to select the recorded camera archive on the
recorder. By clicking on the selection fields in the list, several cameras can be
played back simultaneously.
You can search for a specific camera name in the search filed above the camera list
(case-sensitive). You also have the option to “Select all cameras” or “Select cameras
individually” with a single click.
Camera
selection
For selecting the cameras for the playback.
Calendar
For selecting the date of the recorded data.
Camera
command
For selecting camera commands and actions for the selected
camera.
Playback
control
For controlling and interacting with the playback.

11
Calendar
Here you can select the day of the recording to be searched.
By clicking on “User-defined search”, you can open a new window with criteria and
filters for further customising your search.
You can save the search settings by entering a name and clicking on the “Save”
button. These settings can be called up and executed in the menu on the left-hand
side.
Camera command
Time
For selecting a predefined period of time or a period of time
defined by you
File type
For selecting whether you want to search for videos or images
Tagging
If tags were created, you can search for them here according to
name
File status
For selecting whether the file is “Locked” or “Unlocked”
Event Type
For selecting whether you want to search for a specific type of
event. Example: motion detection
Number plate
&
region/country
If a compatible number plate camera is used, you can also search
for a specific number plate here
Generates an instant image
Creates a tag for the current playback position. Tags can be
retrieved and displayed via the playback type “Tag”.
Opens digital zoom
Switches audio on/off
The record file for the current playback position will be locked. A
locked data file will not be overwritten by ring memory.
Opens smart search. In order to be able to use smart search, the
relevant event type must be enabled. (Motion detection, tripwire,
intrusion detection)
Opens a menu for changing views when using fisheye cameras.

12
Playback control
Then, click on the time bar to start/continue the playback from the desired time.
Recordings are shown by coloured bars in the time bar. The colour coding is
explained below:
Preview
This function gives you a quick overview. Position the cursor over the time bar to
display nine previews for the selected time.
Time display on time bar
The standard display range setting for the time bar is 20 minutes. This means that
the last 10 minutes before and the next 10 minutes after the current playback time
are shown on the time bar. The timeline can be scaled as follows:
5 minutes, 10 minutes, 20 minutes, 1 hour, 2 hours, 4 hours, 8 hours, 12 hours, 16
hours, 20 hours, 1 day.
Continuous recording
Event recording (motion, alarm input, VCA)
Smart Search (depending on the filter)

13
Time bar filters
There are four different filters for simplifying the search for particular recordings. The
display of the time bar is always adjusted as well.
Controlling the time bar
You can choose from the following functions below the time bar:
Duration
Shows all continuous recordings
Smart
•Shows all recordings triggered by a VCA function, e.g.
tripwire
•You can search in existing recordings in a targeted
manner using a VCA function. Click on the icon in the
camera command bar.
You can choose from the following three VCA functions:
Tripwire
Intrusion detection
Motion detection
Custom
Use the “User-defined search” function first.
Tagging
Displays the added tags in the time bar
Opens the menu for playing back recordings from external data
storage devices
The recordings of the selected camera are played back in quad
display at various points in time. This makes it quicker to home in on
events.
Makes exporting video clips fast and simple. You have the option to
search the calendar. The time of the video clip can also be defined
by sliding the red brackets on the time bar.
Jumps back 30 seconds

14
5) File search
Here you have two options to search for recordings:
•Search for videos or images
•Search for people
Cameras must support this function and be preconfigured for this
Jumps forward 30 seconds
Play back and pause recording backwards
Play back and pause recording forwards
Decreases the playback speed
X1
Playback speed
Increases the playback speed
Switches between stream 1 and stream 2
Open the camera layout selection
Starts/ends full-screen display

15
Saved search
Saved search requests are displayed here and can be called up quickly at a later
time.
All files
Search for people
The search results can be displayed as follows.
All search results can be exported quickly and easily.
Save search
By clicking on the “Save” button, defined filters can be saved and quickly called up
again. Enter a name and confirm by clicking on “Save”.
Time
For selecting a predefined period of time or a period of time
defined by you.
Camera
For selecting which camera archives to search through
File type
For selecting whether you want to search for videos or images
Tagging
If tags were created, you can search for them here according to
name
File status
For selecting whether the file is “Locked” or “Unlocked”.
Event Type
For selecting whether you want to search for a specific type of
event, e.g. motion detection.
Number plate
&
region/country
If a compatible number plate camera is used, you can also search
for a specific number plate here.
Time
For selecting a predefined period of time or a period of time
defined by you.
Camera
For selecting which camera archives to search through
File type
For selecting whether you want to search for videos or images
Close-up
Shows close-ups of recognised faces
Original image
Show the original image of recognised faces

16
Export search results
Search results can be exported quickly and easily. Select the video or image to be
exported (multiple selection is possible) and click on the “Export” button.
During export, you can also export the log file and a video player in addition to the
recordings.
6) Intelligent analysis
Important: Only with cameras that support people counting/heat map functions. The
relevant function must be activated in the camera itself and saved on the microSD
card of the camera.
People counting:
Select the camera with the “People counting” function. Select the desired time period
in the calendar and select the desired report type. (Daily, weekly, monthly, yearly
report). The people entering and leaving will then be shown in the statistics. These
can be exported to an external storage medium via the export function.
Heat map:
Select the camera with the heat map function. Select the desired date in the calendar
and select the desired report type. (Daily, weekly, monthly, yearly report). Click on
“Count” to call up the heat map image. This image can be exported to an external
storage medium via the export function.

17
7) Camera settings
You will find camera management in this menu. You will also find the basic camera
settings here.
Camera
Select all cameras
Add camera
Delete camera
Import/export camera list
More settings:
•Protocol
Here you can create a user-specific RTSP profile. This profile
can then be selected when adding a camera.
Protocol: select profile to be defined
Name: select any name
Stream:
oAll values below “Stream 1” will be used for stream 1
(live+recording).
oAll values below “Stream 2” will be used for stream 2
(multi-view live).
Stream 2: Activates stream 2

18
Network overview
Click on the “ ” button in the menu below for an overview of all cameras in
the network. Click on the “Lock” icon to lock this display.
Mark all desired cameras to “Activate” them or “Add” them to the NVR.
Type: RTSP
Transmission protocol: Use the auto setting, provided that
there are no special requirements.
Port: Enter the RTSP port
Path: Specify the RTSP streaming path on the network
camera
Typical layout of an RTSP streaming path:
rtsp://192.168.0.1:554/video.h264
•Camera default password management
Here you can change the default password (assigned during
initial setup in the setup wizard). It is used for the QUICK
ADD function in the camera menu. Furthermore, “Inactive”
cameras can be activated using this password.
Enter the name of the camera you want to search for here
Displays the cameras in tile view
Displays the cameras in list view

19
Manual adding / User-defined adding
Here you can manually add network cameras by entering the IP address and protocol
and specifying the port and user ID or adjust the settings of already added cameras.
You can also use this menu to add network cameras from other manufacturers,
ONVIF-compatible cameras and RTSP profiles.
Select a camera from the list and add to/change the corresponding parameters if
necessary
Alternatively, you can add cameras by clicking on the buttons in the menu above.
IP address
IP address of the camera
Protocol
Manufacturer communication protocol. For ABUS cameras, please
select ABUS as the protocol.
Port
Communication port of the camera (usually port 80 or 8000)
Transmission
protocol
Auto (recommended), UDP, TCP
User name
User name for the admin account of the camera
Password
Password for the admin account of the camera

20
Connecting camera via PoE
NVR10020P and NVR10030P have integrated PoE ports via which ABUS network
cameras can be connected directly. (See compatibility list).
Please connect the individual cameras to the PoE ports one-by-one and wait until the
status of the relevant camera is “ONLINE” and an image is displayed.
Important:
Automatically adding cameras via a PoE port only works if the camera is inactive and
set to factory settings. The NVR activates the camera automatically with the default
IP camera password. If the camera has already been activated, the correct password
must be entered in the NVR afterwards.
The cameras are automatically assigned a fixed IP address by the NVR.
The web interfaces of the cameras connected to the PoE port can also be opened via
the web interface of the NVR. (Configuration / System / Camera management).
You will find the configuration options for the integrated PoE ports under “Camera” /
“PoE settings” on the device.
Use default
password for
the camera
Use default password
(assigned during initial setup in the setup wizard)
Use default
port
Use default port (8000)
(assigned during initial setup in the setup wizard)
Check
certificate
The certificate is a form of identification for the camera that enables
more reliable camera authentication. When using this function, the
IP camera certificate must firstly be imported into the NVR (see
network settings).
Other manuals for NVR10020P
1
This manual suits for next models
1
Table of contents
Other Abus DVR manuals

Abus
Abus TVVR30003 User manual

Abus
Abus TVVR20001 User manual

Abus
Abus eytron TV8901 User manual

Abus
Abus TV8239 User manual

Abus
Abus Eyton TV8925 User manual

Abus
Abus TVHD80000 User manual

Abus
Abus TVHD800x0 User manual

Abus
Abus Eytron JPEG2000 User manual

Abus
Abus TVVR50011 User manual

Abus
Abus NVR10030P User manual

Abus
Abus HDCC90001 User manual

Abus
Abus TVVR41100 User manual

Abus
Abus TVVR45030 User manual

Abus
Abus HDCC90002 User manual

Abus
Abus TVVR36500 User manual

Abus
Abus TVHD80120 User manual

Abus
Abus TVVR30004 User manual

Abus
Abus TVVR25000 User manual

Abus
Abus TVVR30003 User manual

Abus
Abus TVVR45021 User manual