ii
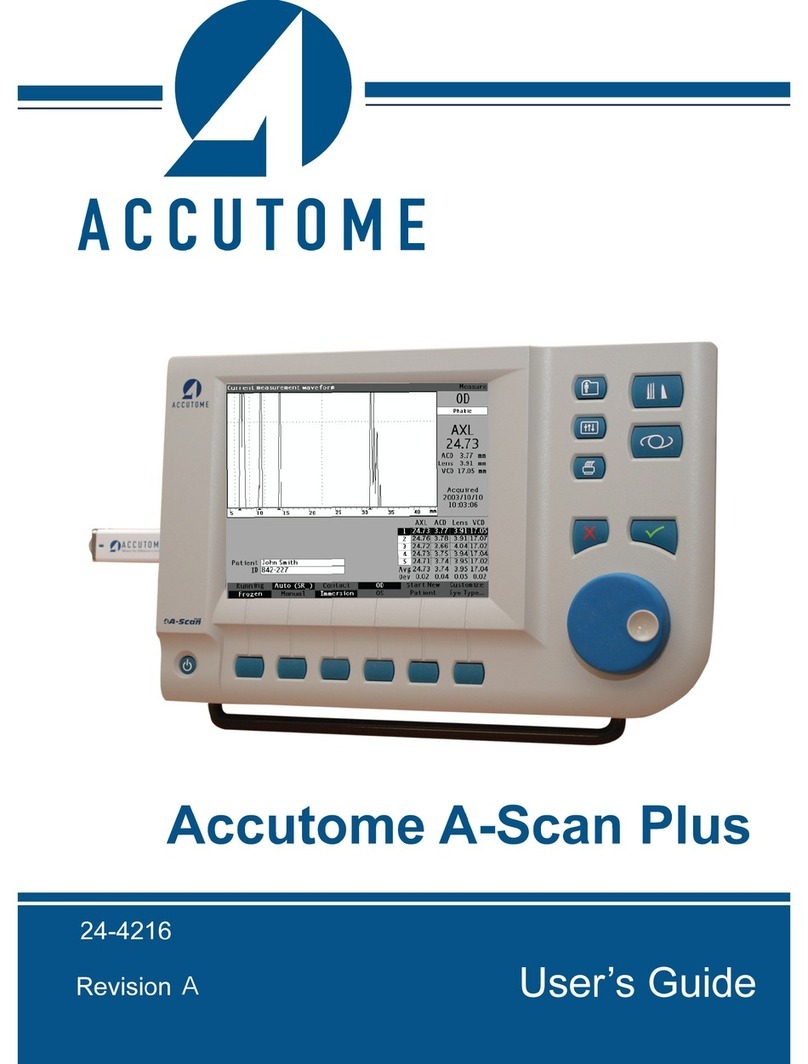
Accutome A-Scan Plus User’s Guide
Placing the Accutome A-Scan Plus - - - - - - - - 16
Quick-Close Kickstand - - - - - - - - - - - - 16
Mounting - - - - - - - - - - - - - - - - - - 18
Connecting the Components - - - - - - - - - - 18
Connecting the Printer - - - - - - - - - - - - 19
Connecting the Footswitch - - - - - - - - - - 19
Connecting the Keyboard - - - - - - - - - - - 20
Connecting the Serial Link - - - - - - - - - - 21
Connecting the Power - - - - - - - - - - - - 22
Connecting the Probe - - - - - - - - - - - - 23
Probe Setup - - - - - - - - - - - - - - - - - - 25
Accutome Probe with an Immersion Shell - - - - - 26
Accutome Probe with Goldman Tonometer Adapter- 27
Accutome Probe with Handle Extension - - - - - - 28
Basic Operation - - - - - - - - - - - - - - - - 30
How to Power On the Accutome A-Scan Plus - - - 30
How to Adjust the Contrast - - - - - - - - - - - 32
Using the Test Block - - - - - - - - - - - - - - 33
How to Start a New Patient - - - - - - - - - - - 34
How to Enter Text without a Keyboard - - - - - 38
Screen Keyboard Features - - - - - - - - - - - 39
Entering a Patient with the Screen Keyboard - - 40
How to Take a Measurement - - - - - - - - - - 41
How to Perform a Calculation - - - - - - - - - - 43
How to Print a Record - - - - - - - - - - - - - 47
How to Save Patient Records - - - - - - - - - - 48
How to Use the Buttons and Screens - - - - 51
Overview - - - - - - - - - - - - - - - - - - - 51
Accutome A-Scan Plus Buttons - - - - - - - - - - 52
Dedicated Buttons - - - - - - - - - - - - - - - 52
Measure Button - - - - - - - - - - - - - - - 53
Patient Record Button - - - - - - - - - - - - 53
Calculate - - - - - - - - - - - - - - - - - - 53
Preferences - - - - - - - - - - - - - - - - - 53
Print - - - - - - - - - - - - - - - - - - - - 54
Check or Affirmative (9) - - - - - - - - - - - 54
Negative or Delete (X) - - - - - - - - - - - - 54
