manuals.online logo
Brands
  1. Home
  2. •
  3. Brands
  4. •
  5. aci
  6. •
  7. Accessories
  8. •
  9. aci LM34 RSO Installation instructions

aci LM34 RSO Installation instructions

Automation Components, Inc.
2305 Pleasant View Road | Middleton, WI 53562
Phone: 1-888-967-5224 | Website: workaci.com
Page 1
Version: 4.0
I0000118
2.75"
(69.85 mm) 1.12"
(28.55 mm)
4.50"
(114.30 mm)
ROOM, VERSION 1
[R]
FRONT
FRONT
BOTTOM
RIGHT
RIGHT
FIGURE 1: ROOM DIMENSIONS
ROOM SERIES
Installation & Operation Instructions
PCB: LM34/LM334 RSO
Phone: 1-888-967-5224
Website: workaci.com
PRECAUTIONS
• DO NOT RUN THE WIRING IN ANY CONDUIT
WITH LINE VOLTAGE (24/120/230 VAC).
GENERAL INSTRUCTIONS
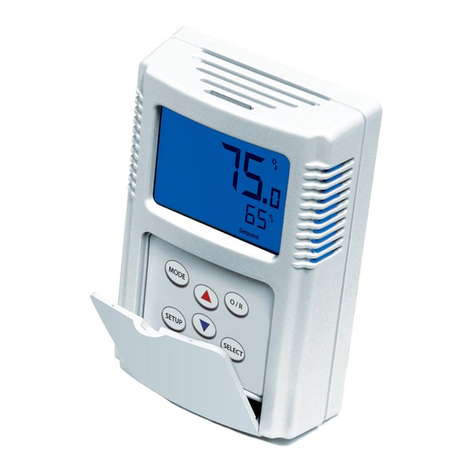
The Room sensor is a single point temperature
sensor that is designed for use with electronic
controllers in commercial heating and cooling
building management systems. These units will be
oered in Room, Room with Setpoint, Room with
Override, and Room with Setpoint and Override.
MOUNTING INSTRUCTIONS
For optimal temperature measurement, follow
these tips:
•Do not install on external walls.
•Avoid air registers, diusers, vents, and windows.
•Avoid conned areas such as shelves, closed
cabinets, closets, and behind curtains.
•Eliminate and seal all wall and conduit penetrations.
Air migration from wall cavities may alter
temperature readings.
•A thermally-insulated backing should be used when
tting to solid walls (concrete, steel, etc.). ACI part:
A/ROOM-FOAM-PAD
•Do not install near heat sources, eg: lamps,
radiators, direct sunlight, copiers, chimney walls,
walls concealing hot-water pipes.
Take care when mounting. Check local code for
mounting height requirements. Typical mounting
heights are 48-60” (1.2-1.5 m) o the ground and at
least 1.5’ (0.5 m) from the adjacent wall. The sensor
should be mounted in an area where air circulation is
well mixed and not blocked by obstructions.
*Reference FIGURE 2 (next page)
2.75"
(69.85 mm)
1.12"
(28.55 mm)
ROOM, VERSION 2
[R2]
4.50"
(114.30 mm)
BOTTOM
FIGURE 2: MOUNTING
Automation Components, Inc.
2305 Pleasant View Road | Middleton, WI 53562
Phone: 1-888-967-5224 | Website: workaci.com
Page 2
Version: 4.0
I0000118
FIGURE 3: PRINTED CIRCUIT BOARDS
MOUNTING INSTRUCTIONS
(Continued)
Separate the cover from the base. Attach the
base directly to the wall or to a standard 2”x 4”
junction box using the (2) #6-32 x 1” screws
provided.
Refer to Wiring Instructions (p. 2) to make
necessary connections. Tighten the cover
down, using the (2) 1/16”Allen screws located
in the bottom of the housing. A 1/16” Hex
driver is needed to secure the cover to the
base.
WIRING INSTRUCTIONS
ACI recommends 16 to 26 AWG twisted pair wires or shielded cable for all sensors. Signal wiring must be
run separate from low and high voltage wires (24/120/230 VAC). The number of wires needed depends on
the application. All wiring must comply with all local and National Electric Codes. After wiring, attach the
cover to the base by snapping the top of the cover on rst and then the bottom.
Note: When using a shielded cable, be sure to connect only (1) end of the shield to ground at the
controller. Connecting both ends of the shield to ground may cause a ground loop. When removing the
shield from the sensor end, make sure to properly trim the shield to prevent any chance of shorting.
COVER
#6-32 x 1”
MOUNTING SCREWS
BACKPLATE
OPTIONAL INSULATING
GASKET
CIRCUIT BOARD
LM34-RSOLM334-RSO
TEMPERATURE
SENSOR
“AFTER HOURS ”
NORMALLY OPEN
OVERRIDE SWITCH
O/RSET O/R
LM34
SET
S
SETPOINT ADJUSTMENT
POTENTIOMETER
TERMINAL BLOCKS
TEMPERATURE
SENSOR
“AFTER HOURS ”
NORMALLY OPEN
OVERRIDE SWITCH
SETPOINT ADJUSTMENT
POTENTIOMETER
TERMINAL BLOCKS
TROUBLESHOOTING
PROBLEM
Sensor reading is incorrect
Sensor reads infinity/very high resistance
Sensor reads low resistance
Erratic readings
SOLUTION(S)
•Verify sensor wiring to controller is not damaged and has continuity.
•Verify sensor or wires are not shorted together.
•Verify controller is setup for correct sensor curve.
•Disconnect wires from sensor terminal block, tighten terminal block
screws down, and take a resistance (ohm) reading with a multimeter.
•Compare the resistance reading to the Temperature Vs Resistance
Curves online: http://www.workaci.com/content/thermistor-curves-0
•Verify proper mounting location to conrm no external factors are
aecting reading.
•Sensor or wires are open.
•Sensor or wires are shorted together.
•Condensation on PCB board
•Bad wire connections.
Automation Components, Inc.
2305 Pleasant View Road | Middleton, WI 53562
Phone: 1-888-967-5224 | Website: workaci.com
Page 3
Version: 4.0
I0000118
W.E.E.E. DIRECTIVE
At the end of their useful life the packaging and product should be disposed of via a suitable recycling
centre. Do not dispose of with household waste. Do not burn.
TABLE 1: TERMINAL BLOCK CONNECTIONS
TERMINAL BLOCKS
LM34 (+)
LM34 (S)
LM34 (-)
SET
SET
O/R
O/R
LM334 (+)
LM334 (-)
CONNECTIONS
+5 to 30 VDC supply voltage
Sensor output to controller (mV)
Common / ground of controller or power supply
Setpoint output to controller
Tenant override or dry contact output to controller
+5 to 30 VDC supply voltage
Signal output to controller (uA)
SETPOINT CONTROL
Adjust slider at bottom of housing for set point control. Slide to right to increase set point temperature. Slide to
left to decrease temperature control. Units can be setup from factory for Direct Acting (resistance increases
when adjusted to right), or Reverse Acting (resistance decreases when adjusted to right).
OVERRRIDE OPTIONS
Override will be set to Override Separate Input (Dry Contact Closure)
WARRANTY
The ACI Room Series temperature sensors are covered by ACI’s Five (5) Year Limited Warranty, which is located in
the front of ACI’S SENSORS & TRANSMITTERS CATALOG or can be found on ACI’s website: www.workaci.com.
Automation Components, Inc.
2305 Pleasant View Road | Middleton, WI 53562
Phone: 1-888-967-5224 | Website: workaci.com
Page 4
Version: 4.0
I0000118
PRODUCT SPECIFICATIONS
One
1/16”Allen screws (2 qty) / 1/16”Hex Driver
1.5 to 50 °C (35 to 122 °F) | -40 to 65 °C (-40 to 149 °F)
10 to 95% RH, non-condensing
Screw Terminal Blocks (Non-Polarity Sensitive)
16 (1.31 mm²) to 26 AWG (0.129 mm²)
0.5 Nm (Minimum); 0.6 Nm (Maximum)
“R2” Enclosure: ABS Plastic | White, UL94-HB
“R” Enclosure: ABS Plastic | Beige UL94-HB
SENSOR NON-SPECIFIC INFORMATION
Number Temperature Sensing Points:
Housing Screw Size / Drive Size:
Operating | Storage Temperature Range:
Operating Humidity Range:
Connections / Wire Size:
Terminal Block Torque Rating:
Enclosure Material | Color:

This manual suits for next models

1

Other aci Accessories manuals

aci Room Series Installation instructions

aci

aci Room Series Installation instructions

aci DT2650 Installation instructions

aci

aci DT2650 Installation instructions

aci aSENSE RL User manual

aci

aci aSENSE RL User manual

aci IMMERSION SERIES Installation instructions

aci

aci IMMERSION SERIES Installation instructions

aci SST2630 Installation instructions

aci

aci SST2630 Installation instructions

aci ACCESS series Installation instructions

aci

aci ACCESS series Installation instructions

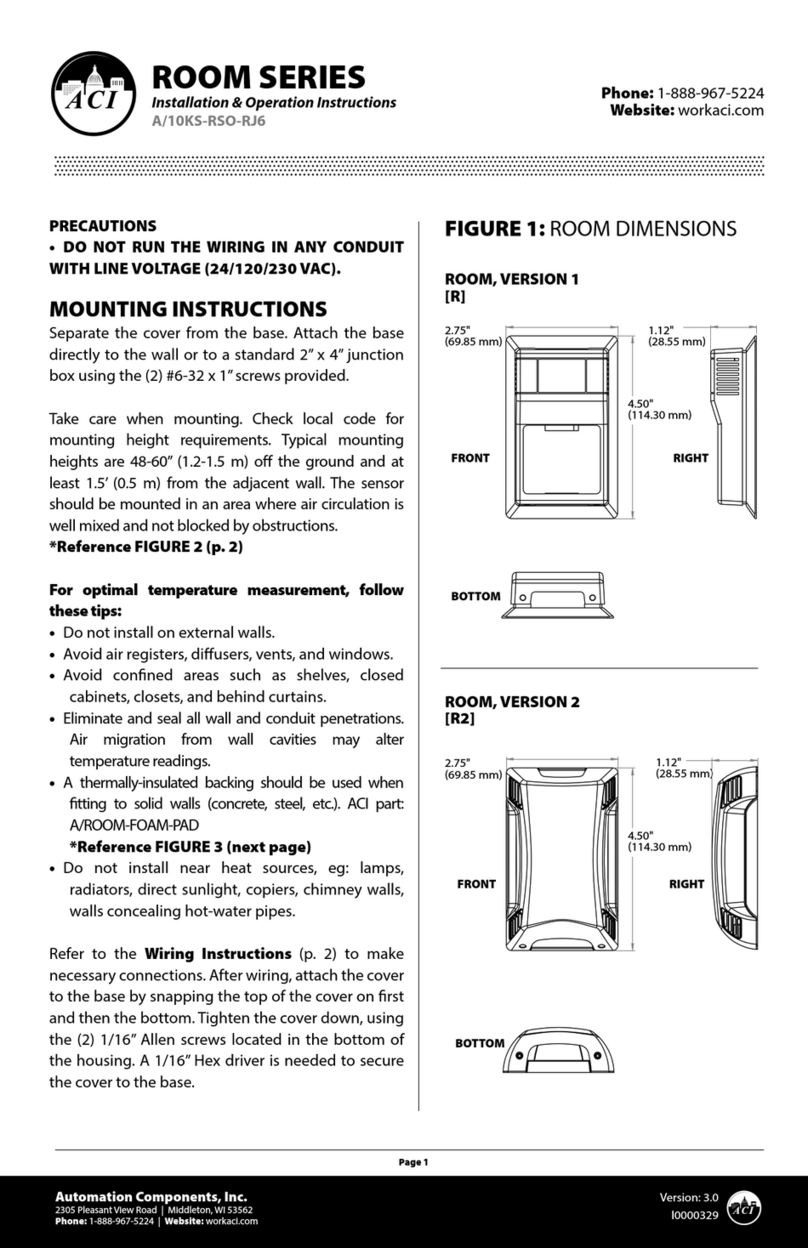
aci HAZARDOUS ROOM Series Installation instructions

aci

aci HAZARDOUS ROOM Series Installation instructions

aci DRN3.1 User manual

aci

aci DRN3.1 User manual

aci HAZARDOUS ROOM Series Installation instructions

aci

aci HAZARDOUS ROOM Series Installation instructions

aci Room Series Installation instructions

aci

aci Room Series Installation instructions

aci ACCESS series Installation instructions

aci

aci ACCESS series Installation instructions

aci A/CTE-50 User manual

aci

aci A/CTE-50 User manual

aci BACnet / Modbus IMMERSION Series Installation instructions

aci

aci BACnet / Modbus IMMERSION Series Installation instructions

aci Room Series Installation instructions

aci

aci Room Series Installation instructions

aci DUCT TEMPERATURE Series Installation instructions

aci

aci DUCT TEMPERATURE Series Installation instructions

aci OST2630 Installation instructions

aci

aci OST2630 Installation instructions

aci A/TT Remote Probe Series Installation instructions

aci

aci A/TT Remote Probe Series Installation instructions

aci A/CTE2 Series Configuration guide

aci

aci A/CTE2 Series Configuration guide

aci A/SCTE-50 User manual

aci

aci A/SCTE-50 User manual

aci RTD Freezer Series User manual

aci

aci RTD Freezer Series User manual

aci A/ASCS User manual

aci

aci A/ASCS User manual

aci TUCH2 Installation instructions

aci

aci TUCH2 Installation instructions

aci ROOM Series Installation instructions
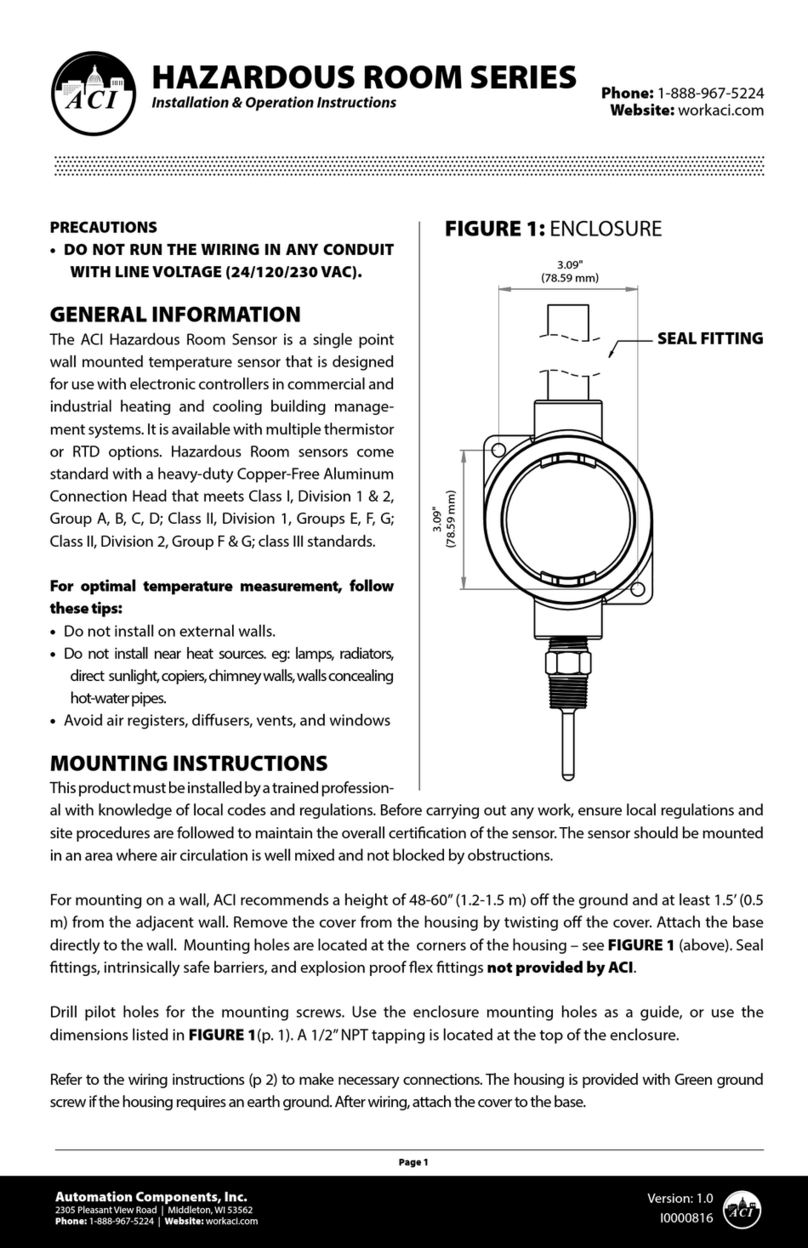
aci

aci ROOM Series Installation instructions

aci DUCT Series User manual

aci

aci DUCT Series User manual
Popular Accessories manuals by other brands

Honeywell Home DC915 Series manual

Honeywell Home

Honeywell Home DC915 Series manual

Velodyne Chrysalis IA-400D user manual

Velodyne

Velodyne Chrysalis IA-400D user manual

Yamaha FC7 owner's manual

Yamaha

Yamaha FC7 owner's manual

KLIK KPB200BK user manual

KLIK

KLIK KPB200BK user manual

ALCON CT-88 owner's guide

ALCON

ALCON CT-88 owner's guide

KUKUI QUANTUM manual

KUKUI

KUKUI QUANTUM manual

Daikin 2508032 Operation manual

Daikin

Daikin 2508032 Operation manual

Datalogic DS2 Ethernet instruction manual

Datalogic

Datalogic DS2 Ethernet instruction manual

CAME RIOPH8WS manual

CAME

CAME RIOPH8WS manual

PCB Piezotronics 356B11 Installation and operating manual

PCB Piezotronics

PCB Piezotronics 356B11 Installation and operating manual

Sunjoy 80QT Assembly and care instructions

Sunjoy

Sunjoy 80QT Assembly and care instructions

Independence G-force Brake manual

Independence

Independence G-force Brake manual

GDS XDI-XDIwin 15/30J Technical sheet

GDS

GDS XDI-XDIwin 15/30J Technical sheet

Manitowoc K00135 installation instructions

Manitowoc

Manitowoc K00135 installation instructions

WINDTECH BANTOO manual

WINDTECH

WINDTECH BANTOO manual

H&O Equipments CryoPen user manual

H&O Equipments

H&O Equipments CryoPen user manual

GYS Start UP 80 manual

GYS

GYS Start UP 80 manual

Life Under Canvas Awning Care and Instructions

Life Under Canvas

Life Under Canvas Awning Care and Instructions

manuals.online logo
manuals.online logoBrands
  • About & Mission
  • Contact us
  • Privacy Policy
  • Terms and Conditions

Copyright 2025 Manuals.Online. All Rights Reserved.