VERIFICATION
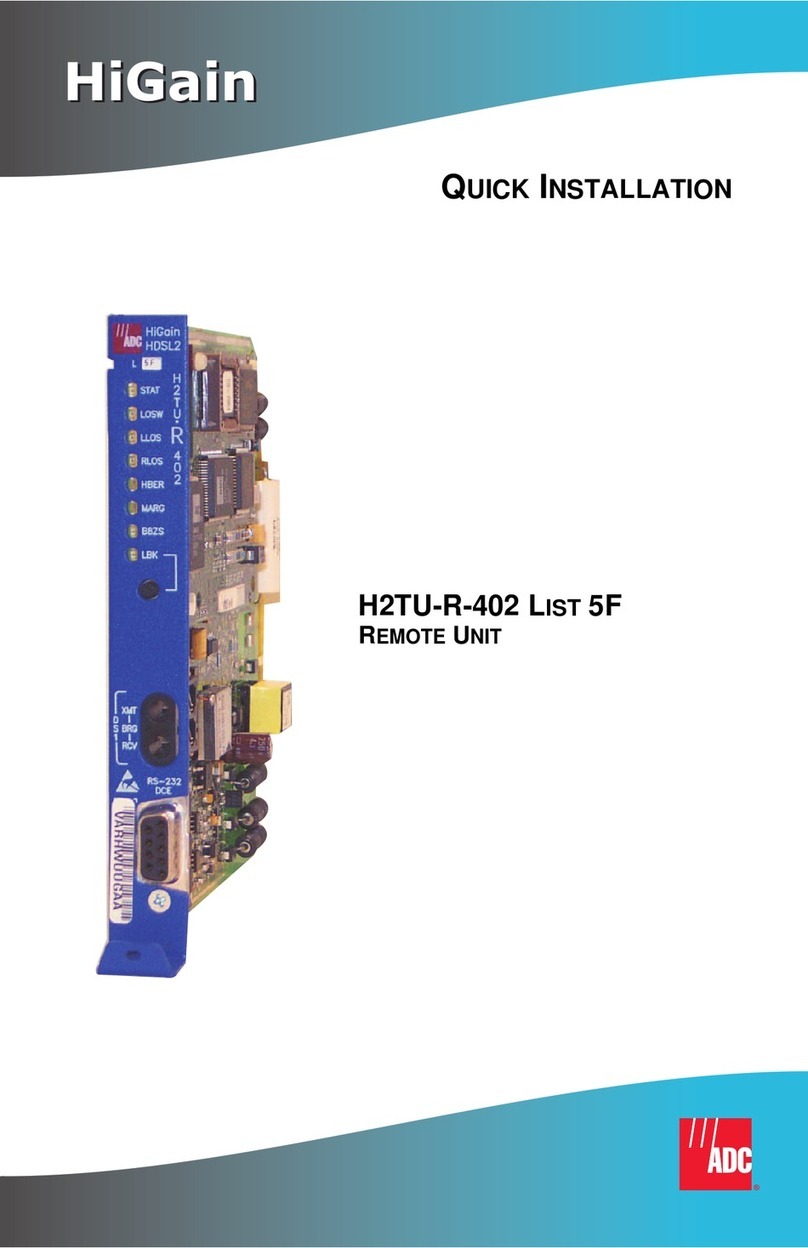
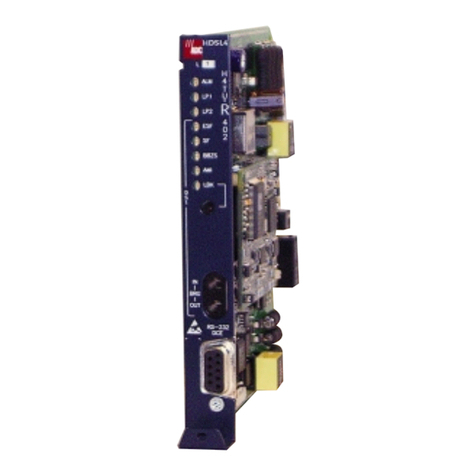
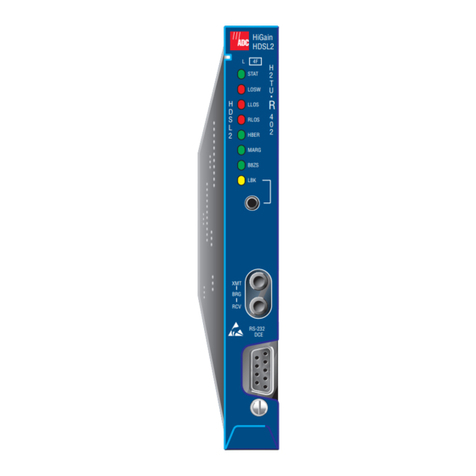
Once the H2TU-R is installed, verify that it is operating properly by monitoring the Status
LEDs on the front panel (refer to Table 1).
LOGGING ON TO THE MAIN MENU
The H2TU-R supports local and remote logon through a maintenance terminal (VT-100 or
a PC running VT-100 terminal emulation software) connected to the craft port on the
H2TU-R front panel.
The H2TU-R accesses menus and screens that are replications of those viewed at the
H2TU-C. You can also view system settings and inventory, initiate loopbacks, monitor
performance, and configure the circuit.
To connect a maintenance terminal:
1Connect a standard 9-pin serial cable to the RS-232 craft port on the H2TU-R-402 List
1B or List 1C front panel. Connect the other end of the cable to the serial port on the
maintenance terminal.
2Configure the maintenance terminal to the communications settings shown in the
illustration above.
3Start a terminal emulation program such as Procomm (emulating a VT100 terminal).
4If necessary, press + to refresh the HiGain HDSL2 logon screen.
5Type the first letter of the desired menu. Use the to toggle through menu
selections, and press to change a setting or display a menu.
LOOPBACK TESTING
Initiate loopback testing from the maintenance terminal menus or by using inband codes.
The inband codes shown below can be sent by a test set. For more information, refer to the
technical practice for the H2TU-C line unit.
Table 1. Status LED Descriptions
LED Status Indicates
Alarm (ALM) LED Shows alarm states for remote and local Loss of Signal (LOS).
Solid red Indicates a Loss of Signal (LOS) condition at the T1 input of the H2TU-R.
Blinking Indicates a LOS condition at the T1 input of the H2TU-C line unit.
HDSL2 LED Displays HDSL2 Loop condition.
Solid green Indicates HDSL2 loop is in sync.
Blinking once
per second Indicates the HDSL2 loop is trying to acquire sync.
Blinking 4 times
per second Indicates a margin alarm condition on the HDSL2 loop.
Blinking 10 times
per second Indicates a Cyclical Redundancy Check (CRC) error on the HDSL2 loop.
OFF Indicates no activity on the HDSL2 loop.
DS1 Framing (FRM)
LEDs (ESF and SF) Indicates framing patterns. If DS1 signals are not detected, the ESF, SF, B8ZS, and
AMI LEDs will not light.
ESF LED = Solid green Indicates Extended Super Frame (ESF). The LED blinks once per second when a
frame or CRC error occurs.
SF LED = Solid green Indicates Super Frame (SF). The LED blinks once per second when a frame error
occurs.
OFF Indicates unframed or no signal.
DS1 Code LEDs (B8ZS
and AMI) Indicates DS1 code options. If DS1 signals are not detected, the ESF, SF, B8ZS,
and AMI LEDs will not light.
B8ZS LED = Solid
green Indicates that the DS1 line code option is set to Bipolar with 8-Zero Substitution
(B8ZS). The LED blinks once per second when a string of excessive zeros is
detected.
AMI LED = Solid green Indicates that the user DS1 line code option is set to Alternate Mark Inversion
(AMI). This LED blinks once per second when a Bipolar Violation (BPV) is
detected.
Loopback (LPBK) LED Shows loopback states to and from the network and to and from the Customer
Interface (CI).
Solid yellow Indicates Network Remote Loopback (NREM).
Blinking once
per second Indicates Customer Local Loopback (CLOC) loopback state.
Blinking 4 times per
second Indicates the H2TU-R is in an Armed state.
Active pins are highlighted in black.
*
Chassis Ground may be tied to earth ground according to local practice.
ALM
ESF
SF
LOOP
B8ZS
AMI
LBK
H
D
S
L
2
H
2
T
U
*
R
4
0
2
D
S
1
IN
BRG
OUT
RS-232
DCE
Alarm LED
Loopback LED
CLEI/ECI bar code label
Configuration number label
Loopback control button
Extraction handle
DS1 transmit (IN) and receive (OUT)
bridging jacks
HDSL2 LED
DS1 framing LEDs
DS1 line code LEDs
Craft port provisioning
To access all system maintenance, provisioning
and performance screens, connect a standard
9-pin terminal cable between the serial port on a PC
and the H2TU-R craft port.
Pressing the button for 5 seconds activates
a remote loopback toward the network called
NREM and a local loopback toward the CPE
called CLOC. The unit can be
looped down by either pressing the LPBK control
button again for 5 seconds or by the standard
loopdown inband commands.
Any existing loopback is terminated
before these are activated.
Use to remove the H2TU-R-402 from
the remote enclosure.
27
25
23
21
19
17
15
13
11
9
7
3
5
1
DS1Tip
DS1Ring
Factoryuseonly
Factoryuseonly
Factoryuseonly
DS1Ring1
CircuitGround
HDSL2Ring
IN
OUT
HDSL2Tip
DS1Tip1
ChassisGround*
ChassisGround*
28
26
24
22
20
18
16
14
12
10
8
4
6
2
55
53
51
49
47
45
43
41
39
37
35
32 31
56
54
52
50
48
46
44
42
40
38
36
34
30
33
29
Card-edge connector Modem settings:
9600 baud
8 data bits
No parity
1 stop bit
Hardware flow control:OFF
Terminal emulation:VT-100
For non-intrusive test access.
(Inside handle)
List number
L
HiGain
HDSL2
Automatic protection switch control
Automatic protection switch power
−48V(List1Bonly)
1B
Monitor Performance Event Log Config Inventory Report Rlogon Help
+------------------------------------------+
||
| ADC DSL Systems, Inc. |
| HiGain HDSL2 |
||
| Voice: 800.638.0031 |
| Fax : 714.832.9924 |
+------------------------------------------+
ID: xxxx--xxxx--xxxx—-xxxx 10/15/2001 12:30:01 H2TU-R System: OK
_
Type the letter To view:
onitor A graphical representation of circuit activity including loopbacks, alarms, and line
code.
erformance Performance and alarm histories for current, 25-hour, 48-hour, or 31-day periods for
DS1 and HDSL2 interface.
vent Log 100 most recent system events with date and time of occurrence.
onfig Menu of standard configuration options, ADC options, and BER tester (BERT) options.
nventory Product information and circuit and device identification.
Rep rt Menu to generate and download reports of system events and performance statistics.
logon/ logout Menus and screens at the H2TU-C. Remote log on can be performed from the H2TU-R
or H2TU-C. To log off the H2TU-C, press . “Rlogout” changes to “Rlogon.”
elp Glossary, a list of navigational keys, and ADC contact information.
Initial provisioning of the HiGain HDSL2 system is performed at the
H2TU-C line unit. For more information, refer tothe technical practice
for the H2TU-C. It can be downloaded from the ADC web site at
www.ADC.com.
Table 2. GNLB Loopback Commands
Loopback Inband Code Description
NLOC 1111000 DSX-1 signal is looped back to the network at the H2TU-C.
NREM 1110000 DSX-1 signal is looped back to the network at the H2TU-R.
SMJK 11000 DSX-1 signal is looped back to the network at the H2TU-R SmartJack module.
CREM 1111110 Signal from customer is looped back to the customer at the H2TU-C.
CLOC 1111100 Signal from customer is looped back to the customer at the H2TU-R.
Loopdown 11100 Deactivates any of the above loopbacks.
CTRL R
SPACEBAR
ENTER
M
P
E
C
I
O
R R R
H
Network Customer
Premises
Activate loopback using
one of the following:
• Test Set
• H2TU-C MODE and
SEL push buttons
• Maintenance Terminal
Activate loopback using
one of the following:
•Test Set
•LBK push
Button
•Maintenance Terminal
H2TU-R
H2TU-C H2TU-R
NLOC NREM
SMJK
TLOS CLOC
CREM
