manuals.online logo
Brands
  1. Home
  2. •
  3. Brands
  4. •
  5. Addspace
  6. •
  7. Indoor Furnishing
  8. •
  9. Addspace 002 0581 Series User manual

Addspace 002 0581 Series User manual

Product code
002 XX 0581
Assembly Instruction
610 00 0581
Issue: B
Tools Required
Step by Step Assembly Instructions
Tape Measure
Cross Head Screwdriver
Hammer
ASSEMBLY TIME:
1hr Approx.
IMPORTANT: PLEASE READ THESE INSTRUCTIONS
BEFORE USE AND RETAIN FOR FUTURE REFERENCE
ADULT ASSEMBLY
REQUIRED
1 PERSON
ASSEMBLY
Product Dimensions
HHHxWWWxDDD
725x668x330mm
CUSTOMER HELPLINE:
01709 534123.
Please have the following information: Unit Description, Product Code, Product Colour,
Place of Purchase, Catalogue Ref. No., Item Code, and have the assembly instructions close
to hand.
You can also e-mail your requests to us at: customer[email protected].uk
Simply contact us on CUSTOMER HELPLINE : 01709 534123 Between 8am - 4.30pm
Monday to Thursday and 8am - 2.30p.m friday.Your statutory rights are not affected.
Alternatively Write to us at: Customer Service Department, Addspace Furniture Limited,
Braithwell Way, Hellaby Industrial Estate, Hellaby, Rotherham, South Yorkshire, S66 8QY.
Do not throw away any of the packaging until you have checked that you have all the
component parts and fittings.
In the unlikely event of you finding any parts either missing or faulty, or you require help.
We do have an answer machine should you contact us out of office hours, so in addition to
the above information could you leave your name, address, daytime telephone number and
the nature of your call on the answerphone. All calls will be actioned asap.
Unpack and assemble this furniture in the room it will be used.
We recommend that you assemble the unit on the packaging the unit was supplied in.
This item contains small parts that have sharp points and edges in the unassembled state.
KEEP AWAY FROM CHILDREN.
CAUTION!
Do not sit or stand on this furniture.
After assembly dispose of all packaging materials safely.
Always place furniture on a firm level base.
4 DRAWER CHEST
COMPONENT PARTS LIST
DESCRIPTION SIZE QTY CODE
TOP 668x330x15 1 5516
660x156x15 4 7857
DRAWER FRONT
634x70x15 1 5518
LH END
710x310x15 1 5520
DRAWER BOTTOM 612x298x3 4 5671
BACK PANEL 670x660x3 1 7225
PAGE 2
760001103
CODE QTY 760003004
CODE QTY
LARGE
4 12
aa bb
5519
5520
5516
PLINTH
710x310x15 1 5519
5518
ff
690001089
CODE QTY
40mm
4
760003005
CODE QTY
SMALL
8
cc dd
jj
680362059
CODE QTY
4 PAIR
CODE QTY
4
CODE QTY
8
gg
7225
5671
DRAWER SECTION
QTY - 4
CODE 625xx6615
7857
7857
7857
5671
7857
5671
RH END
760001012
CODE QTY 684004501
CODE QTY
40 1
ii
hh
680001037
CODE QTY
1
kk
0 10 20 30 40 50 60
mm
pp
682001092
CODE QTY
4
FITTINGS
THE SCREWPACK CONTAINS ITEMS WHICH MAY PROVE DANGEROUS TO CHILDREN ESPECIALLY THOSE UNDER
36 MONTHS.WE THEREFORE RECOMMEND CAUTION IS OBSERVED DURING THE ASSEMBLY OF YOUR UNIT.
IF THE UNIT CONTAINS SCREW COVERCAPS,WE SUGGEST THAT THESE ARE GLUED INTO POSITION.
20mm
643393500
700002006
LOCATE FITTINGS - CONTINUED...
STEP 1 PAGE 3
Fittings you will need in this step:
(x4)
bb
bb
ENSURE CAM ARROW
POINTS TOWARDS EDGE
WITH HOLE.
SCREW IN DOWEL
UNTIL TIGHTENED.
aa
bb
bb
5516
bb
bb
aa
aa
aa
aa
Fittings you will need in this step:
(x4)
aa
LARGE
5519
5520
IMPORTANT!
WHEN SPLITTING
DRAWER RUNNERS
SAVE BOTH PLASTIC
STOPS ATTACHED
BETWEEN THEM.
TAKE CARE WHEN
SPLITTING RUNNERS!
INSERT DRAWER RUNNERS
BY GENTLY TAPPING
WITH A HAMMER.
(4 PAIR)
dd
dd
dd
dd
dd
dd
dd
dd
dd
NOTE:THE DRAWER
RUNNERS ARE HANDED (LEFT HAND - RIGHT HAND)
MAKE SURE THAT “TOP”WRITTEN ON THE RUNNER
POINTS TOWARDS THE TOP OF PANEL (INDICATED)
DRAWER
STOPS
RIGHT HAND
RUNNER
LEFT HAND
RUNNER
TOP
TOP
IMPORTANT - NOTE:THICK LINES INDICATE FINISHED EDGES.
STEP 2 PAGE 4
STEP 3
MAKE DRAWERS (x4)
Fittings you will need in this step:
ff
(x4)
ff
5519
ff
NOW LOCATE SCREW
ff THROUGH HOLES
IN PANEL 5519 AND
5520 AND SCREW
INTO HOLES IN
PANEL 5518.
ff
5532
ff
ff
5520
SECURE PLINTH TO LH AND RH ENDS
Fittings you will need in this step:
7857x4
5671
STAGE 4
STAGE 6
TURN CAM 180 DEGREES
TO LOCK.
5671x4
STAGE 5
INSERT CAMS IN
DRAWER
SECTIONS ONTO
DOWELS IN
DRAWER FRONTS
7857’s,THEN LOCK.
STAGE 1
(x8) (x8)
bb
cc
SMALL
(x4)
STAGE 3
STAGE 2
cc
cc
(x4)
bb
bb
7857(x4)
bb
ENSURE CAM ARROW
POINTS TOWARDS EDGE
WITH HOLE.
SCREW IN DOWEL
UNTIL TIGHTENED.
cc
(x8)
jj
(x4)
gg
gg
gg
5518
PUT A FEW DROPS OF GLUE
WHERE INDICATED THEN
FOLD UP.
kk
kk
(x1)
RAW FACE
7857x4
jj
5671x 4
FOIL FACE
5516
5519
STEP 4 PAGE 5
STEP 6
LOCATE TOP TO LH AND RH ENDS
STEP 5
Fittings you will need in this step:
INSERT DOWELS
IN PANELS 5516
INTO CAMS IN PANELS
5519 AND 5520.
THEN LOCK.
TURN CAM 180 DEGREES
TO LOCK.
5532
5520
STEP 9
BEFORE SECURING THE
BACK IT IS NECESSARY
TO SQUARE UP THE UNIT.
YOU CAN DO THIS BY
MEASURING BETWEEN
XX-XX AND YY-YY
ENSURING THESE ARE THE
SAME (DIAG 1). IF THEY
ARE NOT (DIAG 2) APPLY
SLIGHT PRESSURE AS
INDICATED (DIAG 3) UNTIL
THEY ARE THE SAME.
DIAG 1
DIAG 2
DIAG 3
XX
XX
YY
YY
XX
XX
YY
YY
XX
XX
YY
YY
YY
YY
XX
XX
SQUARE UNIT UP
MEASURE TO
EXTERNAL
CORNERS.
IMPORTANT!
ENSURE A TAPE
MEASURE IS USED
TO SQUARE UP UNIT!
5516
5519
5532
5520
5532
5520
XX
hh
ii
(x1)
ii
hh
5520
ALIGN BACK PANEL (7225)
SO THAT THERE IS AN EQUAL
GAP FROM THE EDGE OF
END PANELS (5519 AND
5520) THEN
SECURE THIS IN PLACE.
USE THE NAIL GUIDE WHEN
LOCATING THE NAILS.
THIS WILL HOLD THE NAILS
VERTICAL AND ENSURE THE
CORRECT DISTANCE FROM
THE EDGE.
7225
ATTACH 3mm BACK PANEL
(x40)
hh
7225
STEP 7 PAGE 6
LIFT UNIT UP AND LOCATE DRAWERS AND COVER CAPS
Fittings you will need in this step:
INSERT DRAWERS ON
TO RUNNERS ALREADY
IN PLACE ON PANELS
5519 AND 5520’s.
PLACE PLASTIC DRAWER
STOPS FROM THE INSIDE
OF THE DRAWER THROUGH
THE HOLE AT THE BACK
OF THE WRAP WHEN
THE DRAWER
IS IN PLACE.
(x8)
REPEAT THE ABOVE
ON THE 3 REMAINING
DRAWERS.
pp
(x4)
pp
COVER ANY EXPOSED
SCREW HEADS
USING FITTING PP.
CONGRATULATIONS YOUR UNIT IS COMPLETE
pp
Clean spills up immediately.
To protect the furniture, position the furniture out of direct sunlight and away from direct
heat sources such as radiators and fires.
Do not place the furniture in excessively dry or humid conditions.
MAINTENANCE AND USE INTRUCTIONS
Always lift the furniture when moving it(do not drag) otherwise the joints may be damaged.
Do not place hot or cold objects on the surface, always use protective mats to avoid marking
the furniture.
The colour of the furniture will mellow with time; it is advisable to move the objects
periodically, to keep a more even colour.
Do not use a silicone based polish to clean the furniture,as they may harm the surface finish
and strength of the joints.
Check that all assembly fittings are tight on a regular basis.
Dust surfaces with a soft, dry, lint free cloth.
More stubborn marks can be removed using a damp (not wet) cloth.Wipe the surface dry
immediately using a soft lint free cloth.
Do not use detergants, abrasive cleaning products or cleaning products that contain
ammonia, solvents or silicone as these may damage the surface finish.
Cleaning instructions

Other Addspace Indoor Furnishing manuals

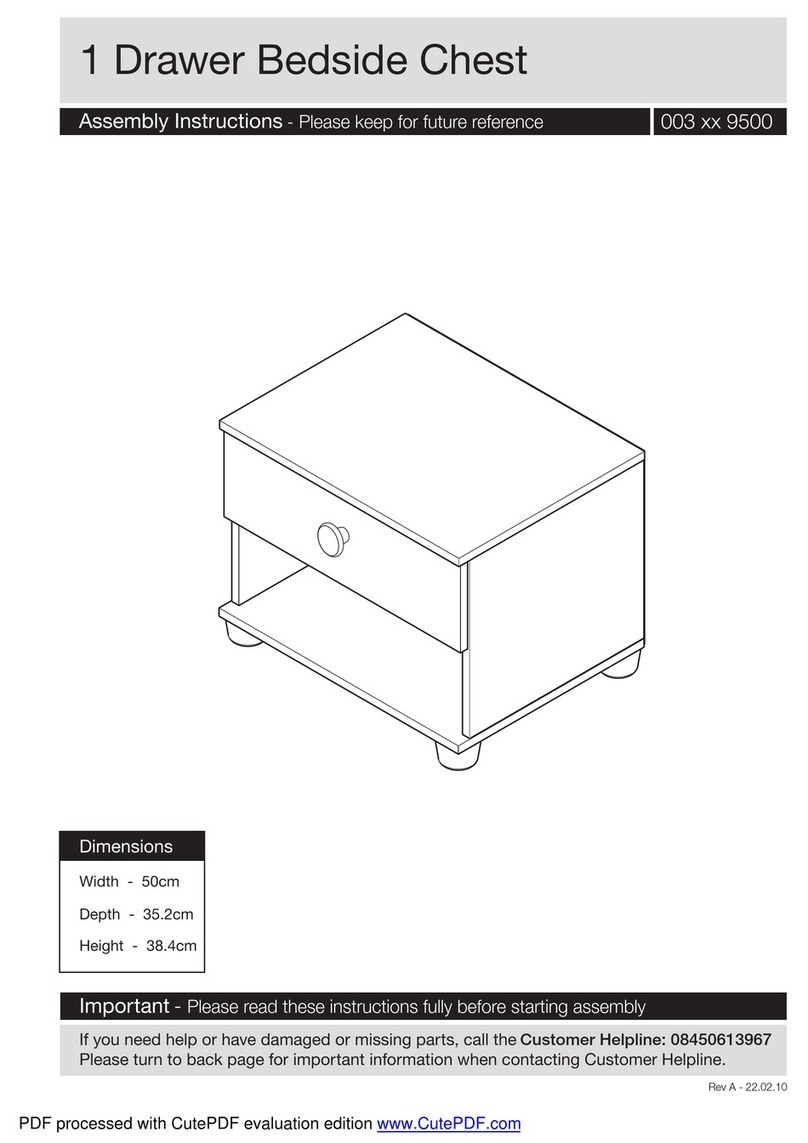
Addspace 003 9500 Series User manual

Addspace

Addspace 003 9500 Series User manual

Addspace 052 7921 Series User manual

Addspace

Addspace 052 7921 Series User manual

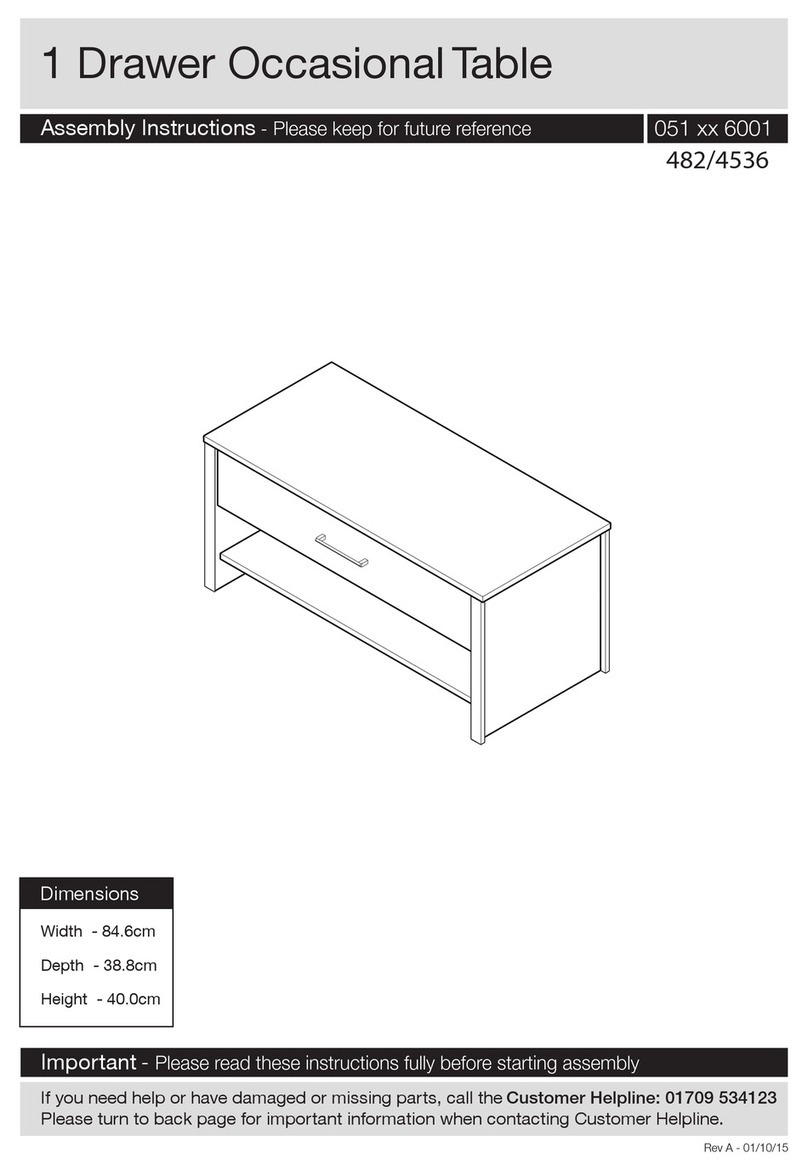
Addspace 482/4536 User manual

Addspace

Addspace 482/4536 User manual

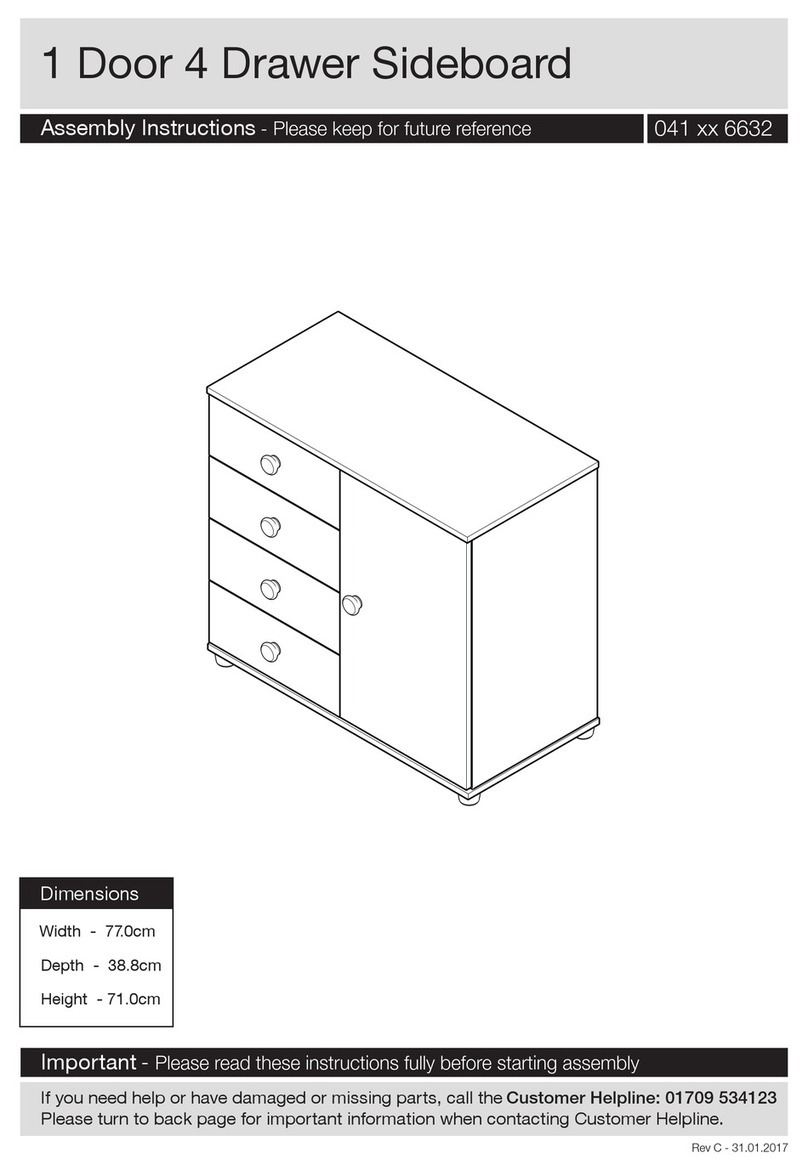
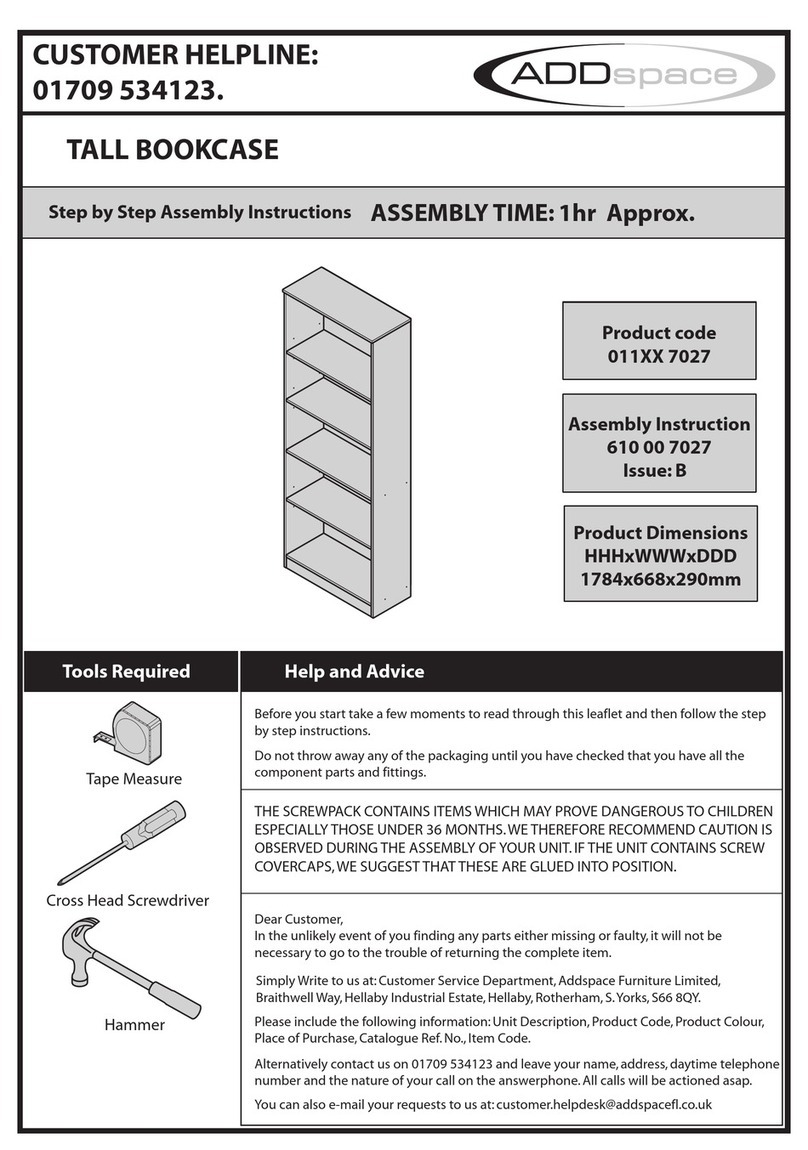
Addspace 011 7027 Series User manual

Addspace

Addspace 011 7027 Series User manual

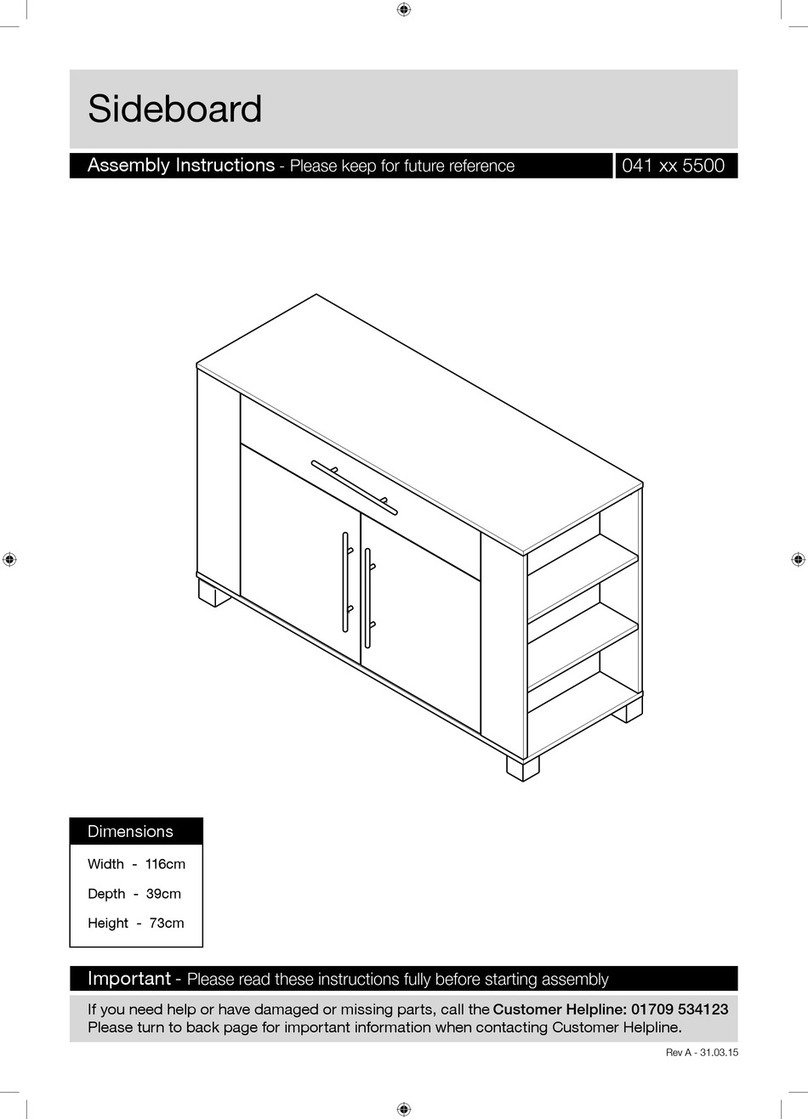
Addspace 041 5500 Series User manual

Addspace

Addspace 041 5500 Series User manual

Addspace 01709 534123 User manual

Addspace

Addspace 01709 534123 User manual

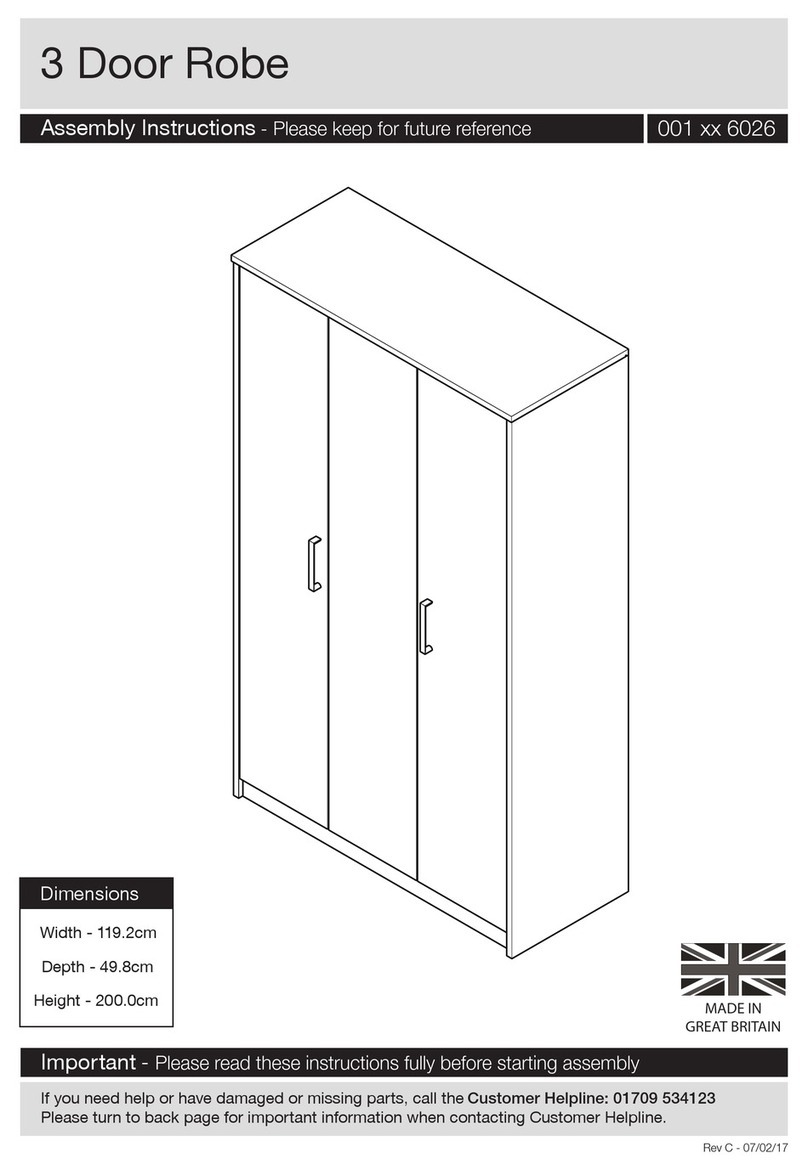
Addspace 3 Door Robe 001 6026 Series User manual

Addspace

Addspace 3 Door Robe 001 6026 Series User manual

Addspace OFW00124 User manual

Addspace

Addspace OFW00124 User manual

Addspace Helsinki OA580 User manual

Addspace

Addspace Helsinki OA580 User manual

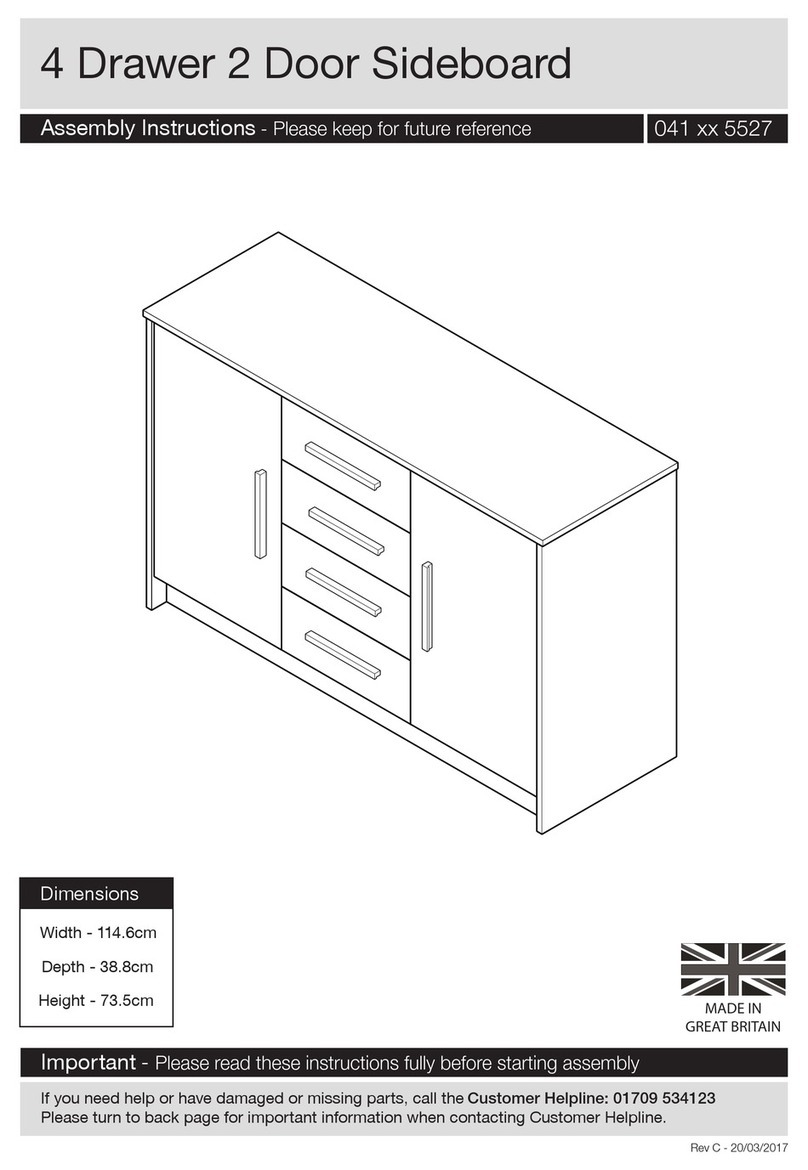
Addspace 041 5527 Series User manual

Addspace

Addspace 041 5527 Series User manual

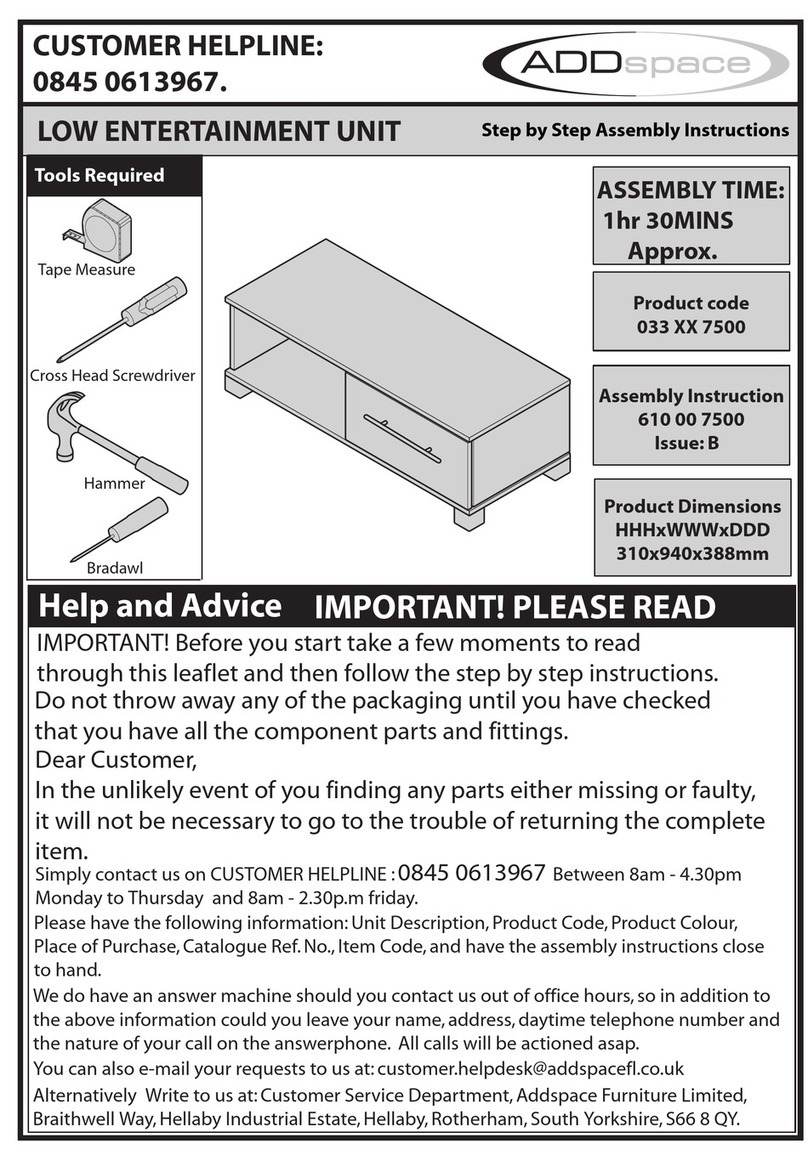
Addspace 033 7500 Series User manual

Addspace

Addspace 033 7500 Series User manual

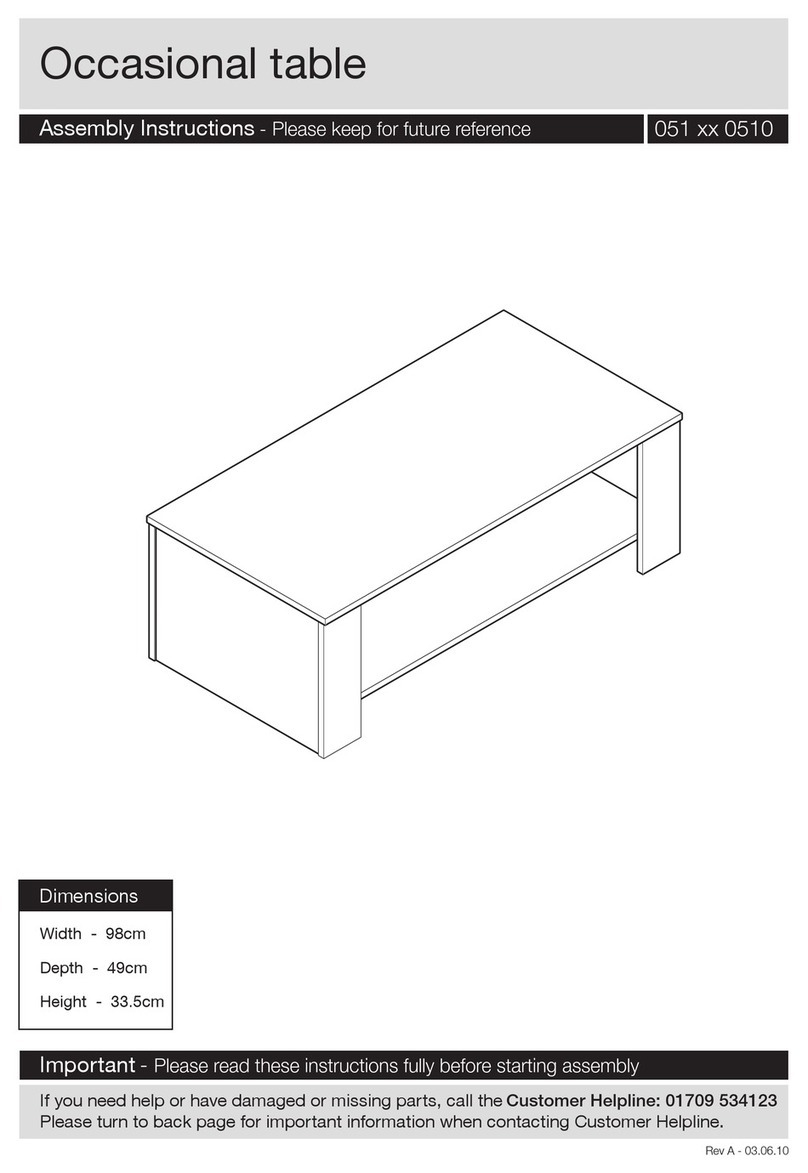
Addspace 051 0510 Series User manual

Addspace

Addspace 051 0510 Series User manual

Popular Indoor Furnishing manuals by other brands

FURNITUREBOX LIRA Assembly guide

FURNITUREBOX

FURNITUREBOX LIRA Assembly guide

Mocka Parker Desk Assembly instructions

Mocka

Mocka Parker Desk Assembly instructions

BLACK RED WHITE KOEH KOM4D Assembly

BLACK RED WHITE

BLACK RED WHITE KOEH KOM4D Assembly

dobue MOVELARIA TURIM PLUS 300016 Assembly instruction

dobue MOVELARIA

dobue MOVELARIA TURIM PLUS 300016 Assembly instruction

fantastic furniture Sonoma Utility 3 Shelf manual

fantastic furniture

fantastic furniture Sonoma Utility 3 Shelf manual

Better Homes and Gardens 5684215WCOM1 manual

Better Homes and Gardens

Better Homes and Gardens 5684215WCOM1 manual

Ameriwood HOME 9354026PCOM manual

Ameriwood HOME

Ameriwood HOME 9354026PCOM manual

QABA 312-101V80 manual

QABA

QABA 312-101V80 manual

Wampat W04H4121G Assembly instructions

Wampat

Wampat W04H4121G Assembly instructions

Westward 1MZH8 Operating instructions and parts manual

Westward

Westward 1MZH8 Operating instructions and parts manual

IKEA MALM manual

IKEA

IKEA MALM manual

Eagle Group Poly/Richlite Assembly instructions

Eagle Group

Eagle Group Poly/Richlite Assembly instructions

OVE 1673996 installation manual

OVE

OVE 1673996 installation manual

mingitav illia Assembly instructions

mingitav

mingitav illia Assembly instructions

Expomob Alma Assembly instructions

Expomob

Expomob Alma Assembly instructions

Cheyenne Products CPFH1076BWHTE Assembly instructions

Cheyenne Products

Cheyenne Products CPFH1076BWHTE Assembly instructions

Zandiara Camille Assembly instructions

Zandiara

Zandiara Camille Assembly instructions

Philips Ledino 44992/30/16 Specifications

Philips

Philips Ledino 44992/30/16 Specifications

manuals.online logo
manuals.online logoBrands
  • About & Mission
  • Contact us
  • Privacy Policy
  • Terms and Conditions

Copyright 2025 Manuals.Online. All Rights Reserved.