manuals.online logo
Brands
  1. Home
  2. •
  3. Brands
  4. •
  5. Addspace
  6. •
  7. Indoor Furnishing
  8. •
  9. Addspace 01709 534123 User manual

Addspace 01709 534123 User manual

Bradawl
Product code
001 XX 0582
Assembly Instruction
610 00 0582
Issue: B
Tools Required
Step by Step Assembly Instructions
Tape Measure
Cross Head Screwdriver
Hammer
ASSEMBLY TIME:
1hr30min Approx.
IMPORTANT: PLEASE READ THESE INSTRUCTIONS
BEFORE USE AND RETAIN FOR FUTURE REFERENCE
ADULT ASSEMBLY
REQUIRED
2 PERSON
ASSEMBLY
Product Dimensions
HHHxWWWxDDD
1800x664x495mm
CUSTOMER HELPLINE:
01709 534123
Please have the following information: Unit Description, Product Code, Product Colour,
Place of Purchase, Catalogue Ref. No., Item Code, and have the assembly instructions close
to hand.
You can also e-mail your requests to us at: customer[email protected].uk
Simply contact us on CUSTOMER HELPLINE : 01709 534123 Between 8am - 4.30pm
Monday to Thursday and 8am - 2.30p.m friday.Your statutory rights are not affected.
Alternatively Write to us at: Customer Service Department, Addspace Furniture Limited,
Braithwell Way, Hellaby Industrial Estate, Hellaby, Rotherham, South Yorkshire, S66 8QY.
Do not throw away any of the packaging until you have checked that you have all the
component parts and fittings.
In the unlikely event of you finding any parts either missing or faulty, or you require help.
We do have an answer machine should you contact us out of office hours, so in addition to
the above information could you leave your name, address, daytime telephone number and
the nature of your call on the answerphone. All calls will be actioned asap.
Unpack and assemble this furniture in the room it will be used.
We recommend that you assemble the unit on the packaging the unit was supplied in.
This item contains small parts that have sharp points and edges in the unassembled state.
KEEP AWAY FROM CHILDREN.
CAUTION!
Do not sit or stand on this furniture.
After assembly dispose of all packaging materials safely.
Always place furniture on a firm level base.
2 DOOR ROBE
5689
COMPONENT PARTS LIST
DESCRIPTION SIZE QTY CODE
LH END 1800x480x15 1 5687
RH END 1800x480x15 1 5688
TOP 634x480x15 2 5689
DOOR 1724x329x15 2 9201
PLINTH 634x70x15 1 5637
BACK PANEL 1724x660x3 1 7855
FITTINGS
PAGE 2
5687
5688
7855
5689
5637
ff
690001075
CODE QTY
45mm
8
760001012
CODE QTY 684004501
CODE QTY
60 1
ii
hh
770001006
CODE QTY
4
ee
ll mm
760001901
CODE QTY CODE QTY
690001099
12mm
1 2
9201 9201
740006000
CODE :
QT Y :
628mm LONG
1
690001008
CODE QTY
Thick
12mm
16
nn
cc dd
653006000
CODE QTY
652001128
CODE QTY 6
6
oo
680006003
CODE QTY
2
kk
CODE QTY
2
CODE QTY
4
jj
0 10 20 30 40 50 60
mm
20mm
643393500
700002006
pp
682001092
CODE QTY
8
STEP 1 PAGE 3
LOCATE FITTINGS - NOTE:THICK LINES INDICATE FINISHED EDGES.
Fittings you will need in this step:
LOCATE SHELF AND PLINTH TO LH AND RH END
STEP 2
Fittings you will need in this step:
ff
(x8)
5637
ee
ee
ee
ee
(x4)
ff
NOW LOCATE SCREW
ff THROUGH HOLES
IN PANEL 5687 AND
5688 AND SCREW
INTO HOLES IN
PANELS 5689 x 2.
LOCATE WOODEN ee
DOWELS ALREADY
INSERTED INTO 5637
INTO HOLES IN
PANELS 5687 AND
5688.
RAW FACE
ff
ff
(x6) (x12)
cc nn
5688
5687
9201 x 2
NOTE:NOTCH IN
HINGE PLATE POINTS
TOWARDS EDGE.
dd
dd
dd
dd
dd
dd
MARK WITH A BRADAWL
BEFORE LOCATING SCREWS.
cc nn
nn
cc
cc
cc
(x2)
(x4)
jj
jj
(x2)
(x4)
nn
nn
oo
ALIGN THE TOP HOLE IN THE HANGING RAIL
BRACKET (oo) TO THE PRE - DRILLED HOLE IN PANELS
5687 AND 5688 USING SCREW nn SECURE THE BRACKET TO
THE PANEL.NOW USING A BRADAWL MARK THE END PANEL
THROUGH THE SECOND HOLE IN FITTING oo
BEFORE SECURING WITH
SCREW nn.
oo nn
oo
LOCATE FITTINGS CONT......
STEP 1
kk
jj
kk
Fittings you will need in this step:
ff
ff
5687
5689
ff
ff
ff
5689
5688
5637
FOIL FACE
(x6)
dd
pp
pp
(x8)
COVER ANY EXPOSED
SCREW HEADS
USING FITTING PP.
5687
5689
5689
5637
5688
STEP 4 PAGE 4
STEP 6 LOCATE DOORS, HANGING RAIL AND OVERBALANCE BRACKET
STEP 5 ATTACH 3mm BACK PANEL
SQUARE UNIT UP
Fittings you will need in this step:
CONGRATULATIONS YOUR UNIT IS COMPLETE
PLEASE NOTE:TO KEEP YOUR UNIT IN PERFECT CONDITION CLEAN ONLY WITH A SOFT DAMP CLOTH.DO NOT USE
ANY ABRASIVE CHEMICAL CLEANERS. DO NOT SUBJECT YOUR UNIT TO HEAT OR MOISTURE. I E BY
PLACING HOT OR DAMP CUPS ETC ON ANY OF THE SURFACES.
LIFT UNIT UP 2 PERSONS
STEP 9
BEFORE SECURING THE
BACK IT IS NECESSARY
TO SQUARE UP THE UNIT.
YOU CAN DO THIS BY
MEASURING BETWEEN
XX-XX AND YY-YY
ENSURING THESE ARE THE
SAME (DIAG 1). IF THEY
ARE NOT (DIAG 2) APPLY
SLIGHT PRESSURE AS
INDICATED (DIAG 3) UNTIL
THEY ARE THE SAME.
DIAG 1
DIAG 2
DIAG 3
XX
XX
YY
YY
XX
XX
YY
YY
XX
XX
YY
YY
YY
YY
XX
XX
MEASURE TO
EXTERNAL
CORNERS.
IMPORTANT!
ENSURE A TAPE
MEASURE IS USED
TO SQUARE UP UNIT!
hh
ii
(x1)
ii
hh
5688
ALIGN BACK PANEL (7855)
SO THAT THERE IS A EQUAL
GAP FROM THE EDGE OF
END PANELS (5687 AND
5688) THEN
SECURE THIS IN PLACE.
USE THE NAIL GUIDE WHEN
LOCATING THE NAILS.
THIS WILL HOLD THE NAILS
VERTICAL AND ENSURE THE
CORRECT DISTANCE FROM
THE EDGE.
7855
(x60)
We recommend that this
unit is fixed to a suitable
wall to prevent possible
overbalancing.We have
included a fixing bracket for
this. No fixing screws are
provided as they will need
to suit the wall type, and
the length of screw will
depend on the distance
from the back of the unit to
the wall. Please ensure
fixings used are appropriate
to your wall type.
Please take care when
drilling into the wall,
avoiding any pipes or wires.
If in doubt consult a
qualified person.
mm
ll
(x1) (x2)
5688
5689
hh
7855
TO ADJUST THE DOOR IN
DIRECTION (a) TURN
SCREW (A).
TO ADJUST THE DOOR IN
DIRECTION (c) RELEASE
SCREWS (C) MOVE AS REQ-
UIRED THEN RE-TIGHTEN.
SECURE DOORS
BY PLACING
ATTACHED HINGE ONTO
SCREW (B) AND THEN
TIGHTEN.
A C B
a
b
c
TO ADJUST THE DOOR IN
DIRECTION (b) RELEASE
SCREW (B) BY ONE TURN
MOVE AS REQUIRED THEN
RE-TIGHTEN.
628mm
QTY 1
HANGING RAIL
LOCATE HANGING RAILS
ONTO BRACKETS
ALREADY ATTACHED.
THE HANGING RAILS
JUST SLOT ONTO BRACKETS.
Fittings you will need in this step:
WE RECOMMEND THAT THE UNIT IS LIFTED AND NOT DRAGGED.

Other Addspace Indoor Furnishing manuals

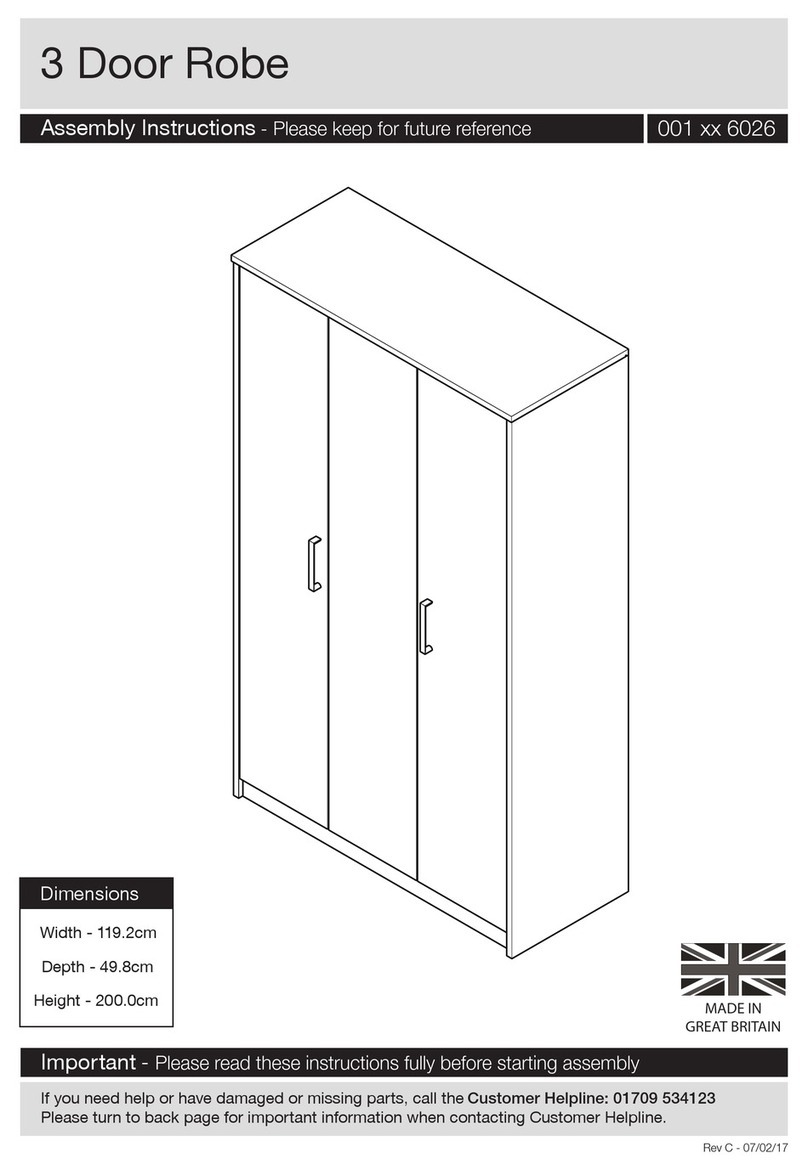
Addspace 3 Door Robe 001 6026 Series User manual

Addspace

Addspace 3 Door Robe 001 6026 Series User manual

Addspace 052 7921 Series User manual

Addspace

Addspace 052 7921 Series User manual

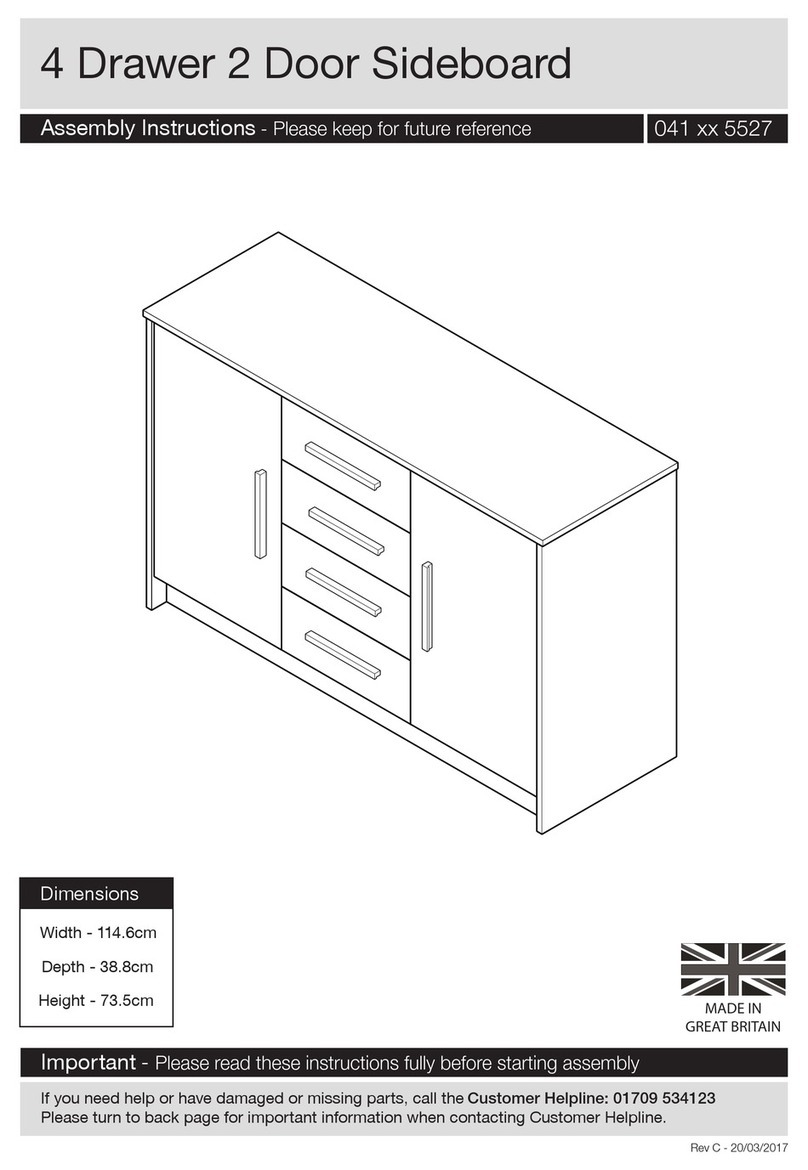
Addspace 041 5527 Series User manual

Addspace

Addspace 041 5527 Series User manual

Addspace 002 0581 Series User manual

Addspace

Addspace 002 0581 Series User manual

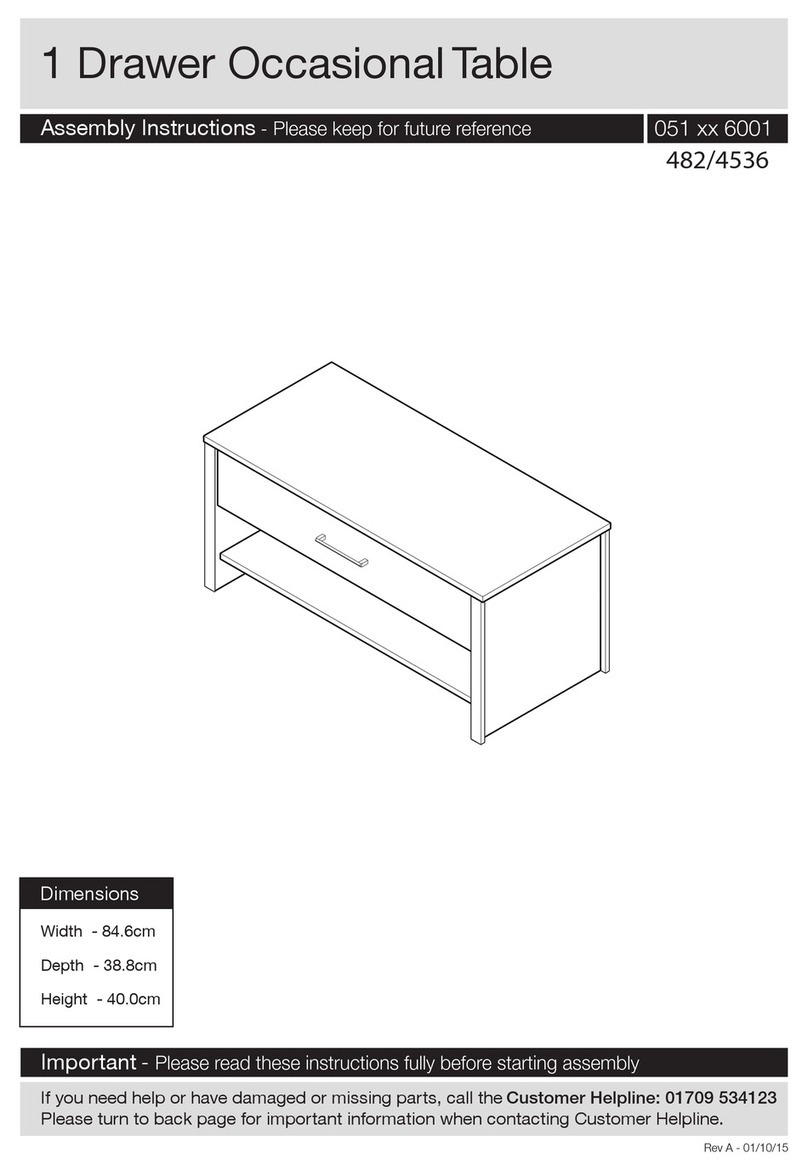
Addspace 482/4536 User manual

Addspace

Addspace 482/4536 User manual

Addspace OFW00124 User manual

Addspace

Addspace OFW00124 User manual

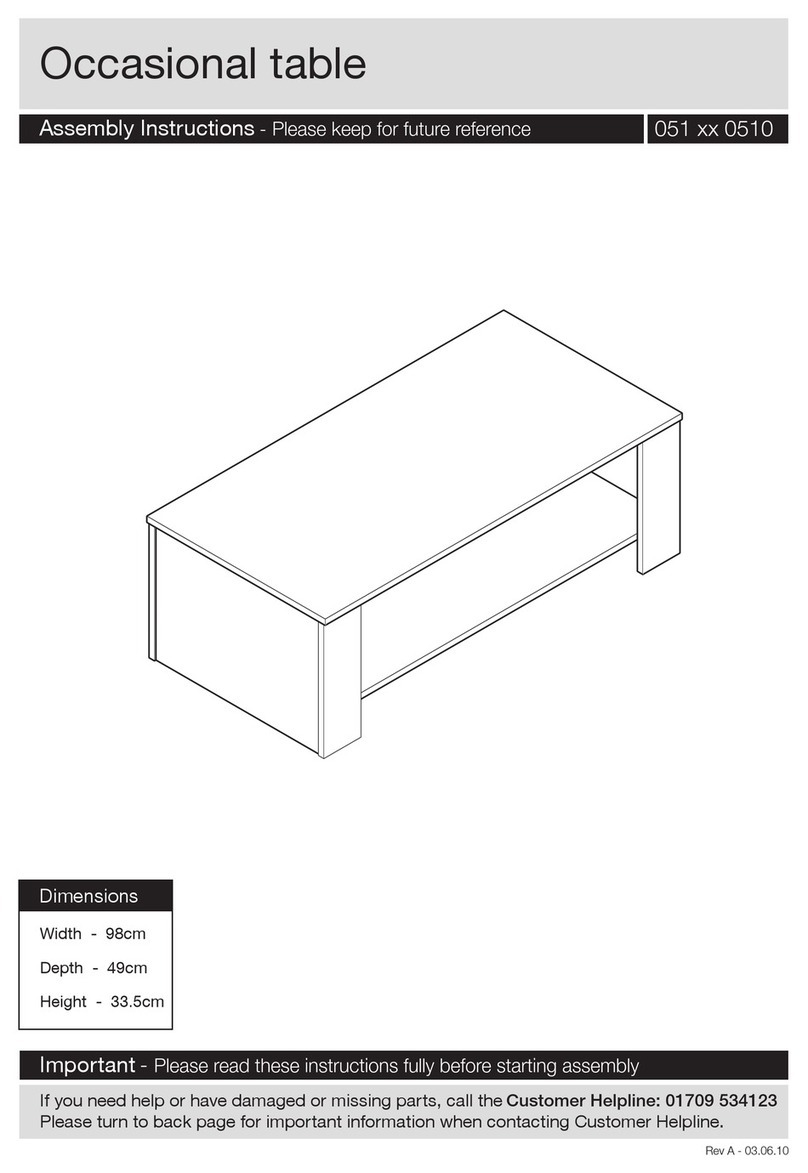
Addspace 051 0510 Series User manual

Addspace

Addspace 051 0510 Series User manual

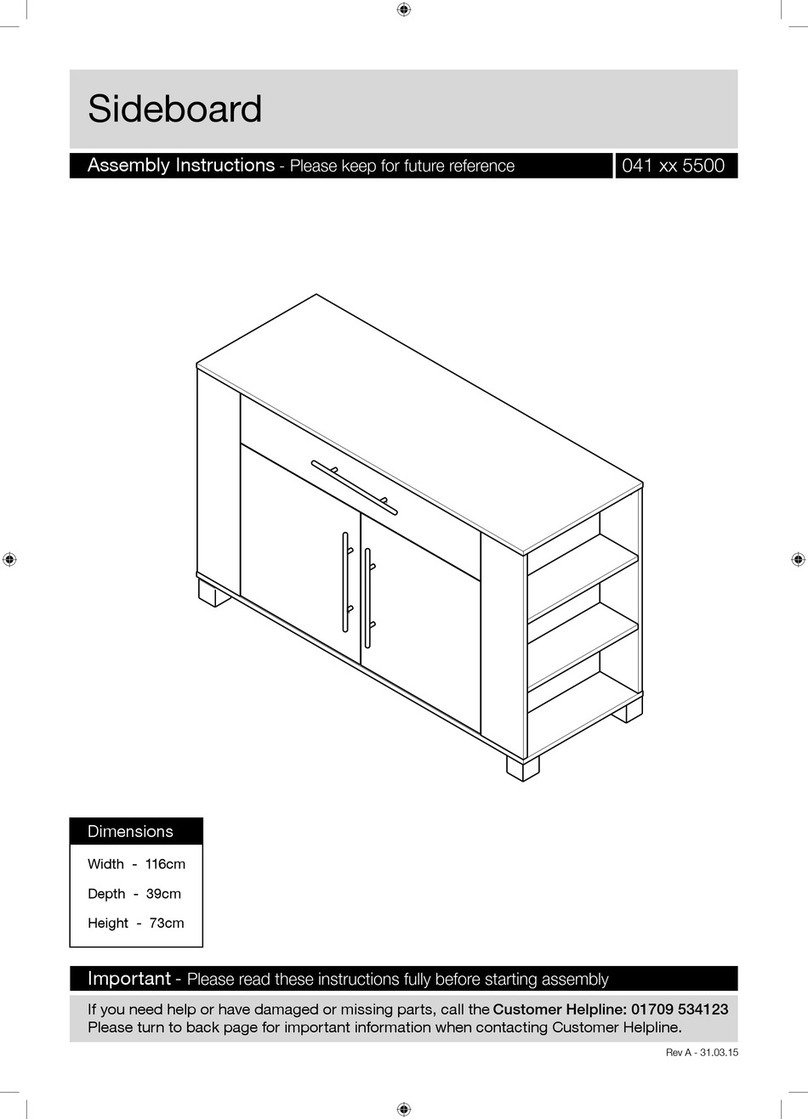
Addspace 041 5500 Series User manual

Addspace

Addspace 041 5500 Series User manual

Addspace Helsinki OA580 User manual

Addspace

Addspace Helsinki OA580 User manual

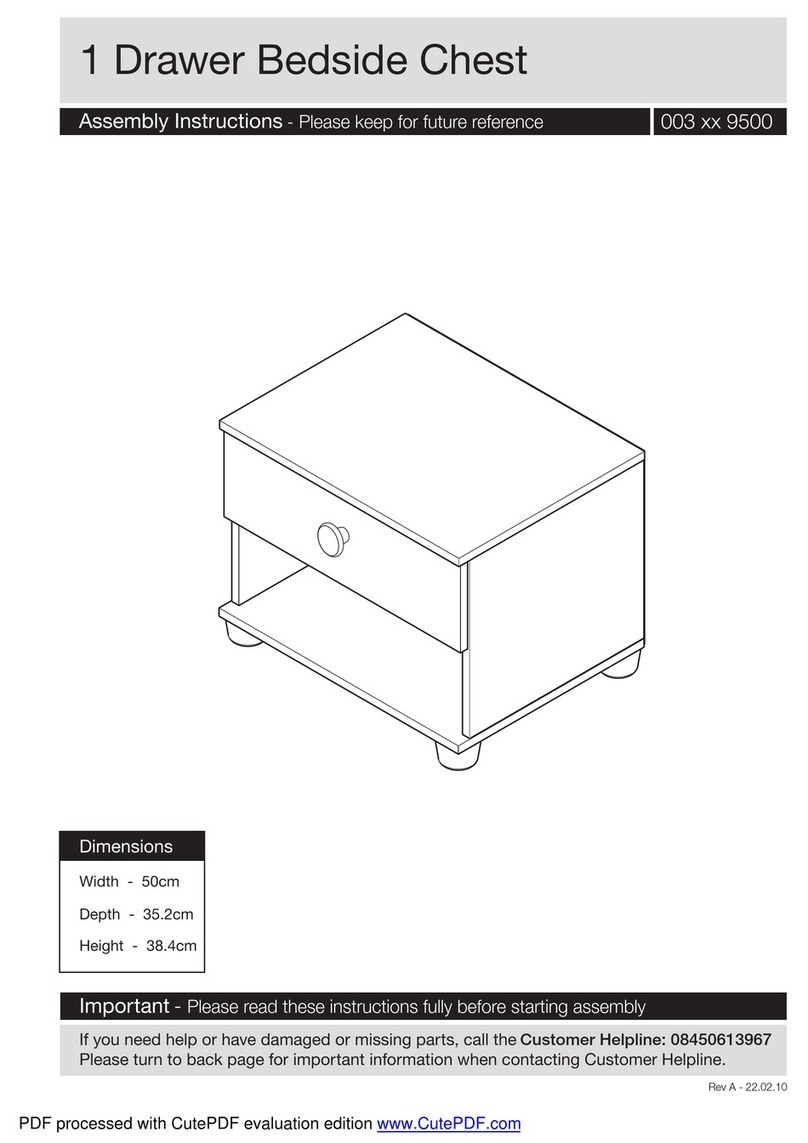
Addspace 003 9500 Series User manual

Addspace

Addspace 003 9500 Series User manual

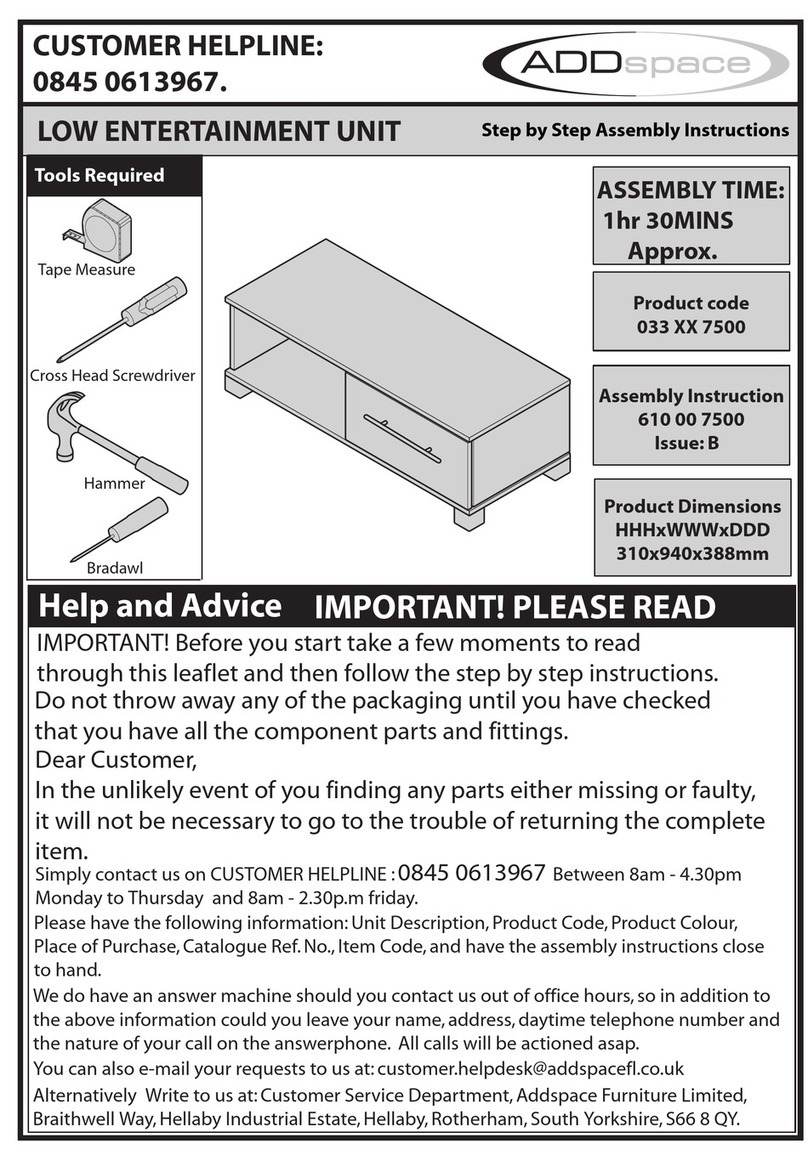
Addspace 033 7500 Series User manual

Addspace

Addspace 033 7500 Series User manual

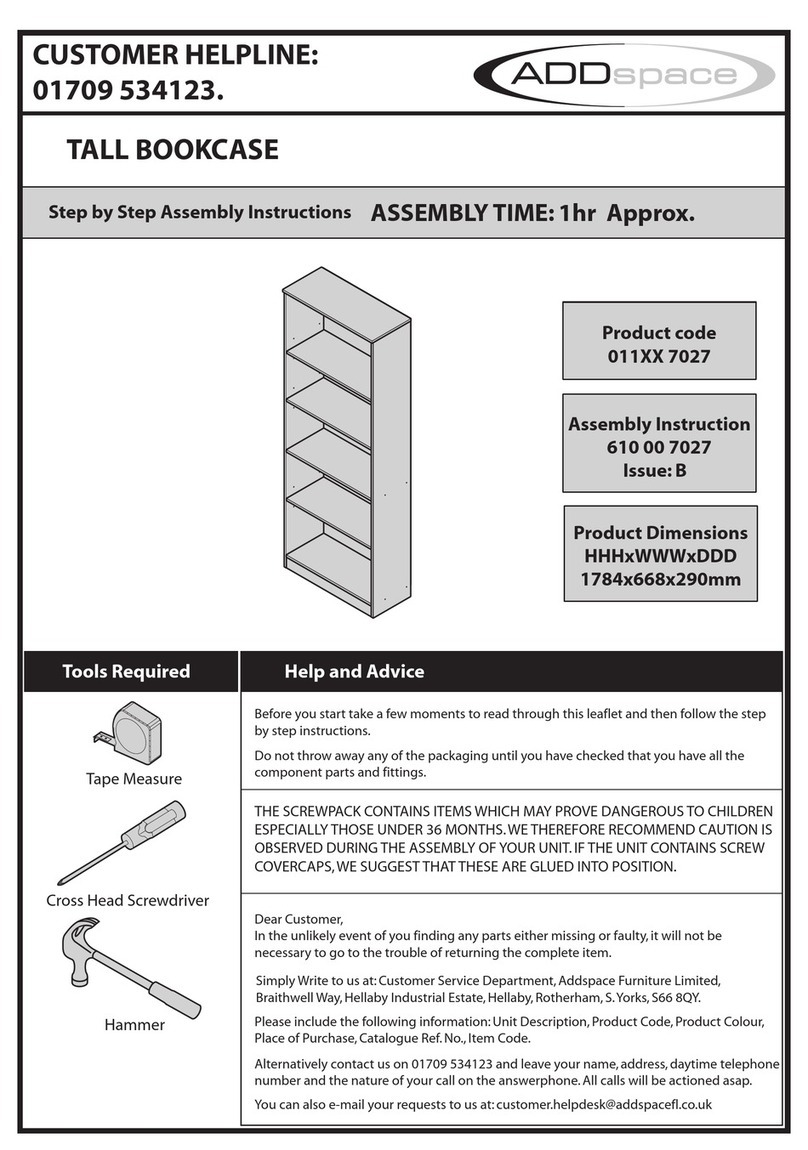
Addspace 011 7027 Series User manual

Addspace

Addspace 011 7027 Series User manual

Popular Indoor Furnishing manuals by other brands

Time4Sleep COLMAR RATTAN BED Assembly instructions

Time4Sleep

Time4Sleep COLMAR RATTAN BED Assembly instructions

Sauder Shoal Creek 411222 manual

Sauder

Sauder Shoal Creek 411222 manual

BLACK RED WHITE SPIDO SREG 1d2s Assembly manual

BLACK RED WHITE

BLACK RED WHITE SPIDO SREG 1d2s Assembly manual

Coaster 603502 Assembly instructions

Coaster

Coaster 603502 Assembly instructions

Eureka Ergonomic ARCH-B Assembly instructions

Eureka Ergonomic

Eureka Ergonomic ARCH-B Assembly instructions

Canvas 088-1718-0 Assembly instructions

Canvas

Canvas 088-1718-0 Assembly instructions

Astonica 50105357 instruction manual

Astonica

Astonica 50105357 instruction manual

nardi LIDO MINI 345 quick start guide

nardi

nardi LIDO MINI 345 quick start guide

Steelcase 464 Leap Assembly instructions

Steelcase

Steelcase 464 Leap Assembly instructions

Rauch M2582 Assembly instructions

Rauch

Rauch M2582 Assembly instructions

Zaor Vela Plain Assembly manual

Zaor

Zaor Vela Plain Assembly manual

Astonica 50105364 instruction manual

Astonica

Astonica 50105364 instruction manual

PHI VILLA THD9-305-118 Use and care guide

PHI VILLA

PHI VILLA THD9-305-118 Use and care guide

Alice's Garden ALEXIA TT46 manual

Alice's Garden

Alice's Garden ALEXIA TT46 manual

WIEMANN 991 952 manual

WIEMANN

WIEMANN 991 952 manual

Otto HORSENS 3 DRAWER PEDESTAL OTHOR3DWE Assembly instructions

Otto

Otto HORSENS 3 DRAWER PEDESTAL OTHOR3DWE Assembly instructions

IKEA Ransby Assembly instructions

IKEA

IKEA Ransby Assembly instructions

ICONICO Home ZOOM Assembly instructions

ICONICO Home

ICONICO Home ZOOM Assembly instructions

manuals.online logo
manuals.online logoBrands
  • About & Mission
  • Contact us
  • Privacy Policy
  • Terms and Conditions

Copyright 2025 Manuals.Online. All Rights Reserved.