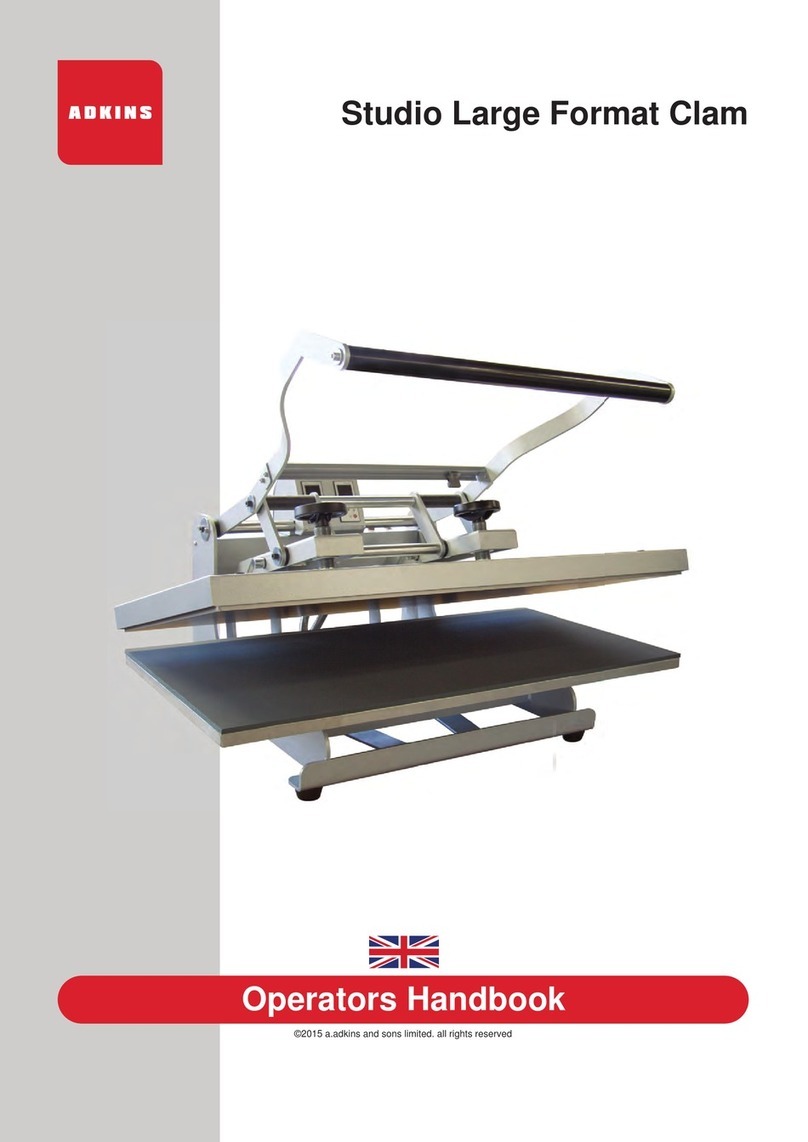
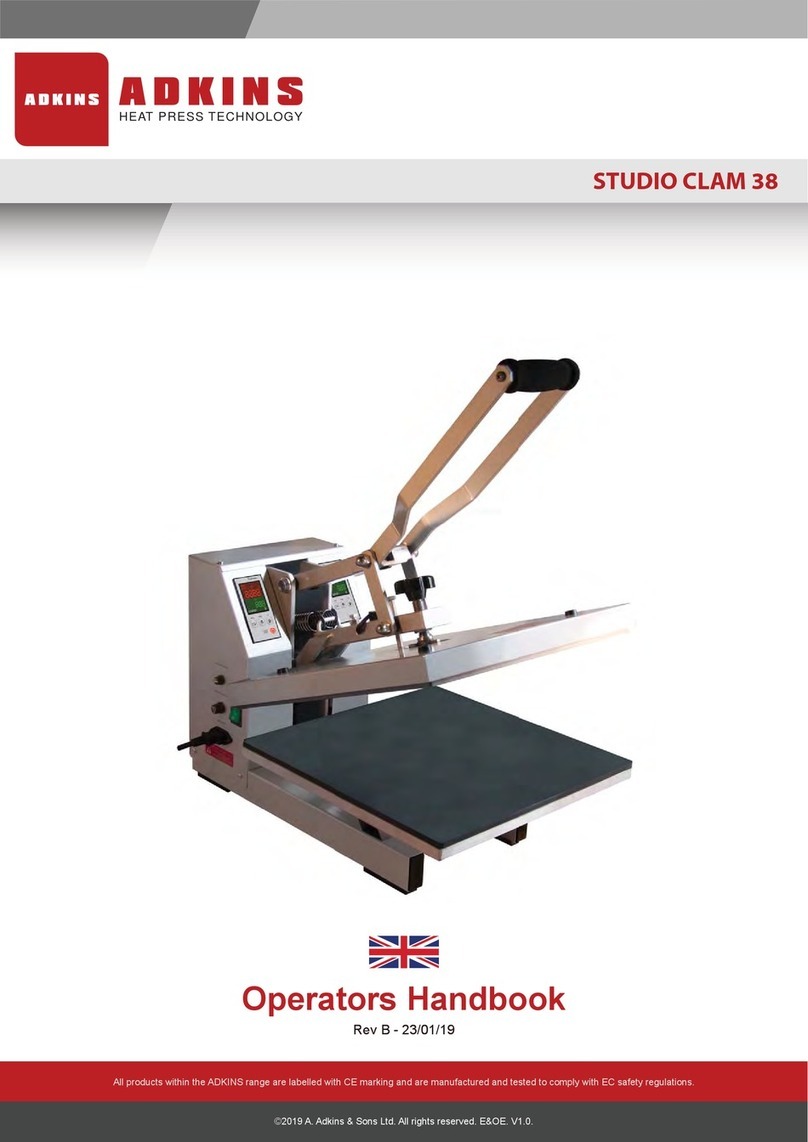
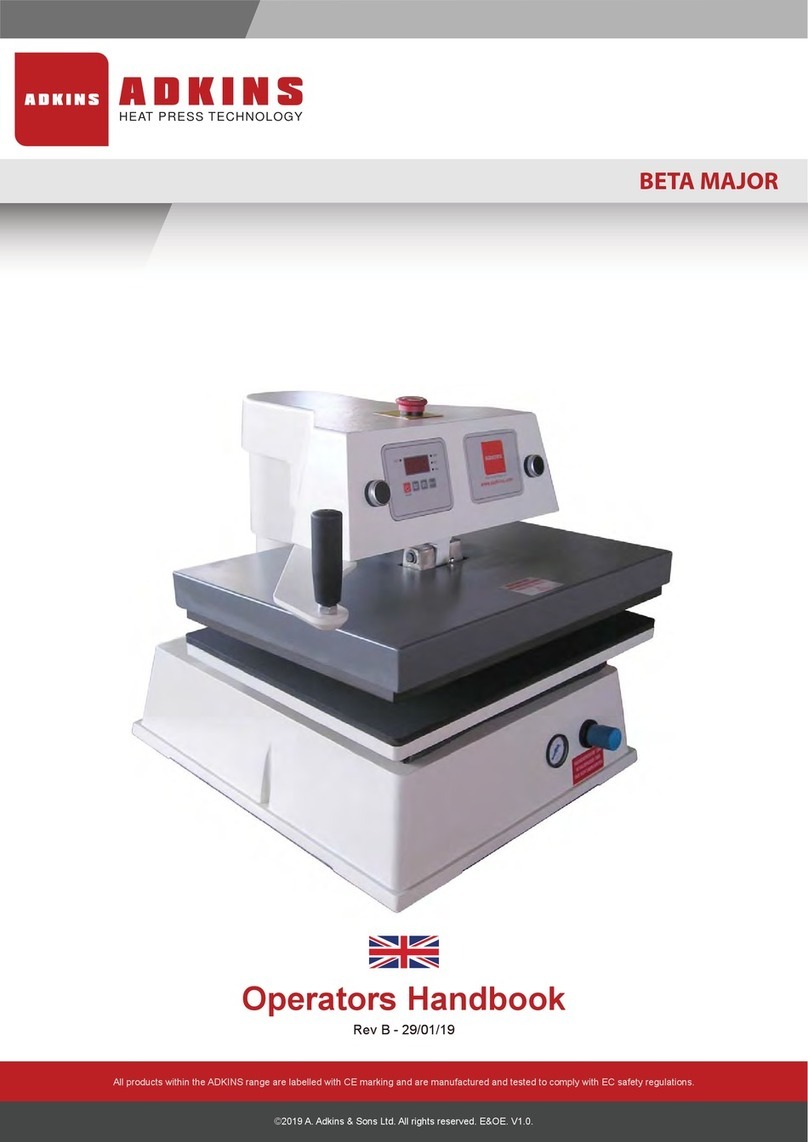
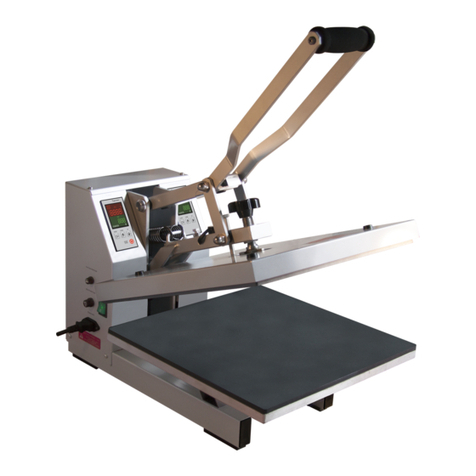
Adkins Beta Maxi Service manual

HEAT PRESS TECHNOLOGY
All products within the ADKINS range are labelled with CE marking and are manufactured and tested to comply with EC safety regulations.
BETA MAXI (115 VOLTS)
©2018 A. Adkins & Sons Ltd. All rights reserved. E&OE. V1.0.
All products within the ADKINS range are labelled with CE marking and are manufactured and tested to comply with EC safety regulations.
©2018 A. Adkins & Sons Ltd. All rights reserved. E&OE. V1.0.
Operators Handbook
Rev C - 04/12/19Rev C - 04/12/19

Preface
Dear User
Welcome to the growing group of Beta Maxi (115V) Press users.
The product you have purchased has been carefully designed and
manufactured to ensure that you, the user, will gain the maximum
benefit.
All A. Adkins & Sons Limited products are specifically designed to
ensure ease of use with particular attention to safety requirements.
Should you discover any fault or damage upon receipt of this
product, you should immediately contact your local supplier.

Contents
1.
Introduction Beta Maxi (115V) Press
1
1.1 What did you receive? 2
1.2 Specifications of the Beta Maxi (115V) Press 3
1.3 Safety 4
1.4 Safety tips 4
2. Installation 6
2.1 Transport instructions 6
2.2 Installing the machine 6
2.3 Wiring the plug for a 115 VAC machine 6
2.4 Adjusting the pressure 7
3. How to operate the Beta Maxi (115V)
Press 8
3.1 Starting with the Beta Maxi (115V) Press 8
3.2 Working with heat transfer materials 8
3.3 Pressing pad assembly 9
3.4 Shutting down the machine 9
3.5 Fault diagnosis 9
3.6 Hints and tips 10
4. Maintenance of the Machine 11
4.1 Daily maintenance 11
4.2 Periodic maintenance 11
4.3 Cleaning 11
5. Machine Drawings, Diagrams and
Declaration 12
5.1 General layout 13
5.2 Control unit operation 14
5.3 Exploded diagram and parts list 15
5.4 Machine (inc. Controller) - electrical diagram 16
6. Design Change 17
7. Guarantee 18
Declaration of Conformity 19

Page 1
1. Introduction Beta Maxi
(115V) Press
The Beta Maxi (115V) Press is a manually operated heat press for
transfer printing and material fusing. It is ideal for medium volume
production.
The work area of the Beta Maxi (115V) Press is 15 in x 20 in (38 cm x
50 cm), but machines may have, to special order, optional smaller sized
interchangeable worktables of any size and various shapes within these
table sizes.
The Beta Maxi (115V) Press has a heat plate which swings away from
the operating position to clear the worktable for loading and unloading.
After loading the work piece, and with the correct settings for
temperature, pressure and dwell time, the heat plate is swung to the
operating position with the handle provided. The cycle is started by
pulling out the handle release knob allowing the handle to be pressed
down to the locking position. The micro switch is made which starts the
timer. When the set time elapses, the buzzer sounds. The handle-
locking knob can then be pulled out to permit the handle to be raised to
the vertical locked position. The heat plate may then be swung to the
unloading position.

Page 2
1.1 What did you receive?
The Beta Maxi (115V) Press has been placed in a cardboard box and
held in place with foam and banded onto a pallet. The following articles
should have been delivered:
Beta Maxi (115V) Press complete with mains cable and plug
Beta Maxi (115V) Press Users’ Handbook
Any extra items ordered
If there is any damage or any article is missing, please contact your
supplier immediately.

Page 3
1.2 Specifications of the Beta Maxi (115V)
Press
The Beta Maxi (115V) Press is a manually operated heat press for
transfer printing and material fusing. It is ideal for medium volume
production.
The work area of the Beta Maxi (115V) Press is 15 in x 20 in (38 cm x
50 cm), but machines may have, to special order, optional smaller sized
interchangeable worktables of any size and various shapes within these
table sizes.
Specification
Power consumption 1.75
k
W
Power suppl
y
110-120 Volts AC
Workin
g
temperature 158oF - 455oF (70oC - 235oC)
Displa
y
timer ran
g
e 0 - 9.59 min
Machine hei
g
ht open 25.6 in (65 cm)
Machine hei
g
ht close
d
13.8 in (35 cm)
Machine width 20 in (51 cm)
Machine width, loadin
g
37 in (94 cm)
Machine depth 35 in (89 cm)
Machine depth, loadin
g
47 in (120 cm)
Machine working area 36.2(W) x 25(H) x 43.3(D) in
(92(W) x 64(H) x 110(D) cm)
N
et wei
g
h
t
99 lbs (45 K
g
)
Gross wei
g
h
t
114.6 lbs (52 K
g
)
Press pad dimensions 15 in x 20 in (38 cm x 50 cm)
Fuses T 1.5 A
A-wei
g
hted noise level <70dB(A)

Page 4
1.3 Safety
The Beta Maxi (115V) Press has been equipped with various safety
features to ensure operator safety.
a. A thermal cut-out on the heating element shuts off the power
to the element if the temperature exceeds 500oF ± 27oF (260oC
15oC).
b. The time/temperature controller has a built-in facility giving
error messages in the event of faults with the element heating
and control system.
c. A Thermal magnetic circuit breaker is fitted, that cuts power
to the machine in the event of overload or short circuit. This
can be reset to position 1 after the original fault is rectified.
d. A safety locking system is fitted so that a handle release knob
needs to be operated before the actuating handle can be moved
to lower or raise the heat plate.
1.4 Safety Tips
If required, our customer service team can arrange maintenance
service.
The Beta Maxi (115V) Press meets the European Legislation
standard. Under normal conditions accidents are rare.
However, listed below are some practical points to ensure your
safety.
Always switch off and isolate the mains supply (i.e.
remove plug) before undertaking any maintenance
work.
Keep other people away from the machine during use.
Ensure that there is sufficient space around the
machine. Cables and connections must not get jammed.
Although the heat radiation of the press is low, there
should be enough space for cooling down.
Avoid contact with the press element.
DO NOT REMOVE THE TOP COVER UNLESS
QUALIFIED TO DO SO - touching internal parts is
dangerous and may cause shock hazard.
PROTECT THE MAINS CABLE - damage to the mains
cable may cause fire or shock hazard. When unplugging, hold
by the plug only and remove carefully. Take care that the
mains cable does not come into contact with the heat plate (or
moving parts of the mechanism) during operation of the
machine.

Page 5
Safety Tips (cont.)
OPERATING AMBIENT TEMPERATURE RANGE - the
operating ambient temperature range is 32oF - 95oF, (0oC -
35oC) and humidity of 20 - 80%. This heat press is fitted with
a thermal cut out to ensure that it cannot operate above 500oF ±
27oF (260oC 15oC).
MACHINE FUSES - Type: T 1.5 A, 250 V.
WARNING - THIS APPARATUS MUST BE
EARTHED (GROUNDED)
CAUTION
This machine gets hot whilst operating. Take care not to touch
any surfaces that are labelled “Caution this plate is HOT”.
MACHINE OPERATION
Only suitably trained personnel should operate this
machine.
This machine is designed to be operated by one operator
only.
For safety use both hands to move the handle up or down.
Keep fingers away from trapping points in the arm-lever
toggle mechanism. Using both hands on the handle keeps the
hands safe.
Do not allow the handle to move upward, by the effect of the
spring effect, use both hands to control movement.
Contact your print media suppliers to ascertain whether fumes
are given off during the process, and if so what precautions are
needed for operator safety. These may include air extraction
and / or masks for personnel.
Please refer to page 13 for an illustration of the Beta Maxi (115V)
Press.

Page 6
2. Installation
2.1 Transport instructions
The machine comes to you, placed in a cardboard box, and held in
place with foam and banded onto a pallet. If you have to transport the
machine at any time it is recommended that you use a similar box and
packing methods. Please let the machine cool down, lower the handle
to the locked position and remove the swing head handle.
2.2 Installing the machine
2.2.1 Remove all packaging from the heat press.
2.2.2 Check to ensure that no damage has been caused to the
machine during transit.
2.2.3 Place the machine on a sturdy horizontal surface that is within
easy reach of the operator. Due to the weight we recommend
that this be a 2-person task. There must be sufficient space for
the machine’s head to swing to the right until it hits the built-in
stop and for the operating handle to be raised to its full extent.
Ensure that no items vulnerable to heat radiation are too close
to the machine and that local lighting is adequate.
2.2.4 Under some circumstances the machine becomes unstable
when the heat plate is swung to the side for loading. A suitable
bolt is provided with the machine to allow the machine to be
fixed in place using the hole in the front legs casting.
2.3 Wiring the plug for a 115 VAC machine
1. The wire, which has green insulation, must be connected to
the terminal in the plug coloured green or marked GR.
2. The wire, which has white insulation, must be connected to
the terminal in the plug identified as neutral.
3. The wire, which has black insulation, must be connected to
the terminal in the plug which is identified as live (line).
Note: Replacement of the power cord must be carried out by a qualified
electrician in accordance with national and local electrical codes, and
the instructions provided with the plug.
Page 7
2.4 Adjusting the pressure
This press is fitted with a pressure-adjusting unit, which enables the
heat plate assembly to be raised or lowered by use of a pressure
adjustment knob located on the top of the machine:
a) To increase pressure or to use thinner materials turn knob
clockwise.
b) To decrease pressure or to raise the heat plate assembly to
enable thicker materials to be used, turn the adjustment knob
anticlockwise.
NOTE
DO NOT adjust the pressure when the machine is clamped shut
CAUTION
Never increase the pressure to the extent of requiring undue force
to lower the toggle/heat plate assembly into the lock position, as this
will place excessive stress on the press frame, resulting in
permanent damage to the press.
Please refer to page 14 showing the operation of the control unit.

Page 8
3. How to Operate the Beta
Maxi (115V) Press
3.1 Starting with the Beta Maxi (115V) Press
3.1.1. Plug into your supply outlet and switch supply on.
NB Please ensure the mains plug is easily accessible to the
operator so that in the event of a fault the machine can be
unplugged.
3.1.2 Turn on the Beta Maxi (115V) Press; the on/off switch is on
the left side of the swing head. Ensure that the operating
handle is in the up position. Set the machine controls as
necessary. See instructions for adjusting the pressure, Section
2.4, and the operation of the time temperature unit, page 14.
When the set temperature is steady in the display the machine
is ready to use.
3.2 Working with Heat Transfer Materials
3.2.1 Ascertain from the supplier of the transfer paper and/or the
suppliers of the material, that the material to be used is suitable
and has been prepared for transfer printing.
NOTE:
Settings and conditions for the application of “Cotton Type”
and “Plastic Type” motif transfers are usually different from
the above and details of setting and method of operation must
be obtained from the transfer supplier.
3.2.2 Obtain from the supplier of the transfer paper or the material
to be used, the recommended temperature, time and pressure
settings for the material to be worked on.
Approximate settings are usually within the following:
356oF - 392oF (180oC - 200oC) Heat Setting
10 - 30 seconds Time Dwell Setting
3.2.3 Wait until the set temperature has been reached, signalled by
the temperature on the controller display reaching the required
figure.
3.2.4 Swing the head to the right using the handle on the left of the
head. Spread the material to be printed on the worktable,
removing all wrinkles. Place the printing paper in the desired
location and carefully swing the head back to the pressing
position.

Page 9
Working with Heat Transfer Materials (cont.)
3.2.5 Start the sequence by pulling the handle release knob to
unlock the handle from its vertical position. Pull the handle
down to the lock position using both hands on the handle. This
will make the micro switch, which starts the timer. When the
set time has elapsed, the buzzer sounds. The handle is then
unlocked and returned to the vertical position again using both
hands. The head may then be swung aside for unloading and
loading
3.2.6 For safety reasons, it is necessary to push the handle into the
locked position after it is lifted. This will ensure against the
accidental lowering of the heat platen handle.
3.3 Pressing Pad Assembly
The pressing pad normally supplied with this machine is silicone
rubber. Alternatively, a pad of foam with a “Nomex” cover may be
supplied to special order. The pressing pad must be maintained in good
condition at all times and replaced when showing signs of wear. A
worn pressing pad will always affect the quality of printing/fusing. Do
not insert items into the machine, which would tend to cut the pressing
pad, i.e. buttons, pins, press studs or zips.
Never leave the hot heat plate in contact with the pressing pad when the
machine is not in use.
IMPORTANT NOTE:
The pressing pad supplied with the machine is of the correct thickness.
Using a thicker pad may invalidate your warranty.
3.4 Shutting Down
To shut down the machine, turn off the green illuminated rocker
switch on the operator’s left side of the machine head and then remove
the mains plug from the power supply.
N.B. The handle should be in the up position.
3.5 Fault Diagnosis
The machines have built in fault diagnosis. The display may show the
following:
1. P-F
If the probe goes open circuit, the display will show “P-F” and
a buzzer will sound. Contact your machine supplier
immediately.

Page 10
Fault Diagnosis (cont.)
CAUTION
In all fault conditions switch off the power to the machine and unplug
the machine from the electrical supply before contacting your machine
supplier.
3.6 Hints and Tips
Transfer Printing
Extra care should always be taken to ensure that transfer paper is
placed print down onto the article, as mistakes will result in the heat
plate becoming soiled with ink and spoiling following work.
When transfer printing, it may be found to be advantageous to cover
the press pad with paper to prevent strike-through of surplus ink,
particularly when printing thin material as surplus print on the pressing
pad cover can also strike back on the following work.
Transfer Paper/Motifs Fail to Print Out Correctly
Check:
1. Heat and time dwell settings are correct.
2. Article having transfer applied is locked in contact between
pressing pad and heat plate.
3. Pressing pad is in good condition, is flat and making complete
contact over the whole area of the heat plate. See Pressing Pad
details.
“Ghosting” (Double Image) of Transfer Prints
Check:
1. Material being used has been correctly heat set for transfer
printing.
2. Material being used does not shrink during printing process,
i.e. measure material before and after printing.
3. Transfer paper does not move after printing process upon lift
off of the heat plate.
4. If possible, use adhesive coated paper, particularly to
overcome fabric shrinkage.
5. By pre-shrinking of material in press before transfer printing.

Page 11
4. Maintenance of the Machine
4.1 Daily Maintenance
For good press results it is important to keep the press surfaces clean.
Wipe the surface of the heat plate with a dry non-abrasive cloth before
use when the plate is cold.
When the heat plate is hot and not in use, keep open position away from
the silicone pad.
4.2 Periodic Maintenance
The grease nipple (13 on the exploded diagram - on page 15) in the
rear of the base (11) needs to have a small amount of molybdenum
grease pumped into it annually.
Put a few drops of oil on the pivot pins and pressure adjustment screw
every three months.
Periodically clean the Teflon® coated heat platen with a non-abrasive
piece of cloth. Stubborn stains may be cleaned, when platen is cool,
with mineral spirits.
4.3 Cleaning
First unplug the machine. Clean the outside of the machine frequently
with a clean, moist cloth. This may conveniently be carried out when
the machine is cold.
To prevent soiling of substrate, periodic wiping of entire exterior
machine, including platens, with a clean rag is recommended. If
necessary, use mineral spirits for cleaning a cold machine. Since
mineral spirits are flammable, use precautions at all times and keep
away from sparks, flames or hot heat platen.

Page 12
5. Machine Drawings,
Diagrams and Declarations
On the following pages are the schematic diagrams for the Beta Maxi
(115V) Press.
5.1 General Layout …………..……………… Page 13
5.2 Control Unit – Operation ……...………... Page 14
5.3 Exploded Diagram and Parts List ……… Page 15
5.4 Machine (inc. Controller)
- Electrical Diagram ……..………………. Page 16

5.1 General Layout of the Beta Maxi (115V)
Page 13
TIME/TEMP CONTROL UNIT
PRESSURE ADJUSTING KNOB
MACHINE OPERATING HANDLE
TABLE AND PAD
HEAT PLATE
HANDLE RELEASE KNOB
HEAD SWING AWAY HANDLE
MACHINE FUSE
ON/OFF SWITCH

5.2 Operation of Control Unit, Setting Time and Temperature
(The head must always be in the up position before the controller is set)
ACT
ACT
TEMP
TEMP
SET
SET
TIME
TIME
ACT
ACT
TEMP
TEMP
SET
SET
TIME
TIME
Page 14
Setting Temperature
Setting Time
1.
2.
3.
4.
5.
6.
Switch on Press; Display and
'TEMP' indicator will light up.
Press 'MODE' button to select 'Set'
on indicator.
The Display will start flashing.
Use the 'UP' and 'DOWN' arrow
buttons to set the required
temperature.
When you have set the required
temperature the Display will stop
flashing and the 'SET' indicator will
go out.
Press the 'ON/OFF' button to start
the Press heating to the selected
temperature. The 'ACT' indicator will
light up.
1.
2.
3.
4.
5.
6.
Switch on Press; Display and
'TEMP' indicator will light up.
Press 'MODE' button twice to select
'SET' and 'TIME' on indicator.
The display will start to flash.
Use the 'UP' and 'DOWN' arrow
buttons to set the required time.
When you have selected the
required time the Display will stop
flashing and the 'SET' and 'TIME'
indicators will go out.
Press the 'ON/OFF' button to start
the Press. The 'ACT' indicator will
light up.

5.3 Exploded Diagram & Parts List
Page 15
No. Description Part no. Qty.
1 Front foot BMC13 1
2 Detachable base plate no.2 BMC613 1
3 Detachable top plate no.3 BMC614 1
4 Retaining plate BM345 1
5 External circlip BMC207 1
6 Detachable table knob BMC506 1
8 Base terminal cover BMC616 1
9 Adjustable stop block BMC612 1
10 Base BMC12/B 1
11 Rear foot BMC14 1
12 1/8 BSP grease nipple BMC201 1
13 P clip BMC242 1
14 PTFE ring probe FP3057/5 1
15 Heat plate spring BMC656 1
16 PTFE pillar AMC207 4
17 Screw eye BMC660 1
18 Thermal cut out BM338 1
19 Micro switch BMC462 1
20 Fab arm BMC18 1
21 Thrust bar BMC19/B 1
22 Adjusting stud and lock ring complete BMC19/C 1
23 Overlay R/H Adkins fascia BMC630 1
24 Mains cable (3183Y) BLK 1
25 Scalloped handwheel BMC507 1
26 Instrument cover BME10 1
27a 9 V DC Display board BMC655/A 1
27b 9 V DC Controller power board BMC655/B 1
27c Controller back plate BMC322-C 1
27d Controller complete BMC655/COMP 1
28 Green rocker switch BM448 1
29 Fuse replacement label (4 x 1.5 cm) BMC663 1
30 T 1.5 amp fuse TSW51 1
31 Standard fuse holder BME468 1
32 Cast swing arm BMC11 1
33 Swing arm handle BMC508 1
34 L/H and R/H pivot arms (pair) BMC19/K 2
35 Circlip BMC352 2
36 Knurled knob BM224 1
37 Pressure spring BMC225 1
38 Stop bar BMC19/F 1
39 Pivot plate (pair) BMC19/J 2
40 Overlay L/H touch pad fascia BME541 1
41 Stop block BMC19/G 1
42 Outer pin BMC19/A 1
43 Spacer (pair) BMC19/E 2
44 Oilite bush BMC321/S 1
45 20 mm conduit cable post BMC436/A 1
46 Inner pin BMC19/D 1
47 Toggle cover BMC19/N 1
48 3 piece handle BMC19/H 1
49 Toggle cam BMC19/L 1
50 Yoke pin BMC22/C 1
51 Solid guide post BMC348 1
52 Yoke BMC15 1
53 Jacking plate BMC491 1
54 Insulation cover (dark grey) BMC26 1
55 Rock wool BMC228 1
56 15 x 20 heat plate (inc loom) BMC460/COMP 1
57 Non adhesive silicone pad 38 x 50 cm BMC341 1
Self adhesive silicone pad 38 x 50 cm BM341 1
58 Cast table 38 x 50 cm BMC17 1
59 Gland AMC307 1
60 Rubber foot SW33 4
61 Loom complete with ring probe LOOMCR/120 1
62 Lever arm BMC19/M 1
63 Coupling BM361 1
64 Bush BM360 1
65 M5 x 40 socket cap head with nut M5X40SCH 1
66 Pressure adjust label BM486 1
67
Danger isolate mains label (6 x 2.5 cm)
BMC661 1
68 Caution hot label (6.5 x 6 cm) BMC663 1
69 Solid State Relay (25 amp) BMC657 1
70 6 Way terminal block BMC658 1
71 Switch Mode DC Power Supply BMC659 1
72 Electrical caution label (2.5 x 2.5 cm) BMC664 1
73 Rocker switch BMC667 1
32
71
31 30 28
29
27a
27c
27b
26
73
67
72
25
24
66
22
21
20
17
18
16
15
65
14
13
12
11
10
8
9
61
6
5
4
32
1
60
59
58
57
56
55
54
68
53
52
50
49
48
62
43
41
39
42
40
44 45 46 47
51
64 63
38
37
36
35
34
33
Please tighten nut with a 16 mm spanner before using machine
27d
19
69
70
23

5.4 Electrical Diagram
Page 16
NL
14AGW
14AGW High Temperature Resistance
High Temperature Resistance
(110/VAC/120VAC)
POWER SUPPLY INTERCONNECT
14AGW HEATER 1
1
2
3
4
HEATER 2
THS1(thermoswitch)
THS2(thermoswitch)
POWER
SWITCH
High Temperature Resistance
Fuse
250V 1.5A Lv+
v-N
AC110-240VAC
black (0.75)
black (2.5)
black (0.75)
green (2.5)
RS-15-12 15W
Micro Switch
THERMOCOUPLE
COM
NC
NC
+12V
SSR
SSR-25AA
AC9V&+12V DC
AC9C&0V DC
Di2
GND
+
IO Unit
Power Unit
MCU
CONTROLLER MAIN BOARD
thj_main_e
Operation
& Display
thj_pw_e
PE
white (0.75)
white (0.75)
12V DC
red (0.75)
red (0.75)
white (2.5)
line
black (2.5)
1121
22(i) 12(1)
22(k)
12
12(k)
black (0.75)
0V DC
black (0.75)
green/yellow
green/yellow
black (0.75)
red (0.75)
E
LN
E
E

Page 17
6. Design Change
With the policy of constant improvement and/or modification to meet
changing conditions, the right is reserved to change the design and/or
specifications at any time without prior notification, and therefore
specifications may vary and not be in accordance with this manual.
Table of contents
Other Adkins Power Tools manuals

Adkins
Adkins STUDIO CLAM 38 Service manual

Adkins
Adkins Alpha Calender Roll-Master 1.2 Service manual

Adkins
Adkins Beta Maxi A2 Service manual

Adkins
Adkins BETA MAJOR Service manual

Adkins
Adkins Beta Cap Service manual

Adkins
Adkins Studio Clam Service manual

Adkins
Adkins Studio Versa Service manual

Adkins
Adkins Studio Plate Service manual

Adkins
Adkins OMEGA 1000 Series Service manual

Adkins
Adkins OMEGA 750 Series Service manual