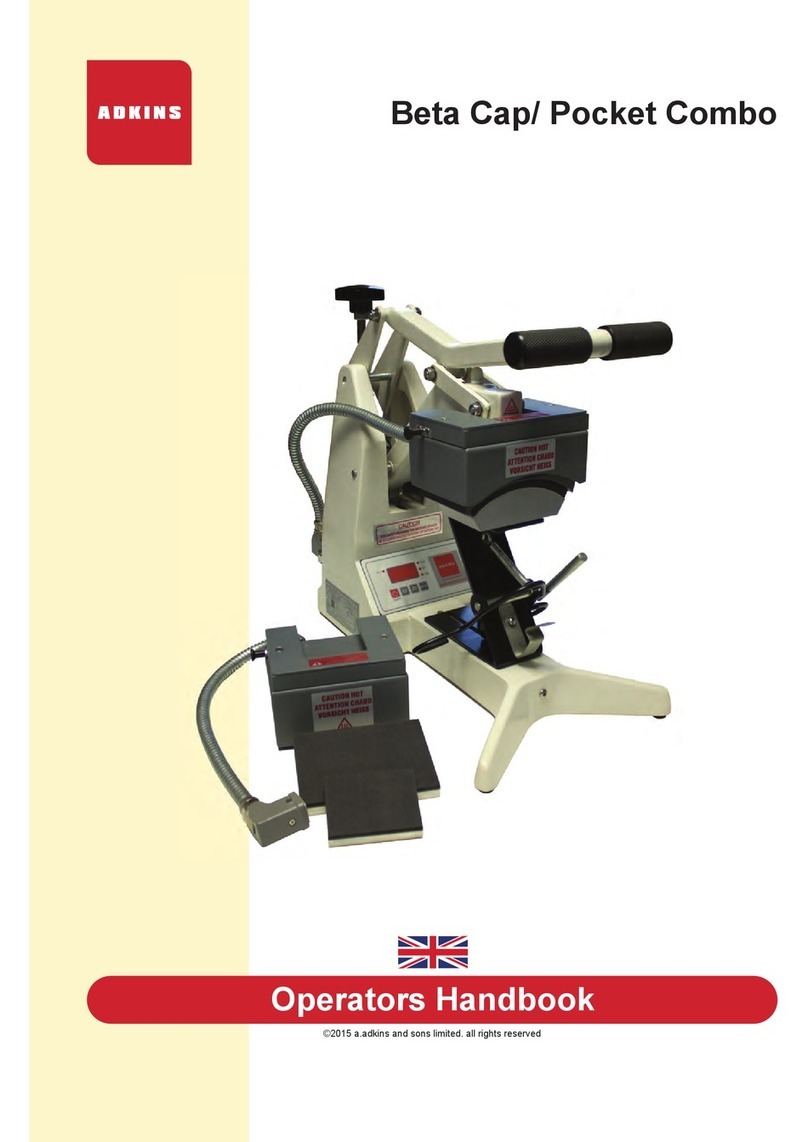
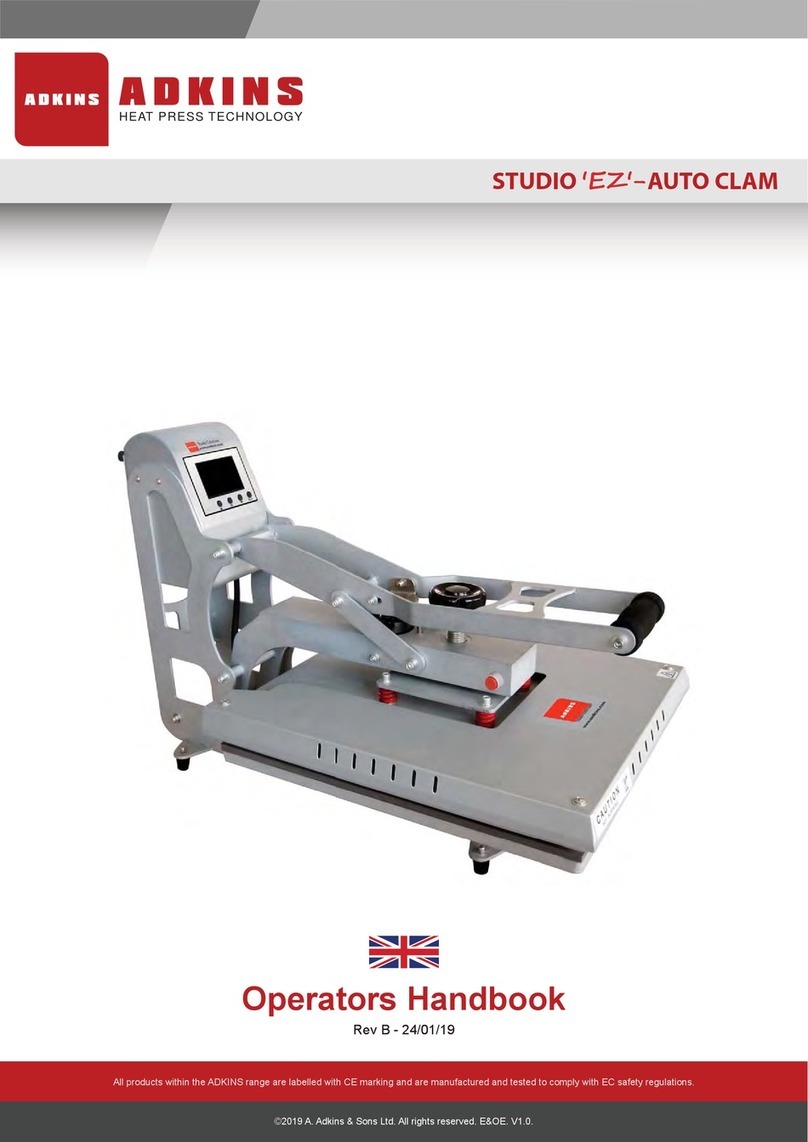
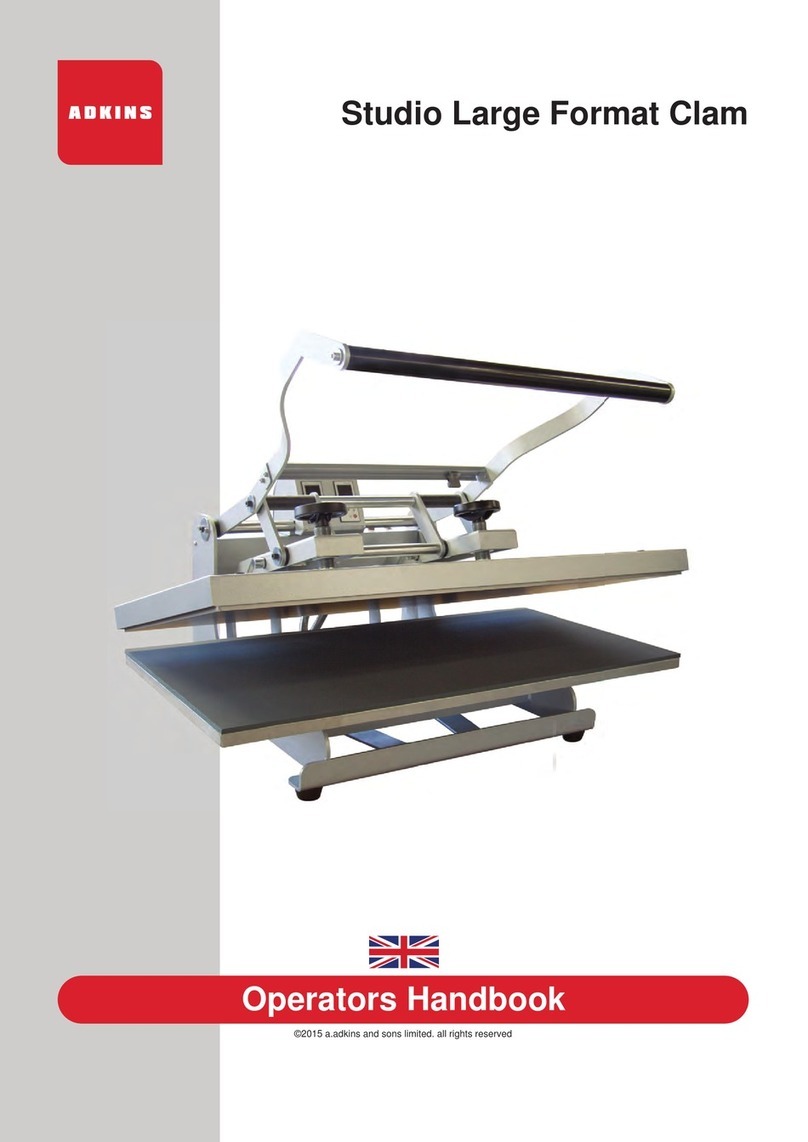
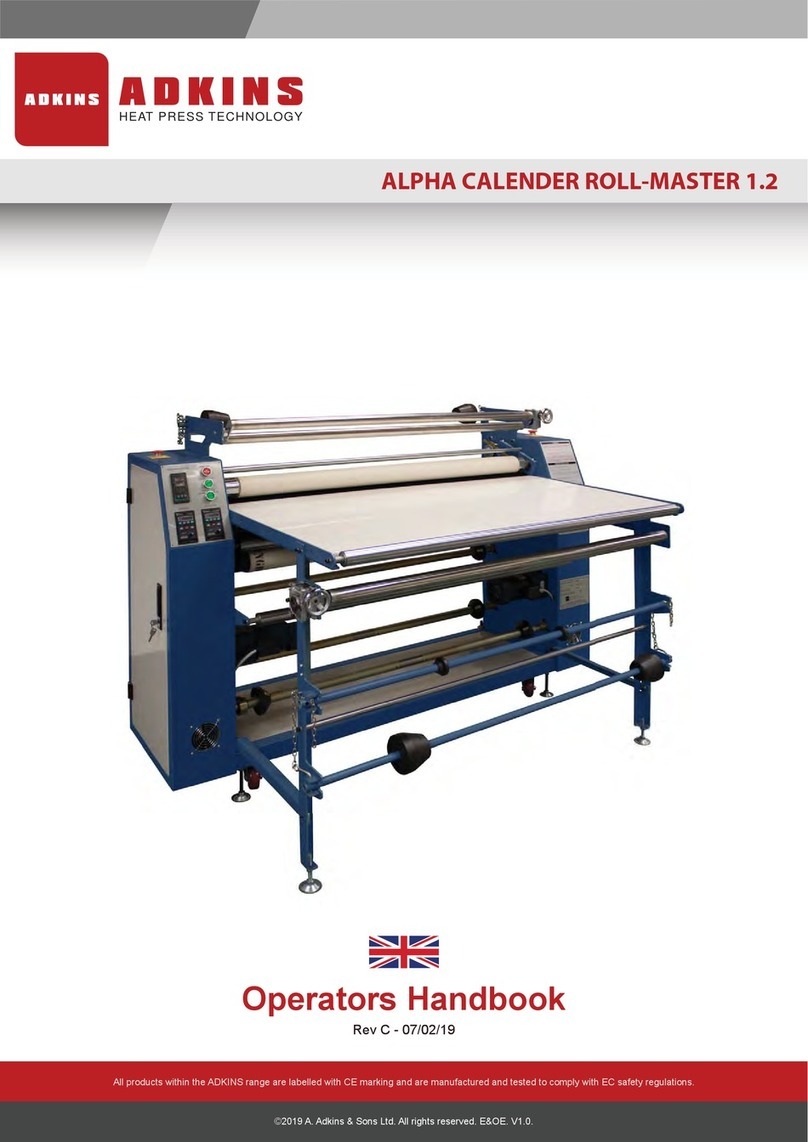
Adkins Studio Versa Service manual

©2015 a.adkins and sons limited. all rights reserved
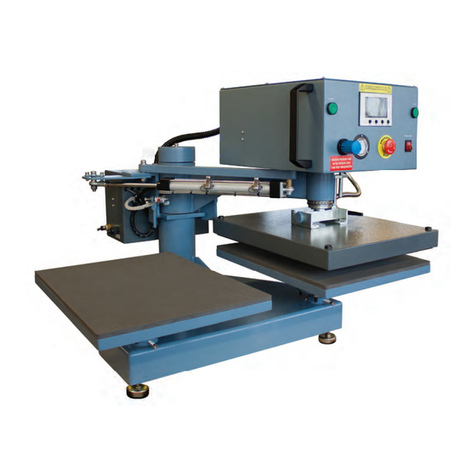
Studio Versa
Operators Handbook

Preface
Dear User
Welcome to the growing group of Studio Versa Press users. The
product you have purchased has been carefully designed and
manufactured to ensure that you, the user, will gain the maximum
benefit.
All A. Adkins & Sons Limited products are specifically designed to
ensure ease of use with particular attention to safety requirements.
Should you discover any fault or damage upon receipt of this product,
you should immediately contact your supplier.

Contents
1. Introduction Studio Versa Press 1
1.1 Specifications of the Studio Versa Press 2
1.2 Safety 3
2. Installation 5
2.1 Transport instructions 5
2.2 Installing the machine 5
2.3 Electrical requirements 5
2.4 Adjusting the pressure 6
3. How to operate the Studio Versa Press 8
3.1 Starting with the Studio Versa Press 8
3.2 Working with heat transfer materials 8
3.3 Standard T-shirt attachment removal/refitting 10
3.4
3.5
3.6
Optional Cap attachment removal/refitting
Optional Plate attachment removal/refitting
Optional Mug attachment removal/refitting
11
13
14
3.7 Heater Pad Assembly 17
4. Maintenance of the Machine 18
4.1 Periodic maintenance 18
4.2 Cleaning 18
5. Machine Drawings and Diagrams 19
5.1 General Layout of the Studio Versa Press 20
5.2 Operation of the Control Unit 21
5.3 Exploded Diagram and Parts List 22
5.4 Electrical Diagram 23
6. Design Change 24
7. Guarantee (Limited Warranty) 25
Declaration of Conformity 26

Page 1
1. Introduction Studio Versa
Press
The Studio Versa Press has been designed for flexibility and ease of
operation, with the standard configuration setup for T-shirts and
optional configurations also available for Caps, Mugs and Plates for an
additional charge.
This simple robust machine is powered by a microprocessor for
control of both heat and dwell accuracy and ease of operation requiring
minimal operating space.
The Studio Versa Press is produced to be nominally 230-240 Volts
AC.

Page 2
1.1 Specifications of the Studio Versa Press
The Studio Versa Press is a manually operated heat press for transfer
printing. It is ideal for small/ medium volume production.
The work area of the Studio Versa Press is 60 x 80 cm.
Specifications European Machine
Power consumption 1325 Watts
Power supply 230 Volts AC
Maximum Working temperature 260oC
Display Timer Range 0 - 9999 sec
Machine height open 55 cm
Machine width 39 cm
Machine depth 43 cm
N
et weigh
t
(inc. plates) 22.5 kg
(Standard) T-shirt pad dimensions
(Optional) Cap pad dimensions
(Optional) Plate pad dimensions
(Optional) large Mug pad dimensions
(Optional) standard Mug pad dimensions
38 x 30 cm
15 x 8 cm
Ø12 cm
22.5 x 11 cm
20 x 11 cm
Fuses 5.75 A

Page 3
1.2 Safety
Our customer service department has its own service
engineers and, if required, maintenance and advice is available.
The Studio Versa Press meets the European Legislation
standard. Under normal conditions accidents are rare, however
listed below are some practical points to ensure your safety.
Always switch off the mains supply (and pull plug out of
the socket) when undertaking maintenance work or when
cleaning the machine.
Ensure that there is sufficient space around the machine.
Cables and connections must not get jammed. Although
the heat radiation of the press is low, there should be
enough space for cooling down.
Avoid contact with the presses elements.
DO NOT REMOVE THE COVER OR CONTROLLER
UNLESS QUALIFIED TO DO SO - touching internal parts
is dangerous and may cause shock hazard. All electrical
connections inside covers are live. Never operate Press with
any covers and/or guards removed.
PROTECT THE MAINS CABLE - Damage to the mains
cable may cause fire or shock hazard. When unplugging, hold
by the plug only and remove carefully. Take care that the
mains cable does not come into contact with any heating
elements (or moving parts of the mechanism) during operation
of the machine.
OPERATING AMBIENT TEMPERATURE RANGE - the
operating ambient temperature range is 32oF - 104oF, (0oC -
35oC) and humidity of 20 - 80%.
MACHINE FUSES - type: 5.75 Amps
WARNING - THIS APPARATUS MUST BE EARTHED
(GROUNDED)
CAUTION
This machine gets hot whilst operating. Take care not to touch
any surfaces that are labelled “Caution HOT”. Keep hands
away from heating elements
MACHINE OPERATION
Only persons trained to do so should operate this machine.
This machine is designed to be operated by one operator
only.

Page 4
Safety (Cont.)
The (optional) large and standard Mug pressing pads
should remain in the unclamped position when not in use.
When in use, NEVER close the machine into the clamped
position without a mug inserted into the element as this will
destroy the heating element and negate the warranty.
Contact your print media suppliers to ascertain whether
fumes are given off during the transfer process and if so what
precautions are needed for operator safety. These may include
air extraction and/or masks for personnel.
Please refer to Page 20 for an illustration of the Studio Versa Press
machine.

Page 5
2. Installation
2.1 Transport instructions
The machine comes to you in a box or shrink-wrapped. If you have to
transport the machine at any time it is recommended that you use a
similar box and packing methods. Please let the machine cool down
and move the handle to the locked position.
N.B. Never move the machine with an (optional) large or standard
Mug pressing pad in place, unless a correctly fitting mug is
clamped into the printing position.
2.2 Installing the machine
2.2.1 Remove all packaging from the heat press.
2.2.2 Check to ensure that no damage has been caused to the
machine during transit.
2.2.3 Place the machine on a sturdy horizontal surface that is within
easy reach of the operator and allow space for the handle to
move to the loading position. Ensure that no items vulnerable
to heat radiation are too close to the machine.
2.2.4 IMPORTANT: Ensure that the machine is secured to the
work surface with the brackets provided on the front and rear
of the machine. (See Technical Support leaflet supplied with
press).
2.2.5 Attach heat plate power lead and plug to control box socket.
(See Technical Support leaflet supplied with press).
2.3 Electrical requirements
The Studio Versa Press should be connected to the mains supply,
(nominally 230V AC for the European Market), by the mains cable
provided and a suitable plug.
The press is designed for 230Volts AC 50/60 hertz and requires
exclusive use of a power outlet rated for at least 3.15Amps (Europe).
Ensure that the supply rating on the machine specification plate
corresponds with your local supply and that the correct plug is fitted.
2.3.1 Wiring the plug for a 230V AC Machine
The wires in this mains lead are coloured in accordance with the
following code:

Page 6
Electrical requirements (Cont.)
Green and Yellow: EARTH
Blue: NEUTRAL
Brown: LIVE
As the colours of the wires in the mains lead of this apparatus may not
correspond with the coloured markings identifying the terminals in your
plug, proceed as follows:-
1. The wire coloured green and yellow must be connected to the
terminal in the plug, which is marked by the letter E, or by the
safety earth symbol coloured green, or green and yellow.
2. The wire, coloured blue must be connected to the terminal
which is marked with the letter N, or coloured black.
3. The wire, coloured brown must be connected to the terminal
which is marked with the letter L, or coloured red.
NOTE:
A competent service engineer must carry out any replacement of
the mains cable.
HEATING ELEMENTS
The heating elements fitted to this press are rated at 1325 Watts/230V
AC.
Never connect to any outlet or power supply having a different
voltage/frequency from that on the machine data plate.
2.4 Adjusting the pressure
This pressure is altered with the black pressure adjustment knob
located on the top of the machine:
a) To increase pressure or to use smaller diameter mugs turn
knob clockwise.
b) To decrease pressure turn the adjustment knob anticlockwise.
c) Be careful when placing a mug in the press, fitted with the
(optional) large or standard Mug pressing pad, that the pressure
jaws are not in contact with the mug handle as this may cause
damage to the element.
NOTE
DO NOT adjust the pressure when the machine is clamped shut
CAUTION
Never increase the pressure to the extent of requiring undue force
to lower the operating handle into the lock position, as this will
place excessive stress on the pressing pads, resulting in damage to
the press.
Please refer to Page 21 showing the operation of the control unit.

Page 7
3. How to Operate the Studio
Versa Press
3.1 Starting with the Studio Versa Press
3.1.1 Plug into your supply outlet and switch supply on.
N.B. Please ensure the mains plug is easily accessible to the
operator so that in the event of a fault the machine can be
unplugged.
3.1.2 Turn on the Studio Versa Press; the on/off rocker switch is
on the back of the machine cover and illuminates when “on”.
Set the machine controls as necessary. See instructions for
adjusting the pressure 2.4, and the operation of the time
temperature unit 5.2.
3.2 Working with Heat Transfer Materials
First ascertain from the supplier of the garment/ cap/ plate/ mug that
they are suitable for transfer printing and obtain from them and from the
transfer supplier the correct heat and time dwell setting for the process.
Always check before use that the transfers are either. ‘Hot’ or ‘Cold’
peel. Approximate settings may be as follows:
3.2.1 (Standard) T-shirt, (optional) Cap, (optional) Plate
attachments
a) Adjust the pressure setting of the machine by rotating the
adjusting knob situated on the top of the machine (See
exploded diagram in this manual) clockwise for more
pressure, anticlockwise for less pressure. Place transfer and
substrate into machine, positioning it as required. Make any
final adjustments using the pressure setting.
b) From a cold start-up allow the press to heat up to the desired
temperature.
c) To achieve a good transfer result the transfer paper should be
placed in the desired position on the substrate, removing all
wrinkles. Set the pressure adjustment so that there is good
contact with the substrate.
d) When the temperature indicator on the controller reaches the
set value the machine is ready to print. When you are satisfied
that the transfer is in the correct position gently close the
press with the handle. Immediately press the timer button on
top of the control unit to start the pressing cycle.
N.B. The handle must be in the locked position ensuring that
the work is fully clamped.
Page 8
Working with Heat Transfer Materials (cont.)
e) When the pressing cycle is completed and the buzzer sounds
press the timer button again to silence the buzzer, then release
the handle and raise the heat plate.
f) Carefully remove the substrate from the pressing pad (it will
be very hot). The transfer can now be carefully removed.
g) Please refer to transfer printer’s instructions, to ascertain if the
transfer is ‘hot’ or ‘cold’ peel.
3.2.2 (Optional) large/standard Mug elements
a) Adjust the pressure setting of the machine by rotating the
adjusting knob situated on the top of the machine. (See
exploded diagram in this manual). Clockwise for more
pressure, anticlockwise for less pressure. It is always best to
find the most suitable opening before using the transfers in
production. Adjust the position of the Silicone Heating
Element, place mug into machine, positioning it as required.
Make any final adjustments using the pressure
setting.
b) From a cold start-up allow the press to heat up to the desired
temperature. Insert a plain mug into the press and close the
handle. The mug will absorb a large amount of heat and the
temperature will drop, but the element will climb to set
temperature within a short time. It is normal for the displayed
temperature on the controller to fall by up to 30C very quickly
when a cold mug is placed into the press; however the element
is designed to recover up to the set temperature very quickly.
c) To achieve a good transfer result the transfer paper should be
placed in the desired position on the mug, securing in place
with heat proof adhesive tape and removing all wrinkles.
Ensure there is sufficient pressure on the mug for good results.
Set the pressure adjustment so that there is good contact with
the mug.
d) When the temperature indicator on the controller reaches the
set value, the machine is ready to print. Remove the plain mug
then place the print mug in position in the press. When you are
satisfied that the mug is in the correct position, gently close the
press with the handle, taking care that the machine jaws do not
catch on the mug handle. Then immediately press the timer
button on top of the control unit to start the pressing cycle.
N.B. The handle must be in the locked position ensuring that
the work is fully clamped.
e) When the pressing cycle is completed and the buzzer sounds
press the timer button again to silence the buzzer, then release
the handle and raise the heat plate. The mug should then be
released and carefully taken out of the pressing pad (it will be
very hot). The transfer can now be carefully removed.

Page 9
Working with Heat Transfer Materials (cont.)
f) Please refer to transfer printer’s instructions, as in some cases
it is recommended you place mug in bowl of cold water before
removing transfer paper.

Page 10
1. Loosen the two table retaining bolts with a 13mm
spanner.
2. Detach the 4-pin plug from the control box (see
arrow).
3. Slide off the heat plate from retaining bracket.
4. Remove the four wing nuts and washers securing
the bottom table supports. 5. Slide off the bottom table and table supports.
6. Refitting is a reversal of removal.
3.3 Standard T-shirt attachment removal/refitting

Page 11
1. Loosen the two table retaining bolts with a 13mm
spanner.
2. Detach the 4-pin plug from the control box (see
arrow).
4. Unscrew four wing nuts on bottom table supports. 5. Slide off the bottom table and table supports.
3. Slide off the heat plate from retaining bracket.
3.4 Optional Cap attachment removal/refitting

Optional Cap attachment removal/refitting (cont.)
Page 12
6. Slide heat plate into table bracket taking care to
arrange the 4-pin plug to the rear. 7. Secure heat plate with two wing nuts and washers
included and attach the 4-pin plug to the control
box.
8. Secure bottom table with two wing nuts and
washers.
9. Adjust pressure screw to suit item to be transferred
(see arrows).
0. Refitting is a reversal of removal.
1

Page 13
1. Loosen the two table retaining bolts with a 13 mm
spanner.
2. Detach the 4-pin plug from the control box (see
arrow).
4. Slide plate table into table bracket taking care to
arrange the 4-pin plug to the rear.
3. Slide off the heat plate from retaining bracket.
5. Secure plate table with two wing nuts and washers
and attach the 4-pin plug to the control box.
6. Adjust pressure screw to suit item to be transferred
(see arrows).
7. Refitting is a reversal of removal.
3.5 Optional Plate attachment removal/refitting

3.6 Optional Mug attachment removal/refitting
Page 14
1. Loosen the two table retaining bolts with a 13mm
spanner.
2. Detach the 4-pin plug from the control box (see
arrow).
4. Unscrew four wing nuts on bottom table supports. 5. Slide off the bottom table and table supports.
3. Slide off the heat plate from retaining bracket.

Page 15
6. Undo top locking nut and remove top bracket with
a 17 mm spanner. 7. Thread the metal tensioning strap into the toggle
slide and lock with a 17 mm spanner.
8. Slide the element into the tensioning strap, taking
care to slide gently under the lip at either end of the
tensioning strap (see arrow).
9. Lock the rotational knob to hold press in the dead
ahead position (see lower arrow).
0. Turn the pressure screw clockwise so that the base
comes into contact with the frame (see top arrow).
Optional Mug attachment removal/refitting (cont.)
1

Page 16
11. Secure the heater band with two wing nuts and
washers.
12. Installation is a reversal of removal.
Optional Mug attachment removal/refitting (cont.)

Page 17
3.7 Heater Pad Assembly
The heater pads fitted to this machine are faced with silicone rubber
and a piece of P.T.F.E. sheet, to prevent ‘strike-through’ of surplus ink
back onto the heater element. The pressing surfaces must be maintained
in good condition at all times. A worn pressing surface will always
affect the quality of printing. Do not insert items into the machine,
which could damage the printing surfaces.
Table of contents
Other Adkins Power Tools manuals

Adkins
Adkins Studio Plate Service manual

Adkins
Adkins Studio Large Format Clam Service manual

Adkins
Adkins Beta Cap Service manual

Adkins
Adkins OMEGA 750 Series Service manual

Adkins
Adkins Beta Maxi Service manual

Adkins
Adkins STUDIO CLAM 38 Service manual

Adkins
Adkins Beta Swift User manual

Adkins
Adkins Alpha Calender Roll-Master 1.2 Service manual

Adkins
Adkins Beta Maxi A2 Service manual

Adkins
Adkins BETA MAJOR Service manual