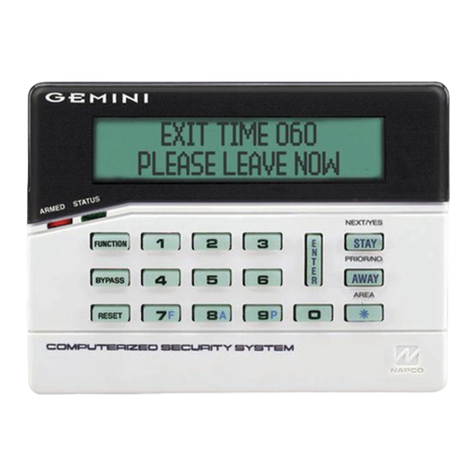
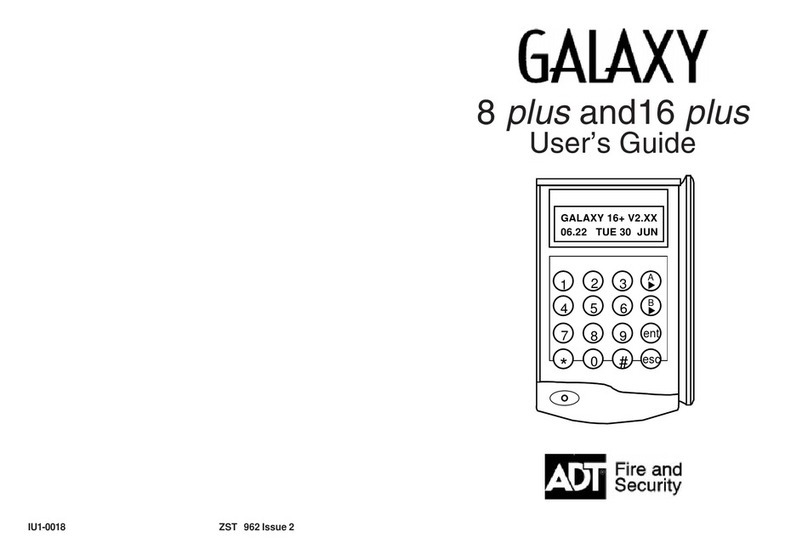
ADT Galaxy 16 Plus User manual

QUICK CONSUMER
REFERENCE GUIDE
YOUR System: Galaxy 16+ / 8+
1
Setting Your System
Step 1
When leaving your home ensure that all protected doors/windows, including your
front door, are closed before setting your System.
Step 2
Enter your User Code and press the A key:
• If all the System zones are closed when the setting routine is initiated the Keypad
sounders will emit a continuous tone and the Keypad displays the Exit Time
countdown blocks.
• If any zones are open (for example: protected doors or windows; or if someone
activates a movement detector when the setting process is started) then the
Keypad sounders pulse rapidly and the Keypad displays which zones are open
Closing the open zones allows the setting routine to restart.
Step 3
Leave the building using the agreed Exit Route. Close and lock the Final Exit Door
andthen,iftted,operatetheExitTerminator;thehornoutputsandtheKeypad
buzzers become silent for four seconds, the countdown blocks all clear and the
KeypadbuzzersemittwolongtonestoconrmthattheSystemisSet.Onthe
Keypad the message System IS SET appears before the display goes blank. The
setting routine can be aborted, before the System sets, by pressing the esc key on
the Keypad used to initiate the setting routine.

Part Setting Your System
Your alarm System can be Part Set using the B key. To Part Set the System enter
your User Code then press the B key. The Keypad then displays the Set/Unset status
ofthosepartsassignedtoyourcode,seeFigure2PartSettingOptions.
Step 1
Part Set options for user code with Parts 1 and 3 assigned. Part 1 is unset, Part 3 is
set.
ThePartsmarked‘ON’areSet,thosemarked‘OFF’areUnset.Toaltertheset/unset
status of a Part press the number corresponding to that part, that is, pressing the 1
key toggles the set status of Part 1 between set/unset.
The equals sign denotes that what is displayed beside the Part number is the current
statusofthePart,thatis,P1=ONdenotesthatPart1iscurrentlyset.Pressingthe1
key will cause the display to read P1*OFF,thismeansthatPart1isnowprovisionally
programmed as Unset.
The actual set status of the part will not be altered until the ent key is pressed to
accept the programming.
Oncetheentkeyhasbeenpressedleavethebuildingusingtheagreedexitroute.
Closeandlockthenalexitdoorandthenoperatetheexitterminator;thehorn
outputs and the Keypad buzzers become silent for four seconds, the countdown
blocks on the Keypad display all clear and the Keypad buzzers emit two long tones to
conrmthattheSystemisset.OntheKeypadthemessageSystemISSETappears
before the display goes blank. The setting routine can be aborted, before the System
sets, by pressing the esc key on the Keypad used to initiate the setting routine.
Note: If the Silent Part Set facility has been enabled only the Keypad display
indicates the setting status, that is, no audible tones are emitted.
SELECTP1=OFF
P3*ON
2

Unsetting Your System
The System begins the unsetting routine whenever a Final door opens or an Exit/
Entry zone is activated. The Keypad buzzers pulse slowly indicating that the Entry
Time countdown has started.
To unset the System, go directly to the Keypad using the agreed entry route, enter
your code and press the ent key.
Note: On some Systems, unsetting may alternatively be achieved, by swiping a
proximity Tag at the promimity reader.
Slow Entry
The Keypad sounder begins to pulse rapidly after 75% of the entry time has expired
to indicate that time is running short. If the entry time expires before a valid user code
is entered, a full alarm occurs.
Straying From The Entry Route
If, during the entry routine, you stray from the agreed entry route and activate a zone
in a protected area an audible alarm occurs.
Alarm Abort
Note: If the System is programmed for Alarm Abort a period of 90 seconds
after expiry of the Entry Time is provided to enable the user to cancel an alarm
caused by exceeding the Entry Time or deviating from the entry route.
If the 90 second Alarm Abort time is exceeded then a full alarm may result in the
Police being called to the premises and the System requiring an Engineer Reset.
The installation engineer will explain the operation of the Alarm Abort function where
necessary.
Cancelling Alarms
To cancel an alarm enter your user code. The Keypad displays the zones that have
been activated during the alarm. Press the esc key to return to the normal display.
Certain types of alarms, once cancelled, require a code authorised with the
appropriate reset authorisation to be entered. The System prompts for a valid reset
codebydisplayingINTRUDERRESETREQUIRED,PARESETREQUIREDor
ENGINEERRESETREQUIREDontheKeypad.
Engineer Reset
Certain types of alarm require an engineer to visit the site and, after investigation,
reset the System.
3
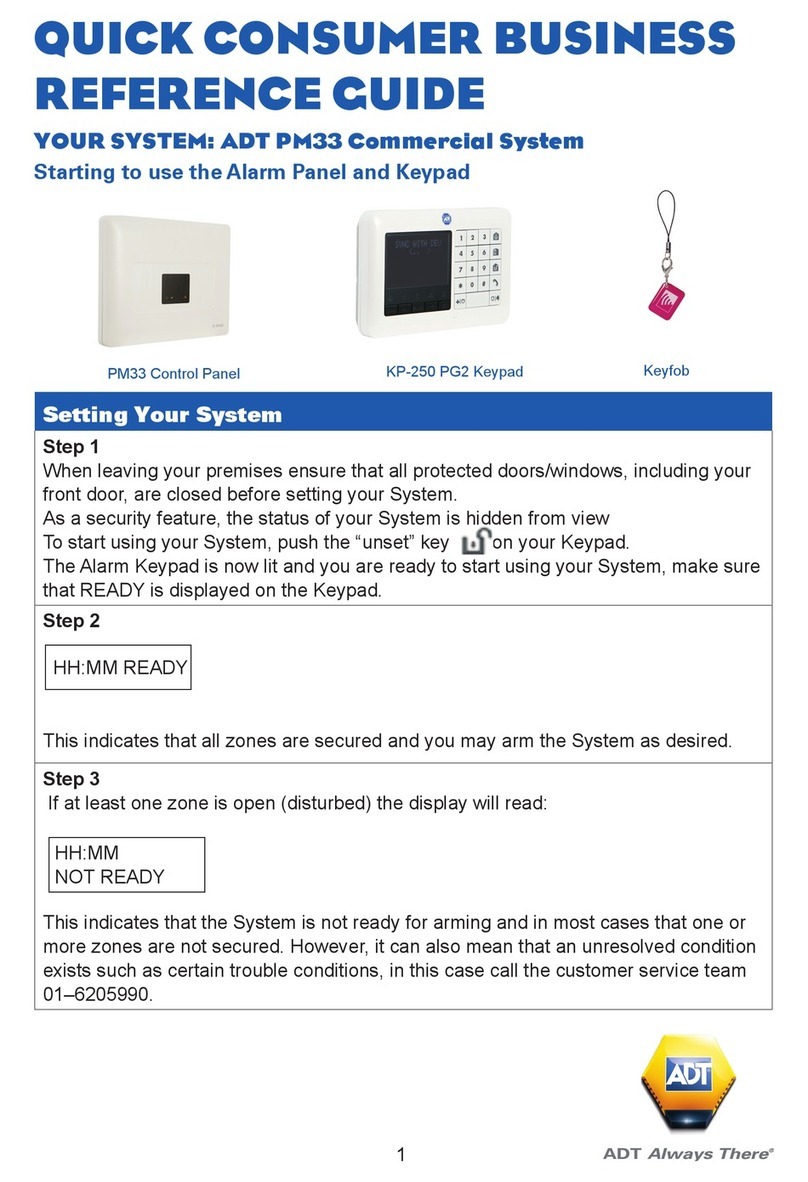
Resetting/ Silencing Your System After An Alarm
To stop the alarm sounding by:
Option 1:
The Keypad – by pressing the “part-set” key and presenting your KeyTag /or entering
your 4-Digit User Code.
Option 2:
The Alarm Panel – by pressing the “part-set” key and entering your 4-Digit User code.
Important: Resetting/Silencing your System stops the Internal Siren ringing but will
not interrupt the transmission of the alarm signal to the ADT Alarm Monitoring Centre.
Our monitoring specialists may contact you at this point and you will be requested
to conrm your Verication Code /Password to cancel the alarm alert. Your System
might require a remote reset.
Galaxy 16+ Adding/ Deleting Tags
WithaGalaxy8/16plusSystemyoumusthaveaseparatekeyTagreaderforthe
System to have the ability to set/unset by using a Tag. This is normally located next to
theGalaxyKeypad,itwillbeslightlysmallerthantheKeypadanditwillhaverowof
L.E.D lights at the top.
4

Creating Tags
When the keyprox is initially installed there will be no Tags programmed in to the
System. To do this proceed as follows;-
Step 1
Choose any Tag and hold it up to the keyprox for 10 Seconds. At which stage you
should get all the lights displayed. Remove the Tag from the keyprox.
Step 2
OnceyouhaveremovedtheTagfromthekeyprox.Allthelightswillstarttoashin
turn.(Red,Amber,Green&Orangelights).Atthisstagechoosewhichoneyou
want as the master Tag, and hold it up to the unit until the 3rdlightshows(Green)
Thenremove.Atthisstagethegreenlightwillstarttoash.
Step 3
With the 3rd(Green)lightashing.HoldthesameTagupagainuntilthe3rd(Green)
light shows again. You should now see the 3rd & 4thlightsash(Green&Orange).
This now means that this Tag is the Master Tag.
Note:
You need the Master Tag for entering programming to delete/add Tags.
Step 4
After a couple of seconds the 3rd & 4thlights(Green&Orange)willextinguishand
the1st&2ndlights(Red&Amber)willstarttoash.Thiswillallowyoutoprogram
the remainder of the Tags in to the System. Just present the Tag to the unit and
removestraightaway,youshouldget2beepsfromtheunit.Thisistheconrmation
that the Tag is now programmed in to the System.
Step 5
To exit programming mode, present any Tag that has been programmed up to the unit
5

Deleting Tags
NOTE:
If you lose any Tags or need to delete any, you cant just delete one. You have to
delete all the Tags including the Master and start from the beginning.
Firstly this can only be done by the Master Tag. If you don’t have a master Tag
this will require an engineer to attend and delete all Tags.
Step 1
HoldtheMasterTaguptothekeyproxfor10 Seconds until the all the lights are
illuminated,andthenremovetheTag.Youshouldnowhaveallthelightsashingone
at a time.
Step 2
HoldtheMasterTaguptotheunitagain,untilthe4thlight(Orange)isilluminated
thenremove.Allthelightsshouldnowashandthenextinguish.Youhavenow
deleted all the Tags from the System.
Adding Additional Tags
Step 1
Enter programming mode by holding you Master Tag to the keyprox for 10 seconds,
until all the light illuminate
Step 2
Thenthelightsshouldashuponeaftereachother.Onceyougettothisstage
holdtheMasterTagbackupuntilthe3rd(Green)lightisilluminated,thenremove
the Tag. The 1st & 2nd (Red&Amber)lightsshouldstarttoash.
Step 3
OnceyougettothisstageyoucannowprogramtheremainderofyourTagsinto
the System. This is done by presenting each Tag up to the keyprox and removing it
straightaway.Youwillget2beepsasaconrmation.
Step 4
To exit programming mode, present any Tag that has been programmed up to the unit
6

7
Step 4
Enter your new 4 digit code and press (ent). The display will show:
N.B. This example assumes you were changing User Code No” 1 indicated in
the display as 01 and USR 1
Step 5
If you wish to change any other User Code you can do so by pressing the (A) key to
select the correct slot number as described in step 2.
Step 6
Onceyouhavecompletedmakingyourcodechangespressthe(esc) key until you
return back to the time and date.
N.B. If you wish to delete a code, when you get to step 4 press the (*) key 4
times and (ent)
UserNumber
OptionSelection
User Code
Assigned Indication
Galaxy 8/16+ Code change
Step 1
Enter your Master Code and press Ent, The display will show:
Step 2
Press number 4. The display will show:
N.B. The display will only show a if the user code 1 has already been
allocated a user code number, otherwise , which indicates the user code 1
has not yet been allocated. If you do not wish to change user code 1. then after
step 2 press the (A) key until the correct user slot no’’ is reached.
Step 3
Onceyouhavechosentheusercodeyouwanttochangepress(ent).The display
will show:
0=OMIT
ENT,1-59=MENU
UserNumber
OptionSelection
>**** (0 - 9999)
USR 1.
User Code
Assigned Indication

8
Galaxy 8/16+ Bypass
Step 1
Enter your Master Code and press Ent, The display will show:
Step 2
Press number (1) key, The display will show:-
Step 3
To choose the zones you wish to omit (e.g. those areas you do not wish to protech)
Press the Aor BKeys, until the zone youe wish to omit it displayed (e.g. zone 03),
Then press the # key. The display will show:-
N.B. If any zones you wish to omit show non-omittable (e.g. zone 1) The
Keypad will tell you.
Step 4
Repeat step 3 until all the zones that you wish to omit are omitted
Step 5
If you wish to set the System press Ent or Escifyoudon’t
0=OMIT
ENT,1-59=MENU
01ZONENAME
NONOMITTABLE
03ZONENAME
OMIT

Galaxy 8/16+ Time/Date
Step 1
Enter your Master Code and press Ent, The display will show:
N.B. Only the master Code can be used to change the time & date
Step 2 Press the Ent button and then the Bkey, The display will show:-
Step 3 Press the Ent button. The display will show:-
Step 4 Press the number 1key and the display will show:-
Step 5
Enter the correct time using the 24 hour clock, And press Ent key.
Step 6 Press the Akey, The display will show:-
Step 7 Press the number 2button and the display will show:-
Step 8
Enterthecorrectdatein‘day/month/year’format.Entertwodigitsforthedayand
month, And the press Ent.
Step 9.
Press the Escbuttontwicetoreturnbacktothetime&date.
0=OMIT
ENT,1-59=MENU
10 = TIME
ENT1-59=MENU
1 = TIME
ENT1-4=SELECT
>CURRENTTIME-
(HR:MIN)
2 = DATE
ENT1-4=SELECT
>CURRENTDATE
NAMEDAY/MTH/YR
9

Useful Phone Numbers
Customer Service Centre
Call03448001999*to
request a routine inspection,
report a fault, request a
remote reset or if you have a
query with the monitoring of
your System.
Customer Sales Centre
Call0800010999to
upgrade your System or
Service Plan.
Moving Home?
Call08001690612tolet
us know you are moving
and for details of our
moving offers.
* Calls charged at the standard rate of a regular local or national landline number.
Costs from mobiles may vary.
ADT806G8/16-PDF/Issue1/August16
This manual suits for next models
1
Table of contents
Other ADT Control Panel manuals

ADT
ADT Command Hybrid User manual

ADT
ADT Ademco Vista 10P User manual

ADT
ADT SafeWatch 3000 Use and care manual

ADT
ADT ADT-LCD40 User manual

ADT
ADT Honeywell Domonial User manual

ADT
ADT Home Assure User manual

ADT
ADT 2 Gig Go! Control User manual

ADT
ADT 6128B User manual

ADT
ADT PM33 User manual

ADT
ADT DSC 1832 User manual
Popular Control Panel manuals by other brands

Entrematic
Entrematic Ditec EL31R installation manual

Black Box
Black Box C6AMP70-24 manual

Clear-Com
Clear-Com 4000 series II Technical manual

HIK VISION
HIK VISION DS-PK-LRT(433MHz) user manual

G-Force
G-Force UNDER CONTROL SP-35 user manual

mr. steam
mr. steam SMART/TWO Installation & operation instructions