ADT Honeywell Domonial User manual

1
QUICK CONSUMER
REFERENCE GUIDE
Arming The System Using Your Code Or Tag
Before arming the Total Set, ensure that the Keypad is in its base
Step 1
Press (Total Set arming) or (Partial Set arming)
Step 3
Enter your user code (programmed during installation, present your Tag to the Tag
reader of the TCU.
If the System diagnoses a fault on arming, a message is displayed. Press or
press the arming key again to bypass the faults and continue the arming process.
The screen counts down the exit time remaining and the Total or Partial set arming
light comes on to conrm arming.
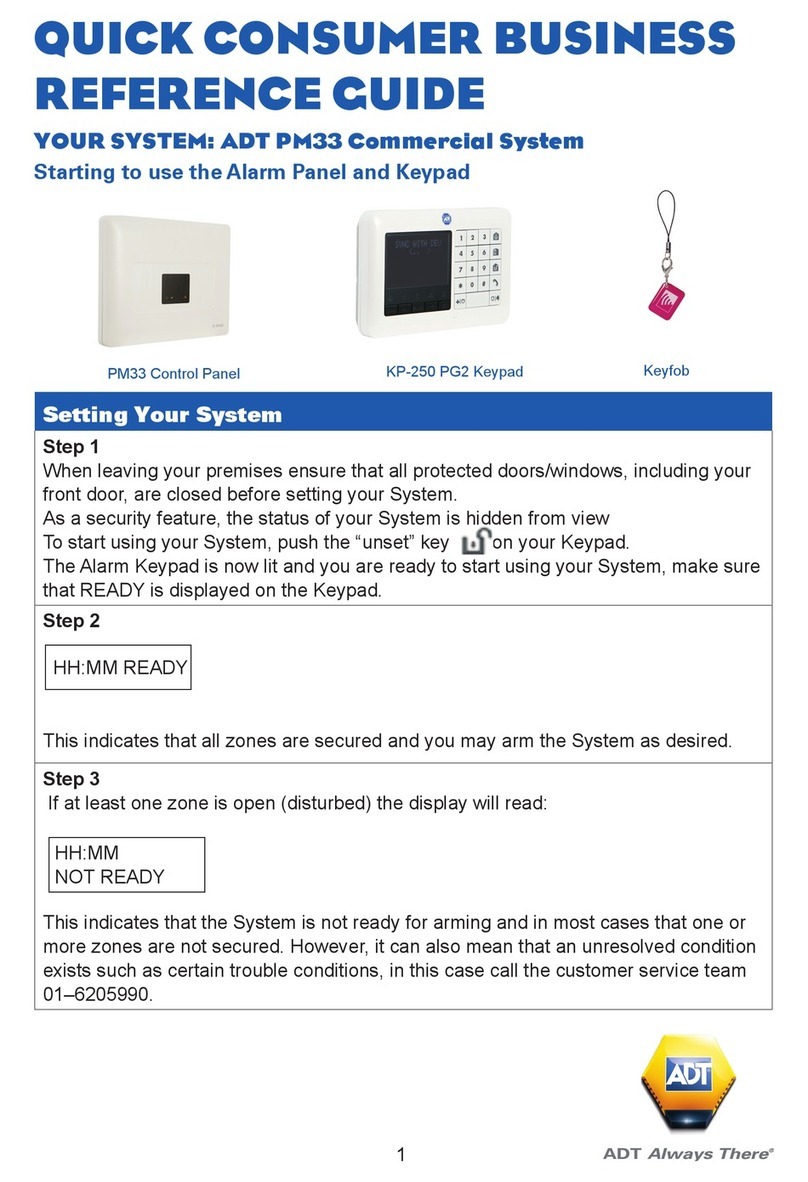
YOUR SYSTEM: Honeywell Domonial
The Domonial control panel/communicator unit is the brain of your Security System.
It exchanges information with the associated wireless peripherals. The control
panel centralises the data sent by the detectors, records the arming and disarming
operations and communicates with your Alarm Company. The control panel also
includes a speaker for alarm signalling and audio verication.
To Arm
Present Tag or
Enter Code

2
Arming The System Using Your Code Or Tag Continued
To complete Total Set arming, close the nal door. Partial Set arming is completed
at the end of the arming delay.
At the end of the arming delay, or is displayed to conrm that the System
is armed. The arming light then goes out and the screen clears after a few seconds.
Note:
Depending on the conguration of your Keypad, you may be able to arm your
System without the identication process.
Arming Of The Annex Set
This can only be done from the TCU menu
Step 1
Press
Step 2
Select ANNEX SET from the menu, using
Step 3
Conrm your choice with
Step 4
Enter your user code or present your Tag.
The arming process is signalled by a series of beeps and the screen counts down
the exit time remaining.
If your System is set up to arm once the nal door has been closed, close this door to
complete the arming process. Otherwise, you must leave the premises before the end
of the exit delay.
The icon conrms arming of the Annex set.
The screen clears after a few seconds.
NB: Depending on the conguration of your System, you may not have an
Annex. In this case, the message INACTIVE FUNCTION will be displayed on the
TCU screen.
1 - ANNEX
2 - EVENTS
3 - TOOLS
4 - USERS
5 - TESTS
6 - PREFERENCES
1 - ANNEX
ARMED IN 20
SECONDS

Disarming using your code or Tag
Note: The disarming process may vary, depending on your System
conguration. Your installer may set an entry delay of several seconds.
Step 1
Enter your 4 to 6-digit user code or present your Tag.
Step 2
The disarming tone is emitted by the Keypad and by the panel siren (if set up).
Depending on the conguration of your Keypad, this will disarm the Total Set or the
entire System. In the latter case, the annex set might need to be rearmed.
Disarming the System will also stop the sirens if you have accidentally triggered an
alarm.
In certain circumstances, you may wish to cancel the arming process before the
System has nished arming. In this case, press to disarm.
Stopping the siren does not interrupt the transmission to the alarm company.
Setting Silent Mode
The panel siren’s arming and disarming beeps can be modied by activating or
deactivating Silent Mode.
Note: You cannot deactivate the re or intruder siren.
► Active: No beeps on the panel
► Inactive: Beeps on the panel are active
► Partial Set only: Beeps are not active when the Partial Set is armed.
This does not affect the Keypad’s local beeps.
Step 1
Select 6-PREFERENCES in the MAIN menu, then select Silent Mode, using
to move up and down.
Step 2
Select Active, Inactive or Partial Set only, using , then conrm your
choice with
Step 3
A Keypad beep conrms your settings.
Step 4
Press to return to the Preferences menu.
3
Arming Of The Annex Set
When faults are present or in the memory while you are trying to arm the System,
they are indicated by an icon and a message on the Keypad screen:
Step 1
Press to acknowledge the messages and continue the arming process.
Step 2
Memorised faults are cleared from the memory and faults currently occurring are
bypassed.
Step 3
Press to cancel the arming process.
1 - ANNEX
ALARM
TAMPERING
ALL SETS OVERIDE?
<= OK
Faults On Disarming
When faults are present or in the memory while you are trying to arm the System,
they are indicated by an icon and a message on the Keypad screen:
Step 1
Press to clear faults in the memory and reset the System. Press again to
review the list of faults currently occurring.
Step 2
Press to exit the screen. See also System Lock, below.
1 - ANNEX
MEMO
INTRUDER TOTAL
SET RETSET?
<= OK
END OF RESULTS
4
Incorrect Code Or Invalid Tag
After ve attempts to enter a 4- or 6-digit code, the Keypad locks out all users for ve
minutes.
If an invalid Tag is touched to the Keypad, the screen displays:
After ve attempts to use the Tag, the Keypad locks out all users for ve minutes.
INDENTIFICATION
ERROR

5
System Lock
After a conrmed alarm, your System requires an operator reset.
Step 1
Call ADT 0344 800 1999. The operator will provide the remote reset code, based
on the code displayed on the Keypad.
1 - ANNEX
MEMO
INTRUDER TOTAL
SET SYSTEM LOCKED
<= OK
UNLOCK SYSTEM
PLEASE ENTER
RESET CODE
<= OK
SYSTEM RESTORED
SYSTEM LOCKED
CALL OPERATOR
CODE: XXXXXX
<= OK

6
Adding or Modifying Codes
You can add codes or modify existing codes, but all new codes must be at least 2
gures higher than any existing codes.
For example, if a code for an existing user is 2345, you cannot allocate code 2346
to someone else, but 2347, 2348, etc.
To modify existing codes:
Step 1
Select 1-CODES and press to see the list of users.
Step 2
Enter the Master Code or present the Master Tag.
Step 3
Select a user with , as shown in the rst screen below.
Step 4
Conrm your choice with or press to return to the menu.
Step 5
Press to conrm each screen or to cancel.
Step 6
After the last screen, a tone conrms your settings.
1 - ANNEX
THE USERS MENU
The USERS item is a very important, because all users must key in their code or present
their Tag in order to make any settings or adjustments to the System or to access
information about System status.
Note that some menus are only available using the Master Code or Tag.
1 - USER 1
3 - VIRGINIA
4 - WILLIAMS
5 - SOPHIE
6 - ETC...
CODES
2 - CHRISTOHPER CHRISTOPHER
AUTHORISE CODE?
NO YES
CODES
CHRISTOPHER
NEW:...
NO YES
CODES
1 - USER 1
3 - VIRGINIA
4 - WILLIAMS
5 - SOPHIE
6 - ETC...
CODES
2 - CHRISTOHPER
Select the user Enter the code Authorise the code

Adding, Modifying Or Removing Tags
This function allows you to allocate Tags to different users.
Step 1
Select 2-Tags and press
Step 2
Enter the Master Code or present the Master Tag. The list of users is displayed.
1 - USER 1
3 - CHRISTOPHER
4 - WILLIAMS
5 - SOPHIE
6 - ETC...
CODES
2 - VIRGINIA
Assign A Tag To An Existing User
Step 1
Select a user from the list with and conrm your choice with
Step 2
The following screens are displayed.
Step 3
Press to validate each screen, or to cancel the operation.
Step 4
Touch the Tag to the Tag Identication Area within 10 seconds.
Step 5
A tone conrms that the Tag has been recognised and added to your security
System.
Step 6
When a new Tag is assigned to a user, it overwrites the existing Tag.
1 - ANNEX
VIRGINIA Tag
ALLOWED?
NO YES
TAGS ATTRIBUTE Tag TO
VIRGINIA
SHOW YOUR Tag
CANCEL
ATTRIBUTE Tag TO
VIRGINIA
ACCEPT THE
NEW Tag?
NO YES
Authorise the Tag Show the Tag Accept the Tag
7

To Disable A Tag
Step 1
Select a user with and conrm your choice with Pressing will
disable this user’s Tag.
If you disable a Tag, the name of the owner is struck through.
Manually Bypassing Detectors
This function allows you to temporarily bypass one or more detectors.
Bypassed detectors are returned to normal operation the next time the security
System is disarmed.
Step 1
Select 3-BYPASS DETECTOR in the TOOLS menu.
Step 2
Enter your User Code or present a Tag.
Step 3
Select the name of the detector you wish to bypass, using to move up
and down.
Step 4
Conrm your choice with, as in the rst screen below.
Step 5
Select Active or Inactive, using , then conrm your choice with
Step 6
A Keypad beep conrms your choice.
Step 7
Press to return to the Tools menu.
Bypassed detectors are displayed with their names struck through. The icon
blinks to tell you that one or more detectors are bypassed.
SITTING ROOM
ROOM 2
KITCHEN
GARAGE
ETC...
BYPASS DETECTORS
ROOM 1
ROOM 1
< ACTIVE >
< INACTIVE >
NO YES
BYPASS DETECTORS
8

How To Use The KeyTag
The keyTag can be used to arm or disarm your Security System, to trigger an audible
or silent alert, as well as to control electrical equipment from a distance.
This KeyTag is optional, but 1 to 10 KeyTags of this type may be included with this
System. It comes with a carrying strap for attachment to a keyring.
ARMING OF THE TOTAL OR PARTIAL SET
Note: that with this KeyTag arming is immediate. Only arm the System once
you are outside the area to be protected.
To arm the Total or Partial set:
Step 1
Press the Total or Partial arm button.
Step 2
The associated light blinks during communication with the panel and remains lit for
3 seconds to conrm that the System is armed.
Step 3
The arming tone is emitted by the panel siren.
ARMING WITH FAULT
If the System diagnoses a fault on arming, you cannot set the alarm. Faults include
System faults, tampering and triggering of detectors.
Step 1
► A tone indicating a fault is emitted by the panel siren after the arming request,
instead of the arming tone.
Step 2
Check that all doors and windows equipped with detectors are closed.
Step 3
You can override prevention of arming by requesting arming a second time within two
minutes of the rst request. This will bypass all faults.
Step 4
The arming process restarts.
ARMING OF THE ANNEX SET
If the System is set up with an Annex Set:
Step 1
To arm the Annex Set: press and simultaneously.
Step 2
To disarm, press and simultaneously.
9

Disarming
Step 1
To disarm the Total and/or the Partial Set, press the disarm button
Step 2
The associated light blinks during the communication with the panel and then lights
for 3 seconds to conrm the instruction.
Step 3
The disarming tone is emitted by the panel siren.
Disarming also stops the siren but does not interrupt the transmission to the
alarm company.
Checking The Status Of Your System
Step 1
Press the control button for 1 second.
All three LEDs light several times in succession, and then the LED for the
current arming status remains lit for 3 seconds.
Useful Phone Numbers
Customer Service Centre
Call 0344 800 1999* to
request a routine inspection,
report a fault, request a
remote reset or if you have a
query with the monitoring of
your System.
Customer Sales Centre
Call 0800 010 999 to
upgrade your System or
Service Plan.
Moving Home?
Call 0800 169 0612 to let
us know you are moving
and for details of our
moving offers.
* Calls charged at the standard rate of a regular local or national landline number.
Costs from mobiles may vary.
ADT802 Domonial-PDF / Issue 1 / August 16
Table of contents
Other ADT Control Panel manuals

ADT
ADT Ademco Vista 10P User manual

ADT
ADT Command Hybrid User manual

ADT
ADT 6128B User manual

ADT
ADT DSC Power Series User manual

ADT
ADT Home Assure User manual

ADT
ADT DSC 1832 User manual

ADT
ADT SafeWatch 3000 Use and care manual

ADT
ADT Galaxy 8 Plus User manual

ADT
ADT ADT-LCD40 User manual

ADT
ADT Unimode 9600 User guide
Popular Control Panel manuals by other brands

Entrematic
Entrematic Ditec EL31R installation manual

Black Box
Black Box C6AMP70-24 manual

Clear-Com
Clear-Com 4000 series II Technical manual

HIK VISION
HIK VISION DS-PK-LRT(433MHz) user manual

G-Force
G-Force UNDER CONTROL SP-35 user manual

mr. steam
mr. steam SMART/TWO Installation & operation instructions