10
Australia
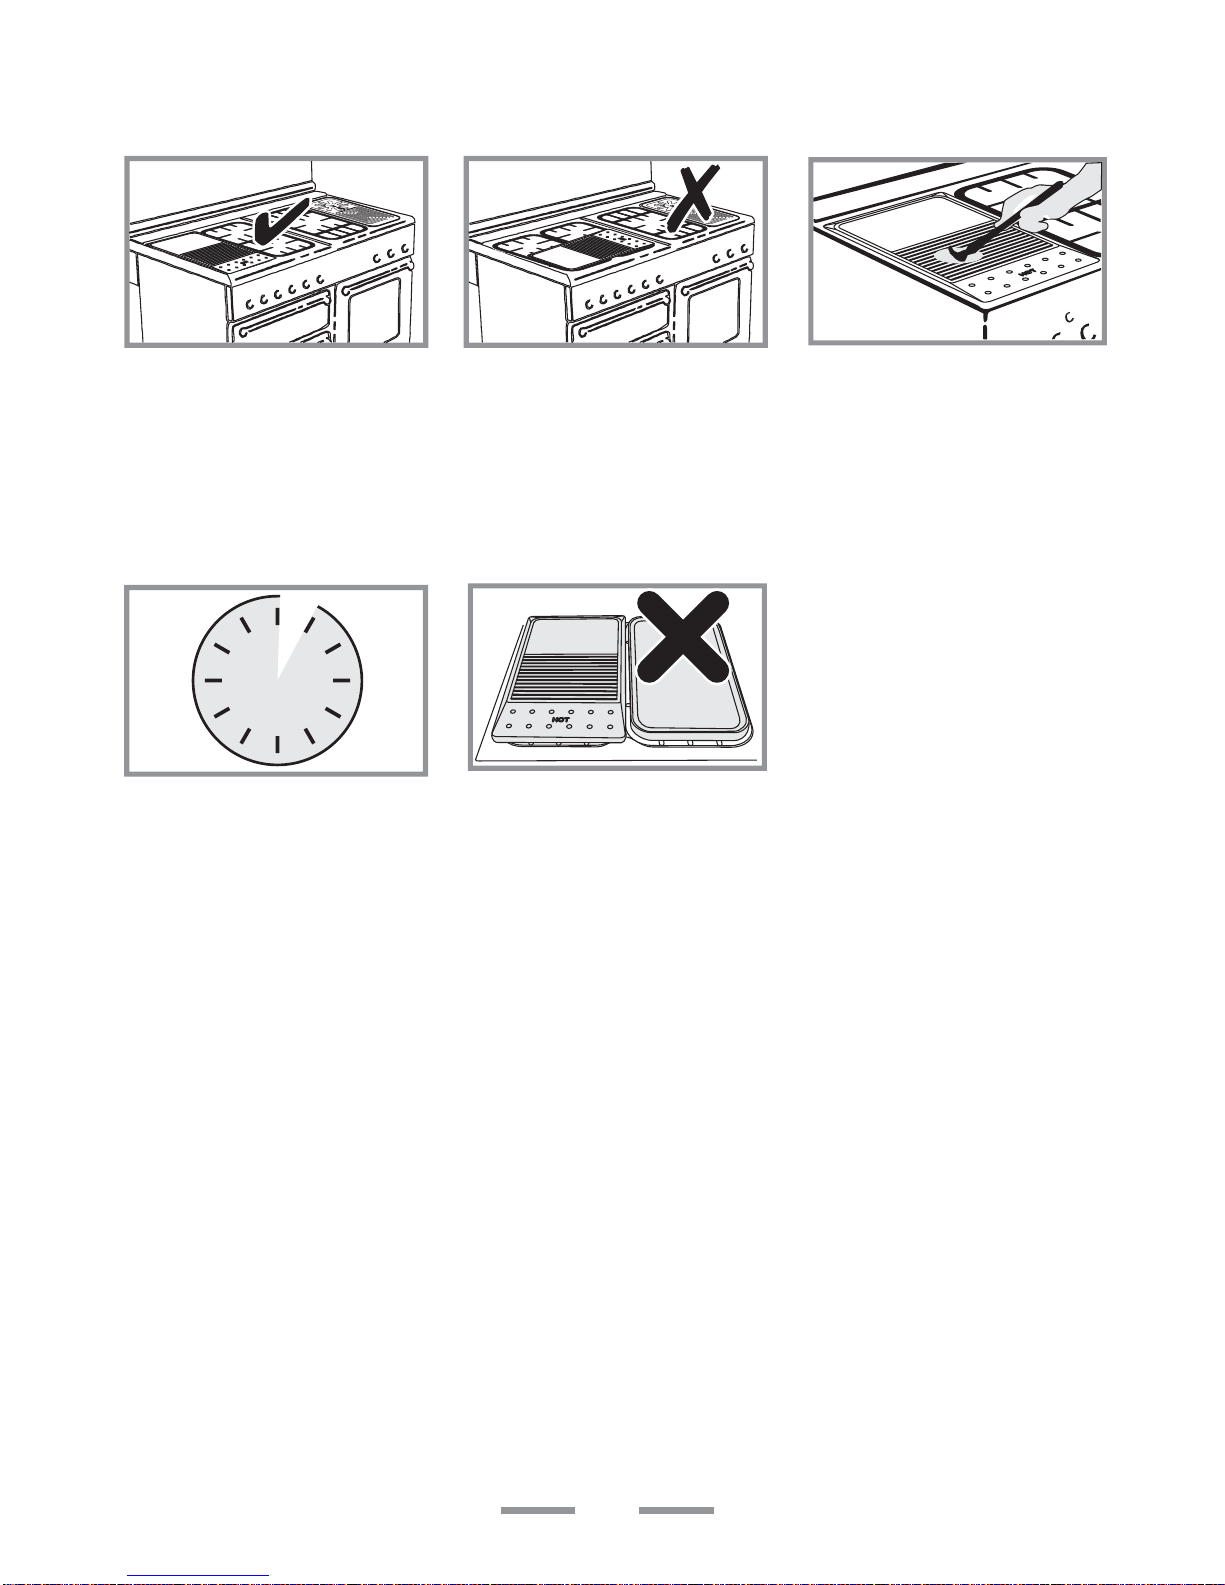
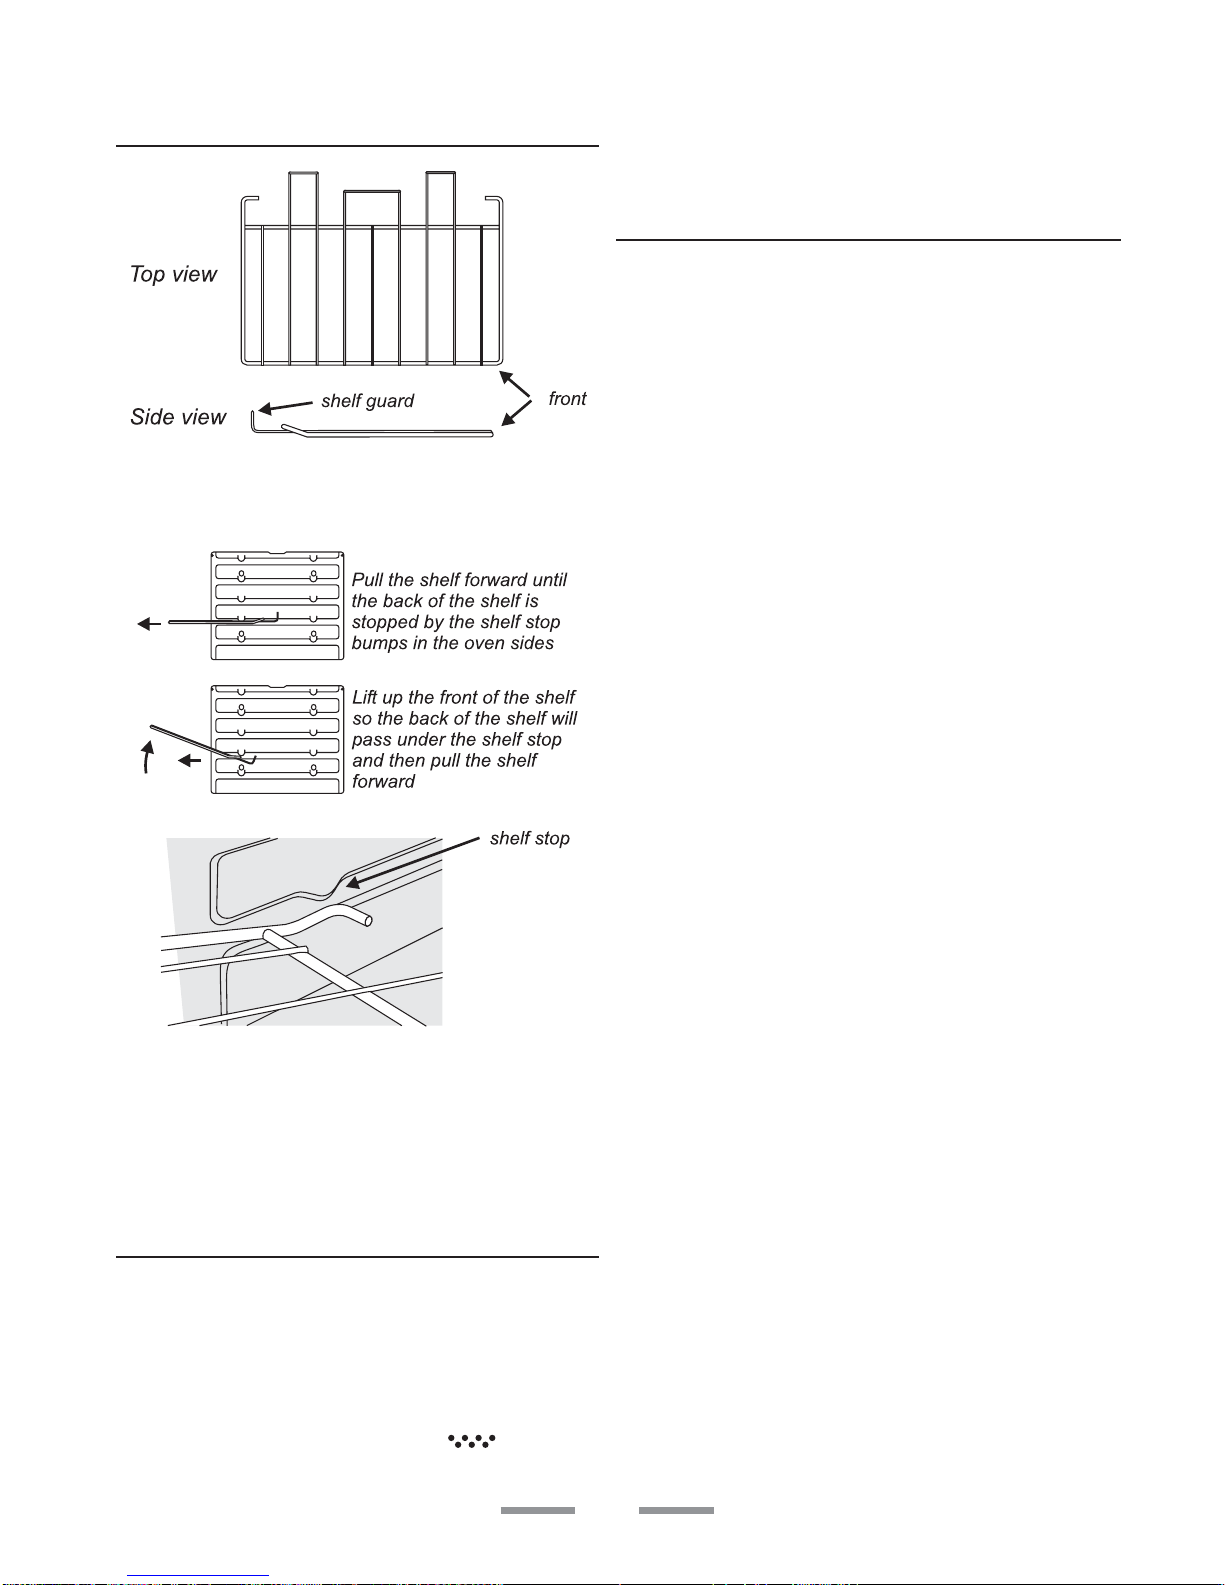
Oven shelves
the shelf guard should be at the back pointing upwards
The oven shelves can be easily removed and
refitted.
To refit the shelf, line up the shelf with a groove
in the oven side and push the shelf back until the
ends hit the shelf stop. Lift up the front so the
shelf ends clear the shelf stops, and then lower
the front so that the shelf is level and push it fully
back.
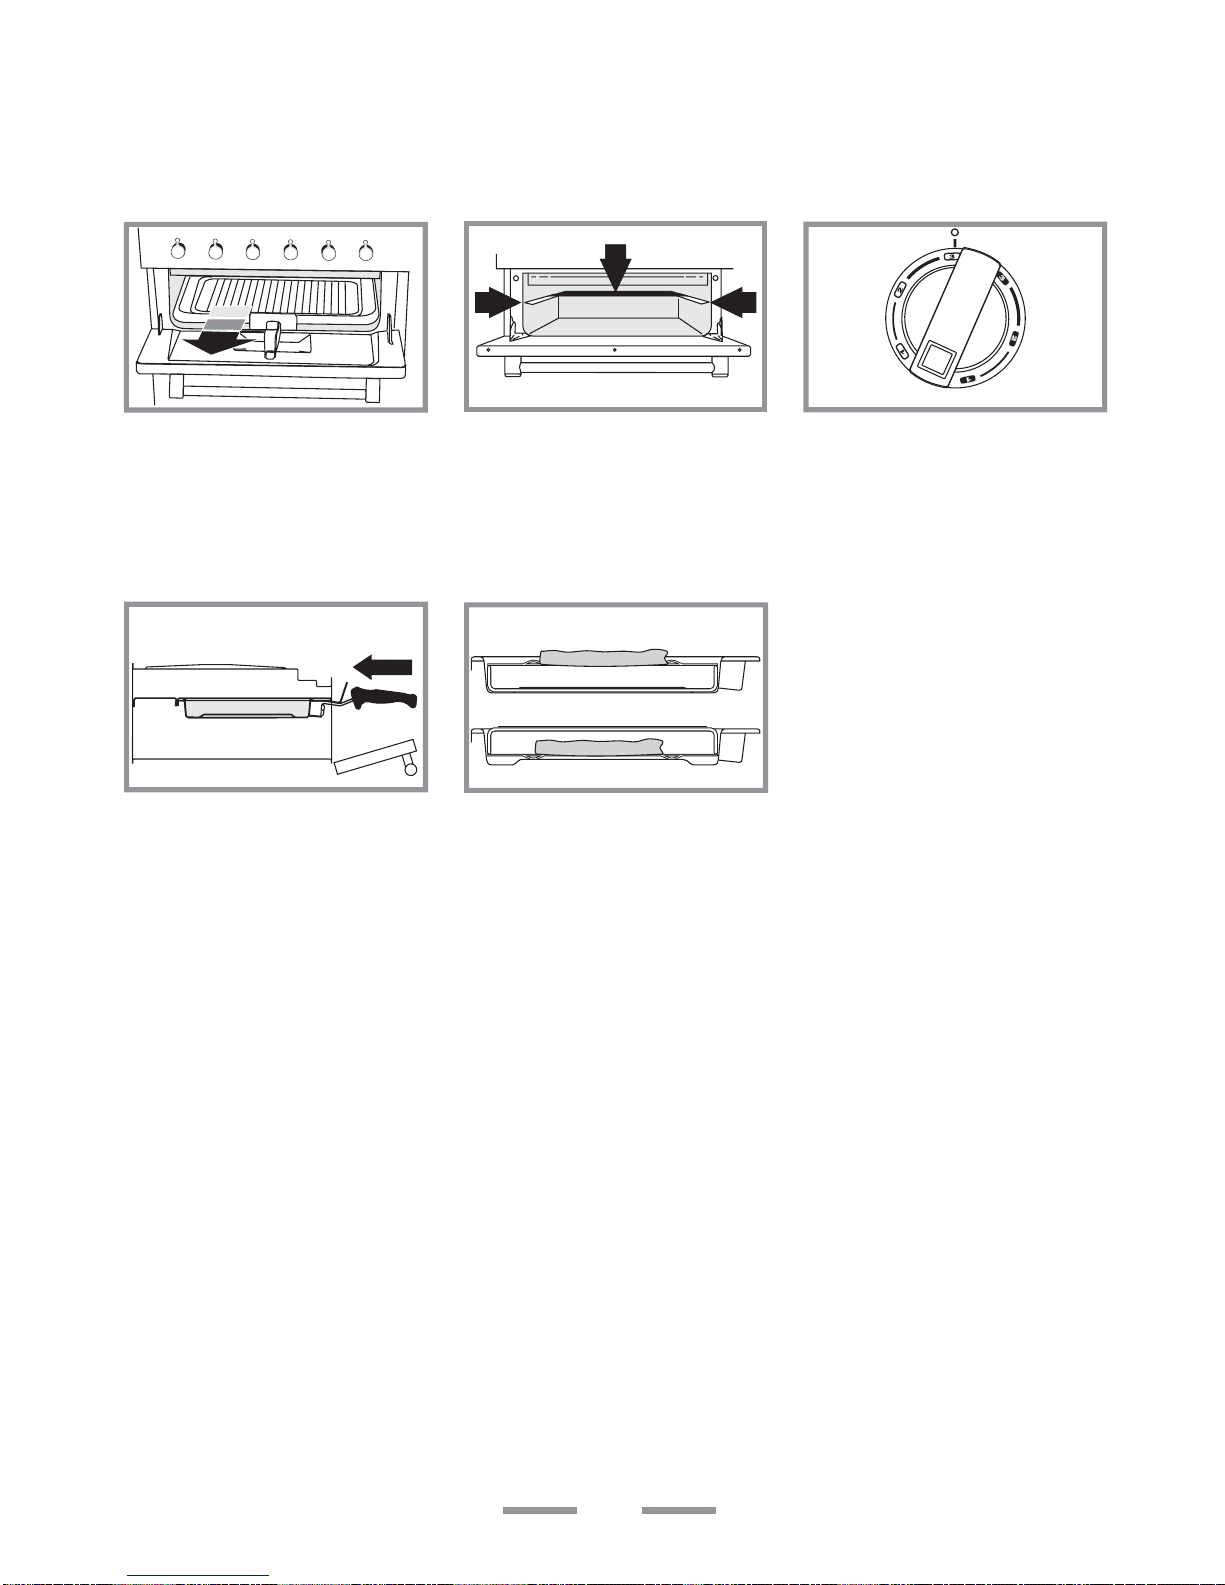
The Browning Element
The Browning Element is positioned in the top of
the left hand oven. It can be used at the end of a
normal cooking period to give extra browning to
au gratin dishes or give a crisper finish to meat.
After the normal cooking is finished turn the left
hand oven thermostat knob clockwise to the
browning position, indicated by ( ) on the
facia panel.
Only the browning element will operate when the
thermostat is turned to this position. The top and
base cooking elements will automatically switch off.
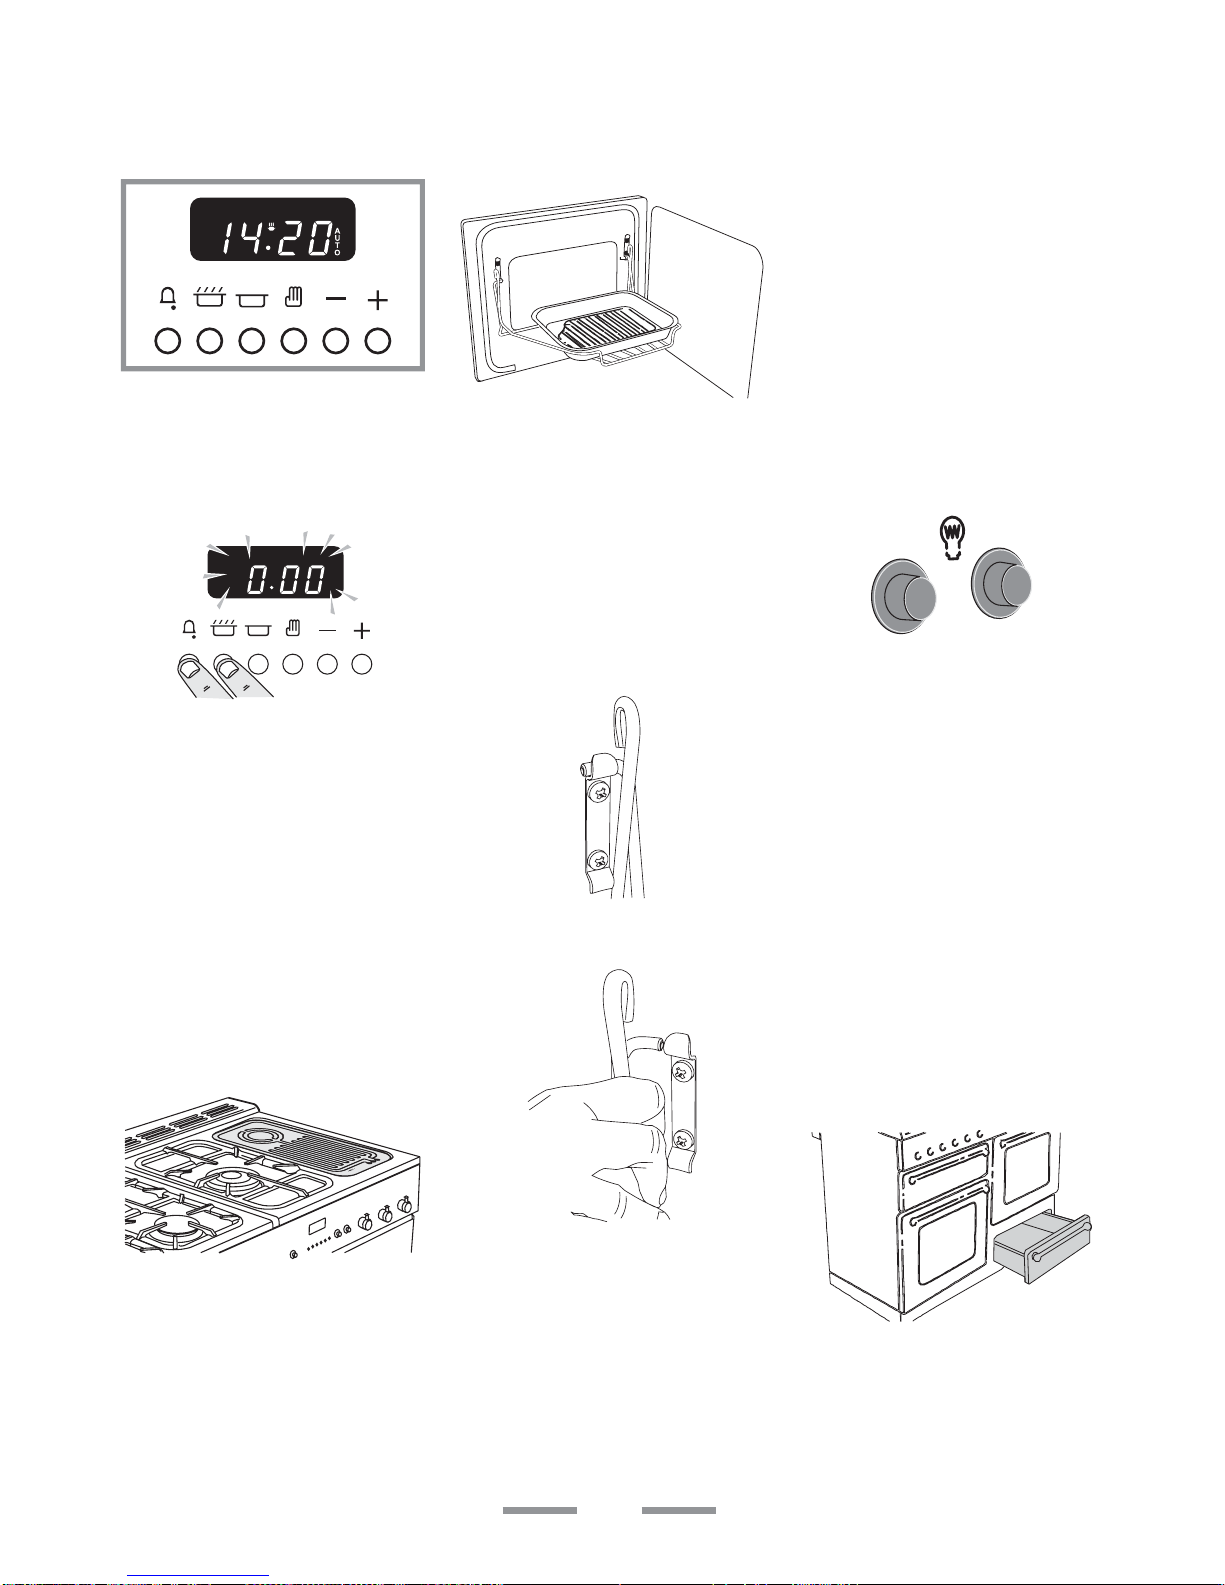
Cooking using the timer
The timer can be used to turn just one oven or both
on and off automatically. The start and stop time
must be the same for both ovens but different
cooking temperatures can be set.
If you want to turn one of the ovens on at the
same time as the timer is set for automatic
cooking, you must wait until the timer has
turned on the oven/ ovens first. Then you can
adjust either of them manually in the normal
way.
You can set the oven to turn on any time over the
following 24 hour period
If you want to cook more than one dish,
choose dishes which require approximately
the same time. However, dishes can be
‘slowed down’ slightly by using small
containers and covering them with aluminium
foil, or ‘speeded up’ slightly by cooking smaller
quantities or placing in larger containers.
Very perishable foods such as pork or fish should
be avoided if a long delay period is planned,
especially in hot weather.
Don’t place warm food in the oven.
Don’t use an oven already warm.
Don’t use if an adjoining oven is warm.
Avoid using wine or beer if there is a delay period,
as fermentation may take place.
To avoid curdling, cream should be added to
dishes just before serving.
Fresh vegetables which may discolour during a
delay period should be coated in melted fat or
immersed in a water and lemon juice solution.
Many frozen foods are ideal for delayed
cooking and can be placed in the oven while
still frozen.
Fruit pies, custard tarts or similar wet mixtures on
top of uncooked pastry are only satisfactory if there
is a short delay period. Dishes containing leftover
cooked meat or poultry should not be cooked
automatically if there is a delay period.
Whole poultry must be thoroughly defrosted
before placing in the oven.
Check that meat and poultry are fully cooked
before serving.