8
Australia
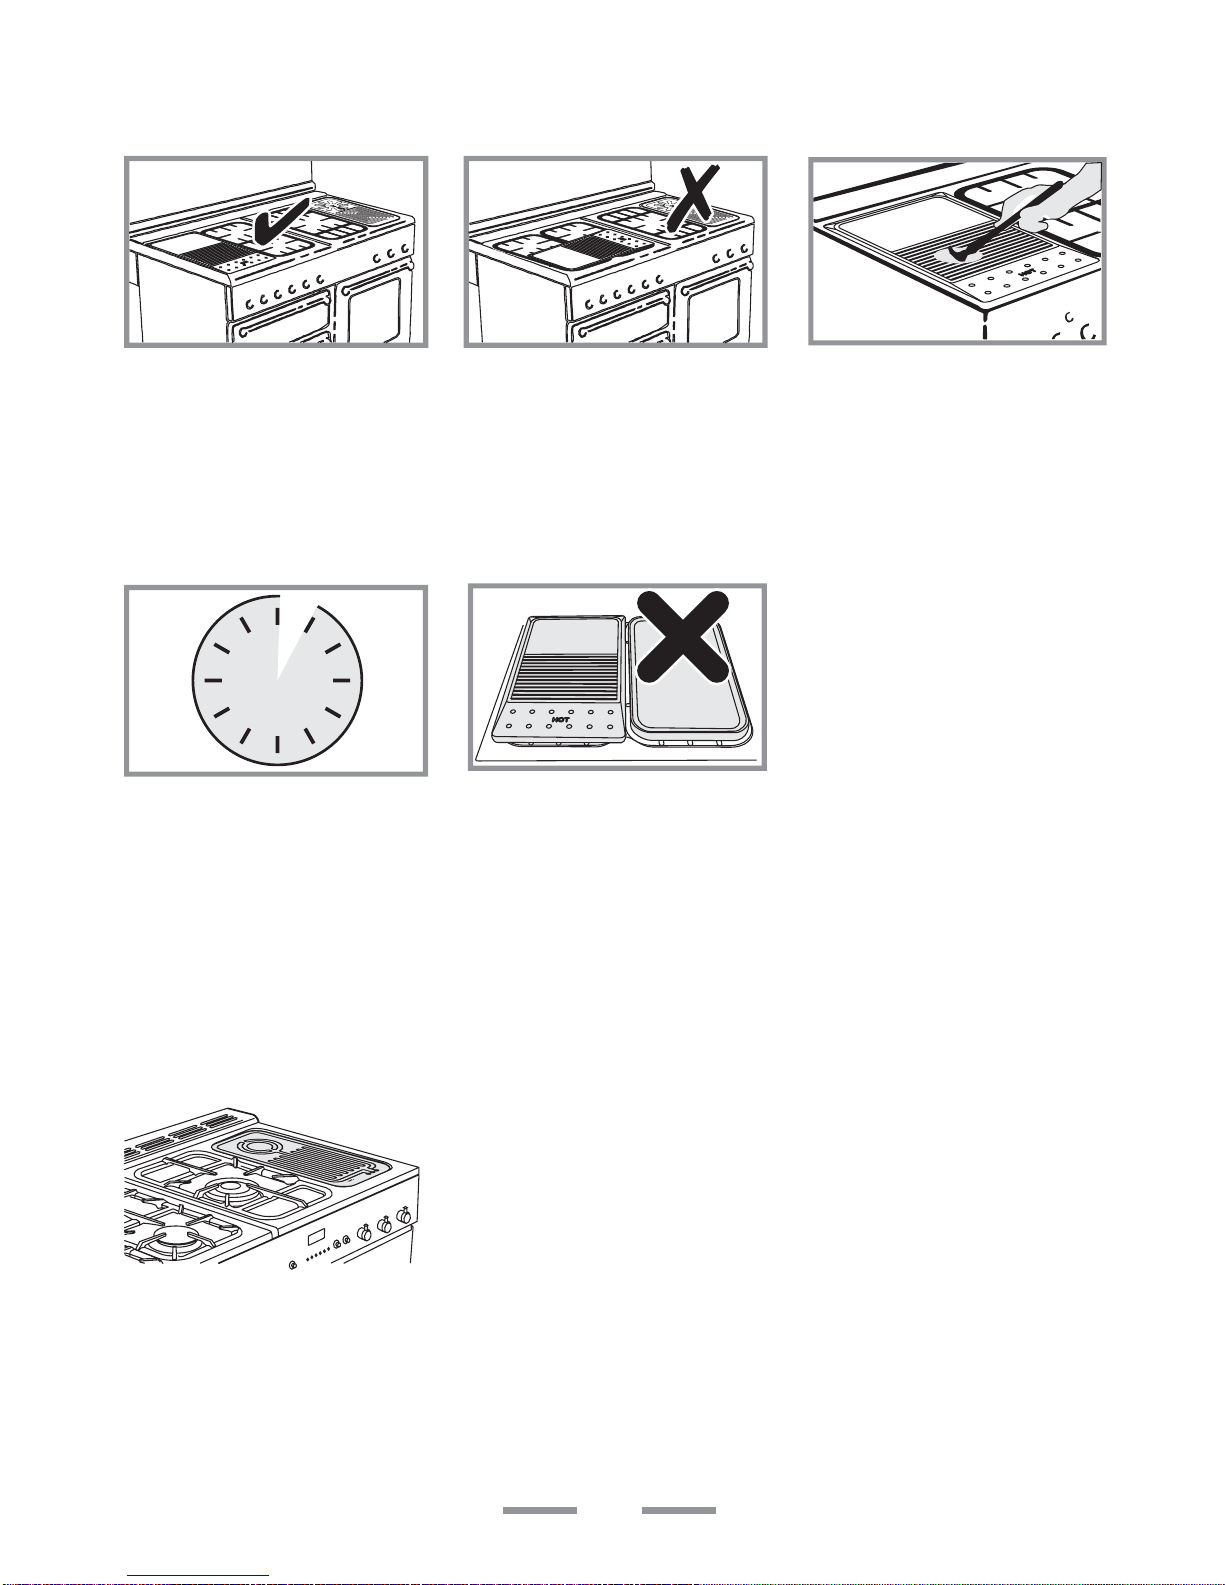
The hotplate burners
You should read ‘hotplate burners’ in the ‘2
Minute Tour’ before all the following
information
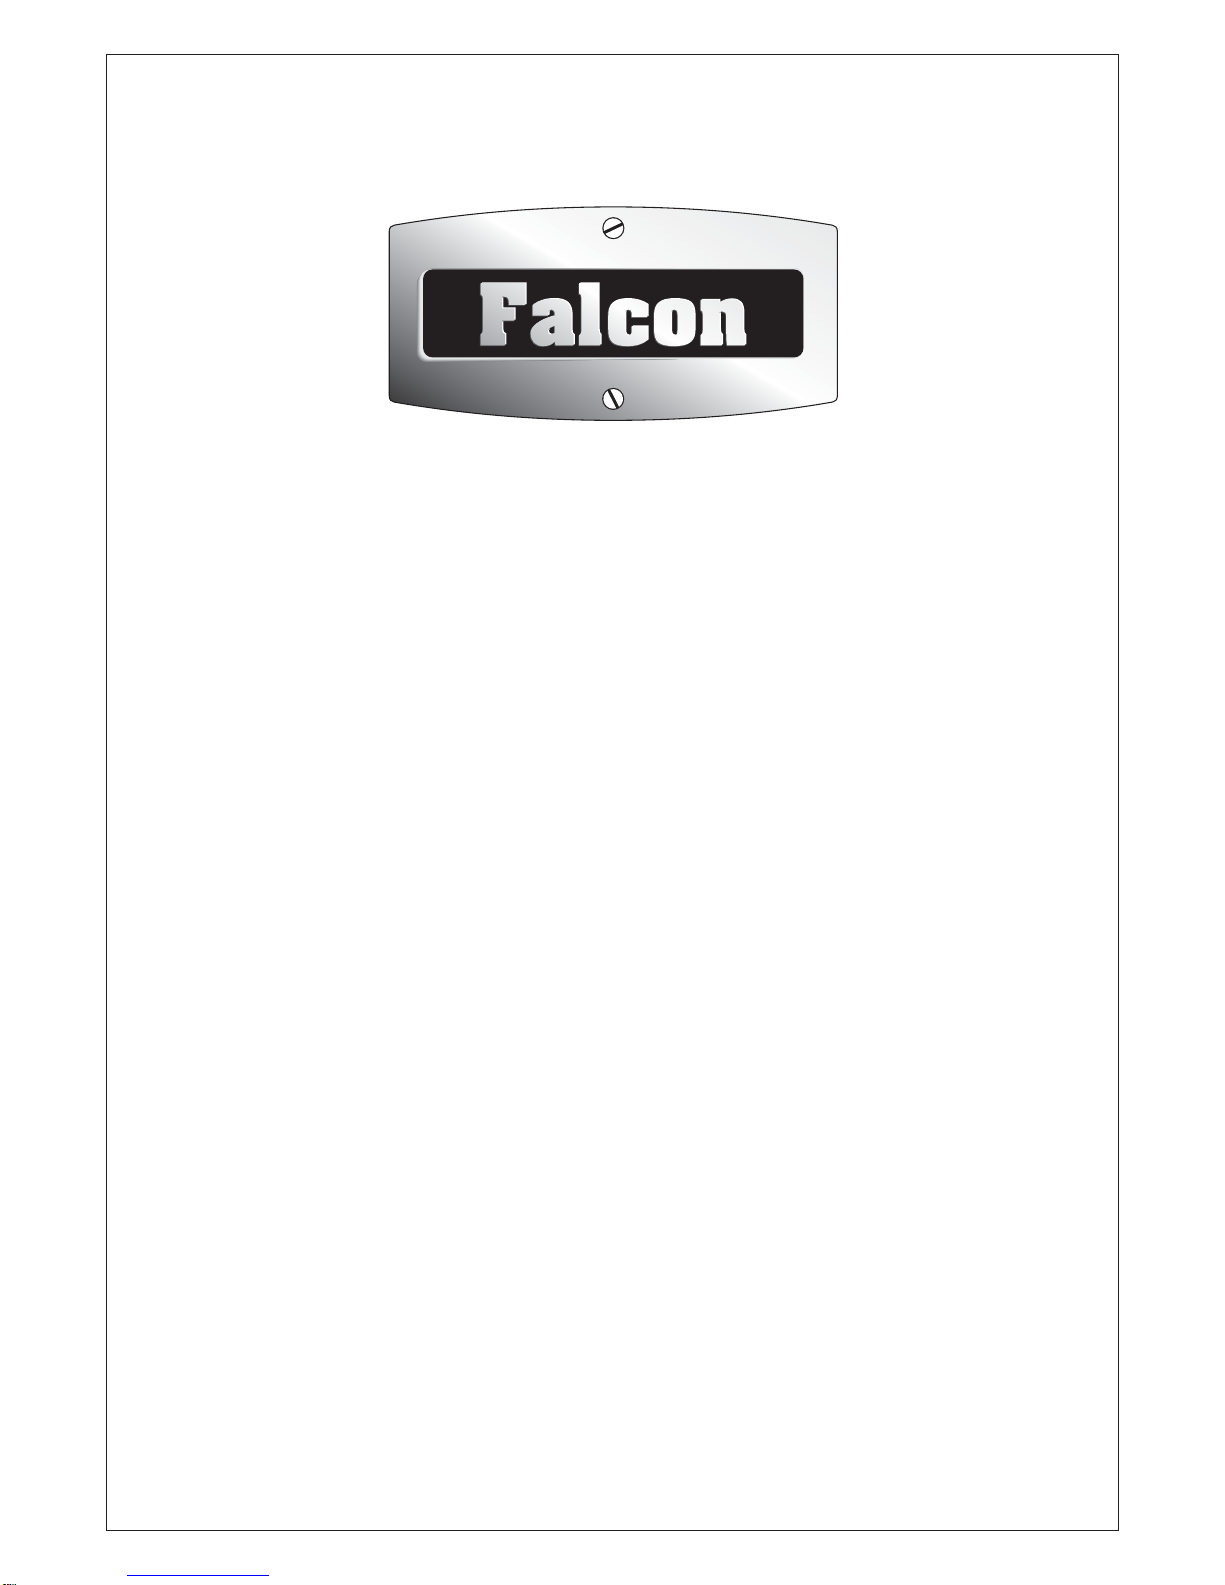
If a burner flame goes out, turn the control knob
off and leave it for one minute before relighting it.
You can remove the burner parts for
cleaning, see page 14.
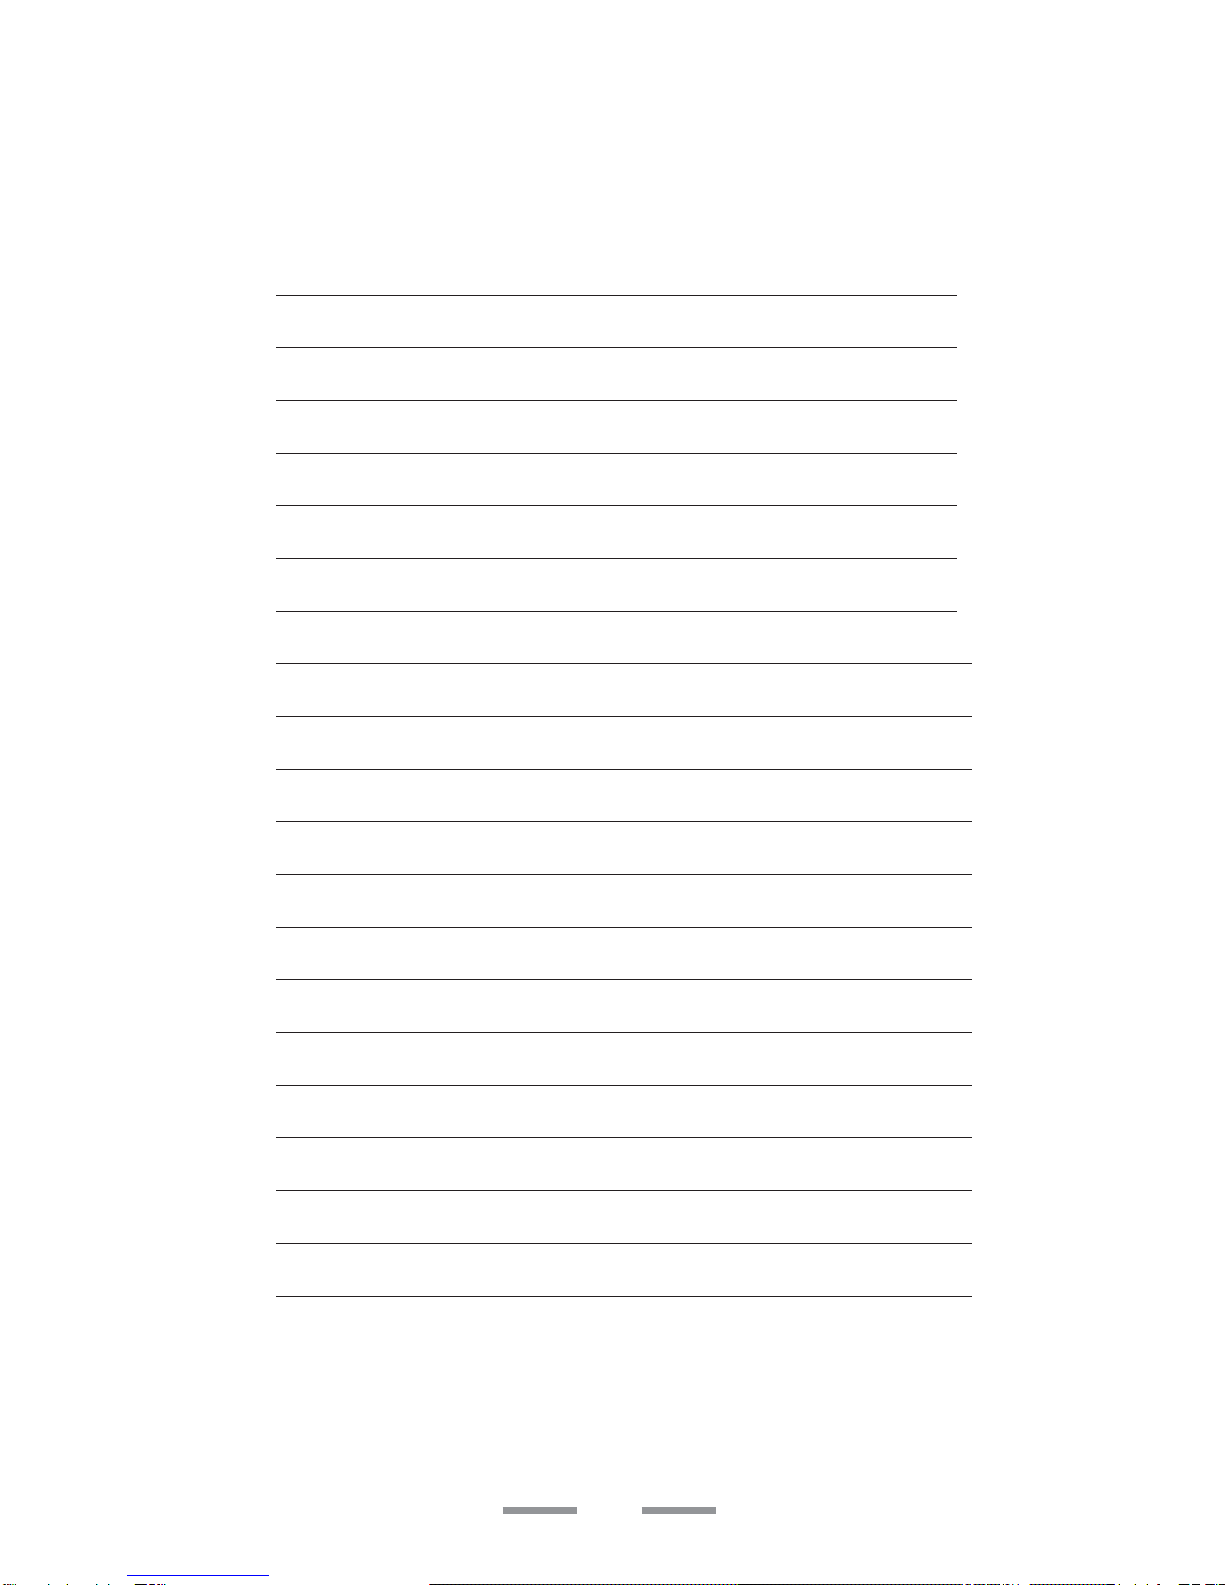
You should wipe the enamel top surface of the
cooker around the hotplate burners as soon as
possible after spills occur. Try to wipe them off
while the enamel is still warm.
Avoid using unstable and misshapen pans that
may tilt easily and pans with a very small base
diameter e.g. milk pans, single egg poachers.
The minimum pan diameter recommended is
120mm. Smaller pans will be unstable.
Pans and kettles with down turned base rims
should not be used.
The griddle
You should read ‘griddle’ in the 2 Minute Tour
before all the following information
Use the following heat settings as a guide for
griddle cooking.
High/medium:
Drop scones, Bacon, Chops, Steak, Burgers.
Medium/low:
Potato cakes, Eggs, Fish cakes.
Experience will soon familiarise you with the
correct setting to use for cooking.
After cooking allow the griddle to cool before
cleaning.
Don’t put it on the Wok burner - it is not designed
to fit the Wok burner pan support.
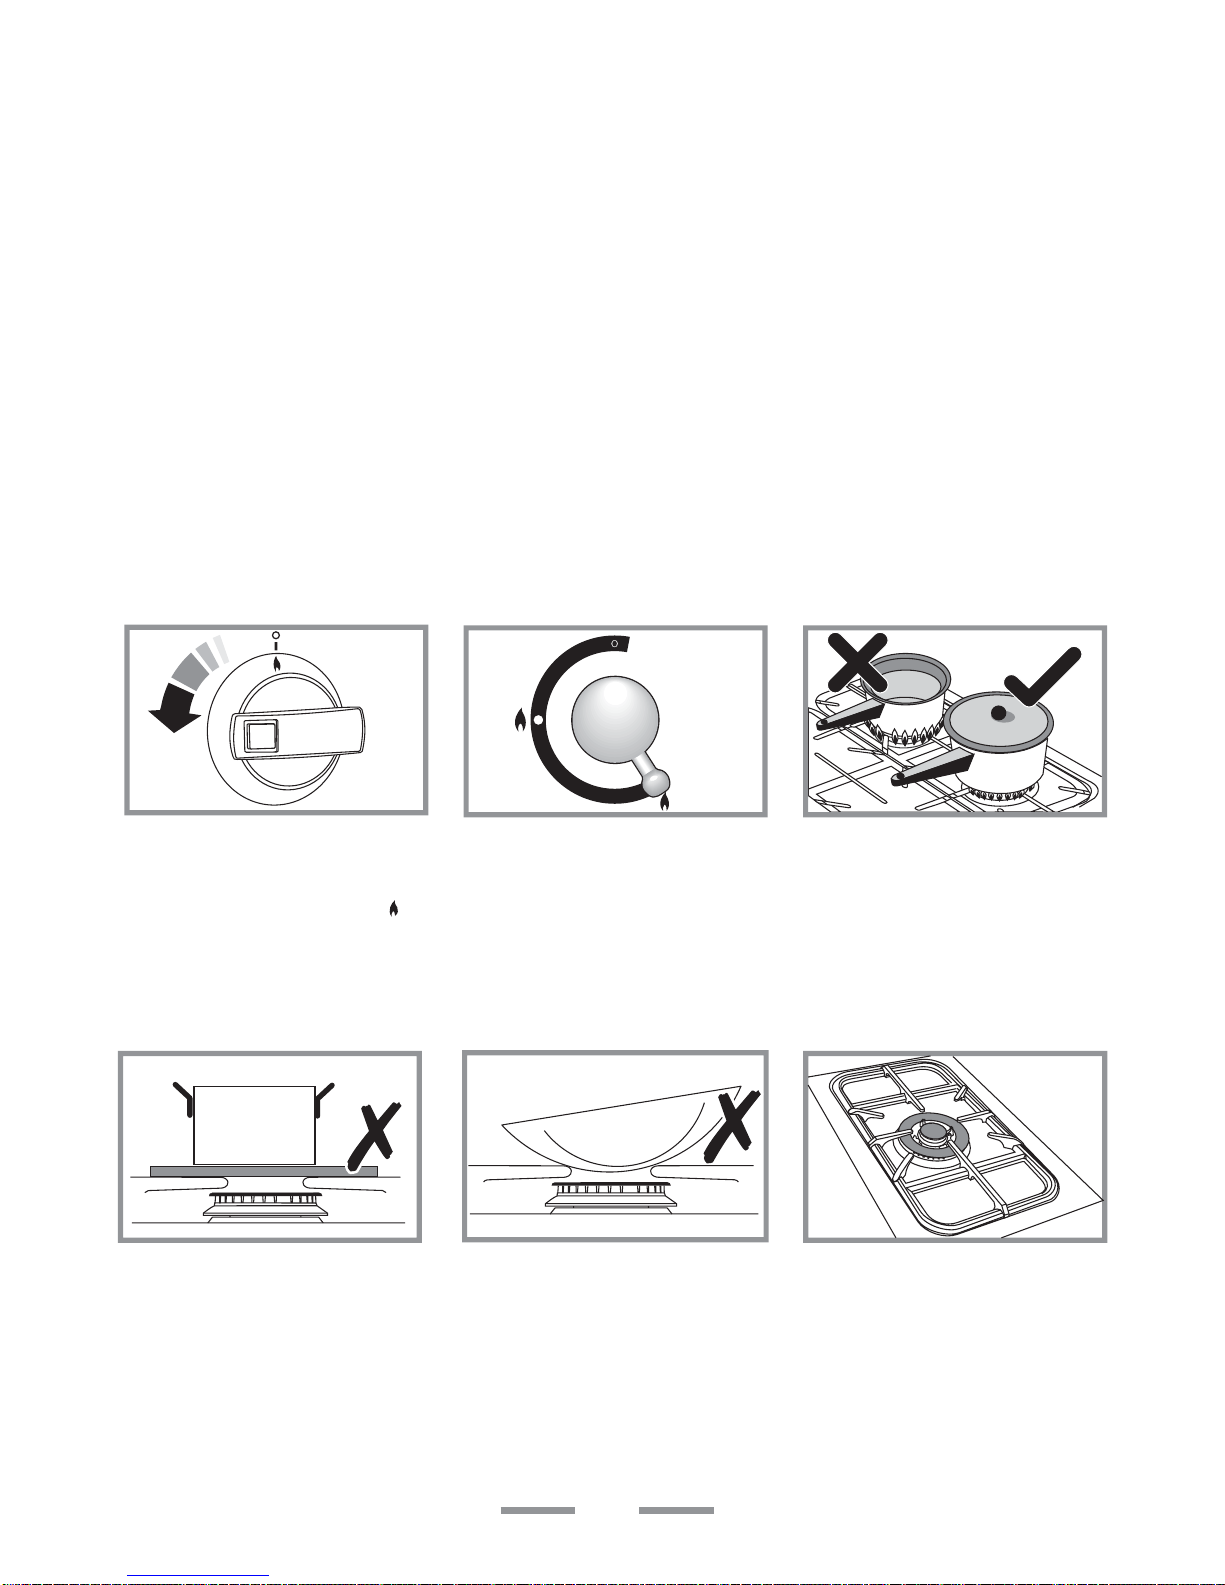
The Warmer
The Warmer can be used for keeping food warm
while the final touches are put to a meal. For
best results preheat a covered serving dish for
10 minutes on the Warmer before adding the
food.
Turn the control knob clockwise to the 'On'
position. The 'HOT' indication light glows on the
Warmer.
CAUTION:- If a crack in the Warmer surface
becomes visible, due to accidental damage etc.,
isolate the appliance from the electricity supply
immediately by turning it off at the wall and
arrange for its repair.
DONOT RECONNECT THE COOKER TO THE
ELECTRICITY SUPPLY UNTIL AFTER REPAIR!
The grill
You should read ‘grill’ in the 2 Minute Tour’
before all the following information
Never close the grill door while the grill is
on.
Don’t leave the grill on for more than a few
moments, without the grill pan underneath it.
For best results, especially on toast, preheat the
grill with the grill pan in the cooking position for
two minutes before use.
The grill trivet can be removed and the food
placed on it while you are waiting for the grill
to preheat.
The grill pan grid can be turned over to give two
grilling positions.