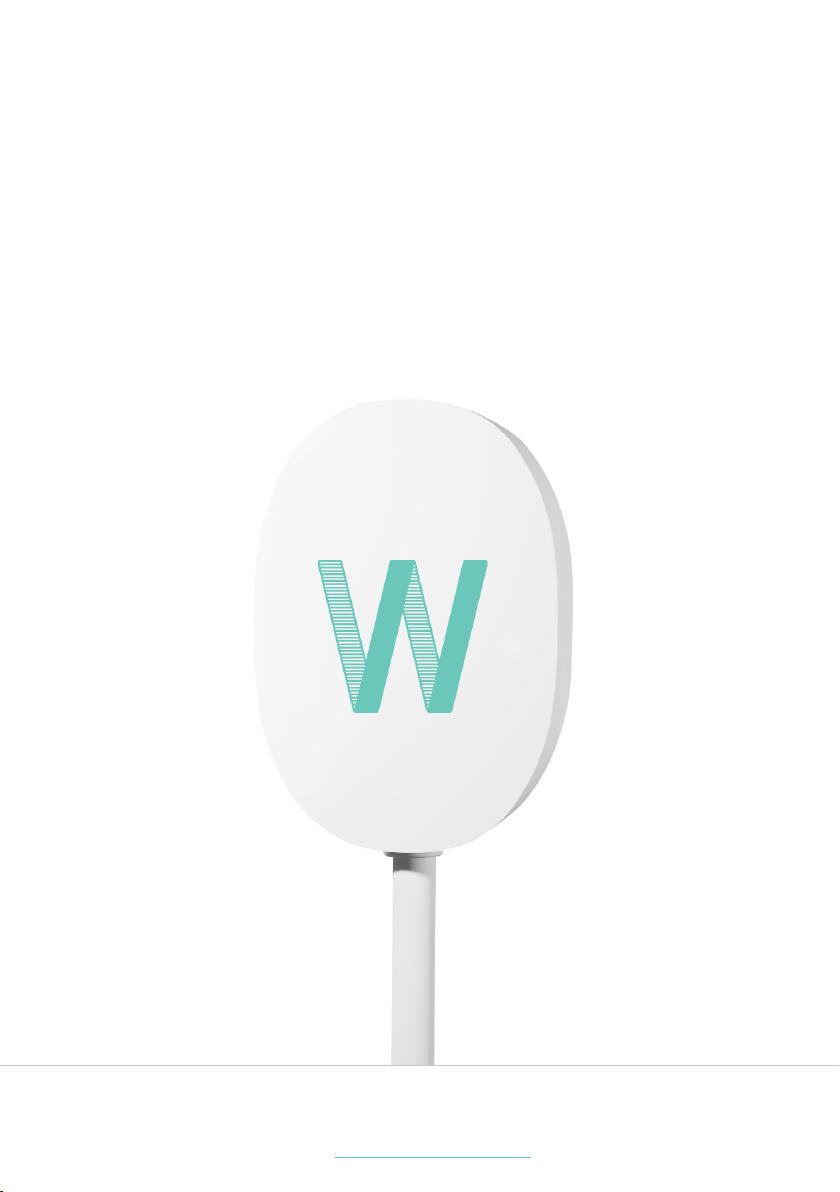
8Airwallet PRO310
Installation Guide
• To reset the Airwallet PRO disconnect the power source for 15
seconds. If you want to change or delete information about the
device, such as name, price, start signal or busy signal type,
go to the Airwallet Dashboard and nd the device under “Your
Locations”.
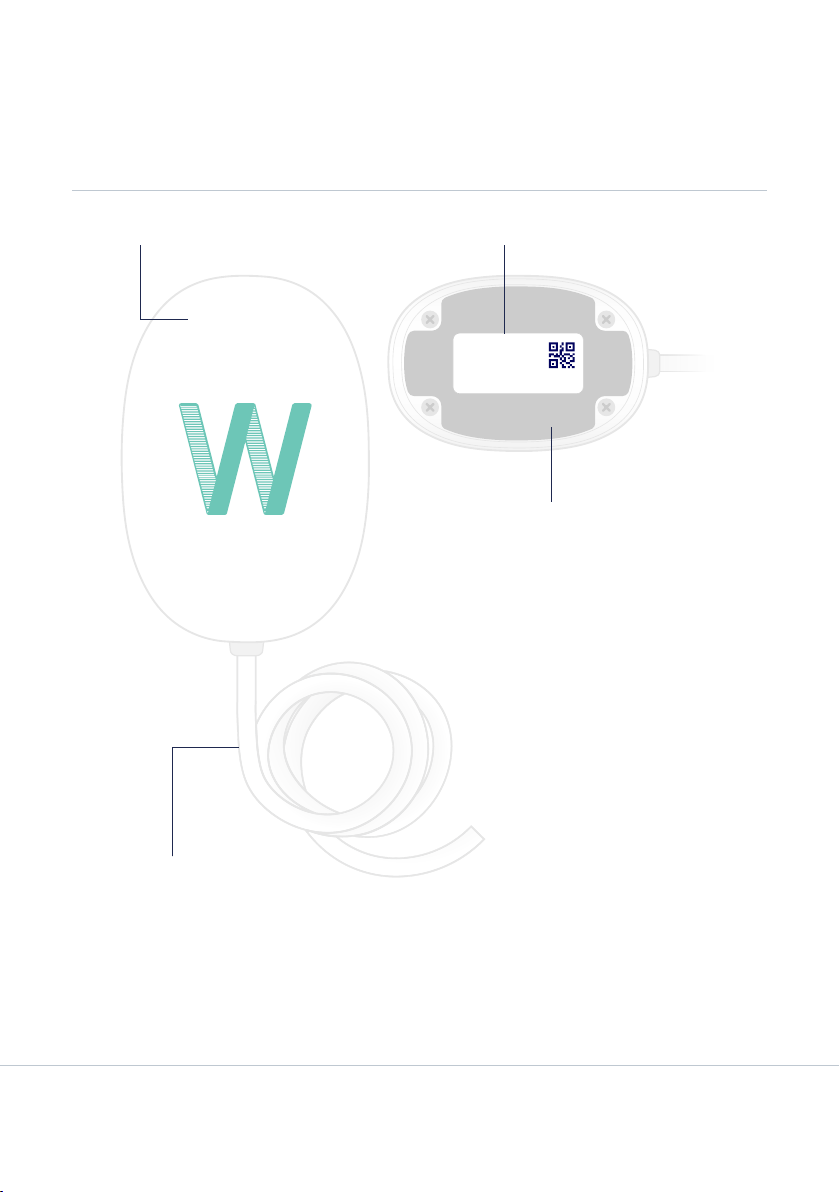
Airwallet PRO Status Lights
The following table describes the Airwallet PRO status light
sequences and what they indicate. The status lights are
located inside the Airwallet PRO, and should only be used when
troubleshooting the installation. The status lights are mounted on
the printed circuit board at the opposite end of the cable inlet.
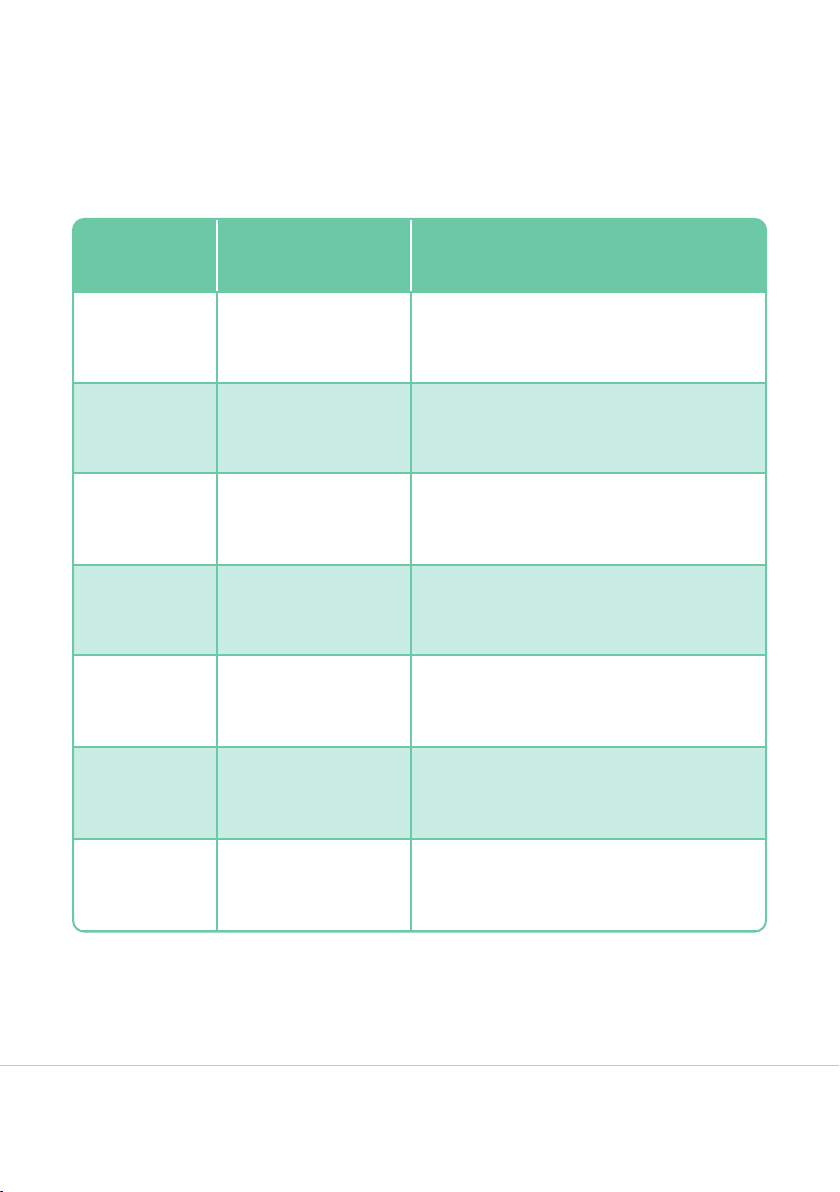
Light Status/Description
Off Airwallet PRO is unpowered
One solid green, one off Airwallet PRO is on and working
properly
Two solid green Airwallet PRO is starting up. This
process will take 15 seconds.
One solid green, one shortly ashing
(<1 sec.)
Airwallet PRO is receiving data from
the Airwallet App