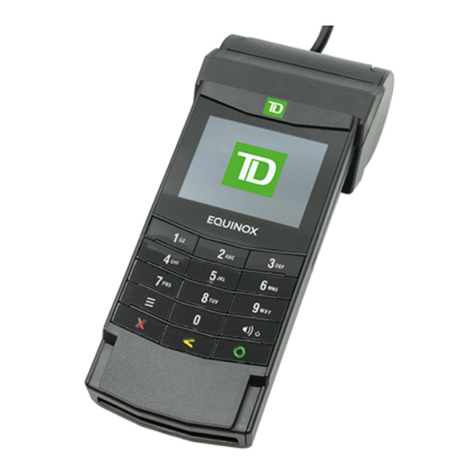
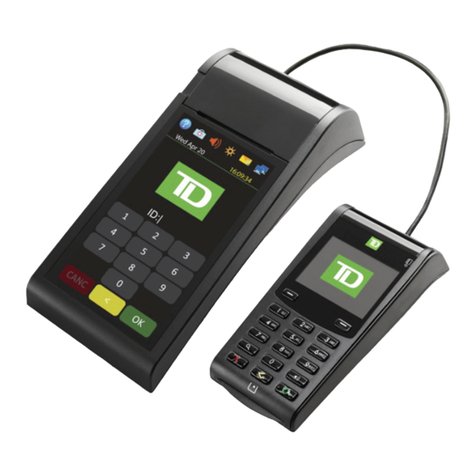
TD TD Generation User manual

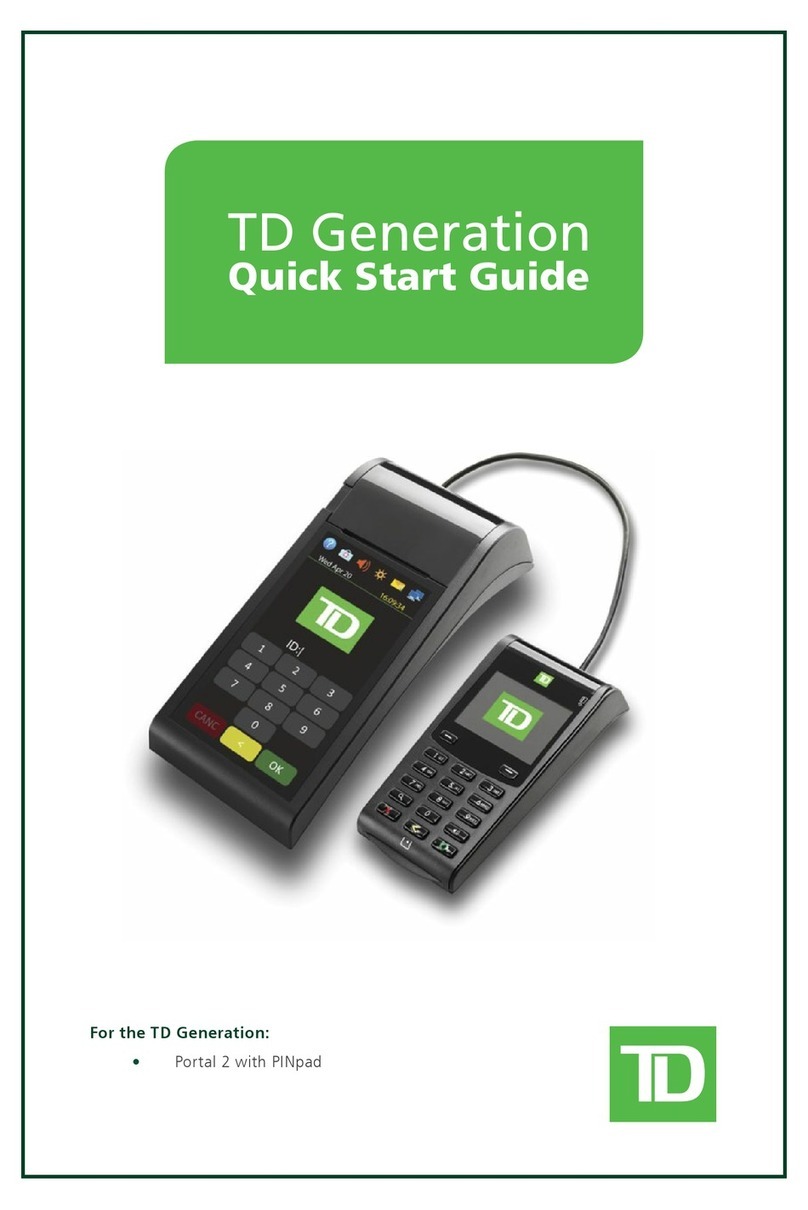
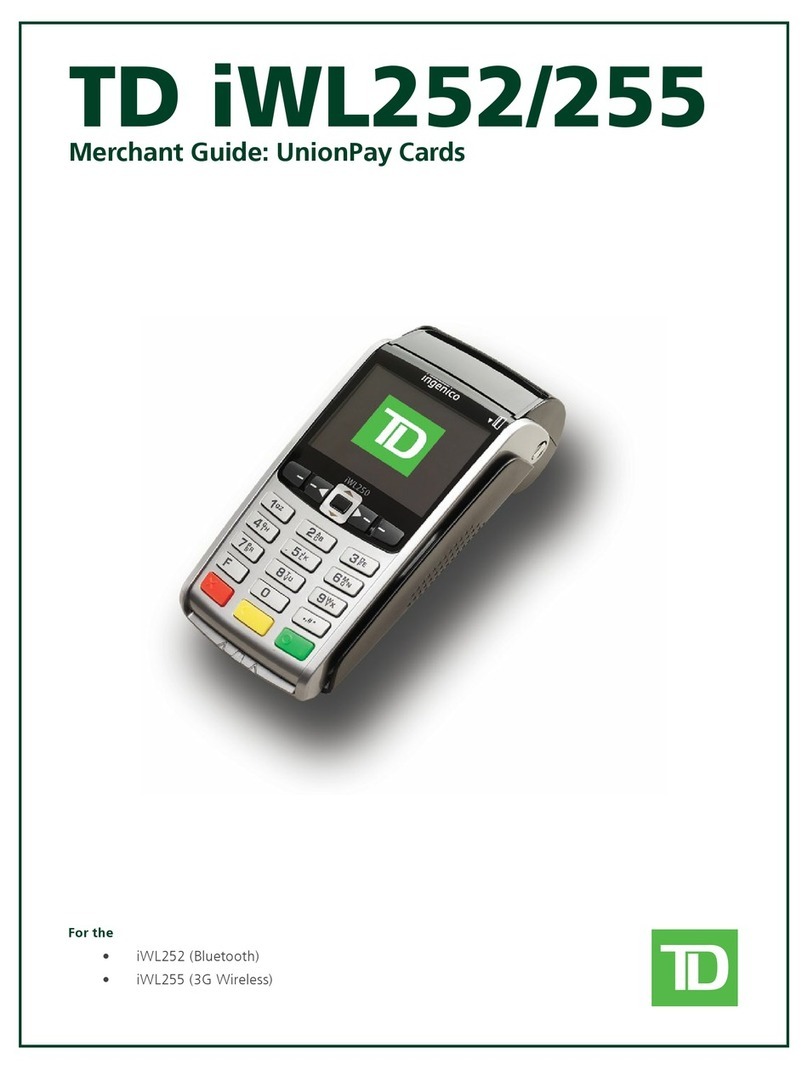
TD Generation
Merchant Guide
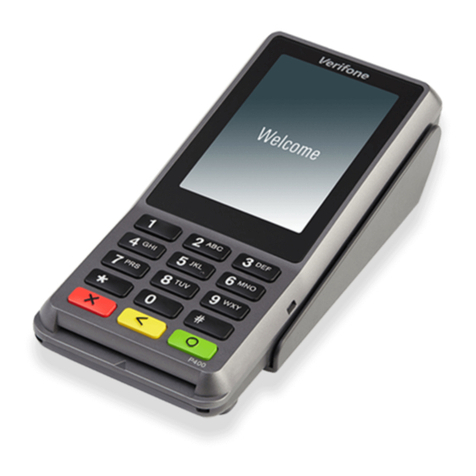
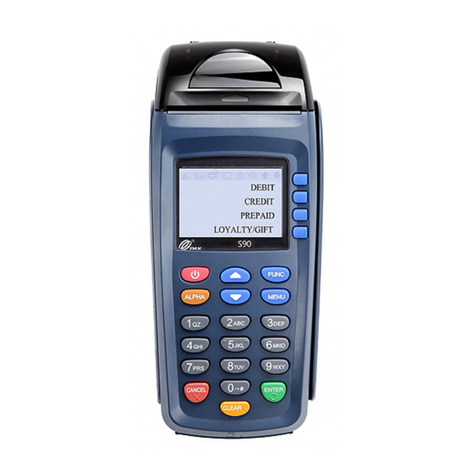
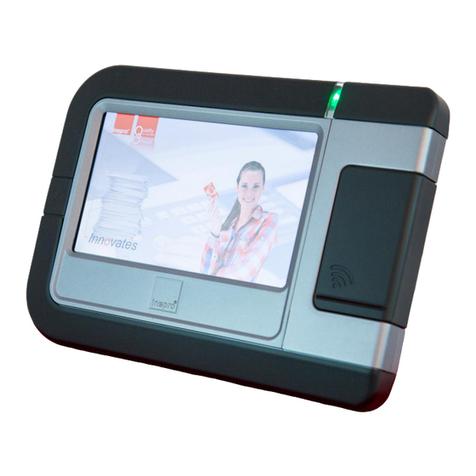
* Image shown is the HSPA terminal
For the TD Generation
• All-in-One,
• HSPA,
• and WiFi

COPYRIGHT ©2018 by The Toronto-Dominion Bank
This publication is conidential and proprietary to The Toronto-Dominion Bank and is intended solely for the use of Merchant customers of TD Merchant
Solutions. This publication may not be reproduced or distributed, in whole or in part, for any other purpose without the written permission of an authorized
representative of The Toronto-Dominion Bank.
NOTICE
The Toronto-Dominion Bank reserves the right to make changes to speciications at any time and without notice. The Toronto-Dominion Bank assumes
no responsibility for the use by the Merchant customers of the information furnished in this publication, including without limitation for infringements
of intellectual property rights or other rights of third parties resulting from its use.
UPDATE Copyright date

Table of Contents
Welcome to TD Merchant Solutions ...................................1
Who should use this guide? .......................................................................... 1
The TD Generation family..................................................................................... 1
Hardware terminology .......................................................................................... 1
The TD Generation Terminals............................................. 2
The terminal...................................................................................................2
Dierences between the terminals......................................................................2
Ports ........................................................................................................................ 3
Communications ...........................................................................................3
All-in-One terminal................................................................................................ 3
HSPA terminal........................................................................................................ 3
Terminal Screens...........................................................................................4
Idle screen and icons............................................................................................ 4
Navigation on the terminal.................................................................................. 4
Dierences between the terminal screens........................................................ 4
Desktop screen.......................................................................................................5
Main menu screen..................................................................................................5
The Generation Hub (All-in-One) ..................................................................6
Ports ........................................................................................................................ 6
The WiFi Access Point / Repeater.................................................................6
Lights........................................................................................................................7
Ports .........................................................................................................................7
The Charger Base (Optional for HSPA and WiFi) .........................................8
Cardholder Privacy and Security.......................................9
Terminal security ...........................................................................................9
Fraud prevention ...........................................................................................9
Manually entered credit card transactions ...................................................... 9
Force post transactions are disabled by default ............................................. 9
Call for authorization............................................................................................ 9
Imprinters ..............................................................................................................10
Transaction records.............................................................................................10
Storing cardholder receipts.................................................................................11
Financial Transactions ..................................................... 13
Accepted card types................................................................................... 13
Special transactions ................................................................................... 13
Cashback .............................................................................................................. 13
Tip ........................................................................................................................... 13
UnionPay card selection ..................................................................................... 13
Purchase ..................................................................................................... 14
Credit card ............................................................................................................ 14
Debit card..............................................................................................................16
Mail order purchase............................................................................................. 17
Mail order refund.................................................................................................. 17
Telephone order purchase.................................................................................. 17
Telephone order refund....................................................................................... 18
Continued on next page

Force post (sale or phone / mail order)...................................................... 18
Force post (refund)...................................................................................... 18
Void .............................................................................................................. 19
Transaction Recall....................................................................................... 19
Refund......................................................................................................... 20
Receipts ...................................................................................................... 21
Example ................................................................................................................. 21
Receipt print options .......................................................................................... 22
Business Day Functions...............................................................................22
Performing a settlement request / day close ................................................. 22
Reporting ..........................................................................25
Business day reports ...................................................................................25
Batch reports ...............................................................................................26
Customized reports.....................................................................................26
Administration and Coniguration................................... 27
User management.......................................................................................28
Create a new user............................................................................................... 28
Change user password ...................................................................................... 28
Remove user......................................................................................................... 29
Display existing user IDs .................................................................................... 29
Security........................................................................................................29
Change login method ........................................................................................ 29
What functions can only be enabled/disabled by Help Desk?....................30
General customization................................................................................ 31
Adjust speaker volume ........................................................................................31
Adjust backlight level...........................................................................................31
Change screen language ................................................................................... 31
Sync the time on the terminal............................................................................ 31
Reset invoice number .......................................................................................... 31
Access messages on the terminal.................................................................... 32
Enable training mode......................................................................................... 32
View battery level (HSPA and WiFi only).......................................................... 32
Enable terminal voice prompts (HSPA and WiFi only) .................................. 33
Receipts ...................................................................................................... 33
Reprint receipt ..................................................................................................... 33
Receipt banner (HSPA and WiFi) ...................................................................... 33
Downloads .................................................................................................. 34
Software download............................................................................................. 34
Parameter download.......................................................................................... 34
Communications .........................................................................................35
Change IP connection (All-in-One only) .......................................................... 35
Continued on next page

- i -
Troubleshooting................................................................ 37
Error codes...................................................................................................37
Hardware troubleshooting......................................................................... 43
What problems can I easily resolve?................................................................ 43
Why isn’t my terminal powering on? ................................................................ 44
Why won’t my HSPA terminal connect? (HSPA).............................................. 44
Why do I see the Internet disconnected icon? (All-in-One and WiFi).......... 44
Why is the terminal signal strength low?......................................................... 44
Appendices .......................................................................45
Lost or stolen equipment ........................................................................... 45
Transaction shortcuts ................................................................................ 46
Entering letters and special characters.................................................... 46
Terminal care...............................................................................................47
Maintaining your terminal ................................................................................. 47
Storing your terminal.......................................................................................... 47
Charging your terminal (HSPA and WiFi) ........................................................ 47
Receipt paper ..............................................................................................47
Changing the paper ........................................................................................... 47
Ordering more paper ......................................................................................... 47

- ii -

About the Solution 1
- 1 -
Welcome to TD Merchant Solutions
The following materials will provide helpful information about the equipment, its features and TD Merchant
Solutions. Please ensure you read this guide so that you become familiar with the capabilities of the TD
Generation terminals and how they can support your business needs.
By now your terminal is installed and now it’s time for you to learn more about its features and capabilities.
Who should use this guide?
You would use this guide if you use a TD Generation (All-in-One, HSPA and WiFi) during the course of your daily
business.
The TD Generation family
The terminal is solely for you, the Merchant. You will use the terminal to initiate transactions for customer’s
using credit or debit cards (Visa®, Mastercard®, Discover®, American Express®, Interac® Direct Payment,
UnionPay®, etc.) and mobile wallets. Depending on your settings, some card types may not be accepted by
your terminal.
To learn how to use other cards, please go to our online documentation at
www.TDMerchantSolutions.com/ResourceCentre.
Hardware terminology
There are a few hardware terms we use in the guide that you should know to optimize your interactions with the
TD Generation package.
• Access point / Repeater - For every site that uses one or more WiFi terminals, it will also include an
access point to allow the terminals to perform inancial transactions. If that access point’s wireless
signal range is unable to cover the entire work space – such as a very large restaurant – a repeater
will be added. This repeater will cover the remaining work space and must overlap with the access
point’s wireless coverage area to facilitate communication.
• All-In-One (AIO) terminal - This is a wired terminal connected to the Internet via an Ethernet cable or
a dial-up phone line through the Hub.
• Charger base - A charger base is used for the HSPA and WiFi terminal to keep it charged when it is
not in use. This is an optional piece of equipment as either terminal can be connected to the included
power cord and recharged via an electrical outlet.
• HSPA terminal - This terminal uses the same cell towers that a mobile phone would use in order to
perform inancial transactions and does not require cabling to connect to the Internet.
• Hub - A hub is always paired with the All-In-One terminal as it connects the terminal to an electrical
outlet and the Internet.
• WiFi terminal - This is a wireless terminal that uses a specialized router called the access point. As
this device does not require cabling to connect to the Internet, this terminal can be used within a
large area as long as it is within the signal range of the access poin. If the area is too large for the
access point, repeaters will be added to provide coverage.

- 2 -
The TD Generation Terminals
The terminal
1. Paper chamber button
2. Dash keys and direction pad
Use the
-
keys and the direction pad to
navigate the screens and menus.
3. Paper advance key
Press or to advance the paper roll in
the terminal.
4. Power key
Press or
#
to power the terminal on.
Press and hold for 3 seconds to power the
terminal o.
5. Command keys
•
X
= Cancel
•
<
= Correction
•
O
= OK or activate
6. Card readers
a) Insert chipped cards
b) Contactless cards
c) Swipe cards
Differences between the terminals
#Name All-in-One HSPA WiFi
1Paper chamber button --- Same ---
2Dash keys and direction pad --- Same ---
3Paper advance key
4Power key
#
5Command keys --- Same ---
6a Chip card reader --- Same ---
6b Contactless reader --- Same ---
6c Magnetic stripe reader --- Same ---
-- Access Point / Repeater No No Yes / Optional
-- Charger Base No Optional Optional
-- Communications Hub via phone line or
Ethernet
Cell towers Access point
0
1 QZ 2 ABC 3 DEF
4 GHI 5 JKL 6 MNO
7 PRS 8 TUV 9 WXY
A
B
C
3
DEF
--
<O
X
>
<
>
<
?
Mon Jun 04
16:20:36
1
6a
6b
6c
4
3
2
5

About the Solution 1
- 3 -
Communications
All-in-One terminal
The All-In-One terminal communicates via a phone
line or an wired ADSL Internet connection. The image
shown is the phone line version of the hub.
HSPA terminal
The HSPA terminal communicates via the same cell
towers that your mobile phone uses. The HSPA terminal
must be within a tower’s range in order to function.
WiFi terminal
The WiFi terminal communicates via a router called an
access point. The access point is connected to your
Internet connection and receives inancial transactions
wirelessly from your terminal. You must have an active
Internet connection in order to use the WiFi terminal.
<O
X
0
1 QZ 2 ABC 3 DEF
4 GHI 5 JKL 6 MNO
7 PRS 8 TUV 9 WXY
AB
C
3
D
EF
--
>
<
>
<
?
Mon Jun 04
16:20:36
The hub shown is the dual phone line hub. Depending
on your installation, you may have an Ethernet hub with
a single line.
<O
X
0
1 QZ 2 ABC 3 DEF
4 GHI 5 JKL 6 MNO
7 PRS 8 TUV 9 WXY
AB
C
3
D
EF
--
>
<
>
<
#
*
?
Mon Jun 04
16:20:36
?
Mon Jun 04
16:20:36
WPS
WAN
USB
LAN
WLAN PWR

- 4 -
Terminal Screens
Idle screen and icons
The default screen is called the Idle screen. It displays important information and dierent ways to access your
terminal’s functionality. If your terminal has a blank screen it has gone to sleep mode. Press any key to wake it
and the Idle screen will display.
Differences between the terminal screens
Icon Name All-in-One HSPA WiFi
Indicates that the terminal is charging. -
Indicates the terminal power level. -
Indicates whether your terminal is connected to
the Internet. If it isn’t you will see on top of the
computer icon.
-
Indicates whether the terminal is:
• Not connected (red),
• Trying to connect (orange), or
• Connected (green).
--
You need at least two bars in order to reliably
process transactions.
-
All-in-One
?
Mon Jun 04
16:20:36
HSPA
?
Mon Jun 04
16:20:36
WiFi
?
Mon Jun 04
16:20:36

About the Solution 1
- 5 -
Desktop screen
This screen displays three icons: Purchase, Void and
Day Close. Any other icons that you will use will be
displayed on the Main Menu screen.
Main menu screen
There may be more than one Main Menu screen on
your terminal. The number of screens depend on the
number of available icons.
The Generation Hub (All-in-One)
The All-In-One terminal comes with a hub to allow for
easy power and Internet connection. It includes:
• A power cable
• A power port
• One or more comm
ports (Ethernet or
phone line)
1. Purchase
4. Phone/Mail
7. P. Completion
2. Void
5. Pre-Auth
8. G.C. Redemption
3. Day Close
6. Reprint
9. Debit/Credit
Desktop
Mon Jun 04
16:20:36
• Only the HSPA and WiFi terminals can have more
than three icons on this screen.
• The icon bar along the top will show different
icons for each terminal type.
1. Reports 2. Transaction Recall 3. Day Close
Main Menu
Mon Jun 04
16:20:36
The icon bar along the top will show different icons
depending on the terminal type (All-in-One, HSPA or
WiFi).

- 6 -
Ports
There are two dierent hubs available, each with their own port conigurations. They are the:
Single Ethernet
This coniguration has a connection which allows you
to connect an Ethernet cable from your Internet
connection to the hub.
Dual Phone Line
This coniguration has two ports which allows you to
connect to a phone line and to connect to your phone.
The WiFi Access Point / Repeater
The access point is the second component of the TD
Generation WiFi package The access point acts like a
router by receiving any transactions sent wirelessly
from your terminal(s) and then forwards them to the
payment system.Repeaters are additional routers
extend the terminal’s range over larger areas.
Lights
There are ive lights on the access point, but only the
WAN, PWR and WPS are used. You will use these to
troubleshoot any communication problems between
the terminal and the access point/repeater.
WPS
WAN
USB
LAN
WLAN PWR
WPS
LAN USB WAN
PWRWLAN
• Be sure not to move it or place barriers around
your existing access point / repeaters after the
installation as any changes may interfere with the
signal strength.
• The access point is the irst one installed at a
site. Additional access points are referred to as
repeaters.
• Don’t worry, no one can access the WiFi signal via
their laptop or smartphone.

About the Solution 1
- 7 -
Light Activity Explanation
PWR Solid blue The access point / repeater is powered.
WAN Solid blue The access point has a connection.
Access Point
WPS
Quick lashing blue light and a pause.
Slow lashing blue light.
The access point is searching for a connection.
The access point is connected.
Repeater
WPS
Slow lashing blue light and a pause The number of lashes indicates the strength of the
signal reaching the repeater. Five lashes is the
strongest and one is the weakest.
The Charger Base (Optional for HSPA and WiFi)
The charger base is a great option for businesses that
require mobile terminals (restaurants, etc.).
Just plug the power cord into the charger base and the
other end into an electrical outlet. When you want to
recharge an HSPA or WiFi terminal, just place it in the
charger base with the terminal’s charge connectors (the
rectangle with eight circles) aligned to the base’s charge
connectors (the rectangle with four metal pins).
• Ensure that the charger base’s power cord is inserted completely. If it isn’t the terminal won’t charge.
• Placement of the charger base is important. Make sure it is convenient, but not in a high traic area
where the terminal could be accidentally knocked or pushed o the base.

- 8 -
…the CALL FOR AUTH
message is seen.
(No comm error seen)
1. Don’t attempt the transaction again.
2. Call for a voice authorization immediately.

2
Responsibilities
- 9 -
Cardholder Privacy and Security
Terminal security
It is the Merchant’s responsibility to secure the terminal, any user IDs or passwords to prevent unauthorized
use. In any event the Merchant will be liable for any unauthorized use of the terminal or any user IDs or
passwords. There are two user security settings:
No security (Default)
This setting does not use user IDs and passwords. Merchants that choose to use no security still have the option
to setup a store/manager override ID and password to access areas of the terminal that have a mandatory
requirement for supervisor password.
Security
This option allows the user to setup supervisors and operators with an ID login. The supervisor setup requires you to
create a password. You can activate this by going to Desktop Main Menu Control Panel Logon Method.
Override Passcode
This option allows the business owner to setup a passcode to bypass certain functionality. See page 7 for the list of
functionality that can be bypassed with this passcode.
Administering the terminal
By utilizing the user types, you can help secure your terminal by setting what terminal functionality that each of
your employees can access. Listed below are the user types and their functionality.
Note: There is a user hierarchy that determines who can access certain functionality:
• Administrator (TD Technician only),
• Manager,
• Supervisor, and
• Operator.
TD Merchant Solutions strongly suggests that you create and use a manager ID for your day-to-day business
needs and only use the administrator ID when absolutely necessary. Some functions that require an
administrator ID are.
• Adding, editing, deleting or unlocking manager IDs
• Any functionality that you have protected with an administrator login
The TD Generation oers you a variety of options to personalize the terminal while helping you to administer
your business. Some standard administration features are:
• User Management (creating, editing, deleting and unlocking locked user IDs)
• Parameter Updates (updating your settings on the terminal to relect new information such as new
accepted payment types)
• Communications (changes to your terminal’s communication method)
TD Merchant Solutions strongly suggests that when you create your manager IDs that you record and
store them in a safe place for future reference.

- 10 -
• Training Mode (enable/disable this setting to train new employees on how to use the terminal)
• Receipts (changes to how and when they are printed)
Terminal functionality and security
The following is a list of terminal functions that can be enabled or disabled (on or o), protected by supervisor
ID or protected by an override passcode.
Functionality Enable/Disable Supervisor ID Override Passcode
Generic settings
Voice prompts
Financial Transactions
Call for authorization
Cash transaction
Cashback prompt
Force post
Manual entry (credit card)
Manual entry (gift card)
Purchase with tip
Split bill
Transaction recall
Void
Receipt settings
Cash transaction receipts
Print operator name
Day close
Access day close
Close batch with open
pre-authorizations
Terminal auto-close
Reporting
Access batch reports
Access business day reports
Access customized reports
Access gift card reports
Access override passcode
menu
Any changes that you make on the terminal will be overwritten the next time that you perform a Host 1 or Host
download after a settlement request. Please contact the TD Merchant Solutions Help Desk to make any permanent
changes to your terminal.

2
Responsibilities
- 11 -
Functionality Enable/Disable Supervisor ID Override Passcode
End of day reports
Cash back totals report
Gift card host details report
Gift card host totals report
Host balancing report
Open pre-auth report
Operator balancing report
Operator detail report
Pre-auth status report
TD discount report
Terminal balancing report
Terminal details report
Tip totals report
Fraud prevention
The following information will help you protect yourself from fraudulent transactions.
Manually entered credit card transactions
There is an inherent risk associated with these transactions as they have an increased rate of fraud. If you do
manually enter a credit card transaction which is deemed fraudulent, you will be held responsible for any
chargebacks associated with it. Manually entered credit card transactions include mail order and telephone
order transactions.
Force post transactions are disabled by default
The force post function allows prior authorization numbers to be manually keyed in. For your protection, this
capability is disabled by default on your terminal. If you need to process a force post transactions, please call
the TD Merchant Solutions Help Desk at 18003631163 to enable the capability after being authenticated. It
is strongly recommended that you protect the Force Post function with a password.
Call for authorization
Sometimes, due to a communication or security issue, a transaction cannot or should not be completed.
See the list of messages and events below that will cause you to call for authorization.
Note: You must call for authorization for every force post transaction performed on your terminal.
If you are uncomfortable manually entering credit card information, as a business owner, you can request another
form of payment (another credit card, debit, cash, etc.).

- 12 -
Whenever Action
…the card number on the screen does not match the
number embossed on the card.
OR
…the cardholder signature on the receipt does not
match the signature on the reverse of the card.
OR
…you have any doubts about the validity of a card or
a transaction.
1. Call for a voice authorization immediately.
2. Request a CODE 10 authorization. In this
situation, you may be dealing with a fraudulent
card and CODE 10 will alert the inancial
institution to this possibility.
Storing cardholder receipts
Merchants are responsible for retaining all receipts to respond to cardholder inquiries. The following are
guidelines you should use when storing them. Store receipts:
• ...in a dark, secure area with limited access for at least 18 months
• ...in envelopes arranged by date in a secured iling cabinet works well. If you have several terminals
use a separate envelope(s) for each terminal.
• ...as long as you retain cash register tapes for direct payment transactions
Your receipts could become unreadable if you store receipts in plastic coated containers or expose them to
direct heat or cold sources.
• If TD needs a receipt copy, please send it within eight days and retain a copy for your records.
• The required storage and response times are for TD Merchant Solutions only and may vary by
inancial institution.

3
Financial Transactions
- 13 -
Financial Transactions
The TD Generation terminal can perform the following transactions:
• Purchase
• Purchase (Phone / Mail)
• Force post
• Refund
• Void
• Cash*
• Pre-authorization*
• Gift card*
• Loyalty card / Air Miles®*
* These optional transactions and others are covered in our online documentation at
www.TDMerchantSolutions.com/ResourceCentre.
Accepted card types
The terminal will accept whatever cards you indicated when you signed up. If you wish to adjust your accepted
card list, please contact your sales rep.
Credit card purchase
1. Press the left
-
Desktop Purchase.
2. Enter the dollar amount on the terminal and press OK.
3. Select SPLIT or PAY. If the customer is paying the entire amount with one payment select PAY. Otherwise,
select SPLIT.
Split payment (optional)
a) Enter the payment amount and press OK. Enter the partial payment amount.
b) Select the back arrow or OK. If correct, select OK. Otherwise, select the back arrow.
c) Select the payment method and press OK. The customer selects how they are paying for the
partial amount. Gift card appears only if you accept them.
d) Select the back arrow or YES. If the amount and payment type are correct select YES.
Otherwise, select the back arrow. Go to step 4.
4. The customer conirms the amount: back arrow or OK.
• Depending how you have set up your terminal, you may be required to enter a supervisor ID and password to
proceed with any transaction.
• If the customer’s receipt has a signature line on it, the customer must sign it.
This transaction low is used for credit card purchases where the credit card is present. If the purchase is via phone
or mail, see Telephone order or Mail order. If you use the incorrect purchase transaction you could incur extra
charges.
ENTER
AMOUNT
SPLIT PAYMENT?
(optional)
TIP?
(optional)
PAYMENT
METHODS
RECEIPTS and
BALANCE?

- 14 -
Tip (optional)
If you have tips enabled on your terminal you will follow these steps:
a) The customer selects / enters one of the tip options oered on screen.
b) The customer conirms the amount: NO or YES.
5. Perform one of the following payment methods: Insert, Swipe,Contactless or Manual Entry.
Insert
a) The customer enters their PIN and presses OK. Go to step 6.
Swipe
a) Verify the card info with what is on the screen and press OK. Go to step 6.
Contactless
a) The customer taps their contactless-enabled credit card on the contactless card reader. In some
cases the customer may be required to swipe or insert their card. Go to step 6.
Manual entry
a) Enter the account number and press OK.
b) Enter the expiry date and press OK.
c) A manual imprint of the credit card is required. Make the imprint and press OK.
d) Enter the CVD number and press OK. This number is generally located on the back of the
credit card. Go to step 6.
6. The screen shows that the transaction is completed with an authorization number or approved message.
The receipts will print. If the customer's copy has a signature line on it, the customer must sign the receipt.
You can REPRINT the receipt or FINISH the transaction.
7. If there is a balance left owing, go to the Split Payment instructions in step 3.
Debit card purchase
1. Press the left
-
Desktop Purchase.
2. Enter the dollar amount and press OK.
3. Select SPLIT or PAY. If the customer is paying the entire amount with one payment select PAY. Otherwise,
select SPLIT.
Split payment (optional)
a) Enter the payment amount and press OK. Enter the partial payment amount.
• The amount paid by the customer may only be partially authorized depending on the card
company. If a partial authorization occurs, the screen will display the amount still outstanding. The
transaction will then request another payment method for the balance.
• If the purchase was for a low amount you may be offered the option to print the receipt. This receipt
threshold can be set by calling the TD Merchant Solutions Help Desk at 18003631163.
ENTER
AMOUNT
SPLIT PAYMENT?
(optional)
TIP?
(optional)
PAYMENT
METHODS
CASHBACK?
(optional)
RECEIPTS &
BALANCE?
Other manuals for TD Generation
4
This manual suits for next models
3
Table of contents
Other TD Payment Terminal manuals
