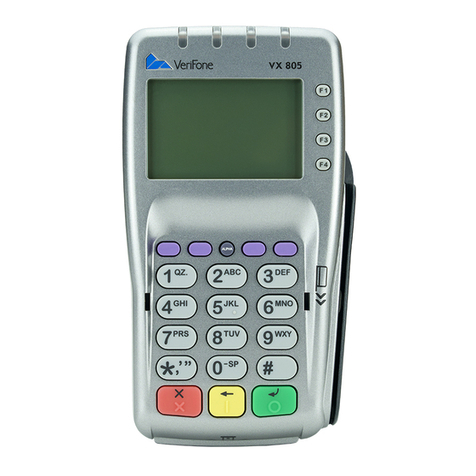
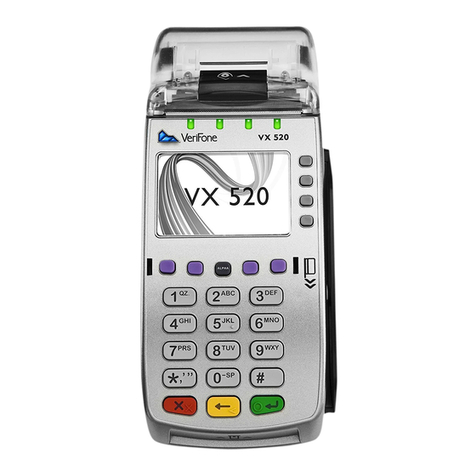
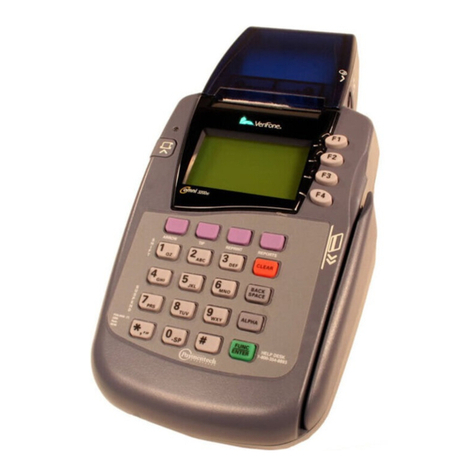
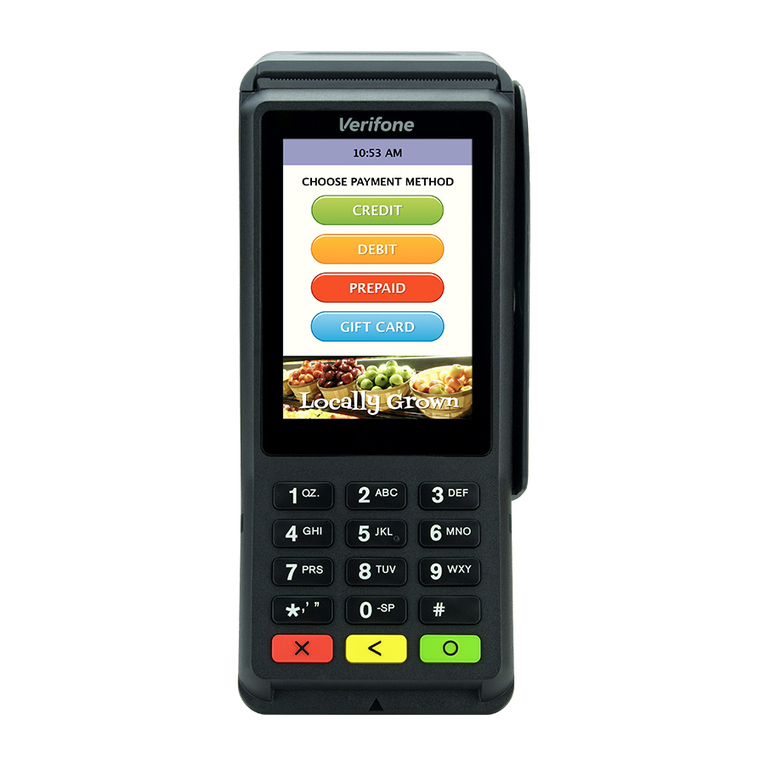
3. Locate NETePay on the desktop, right click (you can right click using a touchscreen by
holding down for a few seconds, release and the right click menu will appear) and select
open
4. On the popup, select Obtain Serial Number
5. Select OK on the next popup
6. Select Setup (top right corner)
7. Select Setup Information
8. Select Load New Parameters (bottom right corner)
9. Select YES on the popup
10. Select I have my Deployment ID
11. Enter the Deployment ID from your VAR sheet or Setup letter
12. Select OK
13. Confirm that your Merchant Information is correct. If the information is correct, select
Yes, This is the Correct Merchant. If the information is incorrect, select cancel and
contact Verifone for a new Deployment ID (you will be unable to continue with the
integration until you have the correct Deployment ID)
14. NETePay will now refresh and load the parameters, exit the Setup Parameters popup
and minimize the NETePay page
Editing the config files
1. Select the Windows Icon in the bottom left corner
2. Locate and select File Explorer
3. Select C/: Drive Epos Now (on the left)
4. Double click the Program Files (x86) folder
5. Double click the Epos Now folder
6. Double click the POSSystem folder
7. Locate the MercuryRetail folder
8. Right click on the folder, select Properties
9. Select the Security tab
10. Select Edit
11. On each group or username, select the checkbox that says allow for full control for all
users
12. Select Apply and OK
13. Open the MercuryRetail folder (in notepad)
14. Open MercuryRetail.exe
15. Delete all text inside the MercuryRetail.exe
16. Paste the information from the NETePay Config (Flavour) Template into the
MercuryRetail.exe file (mentioned in your VAR Sheet or Setup Letter)
17. Replace the Merchant ID Number with the Merchant ID Number from your VAR sheet
or setup Letter
18. Select File (top left corner)
19. Select Save and close the file
20. Right click on the Windows Icon in the bottom left corner
