anua
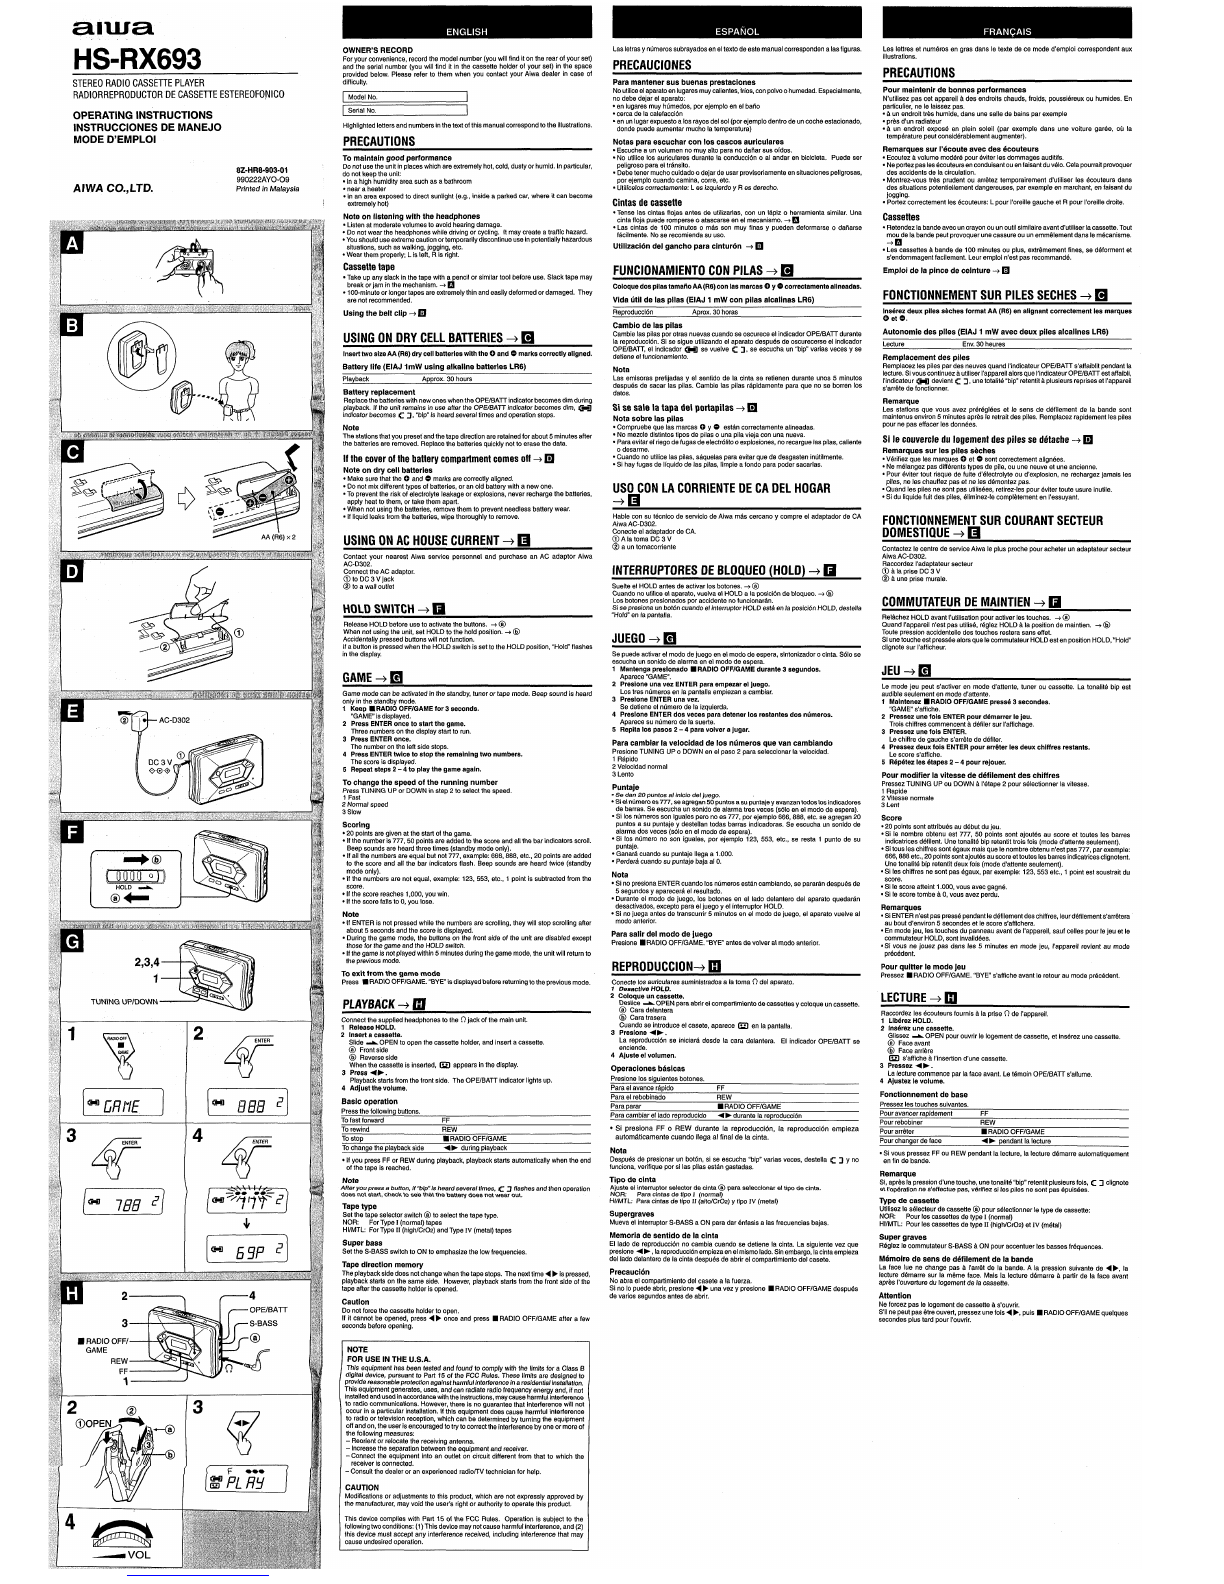
HS-RX693 OWNER’S RECORD
Foryour convenience, record the model number (youwill find it on the rear of your eet)
and the seriel number (you will find it in the caesetfe holder of your set) in the space
provided below. Please refer to them when you contact your Aiwa dealer in case of
difficulty.
LasIetrasyntimeros subrayadosen eltexto deeste manual corresponded aIasfiguras. Les Ietfres et num6ros en gras clansIetexte de ce mode d’emploi correspondent aux
illustrations.
PRECAUCIONES PRECAUTIONS
STEREO RADIO CASSETTE PLAYER
RADIORREPRODUCTOR DE CASSETTE ESTEREOFONICO
Paramantenersus buenasprestaciones
Nouliliceelaparatoen Iugaresmuycalientes,fdos,conpolvoohumedad.Especialmente,
no debe dejar el aparato:
.enlugares muyhtimedos, porejempfo enelbafio
●cercade lacalefacci6n
●en un IugarexpueatoaIosrayosdel sol (perejemplo dentro de uncoche estacionado,
donde puede aumentar mucho la temperature)
Notas pera escuchar con Ios cascos auriculares
●Escuche a un volumen nomuy alto paranodafiar suso~dos.
●No utilice Ios auriculares durante la conducci6n oal andar en blcicleta. Puede ser
peligroso para el trtfmsito.
●Debetener muchocuidado odejar de usarprovisoriamente en eituaciones peligrosas,
por ejemplo cuando camina, corre, etc.
●Utilicelos correctamente: Lesizquierdo yResderecho.
Pour maintenir de bonnes performances
N’utilisez pas cet appareil /ides endroits chauds, froids, poussi6reux ou humides. En
pariiculier, ne Ie laissez pas.
.~un endroittrbshumide, dansune sallede bainsparexemple
.pri% d’un radiateur
●Aun endroit expos6 en plein eoleil (par exemple clans une voiture gar6e, ou la
temperature peut consid6rablement augmenter).
Remarques sur I%coute avec des 6couteurs
.Ecoutez Avolume mod&6 pour &iter Iesdommages auditifs.
●Ne@tiez pasles6couteurs encondui=nt ouenfaisant duv610.Celapourrait provoquer
des accidents de la circulation.
●Montrez-vous tri?s prudent ou arr~tez temporairement d’utiliser lee 6couteurs clans
des situations potenliellement dangereuses, par exemple en marchant, en faisant du
jogging.
●Portezcorrectement les6couteurs Lpourl’oreille gaucheet Rpour l’oreilledroite.
Model No.
Serial No.
OPERATING INSTRUCTIONS
INSTRUCCIONES DE MANEJO
MODE D’EMPLOI
8Z-HR8-903-01
990222AY0-09
AIWA C0.5LTD. Printed in fvfalaysia
Highlighted letters and numbers inthe text of this manual correspond to the illustrations.
PRECAUTIONS
To maintain good performance
Donot use the unit inplaces which are extremely hot, cold, dustyor humid. In particular,
do not keep the unit
●in ahlgh humidity area such as abathroom
●near aheater
●in an area exposed to direct suntight (e.g., inside aparked car, where it can become
extremely hot) Cintas de cassette
●Tense Ias cintas flojas antes de utilizarlas, con un Mpiz oherramienta similar. Una
cinta floja puede romperse oatascaree en el mecanismo. +❑
●Las cintas de 100 minutes omhs son muy finas ypueden deformarse odaitarse
ficilmente. Nose recomienda su USO.
Utiiizaci6n delgancho paracintur6n +M
Note on Iiatening with the headphones
●Listen at moderate volumes to avoid hearing damage.
●Do not wear the headphones while driving or cycling. lt may create atrafflc hazard.
●Youshould useextremecautionortemporarily discontinue usein potentially hazardous
situations, such as walking, jogging, etc.
●Wearthem properly; Lis left, Ris right.
Cassettes
●Retendez labande avec un crayonou un outil similaire avant dutiliser la cassette. Tout
mou de la bande peut provoquer unecassure ou un emm~lement clansIem4canisme.
+n
●Lescassetfes Abandede 100minutesou plus, extr6mement fines, sed6formentet
s’endommagent facilement. Leuremploi n’est pas recommand6.
Emploi de la pince de ceinture -+ ❑
Cassette tape
.Takeup anyslack inthe tape with aencilor similar tool before use. Slack tape may
break orjam in the mechanism. +d
*l OO-minuteorlonger tapes areextremely thin andeaslly deformed ordamaged. They
arenot recommended.
FUNCIONAMIENTO CON PILAS +❑
Coloque dos pilaatamafioAA(R6) con Ias marcas 0 y Ocorractamentsalineadas.
Viola titii de Ias pilae (EiAJ 1mW con pilas aicalinas LR6) FONCTIONNEMENT SUR PILES SECHES +❑
,.,, I
Using the beit ciip +❑krs&ez deux piles st+chee format AA (R6) en alignant correctement lee marques
0et e.
Reproducci6n Aprox. 30 horas
Cambio de iss pilas
Cambie Iaspilas por otras nuevas cuando se oscurece el indicador OPE/BATTdurante
la reproducci6n. S1se sigue utilizando el aparato despu6s de oscurecerseel indicador
OPE/BATT,el indicador ~~ se vuelve ~~, se escucha un “blp” varias veces yse
defiene el funcionamiento.
Autonomic des piles (EIAJ 1mW avec deux piies alcaiines LR6)
USING ON DRY CELL BATTERIES+ ❑Lecture Env.30 heures
Replacement des piles
RemplacezIespiles par des neuves quand I’indicateur OPE/BATT s’affaiblit pendant la
lecture.Sivouscontinuez autiliser I’appareilalorsque I’indicateurOPE/BATTestaffaibli,
I’indicateur C=z devient C~, unetotalit6 “hip” retenfitApkrsieursrepriseset I’appareil
s’arr~tede foncfionnar.
Remarque
Les etations que vous avez pr6r6g16es et Ie sens de defilement de la bande sent
maintenus environ 5minutes aprbs Ie retrait des piles. Remplacez rapidement Iespiles
pour ne pas effacer Iesdonn6es.
Inaerf two eize AA (R6) dry cell batteries with the Oand Omarks correctly aligned.
Battery life (EIAJ lmW using alkeline batteries LR6)
Plavback Aoorox, 30 hours Nota
Las emisoras prefijadas yel sentido de la cinta se retienen durante unos 5minutes
despu6s de sacar Ias pilas. Cambie Ias pilas rapidamente para que no se borren 10s
dates.
Battery replacement
Replacethebatterieawithnewones when tha OPE/BATTindicator becomes dim during
playback. If the unit remains in use after the OPE/BATT indicator becomes dim, Qi-J
indicator becomes ~J, “blp” is heard several times and operation stops.
Note
The stationsthat you preset andthe tape direction are retainedfor about 5minutes after
the batteries are removed. Replace the batteries quickly not to erase the data.
If the cover of the battery compartment comes off+ ❑
Note on dry celi batterias
●Make surethatthe Oand Omarksare correctlyaligned,
●Do notmixdifferenttypesofbatteries,or an oldbatterywithanewone.
●Topreventtheriskofelectrolyteleakageorexplosions,neverrechargethe batteries,
aPPlyheattothem,ortakethemapart,
●When notusingthebatteries,removethemto preventneedless battery wear.
. If liquid leaksfrom the batteries, wipe thoroughly to remove.
Sise sale la tapa del portapilas +❑
Nota sobre Iae pilas
●Compruebe que Iasmarcas C)yOest&t correctamente alineadae.
●No mezcle disfirrtosfipos de pilas o una pila vieja con una nueva.
.Paraevitar el riegodefugas de electr61itooexplosions, norecargue Iaspilas,caliente
odesarme.
●Cuando no utilice Iaspilas, srlquelas para evitar que de desgaeten imifilmente.
●Si hayfugas de Iiquido de Ias pilas, Iimpie afondo para poder sacarlas.
Si Ie couvercle du Iogement des piles se detache +❑
Remarques sur Ies piles s~ches
●V6rifiez que Ies marques 0et Osent correctement alignrJes.
●Ne m61angezpas diff6rents types de pile, ou une neuve et une ancienne.
●Pour &iter tout risque de fuite d%lectrolyte ou d’explosion, ne rechargez jamais Ies
piles, ne Ieschauffez pas et ne Jesd6montez pas.
●Quand Iespiles ne aont pas ufilis6es, retirez-lee pour 6viter toute usure inutile.
●Si du Iiquide fuit des piles, diminez-le complbtement en I’essuyant.
USO CON LA CORRIENTE DE CA DEL HOGAR
-+-H
Hable con eu t(+cnicode servicio de Aiwa roils cercano ycompre el adaptador de CA
Aiwa AC-D302.
Conecte el adaptador de CA.
@)Alatoma DC3V
@a un tomacorriente
FONCTIONNEMENT SUR COURANT SECTEUR
DOMESTIQUE +❑
USING ON AC HOUSE CURRENT+ ❑Contactez Iecentre de serviceAiwa Ieplus proche pour acheter un adaptateur secteur
Aiwa AC-D302.
Raccordez I’adaptateur secteur
o&la prise DC3V
@&une prise murale.
Contact your nearest Aiwa service personnel and purchase an AC adaptor Aiwa
AC-D302.
Connect the AC adaptor.
@to DC 3Vjack
@to awall outlet
INTERRUPTORES OE BLOQUEO (HOLO) +❑
Suelte el HOLD antes de activar Iosbotones, +@
Cuando no utilica al aparato, vualva al HOLD aia posici6n de bloqueo. +@
Los botones presionados por accidente nofuncionarfm.
Sise presiona unbot6n cuando el infen’uptorHOLD est~ en la posici6n HOLD, desIella
“HoW’ en la pantalla.
COMMUTATEUR DE MAINTIEN +❑
HOLD SWITCH +❑Re15chezHOLD avant t’utilisation pour activer Ies touches. +@
Quand I’appareil n’est pas ufilis6, r6glez HOLD Ala position de maintien. +@
Toutepression accidentelle des touches restera saris effet.
Si unetouche estpress6eaiors que Iecommutateur HOLDesten position HOLD,“Hold
clignote sur I’afficheur.
Release HOLDbefore use to activate the buttons. +@
When not using the unit, set HOLDto the hold position. +@
Accidentally pressed buttons will not function.
Ifabutton is pressed when the HOLD switch is set to the HOLDposition, “Hold” flashes
in the display.
JUEGO +❑
Se puede activarel modo de juego en el modo de espera, slntonizador ocinta. S610se
escucha un sonido de alarma en el modo de espera.
1Mantenga preslonado ■RADIO OFF/GAME durante 3segundos.
Aparece “GAME.
2Presione una vez ENTER para empezar el juego.
Los tres ntimeros en la pantalla empiezan acambiar.
3Presione ENTER una vez.
Se detiene el ntimero de la izquierda.
4Preslone ENTER dos veces para detener Ios reatantes doe numeros.
Aparece su nrimero de la suerte.
5Repita Ioe pasos 2-4 para volver ajugar.
Para cambiar la velocidad de Ios numeros que van cambiando
Presione TUNING UPoDOWN en el paso 2para seleccionar la velocidad.
1RApido
2Velocidad normal
3Lento
Puntaje
.Se dan 20 puntos al inicio dal juego.
●S1el ntimero es777, seagregan50puntosa aupuntajeyavanzantodoaIosind!cadores
de barras, Se escucha un sonido de alarma tres veces (s610en el modo de espera).
●Si Iosnumeros son iguales pero no es 777, por ejemplo 666, 888, etc. se agregan 20
puntos asu puntaje ydestellan todas barras indicadoras, Se escucha un sonido de
alarma dos veces (s610en el modo de espera).
●Si Ios n(rmero no son iguales, por ejemplo 123, 553, etc., se resta 1punto de su
puntaje.
●GanarAcuando su puntaje Ilegaa1.000.
●PerderAcuando su puntaje baja al O.
Nota
●Si no presionaENTER cuando Ios numeros est#incambiando, se parar&t despu6s de
5segundosyaparecer~ el resultado.
●Durante el modo de juego, Ios botones en el Iado delantero del aparato quedaran
desactivados,excepto para el juego yel interruptor HOLD,
●Si nojuega antes de transcurrir 5minutes en el modo de juego, el aparato vuelve al
modo anterior.
Para salir del modo de juego
Presione ■RADIOOFF/GAME. “BYE” antes de volvar al modo anterior.
JEU + ❑
GAME +❑Le mode jeu peut s’acfiver en mode d’atfente, tuner ou cassette. La tonalite bip ast
audible seulement en mode d’attente.
1Malntenez ■RADIO OFF/GAMEpress63 secondes.
“GAME s’affiche.
2Pressez une foia ENTER pour d6msrrer Ie jeu.
Trois chitfres commencent ad6filer sur I’affichage.
3Preesez une fols ENTER.
Le chiffre de gauche s’arr6te de dtdiler.
4Preseez deux fois ENTER pour arr6ter Ies deux chiffres reetants.
Le score s’affiche.
5R6p6tez Ies 6tapes 2-4 pour rejouer.
Pour modifier la vitesse de defilement des chiffres
PressezTUNING UP ou DOWN hI’r$tape2pour sr$lectionnerla vitesse.
1Rapide
2Vitesse normale
3Lent
Score
●20 points sent attribu6s au d6but du jeu,
●Si Ie nombre obtenu est 777, 50 points sent ajout6s au score et toutes Ies barres
indicatrices d&ilent. Unetonalit6 bip retentit trois fois (mode d’attente seulement).
●Sitous Ieschiffres sent 6gaux mais que Ienombre obtenu n’est pas777, parexemple:
666,886 etc.,20 pointssentajout& auscoreettoutes leebarresindicatricesclignotent.
Une tonalittl bip retentit deux fois (mode d’attente seulement).
●Si Ieschiffres ne sent pas 6gaux, par exemple: 123, 553 etc., 1point est soustrait du
score.
●Si Iescore atfeint 1.000, vous avec gagn6.
●Si Iescore tombe aO,vous avez perdu.
Remarques
●.!3ENTERn’estpaspress6pendantIe d~filementdeschiffres,Ieurdefilements’arr6tera
au boutd’environ5secondes et Iescore s’affichera,
●En mode jeu, Iestouches du panneau avant de I’appareil, sauf celles pour Iejeu et Ie
commutateur HOLD,sent invalid6es,
*Si vous ne jouez pas clans fee 5minutes en mode jeu, I’appareil revient au mode
pr4c6dent.
Pour quitter Ie mode jeu
Pressez ■RADIO OFF/GAME. “BYE” s’affiche avant Ieretour au mode r)r6C6deflt.
Game mode can be activated in the standby,tuner or tape mode. Beep sound is heard
only in the standby mode,
1Keep =RADIO OFF/GAME for 3eeconds.
“GAME isdisplayed.
2Press ENTER once to start the game.
Three numbers on the display start to run.
3Prees ENTER once.
The number on the left side stops.
4Praes ENTER twice to stop the remaining two numbers.
The scoreis displayed.
5Repeat steps 2-4 to play the game again.
To change the speed of the running number
Press TUNiNG UP or DOWN in step 2to select the speed.
1Fast
2Normal speed
3slow
Scoring
●20 pointsare givenat thestartofthe game.
●Ifthenumberis 777, 50 pointsare addedtothescoreandallthe bar indicatorsscroll.
Beep soundsare heard three times (standby mode only).
●Ifall the numbers are equal but not 777, example: 666, 888, etc., 20 points are added
to the score and all the bar indicators flash, Beep sounds are heard twice (standby
mode only).
●If the numbers are not equal, example: 123, 553, etc., 1point is subtracted from the
score.
●If the score reaches 1,000,you win.
●Ifthe score falls to O,you lose.
Note
●If ENTER is not pressed while the numbers are scrolling, they will stop scrolling after
about 5seconds and the score is displayed.
●During the game mode, the buttons on the front side of the unit are disabled except
those for the game and the HOLDswitch.
●Ifthe gameis not played within 5minutes during the game mode, the unit will return to
fhe previous mode.
To exit from the gama mode
Prese ■RADIOOFFIGAME.“BYE” is displayed before returningto the previous mode.
REPRODUCTION-+ ❑
Conecte Iosauriculares suministrados ala toma ~del aparato.
1Oesactlve HOLD.
2Coloque un cassette.
Destice AOPEN paraabrk ei compartimiento de CaSSettOSy@JOqUeunCiR3?ffe,
@l Cara delantera
@Cara trasera
Cuando se introduce etcasete, aparece ~en la pantalla.
3Presione +*.
La reproducci6n ae iniciard desde la cara delantera. El indicador OPE/BATT se
enciende.
4Ajuete ef vohrmen.
LECTURE +❑
PLAYBACK +❑RaccordezIestfcouteurs fournis Ala prise ~de t’appareil.
1Lib6rezHOLD.
2fna6rez une caseette.
Glissez -OPEN pour ouvrir IeIogement de cassette, et ins6rez une cassette.
@Faceavant
@Facearribre
~s’affiche AI’insertion d’une cassette.
3Pressez +>.
La lecture commence par la face avant. Le tdmoin OPE/BATTs’alkrme.
4Ajuetez fe volume,
I
Connect the supplied headphones to the ~jack of the main unit.
1Refesae HOLD.
2Insert aceesette.
Slide +OPEN to open the cassette holder, and insert acassette.
@Fronteide
@Reverseside
When the cassette is inserted, ~appears in the display.
3Press +b.
Playbackstartsfrom the front side. The OPE/BATT indicator lights up.
4Adjust the volume.
2‘&
ENTER
Operaciones b&icas
Presione Iossiguientes botones.
Para el avarice r~pido FF
Para el rebobinado REW
Para parar ■RADIO OFF/GAME
Para cambiar el Iado reproducido +E durante la reproducci6n
Fonctionnement de base
Im R3i3 fl Basic operation PressezIestouches suivantes,
Pouravancer rapidement FF
Pourrebobiner REW
Pourarr&er ■RADIO OFF/GAME
Pourchanger de face <E pendant la lecture
Pressthe following buttons.
Tofaatforward FF
To rewind ;EW
ToS(OP 9RADIOOFFIGAME
Tochange the playback side 4> during playback
●Si presiona FF oREW durante la reproducci6n, ia reproducci6n empieza
autom~ficamente cuando Ilega af final de la cinta.
Nota
Despu6sde presionar un bot6n, si se escucha “hip” varias veces, destella KJ y no
funciona, verifique por si Ias pilas est~n gaatadas.
●Si vous pressez FF ou REW pendant la lecture, la lecture d6marre automafiquement
en fin de bande.
. If you press FF or REW during playback, playback starts automatically when the end
of tha tape is reached. Remarque
Si, aprbs la preesiond’une touche, unetonalit6 “trip”retenfitpkrsieursfois, C~clignote
et l’op&afion ne s’effectue pas, w+rifiezsi Ies piles ne sent pas 6puis6es.
Tipo de cinta
A]uste al interrupter eelector de clnta @para eelecclonar el tipo de cinta.
NOR: Para cintas de tipo I(normal)
HlrMTL: Para cinfas de tipo 11(alto/CrOz) yripo IV (metal)
Nota
After you press abutton, /f “b/p” /s heard several times, c J flsshes and then operation
doee not start, check to ae”ethat the banery doee not wear out. ~pe de cassette
Utitisez Ies61ecteurde cassette @pour sdectionner Ietype de cassette
NOR: Pour Iescaeseftes de type I(normal)
Hf/MTL: Pour Iescaseeftesde type II (highlCrQ2)et IV (m6tal)
Tape type
Set the tape selector switch @to select the tape type.
NOR: ForType I(normal) tapea
H1/MTL: ForType11(high/Cr02) and TypeIV (metal) tapes
Supergraves
Mueva el interruptor S-BASS aON para dar &rfasis aIasfrecuencias bajas.
+
(-1 Memoria de sentido de la cinta
El Iado de reproducci6n no cambia cuando se defiene la cinta. La eiguiente vez que
presione +➤,lareproducci6nempieza en el mismoIado.Sinembargo,lacintaempieza
del Iadodelantero de la cinta despu6s de abrir el compartimiento del casete.
Super graves
R6glez Iecommutateur S-BASS AON pour accentuer Ies basses frr$quences.
Super bass
Set the S-BASS switchto ON to emphasize the fow frequencies. M6moire de sene de dr3filament de la bande
La face lue ne change pas &l’arr&t de la bande. Ala presslon suivante de <>, la
lecture d6marre sur la m~me face. Mais la lecture d6marre Apartir de la face avant
aprbs f’ouverfure du Iogement de facassette.
Tape diraction memory
The playbackside doesnotchange when the tape stops. The nexttime <› is pressed,
playback starts on the same side. However, playback starts from the front side of the
tape after the cassette holder is opened.
Precauci6n
No abra el compartimiento del casete ala fuerza.
Si no 10puede abrir,presione <➤una vez ypresione ■RADIO OFF/GAME despu6s
de varies segundoeantes de abrir. Attention
Neforcez pas Ie Iogement de cassette As’ouvrir.
Sil ne peut pae~treouverf, pressezune fois <~, puis ■RADfO OFF/GAME quelques
secondes plus tard pour I’ouvrir.
2—————7(---4 Caution
Do not force the cassette holderto open.
If it cannot be opened, Dress<➤once and mess ■RADIO OFF/GAME after afaw
A
3s
10FF/
REW
FF
1
,1-r
seconds before openirig,
~RADIO
GAME NOTE
FOR USE IN THE U.S.A.
This equipment has been tested and found to compfy with the fimits for aCfass B
digital device, pursuant to Part 15 of the FCC Rulee. These limits are designed to
providereasonableprofectlon against harmfulinterferencein aresidentialinstallation.
This equipment generates, usee,and can radiate radio frequency energy and, if not
installed andusedinaccordancewiththe instructions,maycauseharmfulinterference
to radto communication. However,there Is no guarantee that interference will not
occur in aparticular installation. ff this equipment does cause harmful interference
to radio or television reception, which can be determinedby turning the equipment
off and on, the user is encouraged to tryto correctthe interference by one or more of
the following measures:
–Reorientor relocate the receiving antenna.
–Increasethe separation between the equipment and receiver.
-Connect the equipment into an outlet on circuit different from that to which the
receiverisconnected.
-Coneultthe dealer or an experienced radioiTV technician for help.
CAUTION
Modifications or adjustments to this product, which are not expressly approved by
the manufacturer, may void the user’s right or authority to operate this product,
This device complies with Part 15 of Ihe FCC Rules. Operation is subject to the
following twoconditions (1)This device maynotcauseharmful interference, and (2)
this device must accept any interference received,including interference that may
cause undesiredoperation.
2@
.