3
PERCEPTION
100/200
1
Precaution/Unpacking
1.1 Precaution
Please make sure that the
piece of equipment your microphone
will be connected to fulfills the safety
regulations in force in your country
and is fitted with a ground lead.
1.2 Unpacking
Check that the packaging contains all of
the items listed for your microphone.
Should any item be missing, please con-
tact your AKG dealer.
PERCEPTION
100:• Microphone
• Stand adapter
• Mini poster
PERCEPTION
200:• Microphone
• Spider suspension
• Carrying case
• Mini poster
2 Description
2.1 Introduction
Thank you for purchasing an
AKG product. This Manual contains
important instructions for setting up and
operating your equipment. Please take a
few minutes to read the instructions
below carefully before operating the
equipment and keep the Manual for
future reference. Have fun and impress
your audience!
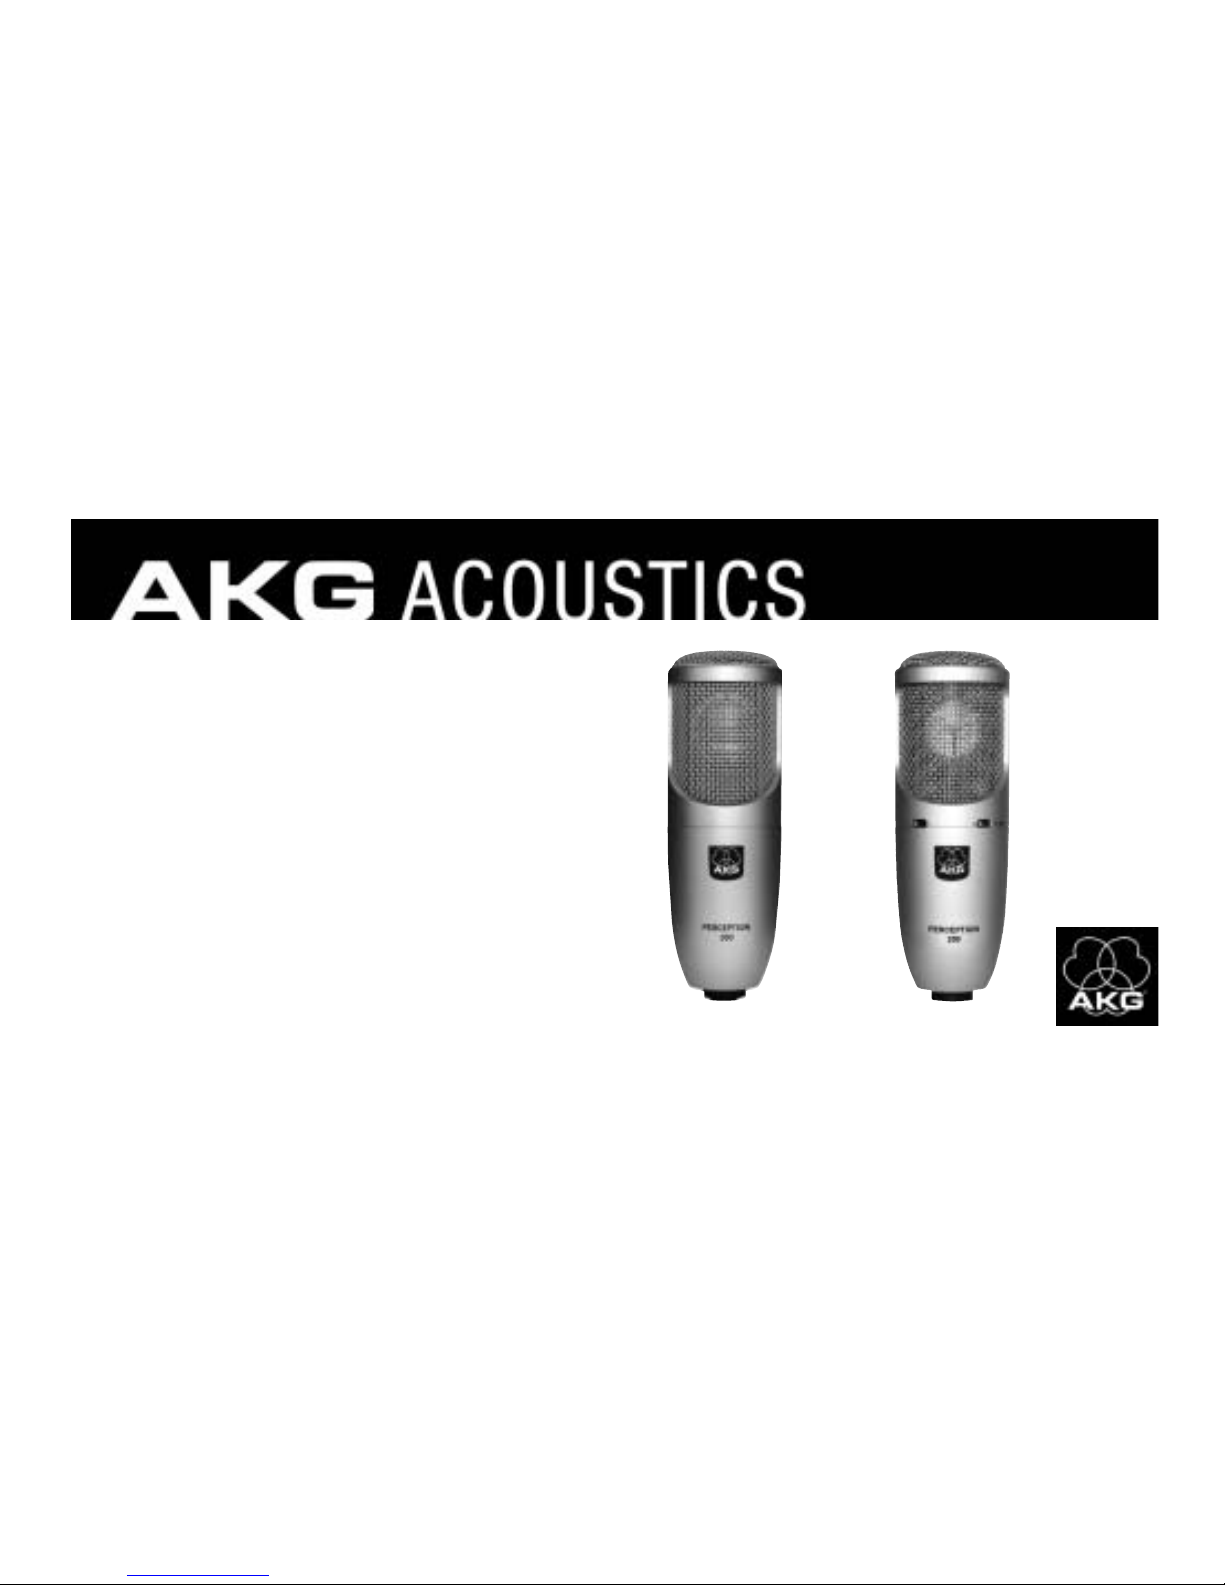
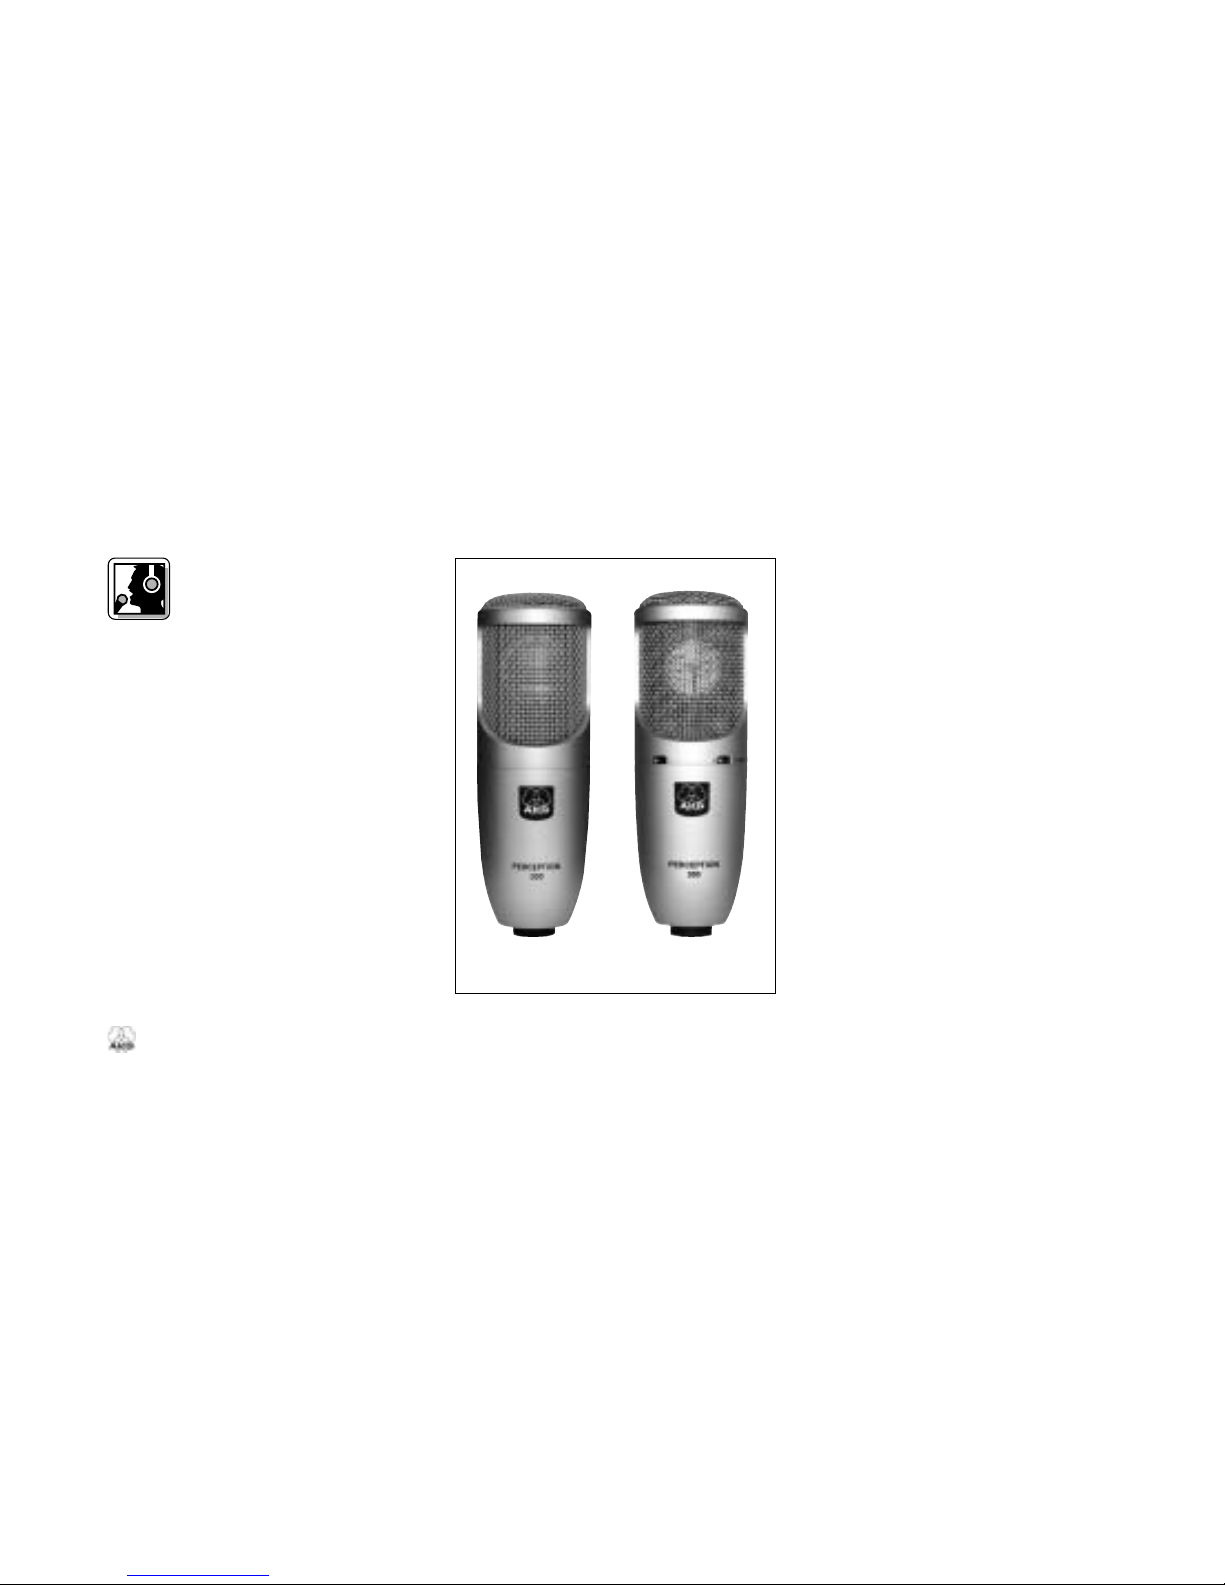
The
PERCEPTION
100 and
PERCEPTION
200 are heavy-duty, rugged true con-
denser microphones built to the same
strict quality standards as all other AKG
products.
Designed on the basis of AKG’s decades
of know-how and feedback from sound
engineers around the world using AKG
studio microphones every day, these
general-purpose 1-inch large-diaphragm
microphones bring AKG studio quality to
the worlds of recording, live sound, and
broadcasting.
2.2 Common Features
The
PERCEPTION
100 and 200 share the
following features:
•Cardioid polar pattern: The micro-
phone is most sensitive to sounds
arriving from in front of it while pick-
ing up much less of sounds arriving
from the sides or rear (from monitor
speakers or neighboring instru-
ments). This makes the microphone
equally suited for recording and
onstage use.
•Gold-sputtered diaphragm: The
diaphragm is made of a plastic foil
that is gold-sputtered on one side
only to prevent shorting to the back
electrode even at extremely high
sound pressure levels.