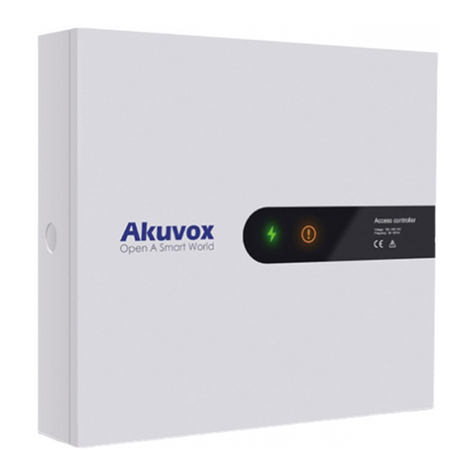
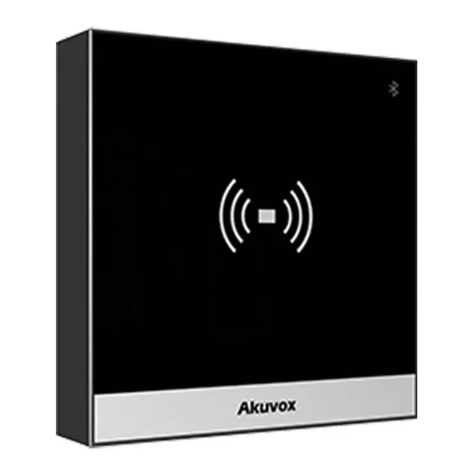
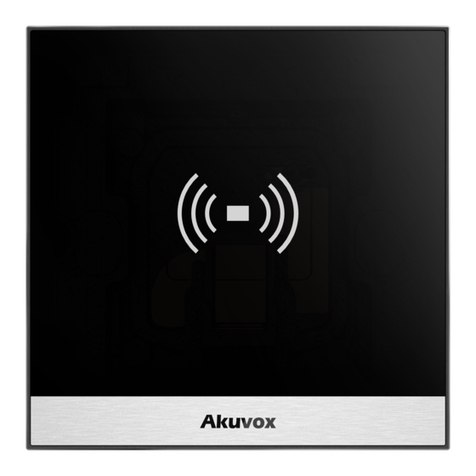
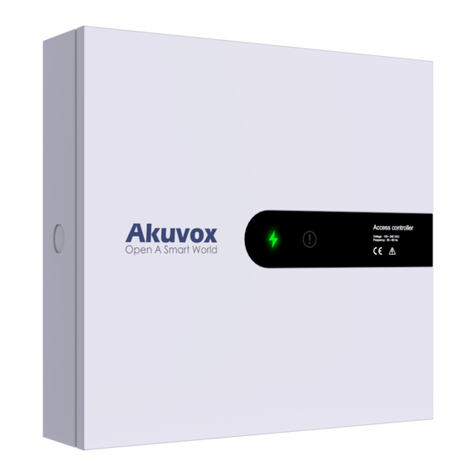
Akuvox A02 Service manual


About This Manual
Thank you for choosing the Akuvox A02 access control terminal. This manual is intended
for the administrators who need to properly configure the access control terminal. This
manual is written based on firmware version: 101.30.4.10, and it provides all the
configurations for the functions and features of A01, A02, and A03 access control
terminals. Please visit the Akuvox forum or consult technical support for any new
information or the latest firmware.

Note
•
Informative information and advice from the efficient use of the device.
Tip
•
Useful information for the quick and efficient use of the device.
Introduction of Icons and Symbols

Related Documentation
You are advised to refer to the related documents for more technical information via the link
below:
https://knowledge.akuvox.com

Content
1 Product Overview........................................................................................ 7
2 Change Log................................................................................................. 8
3 Model Specification..................................................................................... 9
4 Introduction to Configuration Menu............................................................ 11
5 Access the Device......................................................................................12
6 Time Setting..............................................................................................14
7 LED Setting. .............................................................................................. 16
7.1
Brightness Setting....................................................................................16
8 Volume and Tone Configuration................................................................. 17
8.1
Volume Configuration.............................................................................. 17
8.2
Upload Open Door Tone ........................................................................... 18
9 Network Setting.........................................................................................19
10 Relay Setting........................................................................................... 20
10.1
Relay Switch Setting.............................................................................. 20
10.2
Web Relay Setting.................................................................................. 21
11 Door Access Schedule Management ......................................................... 23
11.1
Configure Door Access Schedule........................................................... 23
11.1.1
Manage Relay Schedule ..................................................................... 23
11.1.2
Create Door Access Schedule ............................................................ 24
11.1.3
Import and Export Door Access Schedule..........................................26
12 Door Unlock Configuration....................................................................... 27
12.1
Configure RF Card for DoorUnlock........................................................ 27
12.1.1
Configure RF Card on the WebInterface............................................27
12.1.2
Configure RF Card Code Format.........................................................28
12.2
Unlock by NFC........................................................................................28
12.3 Unlock by HTTP Command on Web Browser............................................ 29
12.4
Unlock by Exit Button ............................................................................. 30
12.5
Unlock by PIN Code............................................................................... 30
12.6
Unlock by Public Code........................................................................... 31
12.7
Access Authentication Mode..................................................................32
12.7.1
Access Authentication Mode Configuration ....................................... 32
12.7.2
Dual Authentication Interval............................................................... 32
13 Security..... ..............................................................................................33
13.1
Tamper Alarm Setting............................................................................ 33
13.2
Security Notification Setting...................................................................33
13.2.1
Email Notification Setting .................................................................. 33
14 Logs.......... .............................................................................................. 35
14.1
Access Log.............................................................................................35
15 Debug......................................................................................................36
15.1
System Log for Debugging.....................................................................36
15.2
Remote Debug Server.............................................................................36
15.3
PCAP for Debugging.............................................................................. 37
16 Firmware Upgrade ................................................................................... 39

17 Backup....................................................................................................40
18 Auto-provisioning....................................................................................41
18.1
Provisioning Principle............................................................................ 41
18.2
Configuration Files for Auto-provisioning.............................................. 42
18.3
AutoP Schedule......................................................................................42
18.4
DHCP Provisioning Configuration.......................................................... 43
18.5
Static Provisioning Configuration...........................................................45
19 Integration with Third Party Device........................................................... 47
19.1
Integration via Wiegand......................................................................... 47
19.2
Integration via HTTP API ........................................................................48
19.3
Power Output......................................................................................... 48
19.4
Action URL............................................................................................. 49
20 Password Modification............................................................................ 51
20.1
Modify the Password............................................................................. 51
20.2
Web Interface Automatic Log-out.......................................................... 51
21 System Reboot and Reset........................................................................ 52
21.1
Reboot....................................................................................................52
21.2
Reset......................................................................................................52
22 Abbreviations .......................................................................................... 54
23 FAQ......................................................................................................... 56
24 Contact Us.............................................................................................. 57

Akuvox A02 Access Control Terminal Admin Guide
www.akuvox.com
7
1 Product Overview
Akuvox Access control terminals A02 incorporate a door controller and an RIFD reader in
one standalone device, thus saving your solution costs. It is equipped with a card reader
(125kHz and 13.5MHz) which is currently capable of handling a majority of cards in wide
use. A0X is designed to provide you with greater flexibility and security than those
traditional access control systems. A02 access control terminal applies to residential
buildings, office buildings, and their complex.

Akuvox A02 Access Control Terminal Admin Guide
www.akuvox.com
11
4 Introduction to Configuration Menu
•
Status: this section gives you basic information such as product information,
network information, and log related configurations such as access log and so on.
•
Network: this section covers LAN port setting.
•
Access Control: this section covers relay, input, web relay, card setting, keypad, and
so on.
•
Directory: this section includes access schedule management and user
management.
•
Device: this section includes light, Wiegand, lift control, and audio.
•
Setting: this section deals with relay schedule, security notification settings, web
relay, time, action, and HTTP API setting.
•
System: this section covers firmware upgrade, device reset, reboot, configuration file
auto-provisioning, system log and PCAP, password modification as well as device
backup.
Tool selection:
Akuvox has many configuration tools for you to set up devices more conveniently. Here we
list some common tools, please contact your administrator to get the tool if you need
them.
1.
ACMS: ACMS (Access Control Management System) is designed with an idea that
personnel, device, access control, personnel attendance, shift schedule, etc.
2.
Akuvox Upgrade tool: upgrade Akuvox devices in batch on a LAN (Local Area
Network).
3.
Akuvox PC Manager: distribute all configuration items in batch on a LAN.
4.
IP scanner: it is used to search Akuvox device IP addresses on aLAN.

Akuvox A02 Access Control Terminal Admin Guide
www.akuvox.com
12
5 Access the Device
Before configuring Akuvox A02, please make sure the device is installed correctly and
connects to a normal network. Using the Akuvox IP scanner tool to search the device IP
address in the same LAN. Then use the IP address to log in to the web browser by user
name and password admin and admin.
You can obtain the IP address by pressing the Reset button at the back of the device. And
you can also set the number of IP number announcement (1-5 times) if needed. You can
go to Device > Audio > IP Announcement.

Akuvox A02 Access Control Terminal Admin Guide
www.akuvox.com
13
Tip
•
You can also obtain the device IP address using the Akuvox IP scanner to log
in to the device web interface. Please refer to the URL below for the IP
scanner application: https://knowledge.akuvox.com/docs/how-to-obtain-ip-
address-via-ip-scanner-1?highlight=ip%20scanner
Note
•
Google Chrome browser is strongly recommended.
•
The Initial username and password are admin and please be case-sensitive
to the user names and passwords entered.

Akuvox A02 Access Control Terminal Admin Guide
www.akuvox.com
14
6 Time Setting
Time setting on the web interface allows you to set up time and date manually while
allowing you to use the NTP server address that you obtained to automatically synchronize
your time and date. And when your time zone is selected, the device will automatically
notify the NTP server of its time zone so that the NTP server can synchronize the time
zone setting in your device. To configure the configuration on the device web Setting >
Time interface.
Parameter Set-up:

Akuvox A02 Access Control Terminal Admin Guide
www.akuvox.com
15
Note
•
You can only set the NTP-related parameter after you enable the automatic
date and time.
•
Automatic Date&Time Enabled: if enabled, the device will update the time
automatically via the NTP server (Network Time Protocol). Disable it if you want to
set up the time manually.
•
Time Zone: select the specific time zone based on where the device is used. The
default time zone is GMT+0:00.
•
Preferred Server: enter the primary NTP server address you want to update the time
with. The default NPT server address is 0.pool.ntp.org
•
Alternate Server: enter the backup NPT server address you want to update the time
with when the primary one failed.
•
Update Interval: set the time update interval. For example, if you set it as 3600s, then
the device will send a request to the NPT server for the time update once every 3600
seconds.
•
Current Time: display the current device time.
•
Date/Time: set the date and time for the device manually when you disable the
automatic date and time service.

Akuvox A02 Access Control Terminal Admin Guide
www.akuvox.com
16
7 LED Setting
7.1
Brightness Setting
If you want to brighten up the brightness in order to see the card reader at greater ease in
an environment with higher light intensity, you need to set up the related parameters in the
web Device >Light > Light of Swiping Card Area.
Parameter Set-up:
•
Backlight Intensity: adjust the backlight intensity, the bigger value, the brighter
backlight.
•
Backlight Enabled: enable the card reader LED lighting if needed.
•
Start Time - End Time (H): enter the time span for the LED lighting to be valid, e.g., if
the time span is from 18-22 it means the LED light will stay on during the time span
from 6:00 pm to 10:00 pm in one day (24 hours).

Akuvox A02 Access Control Terminal Admin Guide
www.akuvox.com
17
8 Volume and Tone Configuration
Volume and tone configuration in A02 access control terminal refers to tamper alarm
volume, voice prompt volume, and open-door tone configuration. Moreover, you can
upload the tone you like to enrich your personalized user experience.
8.1
Volume Configuration
You can configure the Mic volume according to your need for open-door notification.
Moreover, you can also set up the tamper alarm volume when unwanted removal of the
access control terminal occurs. To configure the configuration on web Device > Audio >
Volume Control interface.
Parameter Set-up:
•
Tamper Alarm Volume: set the tamper alarm volume from 0-15 according to your
need. The default volume is 8.
•
Voice Prompt Volume: set the voice prompt volume from 0-15 according to your
need. The default volume is 8.
•
Keypad Volume: adjust the volume of the keypad. The default volume is 8.

Akuvox A02 Access Control Terminal Admin Guide
www.akuvox.com
18
Note
•
The open-door tone file should be in .wav format and the file size should be
smaller than 200KB.
8.2
Upload Open Door Tone
You can upload the tone for open door failure and success on the device web interface. To
upload the tones, go to Device > Audio > Open Door Tone Setting interface.
Parameter Set-up:
•
Open Door Tone Enabled: enable it before you can apply the open the doortone.

Akuvox A02 Access Control Terminal Admin Guide
www.akuvox.com
19
9 Network Setting
You can configure the default DHCP mode (Dynamic Host Configuration Protocol) and
static IP connection. Moreover, you can set up an IP address, Subnet Mask, Default
Gateway, and DNS servers. To configure the configuration on web Network > Basic > LAN
Port interface.
Parameter Set-up:
•
DHCP: select the DHCP mode by checking off the DHCP box. DHCP mode is the
default network connection. If the DHCP mode is selected, then the access control
terminal will be assigned by the DHCP server with IP address, subnet mask, default
gateway, and DNS server address automatically.
•
Static IP: select the static IP mode by checking off the Static IP check box. When
static IP mode is selected, then the IP address, subnet mask, default gateway, and
DNS servers address must be manually configured according to your actual network
environment.
•
IP Address: set up the IP Address if the static IP mode is selected.
•
Subnet Mask: set up the subnet mask according to your actual network environment.
•
Default Gateway: set up the correct gateway default gateway according to the IP
address of the default gateway.
•
Preferred/Alternate DNS: set up DNS1/ DNS2 (Domain Name Server) according to
your actual network environment. DNS1 is the primary DNS server address while the
DNS2 is the secondary server address, and the access control terminal connects to
the DNS2 server when the primary DNS server isunavailable.

Akuvox A02 Access Control Terminal Admin Guide
www.akuvox.com
20
Note
•
Only the external devices connected to the relay switch need to be powered
by power adapters as the relay switch does not supply power.
10 Relay Setting
You can configure the relay switch(es) for door access on the web interface.
10.1
Relay Switch Setting
To configure the configuration on web Access Control > Relay > Relay interface.
Parameter Set-up:
•
Trigger Delay (Sec): set the relay trigger delay timing (ranging from 0-10 Sec.). For
example, if you set the delay time as 5sec. then the relay will not be triggered until 5
seconds after you press the unlock tab.
•
Hold Delay (Sec): set the relay hold delay timing (ranging from 1-10 Sec.). For
example, if you set the hold delay time as 5sec. then the relay will be delayed for 5
after the door is unlocked.
•
Relay Status: relay status is low by default which means normally closed (NC). If the
relay status is high, then it is in Normally Open status(NO).
•
Relay Name: name the relay switch according to your need. For example, you can
name the relay switch according to where the relay switch is located for
convenience.
Table of contents
Other Akuvox IP Access Controllers manuals


