MANUALE BILLYONE CCTALK
Pag. 4
1. General
Dear Customer,
we would like to thank you and congratulate for your choice. We trust that you will appreciate the
quality and performance of our BILLYONE note validator.
1.1 Host machine design
- The manufacturer takes all possible measures to ensure the quality of this unit. However,
performance decay or circuit faults could occur at the end of the product’s life. Please ensure safety
operation by making use of fail-safe design procedures.
- Please allow enough space around the validator to ease removal of the unit or collection of the
banknotes.
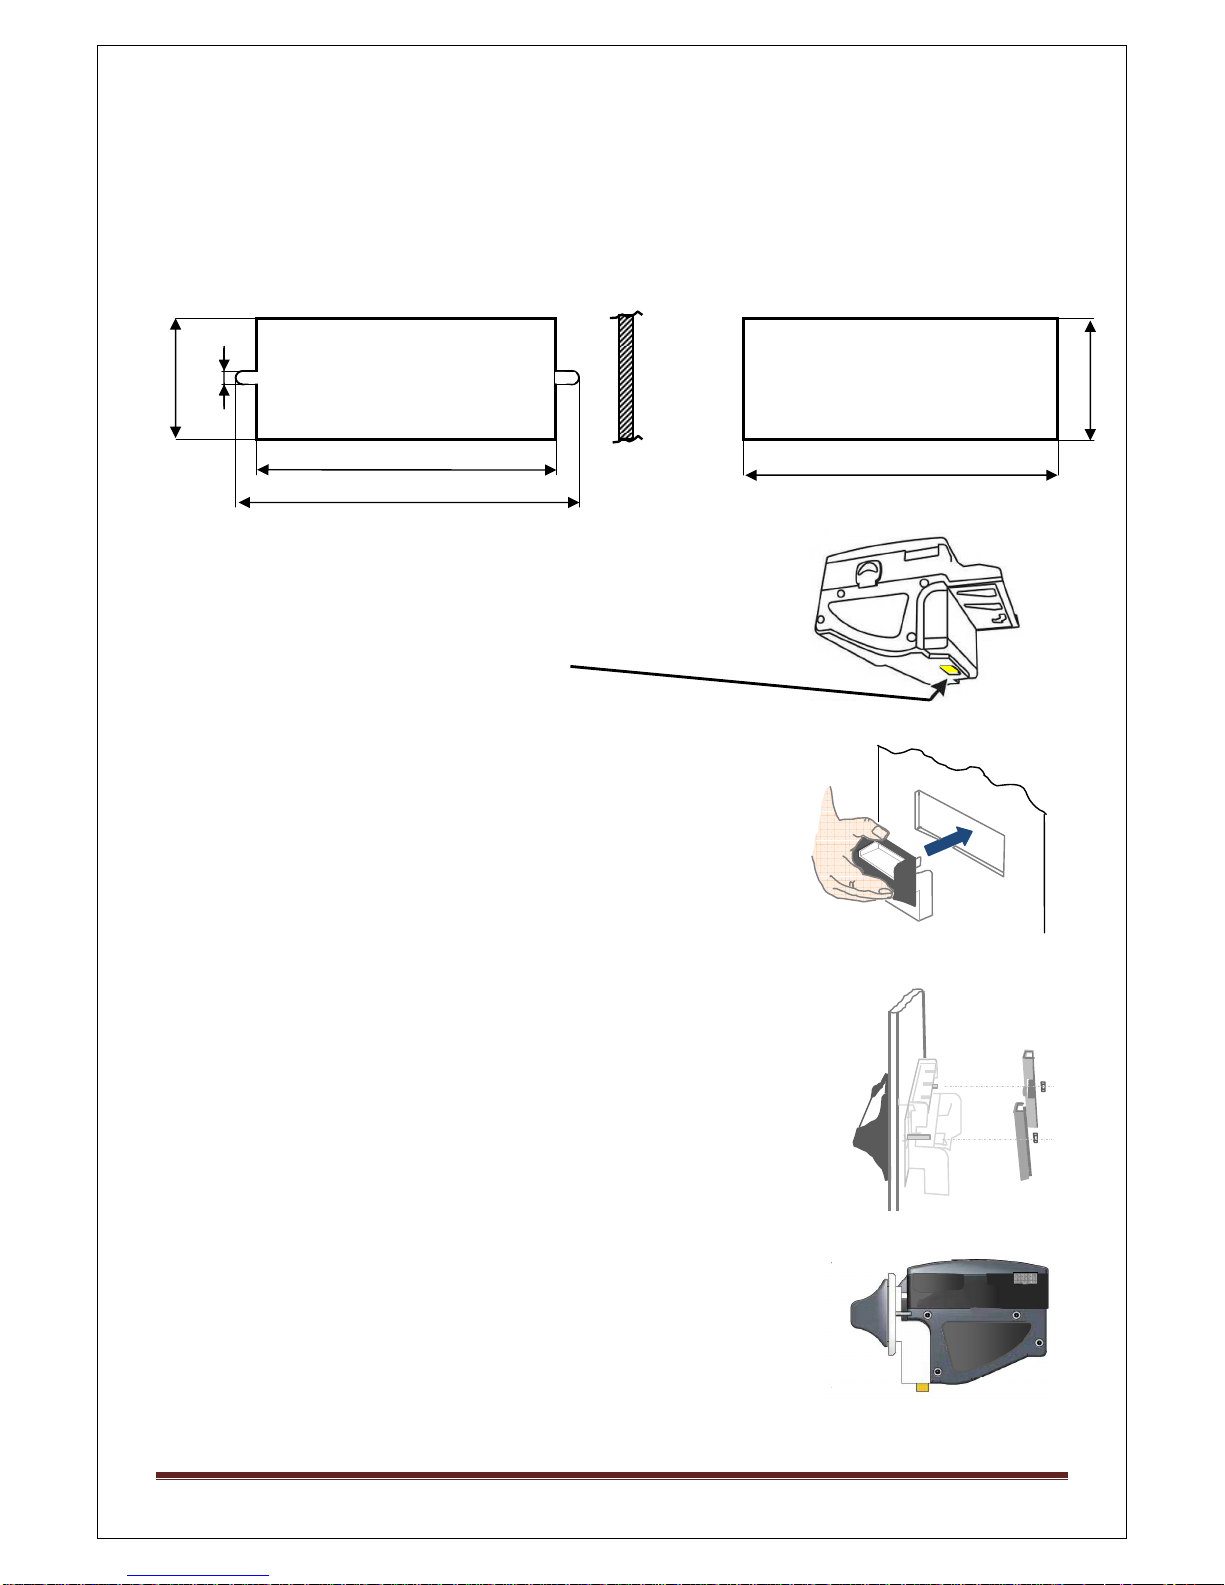
1.2 Mounting
- Do not obstruct the acceptor’s air intakes or else proper cooling will not be possible
- Do not use the acceptor in extreme or widely changing tempertaure
- Do not expose the acceptor to direct sunlight or to incandescent lighting (> 3000 Lux)
- Do not use or store the acceptor in dusty areas or in presence of chemical vapours or sprays
- The acceptor is for indoor use only. Do not use it outside.
- When using the acceptor in presence of car exhausts or smoke, please clean and maintain the
acceptor often and regularly.
1.3 Wiring
- Switch power supply off before connecting or disconnecting any cables.
- When wiring the connection cable, pay utmost attention to the specified power range and pin
assignment. Wrong wiring may cause unit damage.
- Connect the power cable firmly.
- Do not pull or stretch the power cable.
1.4 Caution
- When opening the Upper/Lower lid, disconnect power to the acceptor.
- When closing the Upper lid, do not put your fingers through.
- Do not modify the Taiko unit. Doing so may damage the product.
- Do not bump or drop the acceptor.
- Do not wipe or clean with thinners or organic solvents.
- Do not let moisture or liquids into or onto the acceptor.
- Do not use the acceptor outside the temperature / humidity range.
- The following banknotes might not be properly accepted, or might jam or damage the Taiko:
a. Stained, worn, moistured, torn or wrinkled banknote
b. Dog-eared banknotes
c. Banknotes with incorrect cut dimensions or printing displacement
d. Oil-smeared bills or with foreign bodies (i.e. sticking tape, a.s.o.)
1.5 Disposal
- Dispose of this unit according to your Country’s regulations for such types of industrial waste.
This product is RoHS-compliant.