2 Maintenance
All warnings in the manual are summarized on this page.
Pay special attention to the instructions below so that severe personal injury and/or damage to the valve are avoided.
2.1 Valve Disassembly
To disassemble a ball valve:
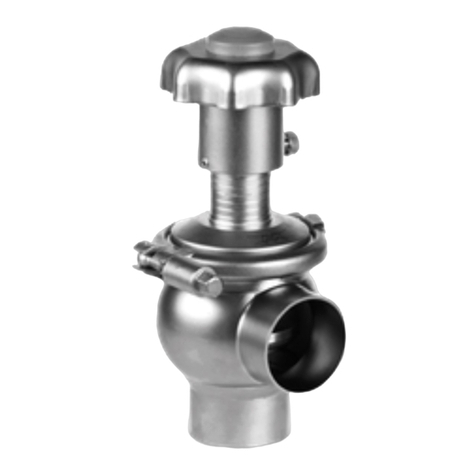
1. For a manual valve, remove the top handle nut (20) from the stem (4)
2. Remove the handle (7). For actuated valves remove bracket mounting bolts and remove actuator/bracket and coupler
Note: If you are disassembling a 3 or 4 inch valve, you’ll need to remove the actuator mounting bolts.
3. To remove the second stem nut you must first bend back the side tab of the stop washer (12). This can be done using a
screwdriverorpunc
h. Once the stop washer side tab is flattened you can remove the stem nut (5)
Note: 3 and 4 inch valves will require a socket wrench to reach the nut recessed into the mounting bracket. 36 mm.
4. Remove bevel washers (6) and gland bushing (9)
5. Remove four hex nuts (17) from one side of body bolts (14). For the 4 inch valve remove six hex nuts (17). Remove body
bolts/studs to allow bodyends (2) to fall away
6. Remove the front and rear ball seats (8)
7. Turn the stem (4) clockwise until the ball (3) is in the closed position, allowing the ball to fall free from the valve
8. Press downward on the stem (4) until it presses through the inside of the valve body (1), and remove the stem and bottom
stem seal (11) and the stem packings (10)
9. Remove the joint gasket (5) from valve body ends. (You will need to use a small instrument, such as a dental pick or small
screw driver to pry the o-ring away from the body end. Be careful not to mar the body end in the process
2.2 Valve Inspection
Seat(s)
1. Carefully examine the PTFE valve ball seats for cracking, checking or excessive wear. Leakage past the seat(s) may result
from these types of irregularities.
Surface Finish
2. Inspect the bore of the ball and the valve stem in the valve upper body for signs of galling. Replace both if galling exists.
Galling will continue to occur if only one part is replaced and the other is damaged. Inspect the inside surface of each body
end for marring. Replace the end if damaged. Leakage may occur from this kind of damage
Gaskets/O-ring(s)
3. Inspect for cracks, cuts, abrasions, flat spots or other damage that would cause leakage or ineffective cleaning.
Replace as necessary
6
