18
TROUBLESHOOTING
19
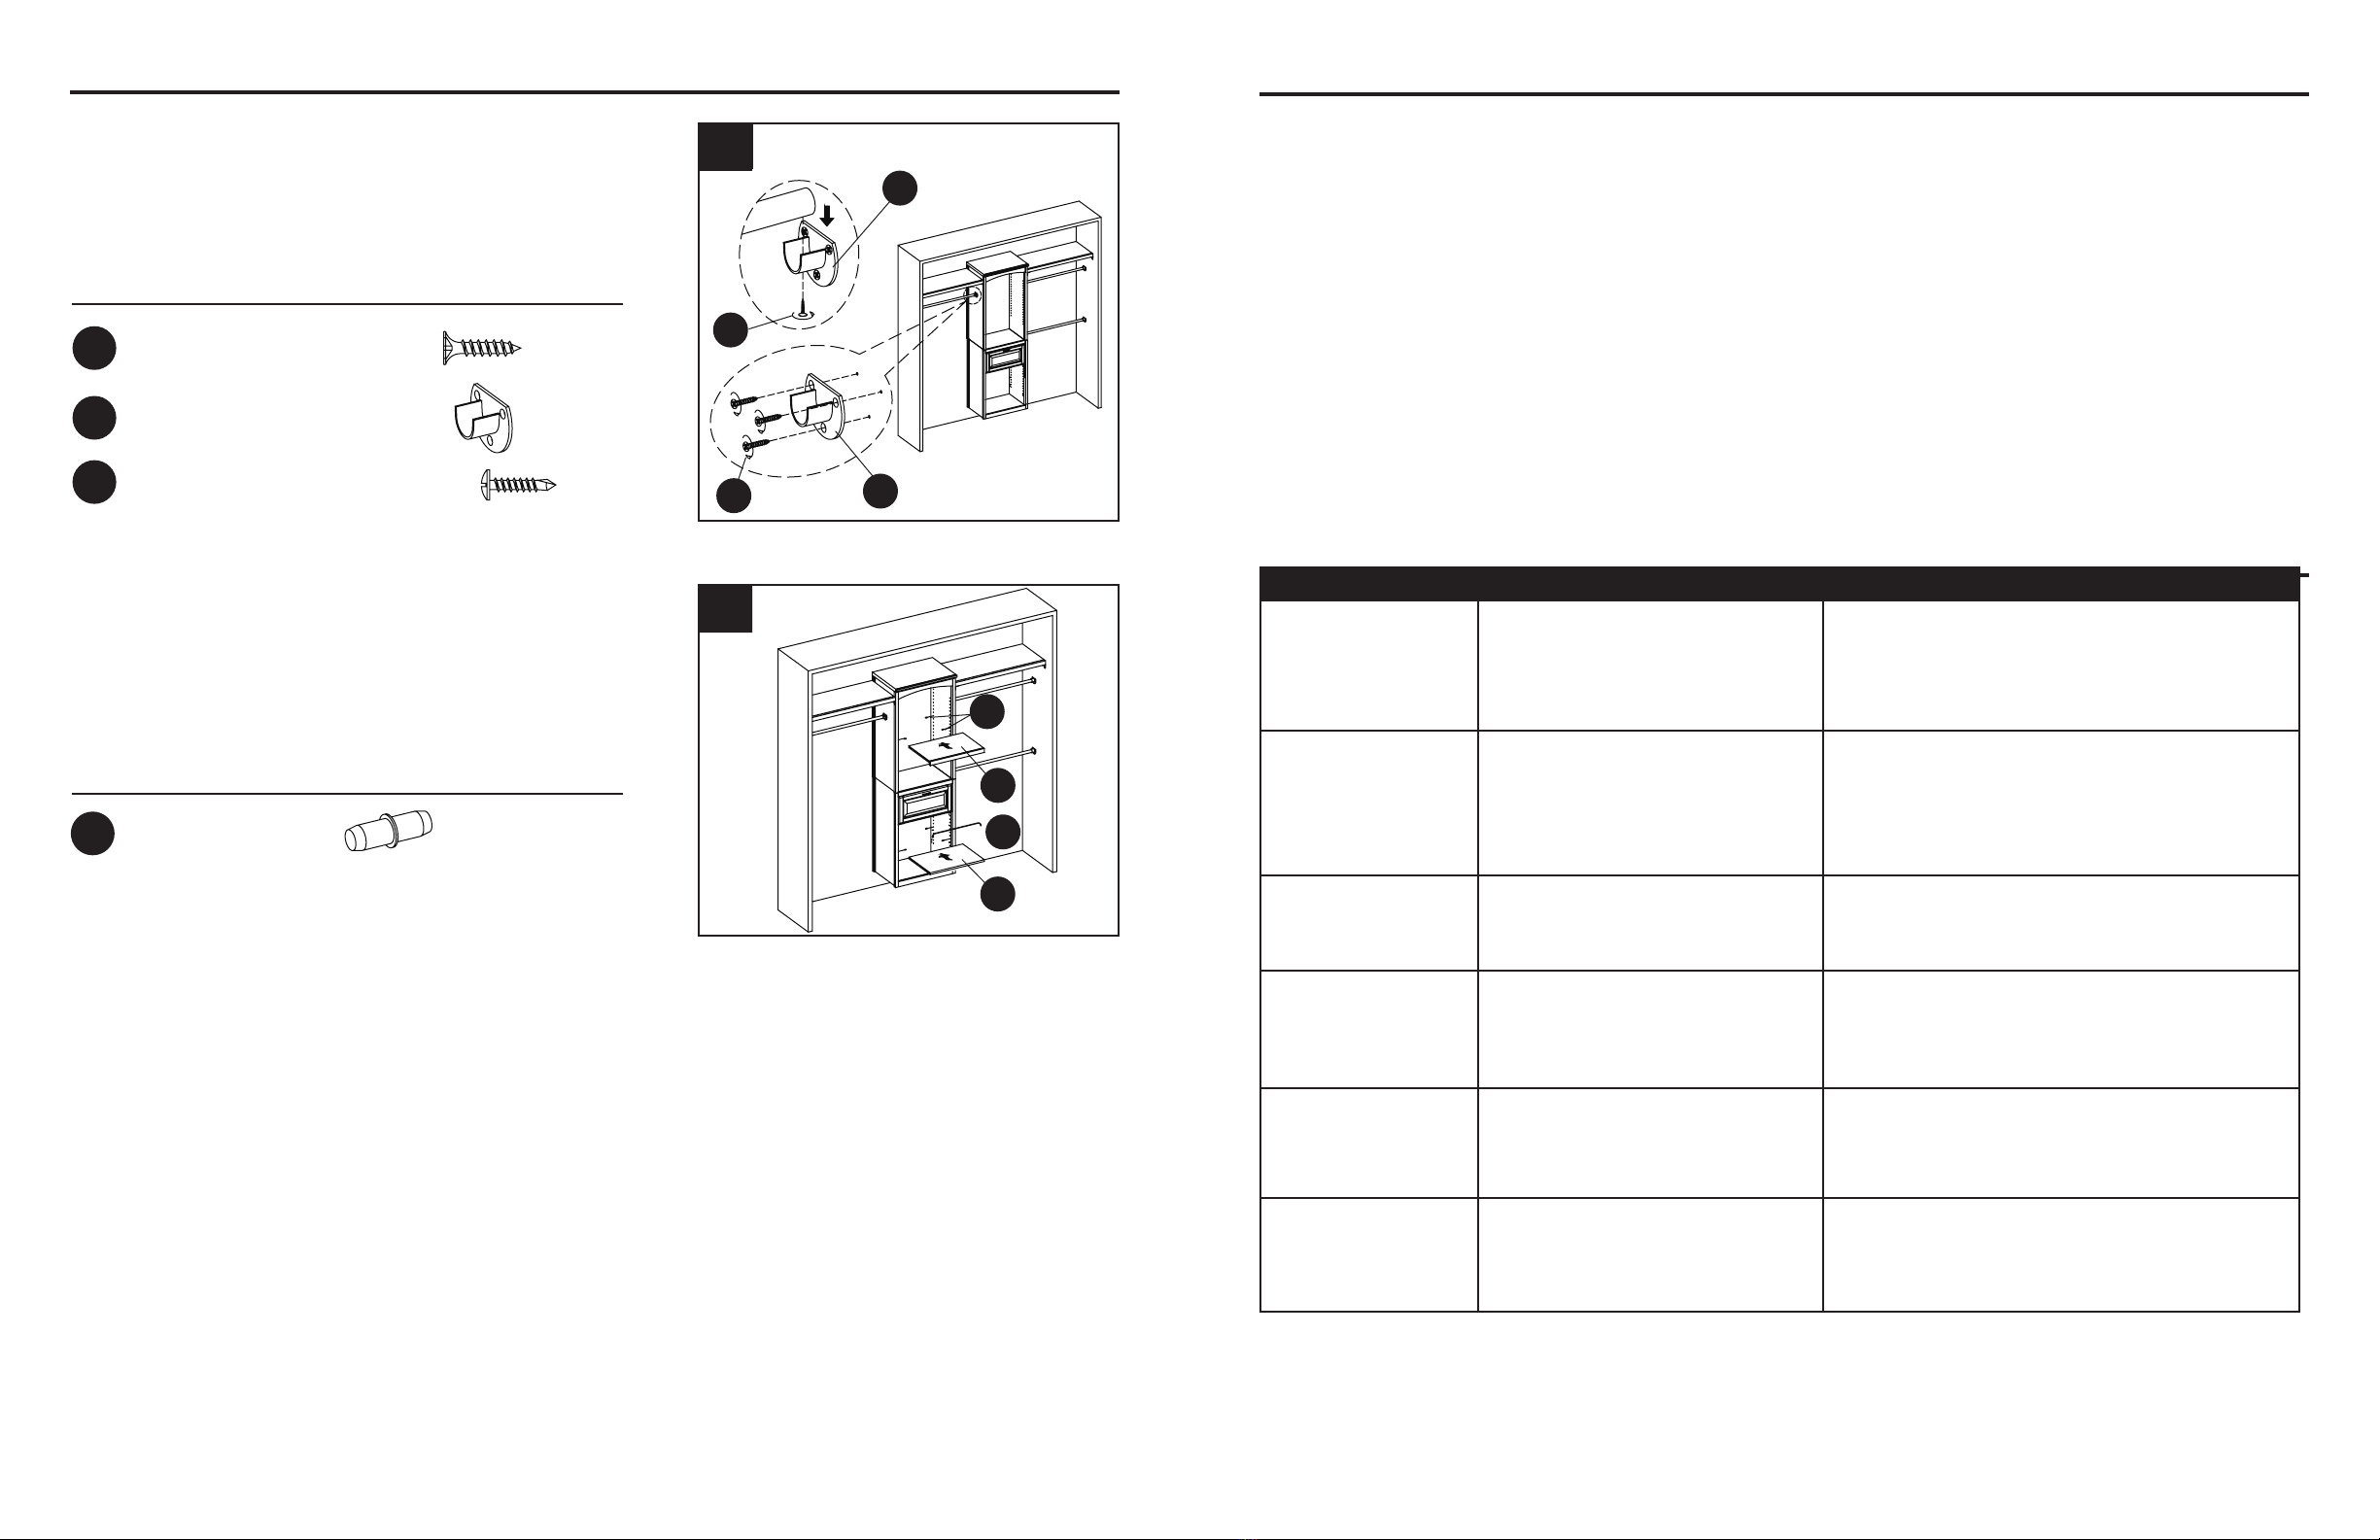
PART DESCRIPTION PART #
A Hutch Panel Left 00LWSCSC/LWSCSBW-1
B Hutch Panel Right 00LWSCSC/LWSCSBW-2
CHutch Panel Top 00LWSCSC/LWSCSBW-3
D Hutch Panel Back 00LWSCSC/LWSCSBW-4
E Front Curved Stretcher 00LWSCSC/LWSCSBW-5
F Front Straight Stretcher 00LWSCSC/LWSCSBW-6
G Adjustable Shelf 00LWSCSC/LWSCSBW-7
H Base Panel Left 00LWSCSC/LWSCSBW-8
I Base Panel Right 00LWSCSC/LWSCSBW-9
JBase Panel Top 00LWSCSC/LWSCSBW-10
K Base Panel Back 00LWSCSC/LWSCSBW-11
L Base Panel Bottom 00LWSCSC/LWSCSBW-12
M Shoe shelf 00LWSCSC/LWSCSBW-13
N Wire stopper 00LWSCSC/LWSCSBW-14
O Wall Hanging Cleat 00LWSCSC/LWSCSBW-15
P Drawer Front 00LWSCSC/LWSCSBW-16
Q Drawer Panel Left 00LWSCSC/LWSCSBW-17
R Drawer Panel Right 00LWSCSC/LWSCSBW-18
S Drawer Back 00LWSCSC/LWSCSBW-19
T Drawer Bottom 00LWSCSC/LWSCSBW-20
U Slide 00LWSCSC/LWSCSBW-21
V Long Shelf 00LWSCSC/LWSCSBW-22
WInstallation Template 00LWSCSC/LWSCSBW-23
WARRANTY
REPLACEMENT PARTS LIST
This product (exclusive of shelves) is warranted to the original purchaser. If there is a failure in
this unit due to defects in materials or workmanship, the manufacturer will repair or replace this
item at our discretion without charge. Warranty is void if product has been assembled incorrectly,
misused, abused by overloading, altered in any way or damaged due to accident. This warranty is
not transferable and does not cover chipping, aking, scratches, rust, dents, or other damages to
the surfaces of this product. Responsibility of the manufacturer is limited to repair or replacement of
this product. The manufacturer is not responsible for consequential, incidental, or other damages or
losses resulting from product failure.
This warranty is in lieu of all other expressed warranties. Some states do not allow the exclusion or
limitation of incidental or consequential damages, so the above limitation may not apply to you. This
warranty gives you specic legal rights and you may have other rights which vary from state to state.
For replacement parts, call our customer service department at 1-866-439-9800, 8 a.m. - 8 p.m., EST,
Monday - Friday.
PROBLEM POSSIBLE CAUSE CORRECTIVE ACTION
One end of metal pole
does not rest properly
onto the open pole
holder (YY).
The opening of open pole holder
does not face upward vertically.
Use a quality level to ensure the at
edge of the open pole holder is level
while installing.
The pole kit is tilting. The open and closed pole
holders are not installed at the
same level.
Use a quality level to ensure the pole
holders are level with each other.
Screw went through
side panel.
Used M4 x 38 mm wood screws
for attaching pole holder onto
the side of cabinet.
Use M4 x 14 mm wood screws.
Closet tower tilted. The wall hanging cleats are not
level.
Reinstall the wall hanging cleats and
ensure they are level.
Closet tower can not
hang on the wall.
The mounting hole locations are
not correct.
Reinstall wall hanging cleats; make
sure the space between two wall
hanging cleats is 39-1/2 in. and the
bottom two mounting holes location is
no less than 31-1/2 in. from the oor.