manuals.online logo
Brands
  1. Home
  2. •
  3. Brands
  4. •
  5. Altec
  6. •
  7. Security System
  8. •
  9. Altec SI-MAX Series Instruction sheet

Altec SI-MAX Series Instruction sheet

SPECIFICATIONS
Supply voltage on +12V Charge : 12 to 14.5 Vdc
Output voltage on +BAT:13.8 Vdc (+/- 0.2 Vdc)
Residual ripple allowed: 250 mV
Consumption without alarm on battery: 5 mA
Consumption with alarm on battery: 1.6 A
Control voltage (+BL) : 9 to 16 Vdc (0.1 mA)
Triggering voltage: below 4 Vdc
Reset triggering : more than 9 Vdc
Level sound at 1 m. : > 117 dBa
Degree of protection : IP31 IK08
Environment : Class II – General indoor
Operating temperature: -10°C to +55°C
Dimensions : 192 X 182 X 62 mm
Type of cables for the connection:
Cable 3 pairs rigid : diameter >= to 0.5 mm
flexible : diameter >= to 0.2 mm
Type of internal batteries :
12V 2.1Ah YUASA NP2.1-12FR
12V 2.1Ah YUCELL Y2.1-12FR
12V 2.1Ah POWERSONIC PS 1220 V0
12V 2.2Ah ELECKSON BEL120022
12V 2.3Ah ACD ST20
12V 2.1Ah SUNLIGHT SP 12-2.1V0
Autonomy on internal battery : 72 hours
Length of alarm: 31 minutes
SI-MAX is admitted to NF mark and A2P « 3 shields »
in accordance with the norm NF C 48-265 and with the reference of the
certification NF324-H58
Certificate n°: 3130000280 Manufacturing Unit: 122P2
CNPP Certification
http://www.cnpp.com
AFNOR Certification :
http://www.marque-nf.com
Electromagnetic compatibility : in accordance with the norms NF EN 50130-4 and NF EN 55022
Electric security : in accordance with the norm EN 60950 ed. Oct. 2000
N° INCERT : B-712-0001
NOTINS0UK000009-V1.05
INSTALLATION GUIDE
Indoor siren self-powered
Version 1
Made in France
SI-MAX
SI-MAX is an indoor siren… VERY POWERFUL!
In discrete metal box, self-protected against forced opening and tear with
housing for the internal battery 12V – 2Ah, SI-MAX is the inevitable solution to
deter intruders.
The terminal « +12V CHARGE »is used for constant load from the battery’s internal siren.
SI-MAX offers a double load regulation for battery:
- Regulating the load current to 100 mA, sufficient to charge the internal battery
normally. In alarm only the internal battery is required. This effectively protects
the charger from the panel when multiple sirens are powered by it.
- Regulation of the charging voltage to 13,8 Vdc : even if the charging voltage
delivered by the panel is not high enough, SI-MAX amplifies it to provide the battery with
a charging voltage maximum of 13.8 Vdc to warranty a perfect load.
SI-MAX has a tamper against the forced opening and tear without any regulation. The tamper
against the forced opening can function only by adding a screw on top of the card (length of the
screw 55-65mm, diameter: 4 to 5mm). The screw is placed just above the electronic card. It must
be screwed into the wall until its head comes into contact with the electronic circuit without
pushing on it. To facilitate the positioning of the screw, use the drilling template provided.
_________________________________________________
OPERATION
A positive and continuous voltage of 9 to 16V on the terminal "+ BL SIR" can block or reset the
SI-MAX. At the disappearance of this blocking voltage, the alarm is activated for duration of 31
minutes. At the end of this delay, the SI-MAX is on standby, which avoids damaging the internal
battery by a complete discharge.
To trigger again, SI-MAX must be reset: the blocking voltage of 9 to 16V should reappear on the
terminal « +BL SIR» for at least 1 second.
Note that during the power up, SI-MAX doesn’t trigger even if the blocking voltage is absent. It
must first be arm by applying the blocking signal for at least 1 second.
Moreover, the supply being provided by the terminal « +12V CHARGE» which limits the current to
100mA, SI-MAX can trigger only in the presence of the internal battery 12V-2Ah.
SI-MAX and Altec are registered trademark of A.T.L.S.
CONNECTION
1- The tightening of the screws on
the front acts directly on the switch
of the tamper against forced opening.
Important:Verify the proper
operation after installation by
unscrewing the screw.
3- Position to the screw of tamper
against forced opening
2- Internal battery 12 VDC – 2 Ah
4- Supply voltage (limited to 100mA)
12 to 14.5 Vdc
5- 0 Volt
6- Blocking tension (9 to 16 Vdc)
7- Loop of auto-protection
INSTALLATION
SI-MAX is provided exclusively for indoor use. It
is installed to a vertical wall and flat surface
greater than that of its body, leaving at least 2
cm on each side. Drill the mounting holes along
the drilling template. Fix the chassis of the SI-
MAX using 4 screws round head diameter of 4 to
5 mm (not supplied). Use a screw 4 to 5 mm in
diameter (not supplied) for the tamper against
forced opening and set it as shown above-cons
without pushing on the electronic card.
It is imperative to conduct tests and verify the
proper operation of the alarm’s sound and of the
auto-protection after the installation.
It is strongly recommended to periodically check the proper tightening of connections
and the condition of the internal battery and replace it if necessary
SAFETY
•During the test, wear a hearing protective helmet or hold you at a reasonable
distance of the SI-MAX.
•Avoid any intervention on the SI-MAX by stormy weather.
•Use only the type of the batteries indicated on the specifications table
Destruction of the batteries
The battery backup of the SIMAX is not provided by ATLS. However, do not dispose of
batteries in your trash, it is forbidden to cremate, bury them or throw them into
landfills. Dispose batteries according to the current laws and regulations.Please contact
relevant authorities for further information on the arrangements put in place in your
region to collect, recycle and dispose of used batteries.
Destruction of the product
As required by the WEEE (Waste Electrical and Electronic Equipment),
electrical and electronic equipment must be disposed separately from normal
household garbage to promote the reuse, recycling and other forms of
recovery, as well as limit the amount of waste requiring disposal and thereby
reduce the landfill. When disposing of such products, please follow the
instructions of local authorities and / or check with your dealer when
purchasing a new product.
WARRANTY
ATLS provides a guarantee of 5 years from the date of the manufacture.
The year and month of manufacture appear on the label serial number
placed inside the device.
The warranty does not cover non-functional damage such as scratches,
broken by a fall or shock or degradation caused by abnormal use.
The guarantee applies only to cards and electronic assemblies and does not cover
damage caused by natural or artificial surges.
The guarantee applies only if the electronic part has not been dismantled, disturbed or
transformed.
The warranty is strictly limited to repair or exchange parts that we found defective.
Return costs are still borne by the sender.
The detention of equipment under warranty won’t give rise to any compensation for any
reason whatsoever.
The responsibility of A.T.L.S. is limited to the repair of products and do not extend to the
consequences of their use, their implementation or their non-functioning.
.
DRILLING TEMPLATE (scale 1:1)
1- Top of the box
2- Mounting holes (X4)
3- Electronic Card SIMAX
4- Running cables
5- Battery 12V_2Ah
IMPORTANT : Periodically check the battery status and the terminals tightening
6- Position of the screw for the auto-protection against forced opening
IMPORTANT : The screw must be screwed into the wall until its head comes into contact with
the electronic circuit without forcing it on

Other Altec Security System manuals

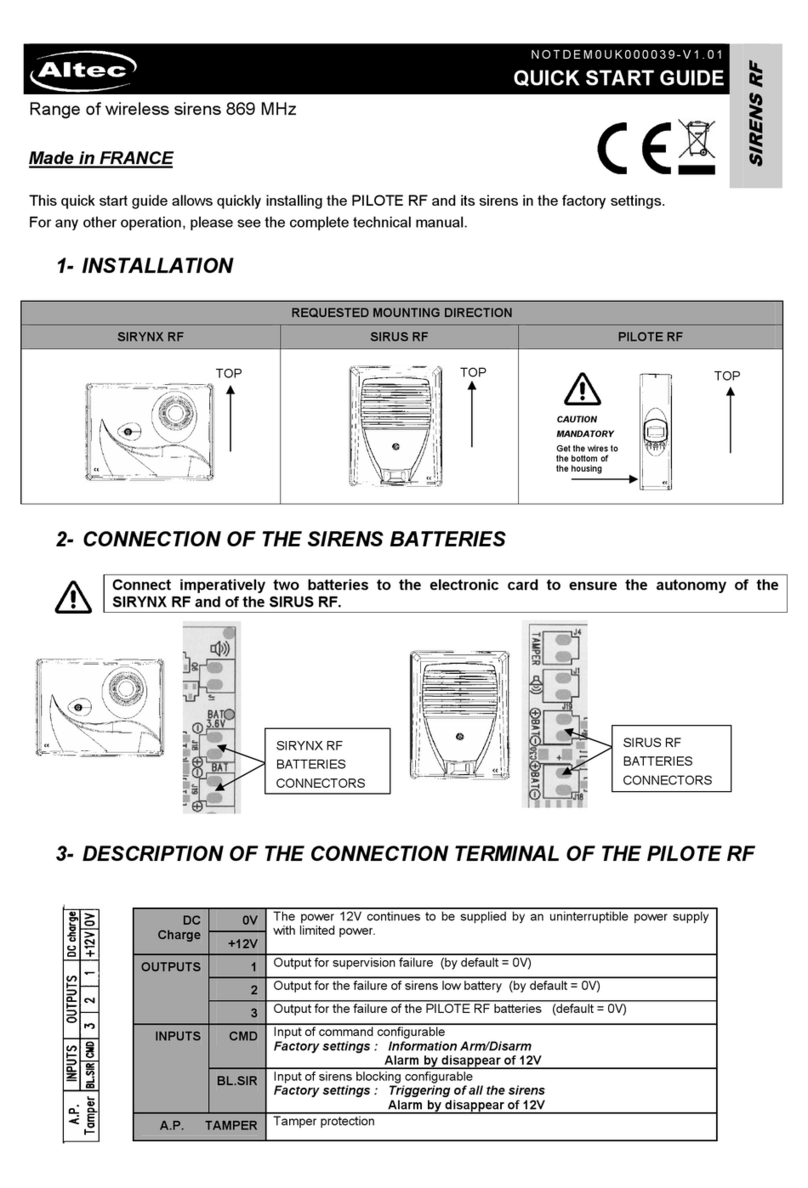
Altec SIRYNX RF User manual

Altec

Altec SIRYNX RF User manual

Altec SIRYNX RF User manual

Altec

Altec SIRYNX RF User manual

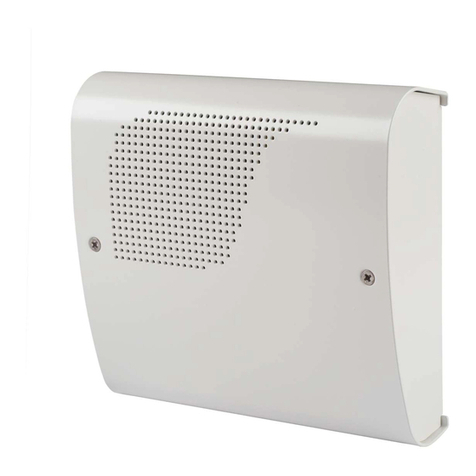
Altec SI-MAX User manual

Altec

Altec SI-MAX User manual

Popular Security System manuals by other brands

Renkforce 751514 operating instructions

Renkforce

Renkforce 751514 operating instructions

Secura SecuraHub System user's guide

Secura

Secura SecuraHub System user's guide

Wisenet SDH-B84045BF quick start guide

Wisenet

Wisenet SDH-B84045BF quick start guide

FIBER SENSYS FD322 Product training

FIBER SENSYS

FIBER SENSYS FD322 Product training

iSysmart SGZB02I user manual

iSysmart

iSysmart SGZB02I user manual

HAI OMNI II owner's manual

HAI

HAI OMNI II owner's manual

ADEMCO Security System VISTA-10SE installation instructions

ADEMCO

ADEMCO Security System VISTA-10SE installation instructions

Zoeller 10-2614 APAK quick start guide

Zoeller

Zoeller 10-2614 APAK quick start guide

Labkotec SET-2000 Oil/Sludge Installation and operating instructions

Labkotec

Labkotec SET-2000 Oil/Sludge Installation and operating instructions

BEIRENHUIZHI BR-ZN-W868 user manual

BEIRENHUIZHI

BEIRENHUIZHI BR-ZN-W868 user manual

Zicom Z.HA.HO.GSM.ATOUCH.KIT user manual

Zicom

Zicom Z.HA.HO.GSM.ATOUCH.KIT user manual

Sector Alarm TC user manual

Sector Alarm

Sector Alarm TC user manual

Leopard LI-HDSDI-1080-D user manual

Leopard

Leopard LI-HDSDI-1080-D user manual

HR HRSBB056 Technical manual

HR

HR HRSBB056 Technical manual

VEVOR XMRS25-4 user manual

VEVOR

VEVOR XMRS25-4 user manual

HAI Omni installation manual

HAI

HAI Omni installation manual

HomeGuardian 4902011 quick start guide

HomeGuardian

HomeGuardian 4902011 quick start guide

Extel O'PLUS JLT-808 Installation and user guide

Extel

Extel O'PLUS JLT-808 Installation and user guide

manuals.online logo
manuals.online logoBrands
  • About & Mission
  • Contact us
  • Privacy Policy
  • Terms and Conditions

Copyright 2025 Manuals.Online. All Rights Reserved.