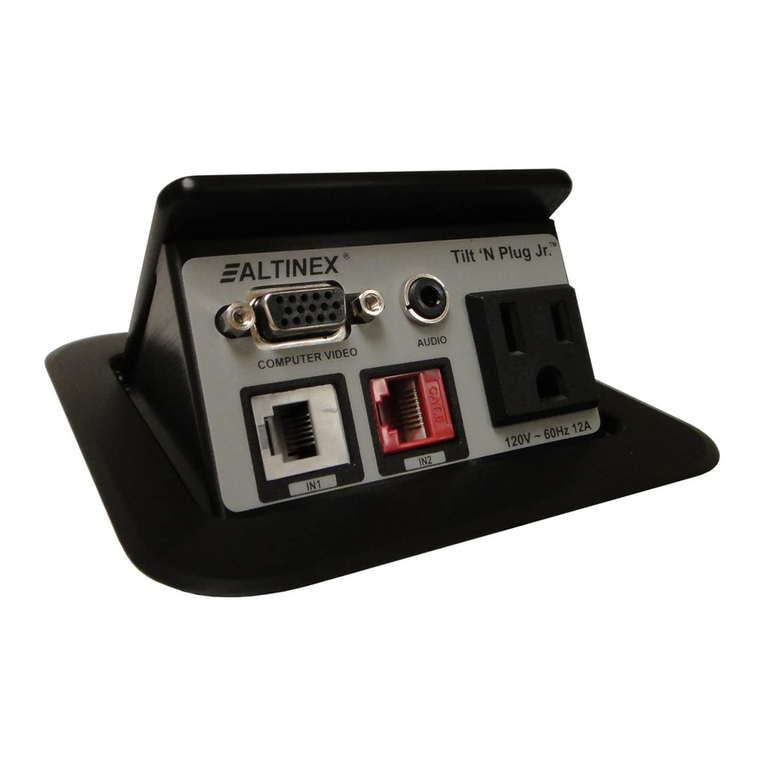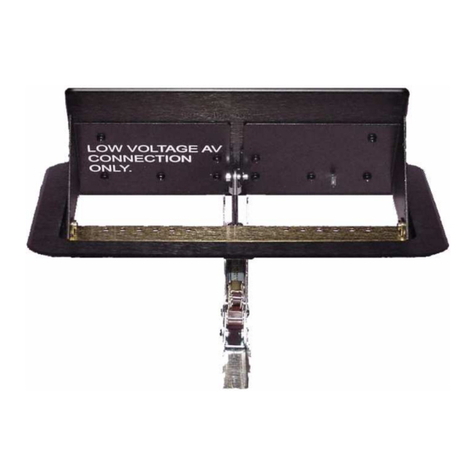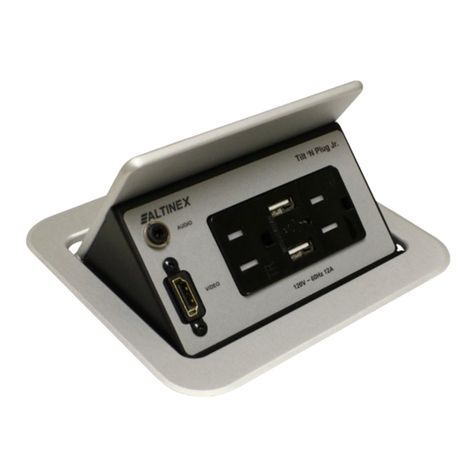
Tilt 'N Plug Jr. Interconnect Box
User’s Guide
400-0434-010
1
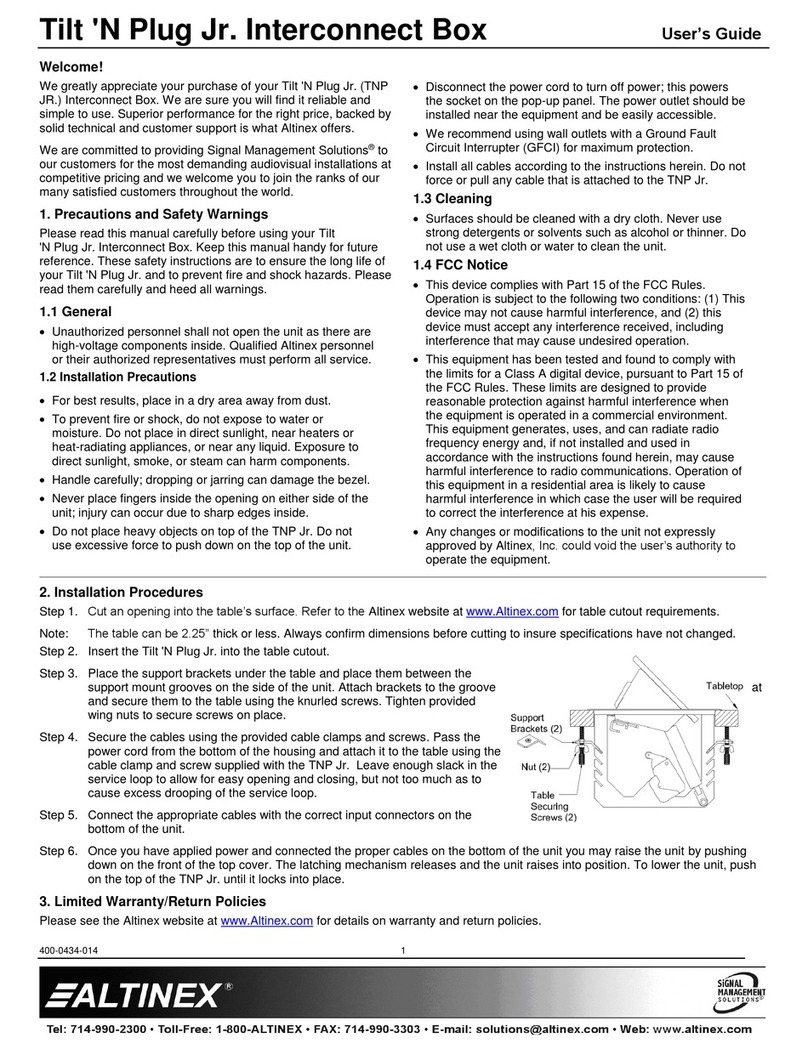
Tabletop
Screws (2)
Securing
Table
Brackets (2)
Support
Welcome!
We greatly appreciate your purchase of your Tilt 'N Plug Jr. (TNP JR.)
Interconnect Box. We are sure you will fin it reliable an simple to use.
Superior performance for the right price, backe by soli technical an
customer support is what ALTINEX has to offer.
We are committe to provi ing Signal Management Solutions
®
to our customers for the most eman ing au iovisual installations at
competitive pricing an we welcome you to join the ranks of our many
satisfie customers throughout the worl .
1. Precautions and Safety Warnings
Please rea this manual carefully before using your Tilt 'N Plug Jr.
Interconnect Box. Keep this manual han y for future reference. These safety
instructions are to ensure the long life of your Tilt 'N Plug Jr. an to prevent
fire an shock hazar s. Please rea them carefully an hee all warnings.
1.1 General
•Unauthorize personnel shall not open the unit as there are high-voltage
components insi e.
•Qualifie ALTINEX service personnel or their authorize representatives
must perform all service.
1.2 Installation Precautions
•For best results, place the Tilt 'N Plug Jr. in a ry area away from ust.
•To prevent fire or shock, o not expose this unit to water or moisture. Do
not place the unit in irect sunlight, near heaters or heat-ra iating
appliances, or near any liqui . Exposure to irect sunlight, smoke, or
steam can harm internal components.
•Han le the Tilt 'N Plug Jr. carefully. Dropping or jarring can amage the
bezel.
•Never place fingers insi e the opening on either si e of the unit. This
action coul cause injury ue to sharp e ges insi e.
•Do not place heavy objects on top of the Tilt 'N Plug Jr. Do not use
excessive force to push own on the top of the unit.
•Disconnect the
power cor to turn off the power. This supplies power to
the socket on the pop-up panel. The power outlet shoul be installe
near the equipment an be easily accessible.
•We recommen using wall outlets with a Groun Fault Circuit
Interrupter (GFCI) for maximum protection.
•Install all cables accor ing to the instructions foun herein. Do not force
or pull any cable that is attache to the Tilt 'N Plug Jr.
1.3 Cleaning
•Surfaces shoul be cleane with a ry cloth. Never use strong etergents
or solvents such as alcohol or thinner. Do not use a wet cloth or water to
clean the unit.
1.4 FCC Notice
•This evice complies with Part 15 of the FCC Rules. Operation is subject
to the following two con itions: (1) This evice may not cause harmful
interference, an (2) this evice must accept any interference receive ,
inclu ing interference that may cause un esire operation.
•This equipment has been teste an foun to comply with the limits for a
Class A igital evice, pursuant to Part 15 of the FCC Rules. These limits
are esigne to provi e reasonable protection against harmful
interference when the equipment is operate in a commercial
environment. This equipment generates, uses, an can ra iate ra io
frequency energy an , if not installe an use in accor ance with the
instructions foun herein, may cause harmful interference to ra io
communications. Operation of this equipment in a resi ential area is
likely to cause harmful interference in which case the user will be
require to correct the interference at his expense.
•Any changes or mo ifications to the unit not expressly approve by
ALTINEX, Inc. coul voi the user’s authority to operate the equipment.
2. Installation Procedures
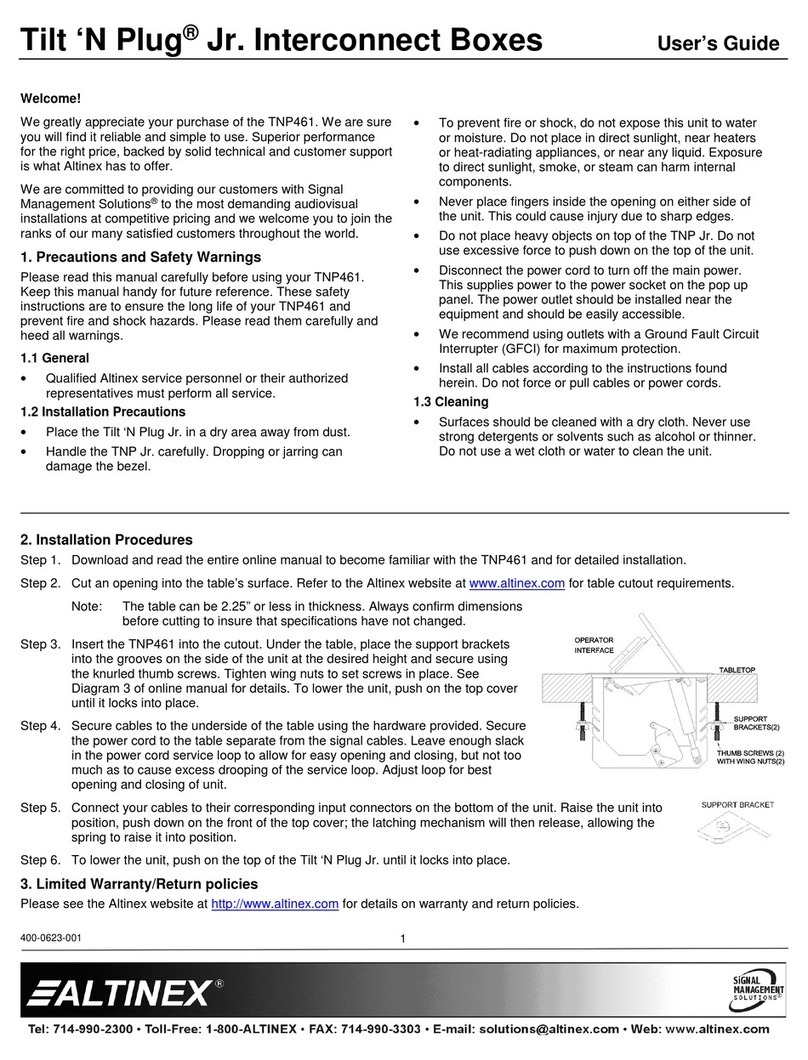
Step 1. Cut an opening into the table’s surface. Refer to the ALTINEX website at www.altinex.com for table cutout requirements.
Note: The table can be 2.25” or less in thickness. Always confirm imensions before cutting to insure that specifications have not change .
Step 2. Insert the Tilt 'N Plug Jr. into the table cutout.
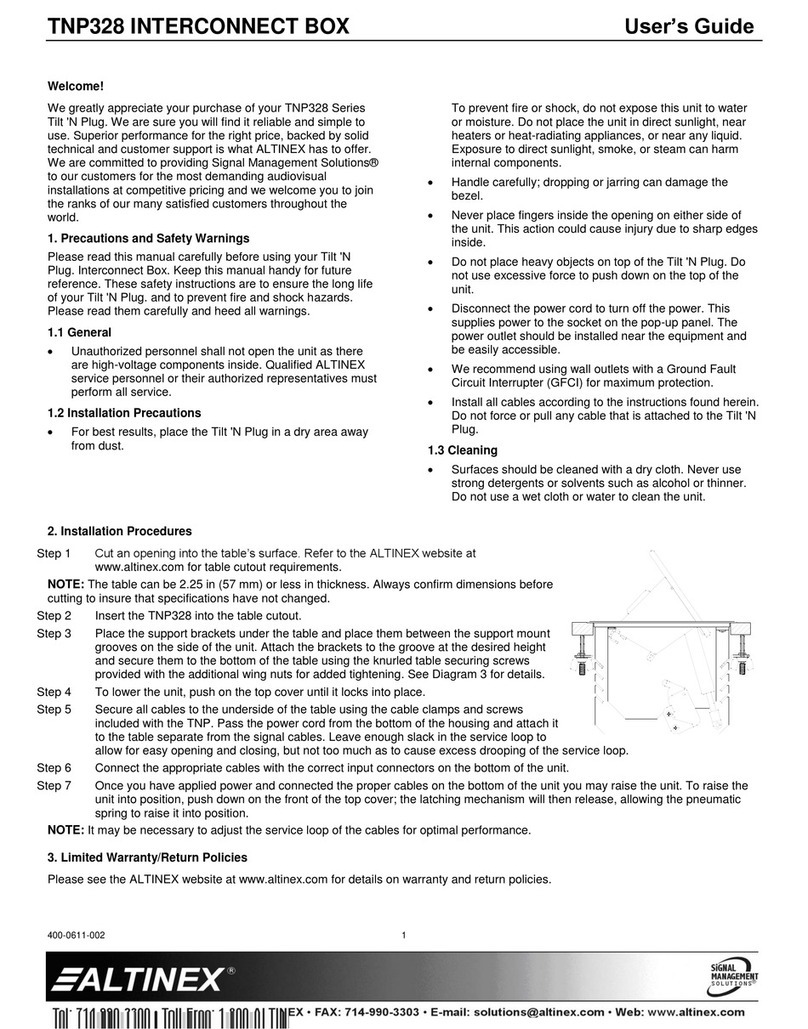
Step 3. Place the support brackets un er the table between the support mount grooves on the si e
of the Tilt 'N Plug Jr. Attach the brackets to the groove at the esire height an secure
them to the bottom of the table using the thumb screws provi e .
Step 4. Secure the cables by using the provi e cable clamps an screws inclu e with the unit.
Pass the power cor from the bottom of the housing an attach it to the table using the
cable clamp an screw supplie with the Tilt 'N Plug Jr.
Leave enough slack in the service loop to allow for easy opening an closing, but not too
much as to cause excess rooping of the service loop.
Step
5. Connect the appropriate cables with the correct input connectors on the bottom of the unit.
Step 6. Once you have applie power an connecte the proper cables on the bottom of the unit
you may raise the unit. To raise the Tilt 'N Plug Jr. into position, push own on the front of the top cover; the latching mechanism will then release,
allowing the pneumatic spring to raise it into position.
Step 7. To lower the unit, push on the top of the Tilt 'N Plug Jr. until it locks into place.
3. Limited Warranty/Return Policies
Please see the ALTINEX website at www.altinex.com for etails on warranty an return policies.

