Altinex TP110 User manual
Other Altinex Transmitter manuals

Altinex
Altinex MT318-102 User manual
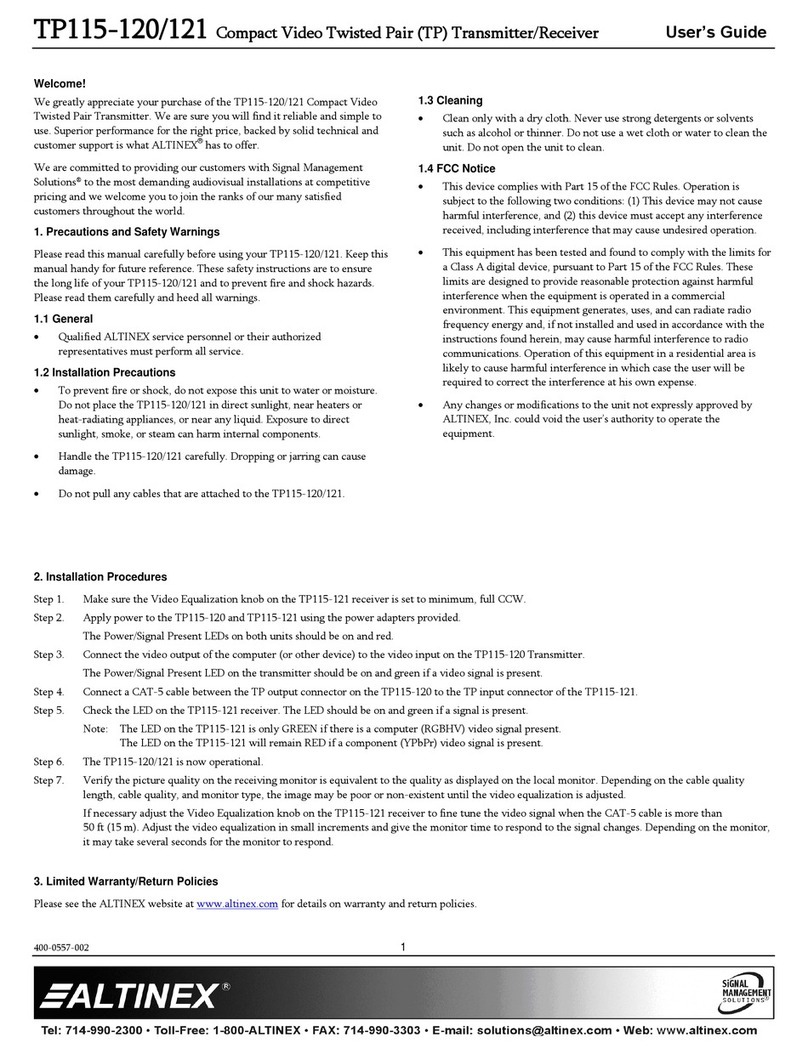
Altinex
Altinex TP115-121 User manual
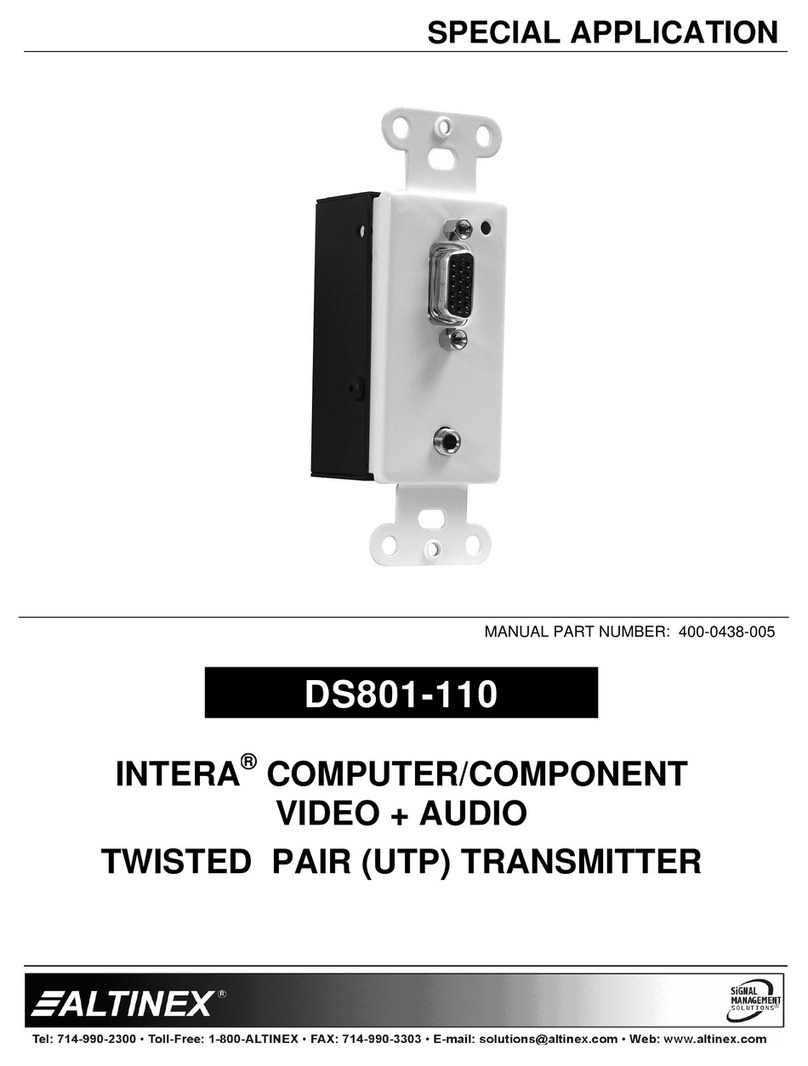
Altinex
Altinex Intera Video+Audio to Twisted Pair (UTP) Transmitter... User manual
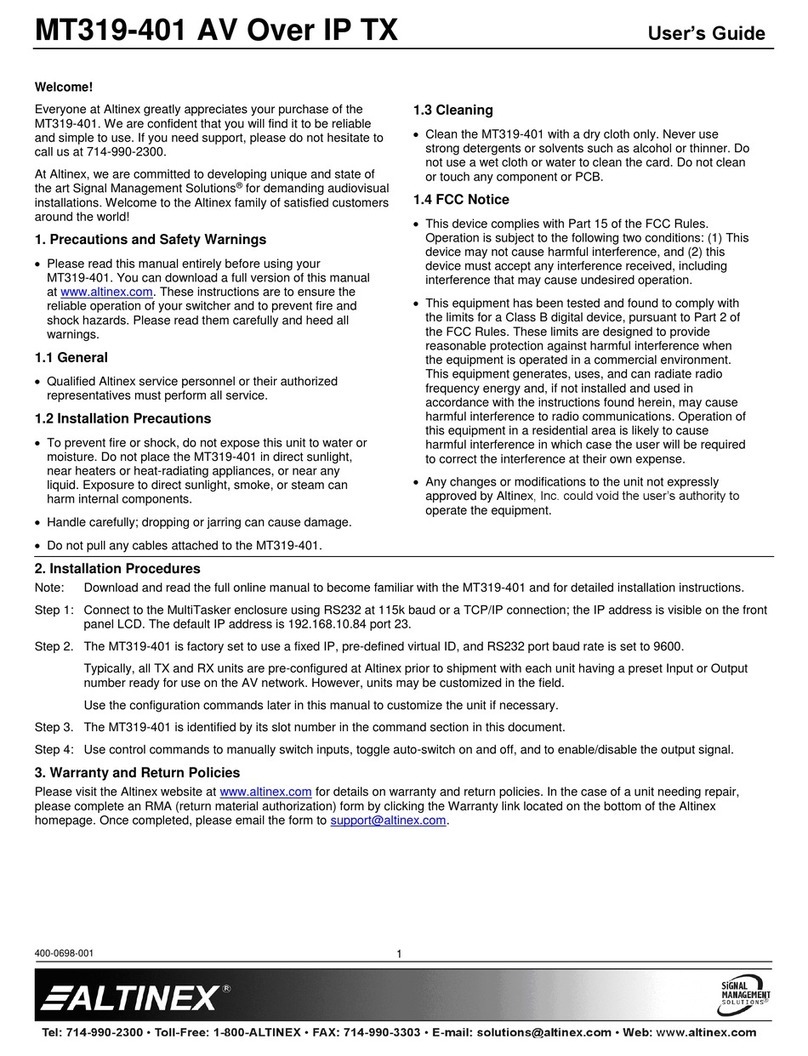
Altinex
Altinex MT319-401 User manual
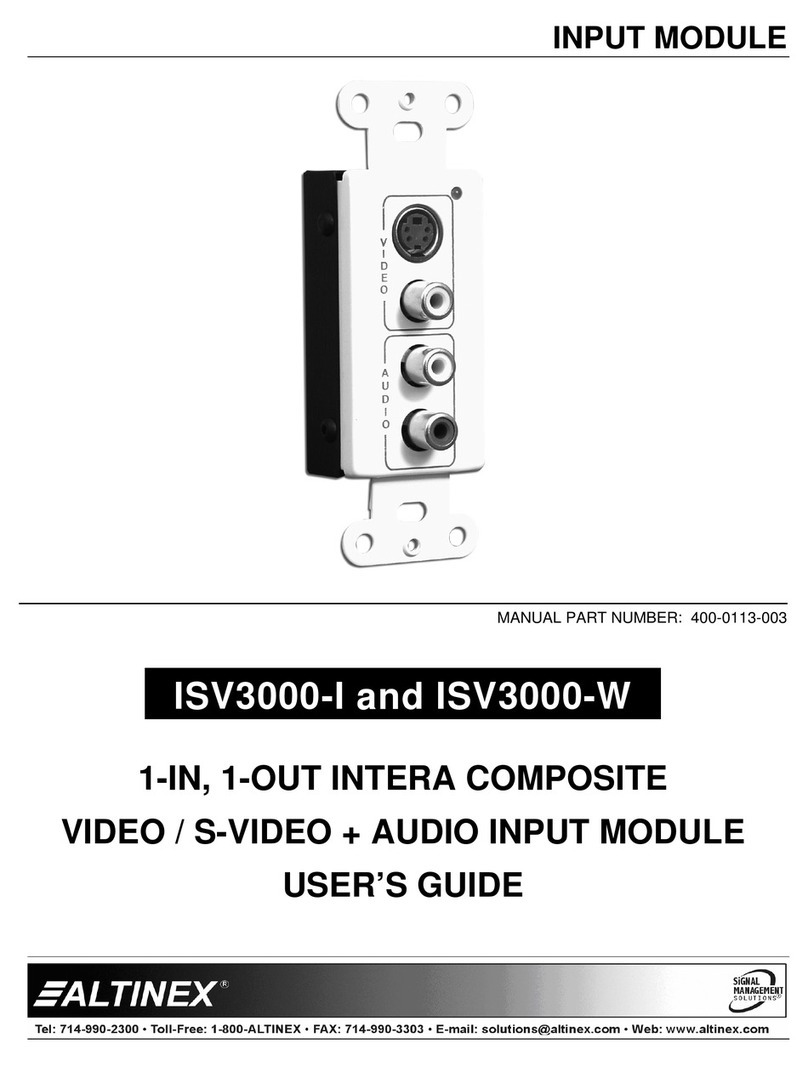
Altinex
Altinex ISV3000-W User manual
Altinex
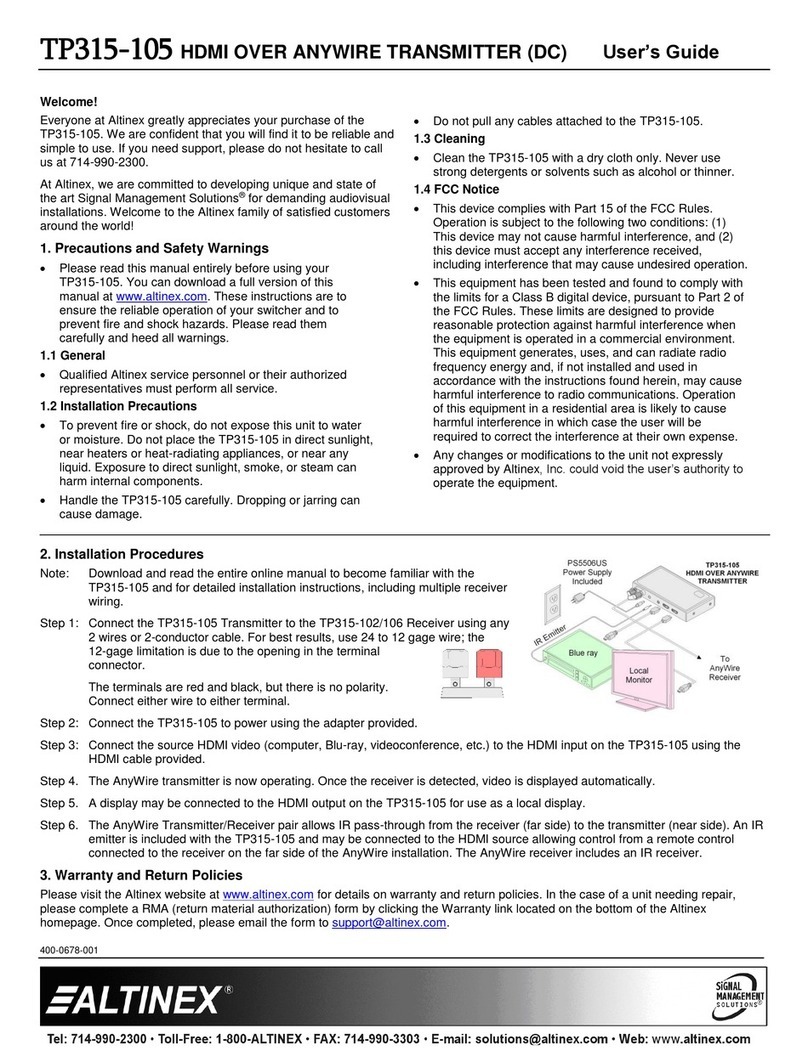
Altinex TP315-105 User manual

Altinex
Altinex DA1935KM User manual

Altinex
Altinex DA1930CT User manual
Altinex
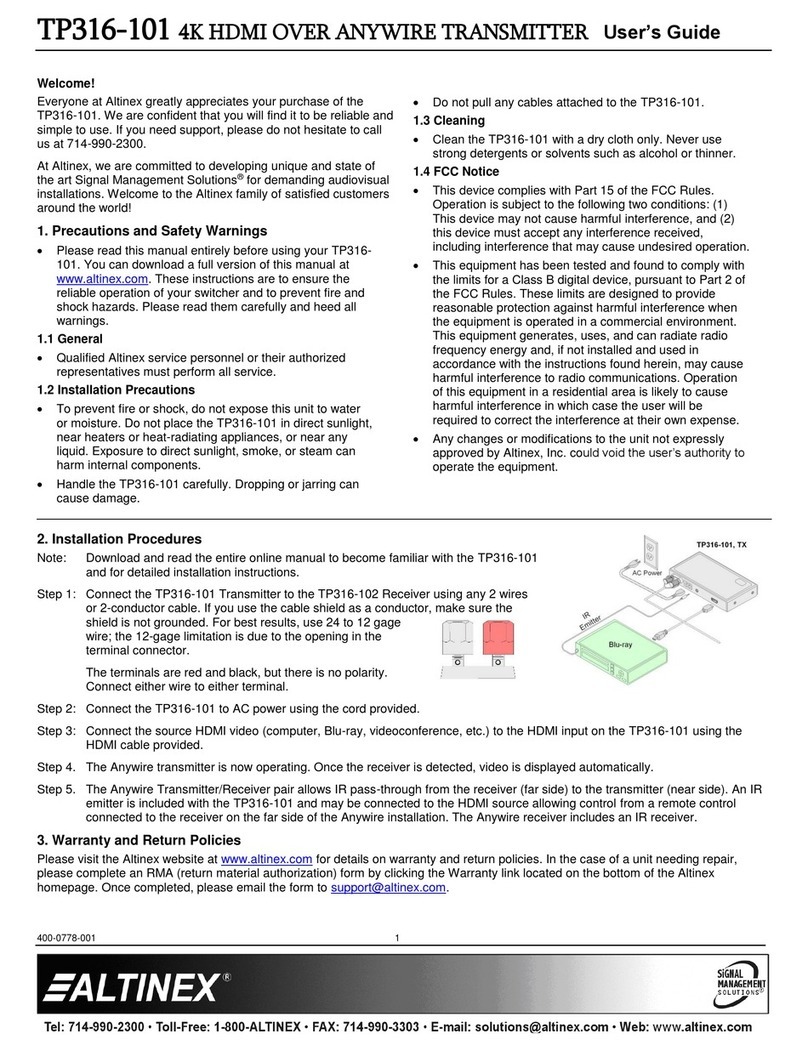
Altinex TP316-101 User manual
Altinex
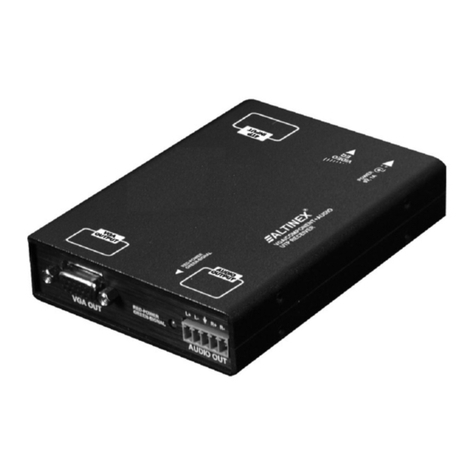
Altinex TP115-110 User manual
Altinex
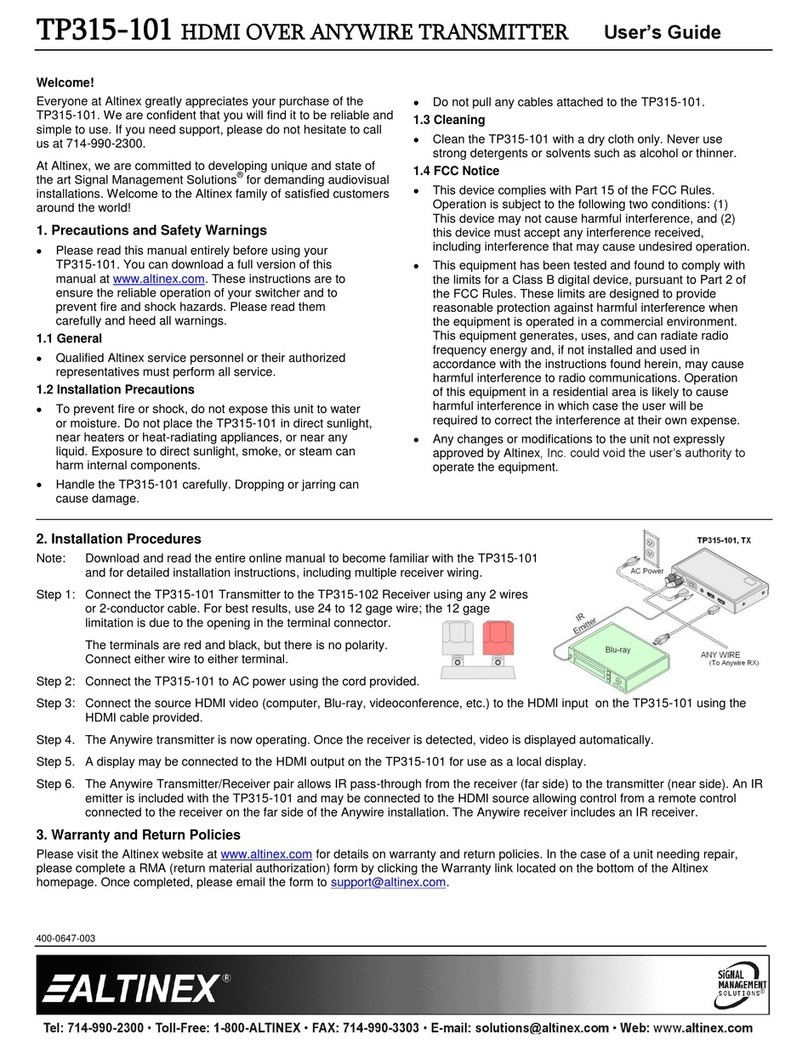
Altinex TP315-106 User manual
Altinex
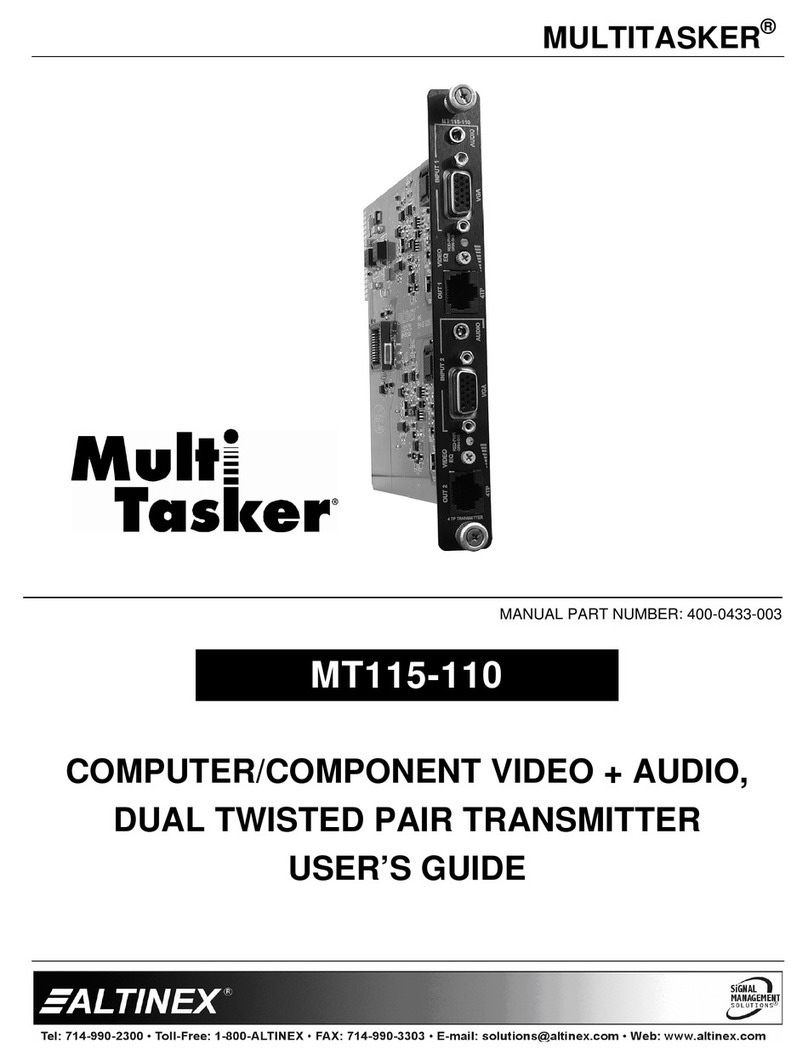
Altinex Computer/Component Video+ Audio Dual Twisted Pair Transmitter... User manual
Altinex
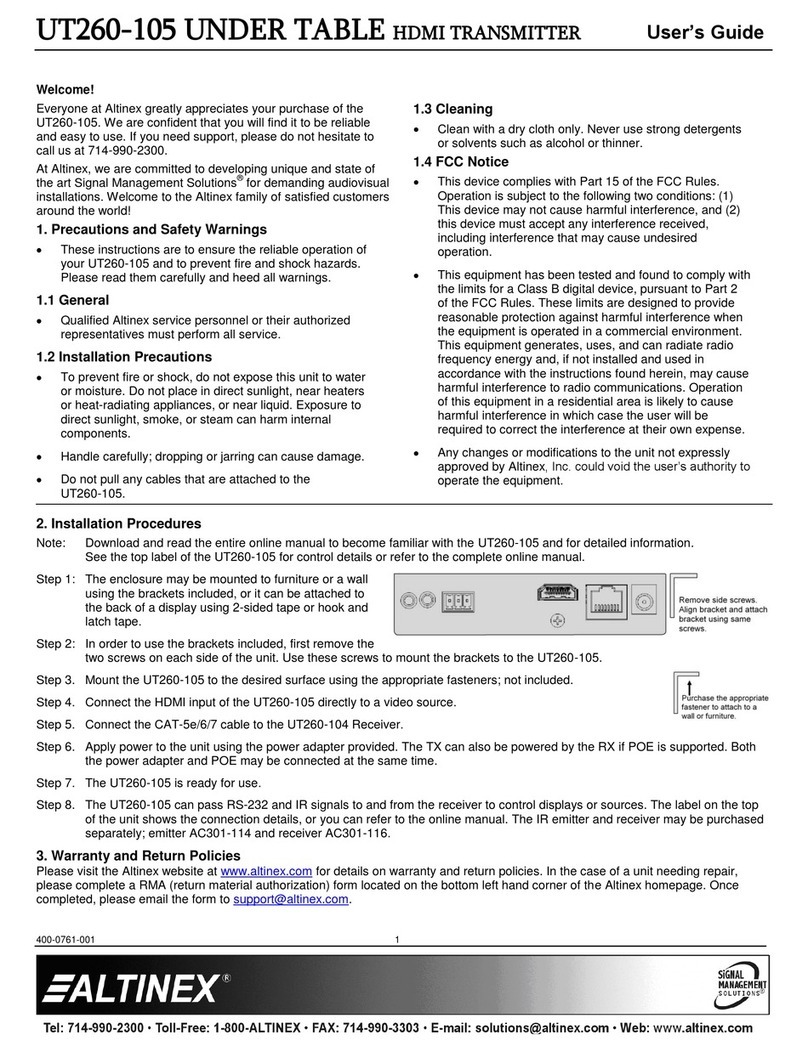
Altinex SIGNAL MANAGEMENT SOLUTIONS UT260-105 User manual

Altinex
Altinex Multi Tasker MT103-122 User manual
Altinex
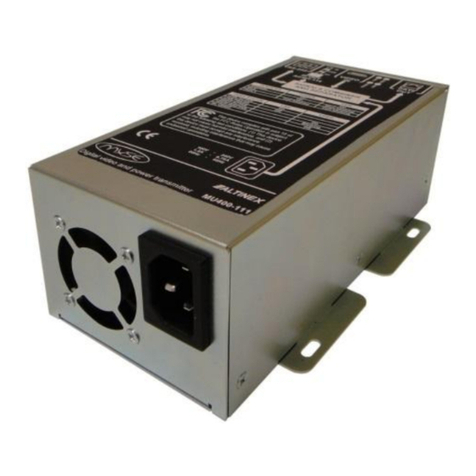
Altinex MUSE MU400-111 User manual

Altinex
Altinex VGA to CAT-5 Transmitter Card MT103-115 User manual

Altinex
Altinex DA1930CT User manual
Altinex
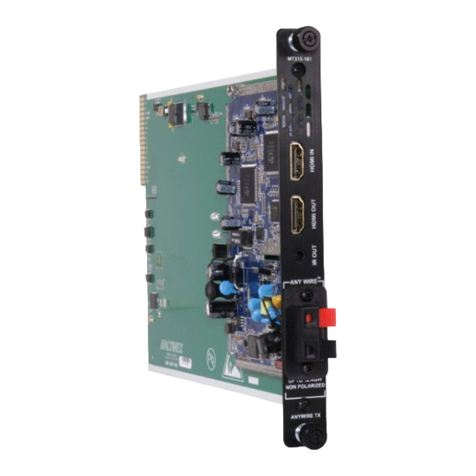
Altinex MT315-101 User manual

Altinex
Altinex Multi Tasker MT103-122 User manual
Altinex
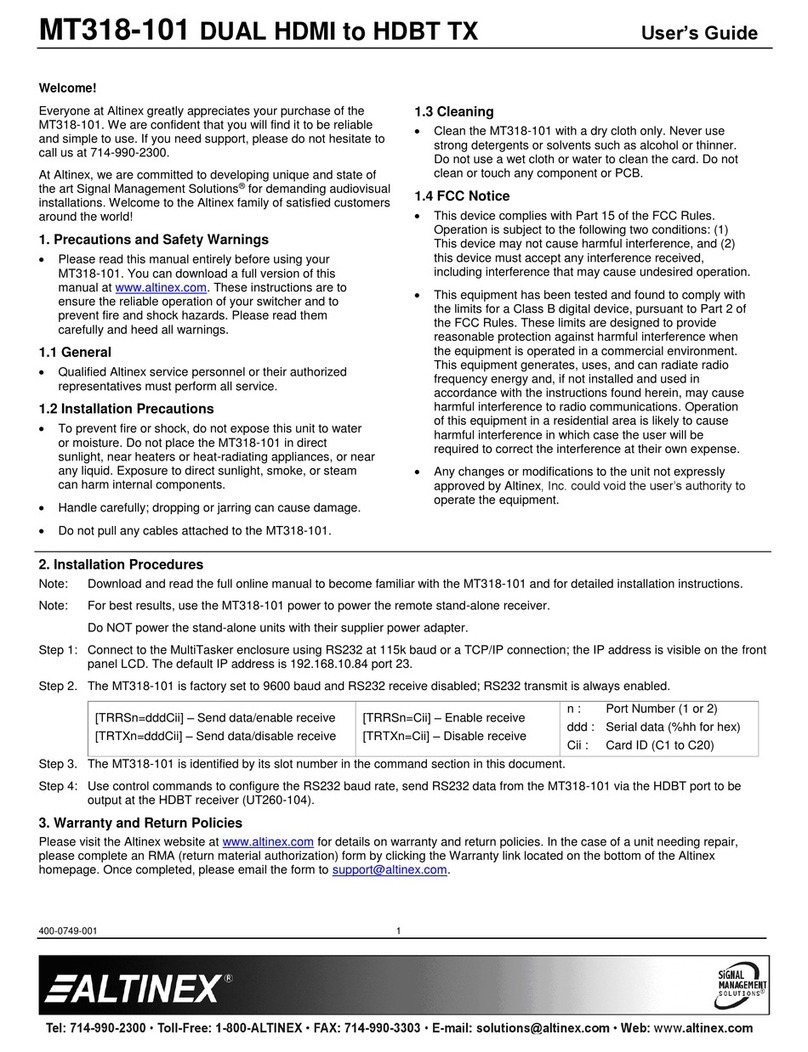
Altinex MT318-101 User manual
Popular Transmitter manuals by other brands

Geo
Geo Web Pack quick start guide

Inovonics
Inovonics EchoStream EN1210W installation instructions

IKONNIK
IKONNIK KA-6 quick start guide

Rohde & Schwarz
Rohde & Schwarz SR8000 Series System manual

Audio Technica
Audio Technica UniPak ATW-T93 Installation and operation

NIVELCO
NIVELCO EasyTREK SCA-300 Series Programming manual


