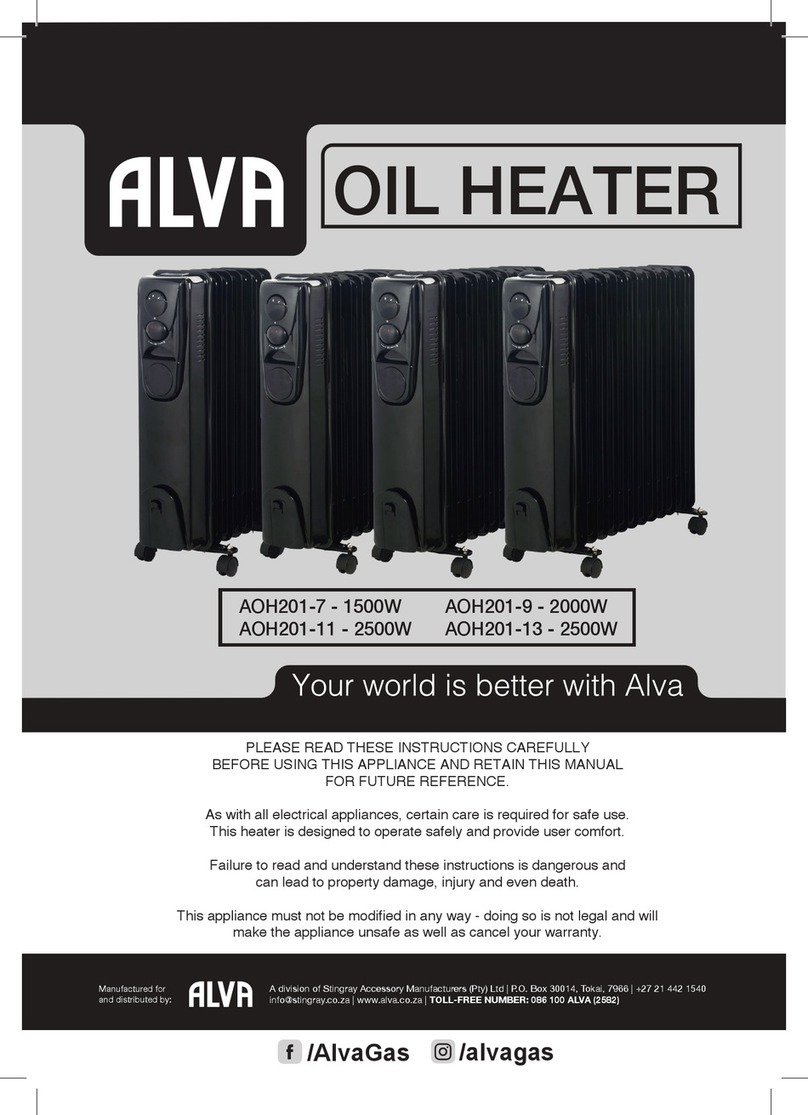
Alva AOH202-7 User manual

Manufactured for
and distributed by:
PLEASE READ THESE INSTRUCTIONS CAREFULLY
BEFORE USING THIS APPLIANCE AND RETAIN THIS MANUAL
FOR FUTURE REFERENCE.
As with all electrical appliances, certain care is required for safe use.
This heater is designed to operate safely and provide user comfort.
Failure to read and understand these instructions is dangerous and
can lead to property damage, injury and even death.
This appliance must not be modified in any way - doing so is illegal and will
render the appliance unsafe as well as cancel your warranty.
A division of Stingray Accessory Manufacturers (Pty) Ltd | P.O. Box 30014, Tokai, 7966 | +27 21 442 1540
info@stingray.co.za | www.alva.co.za | TOLL-FREE NUMBER: 086 100 ALVA (2582)
AOH202-7 - 1500W AOH202-9 - 2000W
AOH202-11 - 2500W AOH202-13 - 2500W
OIL HEATER
/alvagas
/AlvaGas

IMPORTANT SAFETY INFORMATION
As with all appliances, misuse of this appliance or failure to fully
follow these instructions may cause re, injury or death.
Please read all the instructions before using your heater.
• Before using this appliance check that the voltage indicated on
the type plate corresponds to your mains supply voltage.
• DO NOT use this heater with a programmer, timer or any other
device that switches the heater on automatically. There is a re
risk if the heater is covered or positioned incorrectly.
• Always disconnect the heater from the electricity mains
when not in use, during assembly and cleaning.
• Always ensure that the power cord is kept away from the body
of the heater. The heater body will get very hot while in use and
can melt the cable.
• Always inspect the power cord for signs of wear or damage.
If wear or damage is noted, a suitably qualied person should
replace it immediately. Failing to do so is a hazard and may
lead to re and/or electrocution/electric shock and/or property
damage and/or death.
• NEVER allow the cord to come into contact with wet or hot
surfaces or become twisted.
• DO NOT damage and DO NOT kink the power cord.
• DO NOT cover or obstruct the heater when in use.
• DO NOT insert any objects through any slot or opening in the
heater.
• Users must not disassemble the heater, or change/substitute
any parts of this heater; if the heater is faulty it is extremely
dangerous to use it.
• Keep the heater a distance of at least 1 meter from any
combustible material, such as furniture, curtains, bedding,
clothes or paper.
• Keep the heater clean. DO NOT allow objects to enter the
ventilation, as this may cause electric shock, re or damage the
heater.
• NEVER touch the appliance with wet or damp hands or feet.
• NEVER expose the appliance to atmospheric conditions (rain,
sun, etc)
• DO NOT use the appliance for anything other than its intended
use.
• DO NOT use this heater in the immediate surroundings of a
bath, a shower or a swimming pool.
Please read the
instructions carefully
before use.
Retain this manual for
future reference.
This appliance must
not be modied in
any way - doing so is
illegal and will render
the appliance unsafe
as well as void your
warranty.

• Any repairs that need to be done to the heater must be referred
to an authorized service agent only.
• DO NOT connect the appliance to multiple extension cords or
multiple outlets.
• This heater is not equipped with a device to control the room
temperature. DO NOT use this heater in small rooms when they
are occupied by persons not capable of leaving the room on
their own, unless supervised.
• This heater must not be located immediately below a socket-
outlet.
• Children should be supervised to ensure that they do not play
with this heater
• Some parts of this product can become very hot and cause
burns. Particular attention has to be given where children and
vulnerable people are present.
Ensure that children do not play with this heater. This appliance is
not intended or designed for use by persons (including children) with
reduced physical, sensory or mental capabilities or lack of experience
and knowledge, unless they are supervised or given instruction
concerning use of this appliance by a person responsible for their
safety. If the power supply cord is damaged, it must be replaced with
a special cord or assembly, available from the manufacturer or its
service agent.
It is unsafe to use
this heater where it is
close to a bafe plate
or any other
combustible material.
Keep combustible
materials such as
furniture, paper,
clothes and curtains
at least 1m from the
front, sides and rear of
the heater.
How to unplug your heater correctly


INDEX
INDEX
WARRANTY
GENERAL INFORMATION
PARTS DIAGRAM
ASSEMBLY
USING YOUR HEATER
TIMER FUNCTION
MAINTENANCE
TROUBLESHOOTING
TECHNICAL DATA
AFTER SALES SERVICE
2
2
3
3
5
6
7
7
8
8
KEY
Important information
Cautions and
warnings.
Danger
Contact an approved
ALVA technician.
Do It Yourself

WARRANTY
PLEASE RETAIN YOUR PROOF OF PURCHASE FOR
WARRANTY CLAIMS.
ALVA warrants this appliance to be free of defects in material and
quality for a period of 12 months from date of original purchase.
This warranty covers the intended use of this appliance – within
a domestic setting and not for commercial or industrial purposes.
Any damage caused by wilful abuse, tampering, modication or
unauthorized repair will not be warranted.
Please retain all packaging material, as items returned without
original packaging material may be subject to a withholding fee.
Where this appliance is found to be defective, damaged, broken,
or does not work correctly for the intended purpose, you must
return the appliance to the retailer from where it was purchased.
The warranty will only be effected with valid proof of purchase.
Failure to provide the proof of purchase will most likely result in
the repair or service required being chargeable.
If you have any questions while setting up or using this heater,
please visit www.alva.co.za or call 086 100 ALVA (2582) or e-mail
info@stingray.co.za
GENERAL INFORMATION
Before using this heater, please read through this manual and
make sure you understand everything. If you are not sure, call
086 100 ALVA (2582) or visit www.alva.co.za for help. This
heater is a safe and efcient form of heating when used accord-
ing to these instructions.
Reading and understanding this manual should give you a good
indication of what to expect from your Alva heater.
If this product is not what you want or need, please help Alva and
the environment by not damaging or destroying any part of the
packaging, the manual or the Styrofoam inserts.
Always keep your proof of purchase. Keep these instructions for
future use. If you lose this copy, you can obtain a new copy from
your dealer or online at www.alva.co.za.
Thank you for your
purchase of this
heater. Please read
these instructions
carefully before use
and keep them in a
safe place, for future
reference.
Not using appliances
according to the
instructions is
extremely dangerous
and can lead to
property damage,
injury or death.
For indoor use only.
DO NOT use within
1m of any ammable
surfaces.
DO NOT store
ammable materials
near the heater.
2

PARTS DIAGRAM
1 Thermostat Knob
2 Power Switch
3 Timer
4 Cord Storage
5 Radiant Fins
6 Castor
INSTALLATION
The heater is packaged with the castors unattached. You must
attach them before operating the heater.
WARNING: Do not operate without the castors attached.
Operate the heater in a upright position only
(the castors on the bottom, controls at the top), any other
position could create a hazardous situation.
3
Always ensure that the
heater is unplugged
when not in use,
installing and cleaning.
1
2
3
4
5
6

4
OPERATION OF THE
HEATER
NOTE: It is normal when
the heater is switched on
for the rst time or when it
is turned on after having not
been used for a long period
of time, the heaters may
emit some smell and fumes.
This will disappear when the
heater has been on for a
short while.
Before using the heater,
make sure you understand
the “IMPORTANT SAFETY
INFORMATION”
section of this manual.
1. Place the radiator body upside-down on a scratch-free
surface, make sure it is stable and will not fall.
2. Screw off the wing nuts from the U-shaped bolt provided,
attach the U-shaped bolt to the U-facing
ange between rst and second ns (near the front cover).
3. To attach the castor mounting plate to the radiator body, you
should insert the threaded ends of the U-bolt in the holes on the
castor mounting plate.
4. Screw the wing nuts back to the U bolt and fasten the wing nut
properly.
Note: do not over tighten, which may cause the damage to the
radiator ange.
5. Screw o spherical nut from the castor, align the shaft to the hole
of the castor mounting plate, insert, and screw on the spherical
nut.
6. Repeat 2, 3, 4 and 5 on the rear of radiator for mounting of the
rear castors.
Note: the rear castors must be mounted between the end two ns.

USING YOUR HEATER
1. Before using the heater, make sure that it is on a level and
stable surface, to prevent damage or a hazardous situation.
2. Set all the controls to OFF position and insert the plug into a
socket-outlet. Be sure that plug ts rmly.
3. Rotate the thermostat knob to the MAX position (Fig 1).
4. Set the timer ON/OFF switch to ON position (Fig 3).
5. Switch on the Power Switch for the heater to start. The pilot
light on the power switch will illuminate (Fig 2).
- Switch I for low heat
- Switch II for medium heat
- Both switches for high heat III
6. When your room reaches the desired temperature, slowly
rotate the thermostat knob counter clockwise until the pilot
light goes out. The thermostat can now be left at this setting.
As soon as the room temperature has dropped below the set
temperature, the unit will switch itself on automatically until
the set temperature has been reached again. In this way the
room temperature remains constant with the most economical
use of electricity.
7. If you want to change the room temperature setting, rotate the
thermostat knob clockwise to raise the temperature, or counter
clockwise to lower it.
8. This heater includes an overheat protection system that shuts
off the heater when parts of the heater becomes excessively
hot.
9. To completely shut the heater off, turn all the controls to OFF,
and remove plug from the socket-outlet.
5
OPERATION OF THE
HEATER
NOTE: It is normal when the
heaters are turned on for the
rst time, or when they are
turned on after having not
been used for a long period
of time, the heaters may
emit some smell and fumes.
This will disappear when the
heater has been on a short
while.
Before using the heater,
make sure you understand
the “IMPORTANT SAFETY
INFORMATION”
section of this manual.
Fig. 1 Fig. 2 Fig. 3

6
TIMER FUNCTION
• When the Timer ON/OFF switch is in position (I) the heater
will operate without timer control.
• When the Timer ON/OFF switch is in position (0) the heater
will not operate.
• When the Timer ON/OFF switch is in position ( ) the heater
will operate with timer control.
The timer can set a delay start and a duration function with a
switch off time.
HOW TO SET THE TIMER
• Set the thermostat knob to desired position.
• Switch on power switch to desired heat level, I, II, III.
• Set timer ON/OFF switch to timer position ( ).
• Rotate time dial clockwise to reect current time, 24 hour
clock, at the arrow.
• Set start time for the heater to switch on by moving the red
radial markers outwards. Each red radial marker
corresponds to 15 minutes (Example below).
EXAMPLE 1
1. The time is 09:00am, rotate the timer clockwise so 9 lines up
with the white arrow.
2. For the heater to operate for 2 hours move the red radial
markers outwards from 09:00 to 11:00. After 11:00am the
heater will switch off automatically.
EXAMPLE 2
The time is 09:00am and you want the heater to start at 11:00am
and operate for 2 hours and then the heater switches off
automatically.
1. Rotate the timer clockwise so 9 lines up with the white
arrow.
2. Move the red radial markers outwards from 11 to 13. At
1:00pm the heater will switch off automatically.
To cancel the timer at any time, set the Timer ON/OFF switch to
OFF(0)

7
NOTE: ALVA does
not recommened that
the heater be left on,
in any form,
unattended
For your safety the heater will automatically switch off if it falls
over or tilts past a certain angle. Should this occur, set the heater
upright on a level, stable surface and it will automatically restart.
MAINTENANCE
It is necessary to periodically wipe the heater, depending on the
placement and enviroment of its use.
Be sure the heater is fault free:
1. Always remove the plug from the socket-outlet and allow the
heater to cool down before cleaning.
2. Wipe heater with a soft damp (not wet) cloth.
3. Ensure that the mains lead and plug are not damaged.
• Your heater should be checked once a year by a qualied
technician.
• If faults are suspected or detected, stop using the heater
and contact ALVA.
• Clean the exterior of your heater when required to remove
dust.
• DO NOT use abrasive products to clean the heater; these
may damage the heater surface.
• Always make sure the heater is OFF and cool before
conducting any maintenance.
• Keep young children or inrm persons away from any hot
surfaces.
• Always disconnect the heater from the electricity mains
when not in use, during assembly and cleaning.
• DO NOT submerge the heater in water.
• DO NOT spray down or rinse the heater with water.
TROUBLESHOOTING
SYMPTOM CAUSE SOLUTION
Heater will not
turn ON
Not plugged in
Not switched ON
Plug in and switch on
socket.
Rotate thermostat
Switch timer ON/OFF
switch on.
Switch on the Power
switch
Tilt switch has
been activated
Stand the heater upright
on a level surface

TECHNICAL DATA
Item numbers AOH202-7 - 1500W
AOH202-9 - 2000W
AOH202-11 - 2500W
AOH202-13 - 2500W
Voltage (V) Hz 220-240V 50/60Hz
Ingress protection IPX0
Insulation protection Class I
Heating area AOH202-7 & AOH202-9 - 15m²
AOH202-11 & AOH202-13 - 20m²
AFTER SALES SERVICE
MANUFACTURED FOR AND DISTRIBUTED BY
Alva, a division of Stingray Accessory Manufacturers (Pty) Ltd
P.O. Box 30014
Tokai, 7966
Tel: 021 442 1540
E-mail: info@stingray.co.za
www.alva.co.za
www.facebook.com/AlvaGas
TOLL FREE NUMBER 086 100 ALVA (2582)
8
This manual suits for next models
3
Table of contents
Other Alva Heater manuals
Popular Heater manuals by other brands

Empire
Empire SR-6-3 Installation instructions and owner's manual

Swann
Swann Smith's Ecovector II Smart LL Installation, commissioning and user manual

Costway
Costway EP23749 quick start guide

EXO2
EXO2 HeatBand quick start guide

MONDEX
MONDEX AURA E2 Installation and operating instructions

FAFCO
FAFCO SUPER solar beat Installation and owner's manual

EUROM
EUROM 332605 instruction manual

SUNWIND
SUNWIND PG113H-A instruction manual

Chromalox
Chromalox STAR-02A-11-PC Installation, operation and renewal parts identification

CLIMASTAR
CLIMASTAR Smart EASY TECH Installation and user guide

Mirrorstone
Mirrorstone Classic manual

Rinnai
Rinnai RHFE-951ETR installation manual