manuals.online logo
Brands
  1. Home
  2. •
  3. Brands
  4. •
  5. Amino
  6. •
  7. Remote Control
  8. •
  9. Amino Lima User manual

Amino Lima User manual

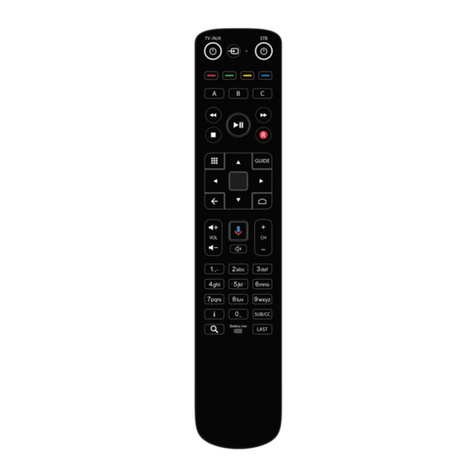
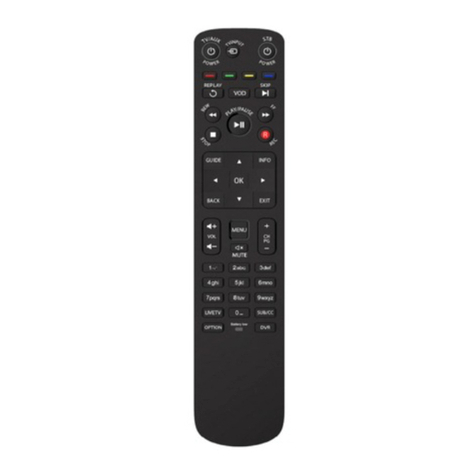
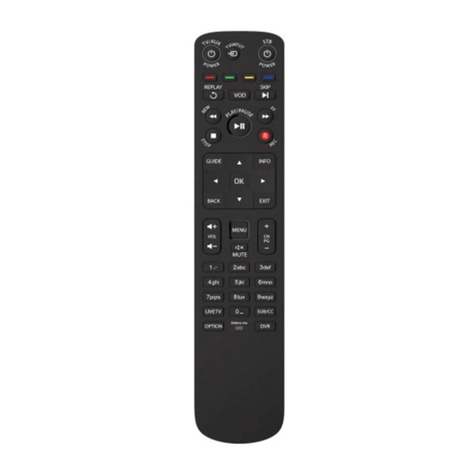
Lima Remote Control User Guide
Slide the battery housing cover down on the back
of the remote control.
Insert 2x AAA batteries, observing the correct
polarity.
Refit the battery housing cover.
1.
2.
3.
• Do not mix di!erent types of battery or old and new batteries.
• Do not use rechargeable batteries.
• Remove the batteries from the remote control if you are not
going to use it for several weeks, to avoid the risk of leakage.
• Please respect the environment and any local regulations and
dispose of old batteries in a responsible manner.
• Do not attempt to recharge the batteries supplied with your
remote control.
• Immediately remove any leaking batteries.
• Take care when handling leaking batteries as they may cause
burns to the skin or eyes, or other physical injuries.
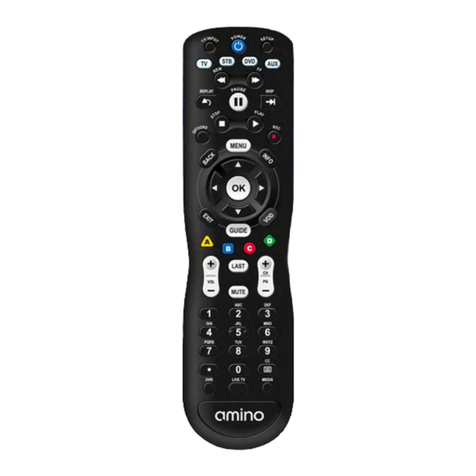
Remote control layout
1. Inserting the batteries Battery information
1 2 3
The Lima remote control for Android TV supports two methods
for control of TV.
A) Manual Code Set Up
Each code consists of 3 digits.
Please visit the following webpage for Lima TV codes:
https://www.amino.tv/resources/#userguides
It may be programmed as follows:
Press and hold the Source (key #1) and Power (key #2)
simultaneously for at least 3 seconds.
The remote control confirms the Setup activation by turning
on the LED.
Enter the 3 digits code assigned to the target TV model, by
pressing and releasing the corresponding digit keys. Note, the
LED reverse blinks once for every digit key press, except for
the last one.
If the code input is valid, the new code is
programmed and the LED performs a Success Blink
If the code input is invalid (i.e. is not available in the
Universal Code Library), the new code is rejected and
the RCU maintains the previously programmed code
(if it’s already programmed). Please try again.
1.
2.
a.
3.
b.
B) Quick Search by Brand
Quick Search by Brand provides programming the Lima remote
control to a desired key brand.
Each brand is associated with a specific digit: 0 to 9 and only the
top 10 most popular Brands are represented. See table below.
Press and hold Source (key #1) and a Digit simultaneously
for at least 3 seconds. The digit key corresponds to the
brand of the target TV device to be programmed.
After 3 seconds the LED turns on, confirming Setup
activation; it remains on during Quick Search by Brand
Setup
Release the keys.
Press and release the Right key. Every time the Right key is
pressed, the RCU advances to the next available code and
transmits 3 IR frames of the TV Mute function:
Press the OK to store the code.
1.
5.
2.
3.
4.
a.
b.
c.
If the RCU does not have a programmed code, or if the
programmed code is not from the selected brand, the search list
starts in the first code in the selected brand.
If the RCU already has a TV device programmed and the
programmed code is in the list of codes for the selected Brand,
then the first code to test is the code following the currently
programmed code (i.e. currently programmed code + 1) in the
Brand’s Code List; the last code to test is the one previous to the
currently programmed one (i.e. currently programmed code - 1).
The LED turns o!and then on again, when the key is pressed.
3. Controlling the TV with your Lima remote
Press and hold Source (key #1) and Apps (key #3)
simultaneously for at least 3 seconds.
The LED turns on to confirm the Setup mode activation.
Release the keys to confirm the operation and you will see the
LED complete a success blink.
1.
2.
3.
99-709852-08 Rev. 03-01
5. How do I return my remote to Factory Settings?
The Lima remote control is designed to control your STB and
(optionally) your TV or auxiliary device (alternative video source).
Ensure the STB is powered on, connected to a TV, and has
finished its start-up procedure. Ensure your TV input source is
set to display the output from the STB.
During the initial setup of the STB, you will be guided through the
process of pairing the remote control with the STB. The image
below shows what you can expect to see on your TV screen.
Point the remote control at the STB. Do not cover the infrared
(IR) window on the front of the remote control or at the front
of the STB.
Press and hold the OK key (3) and APPS key (2) simultaneously
for 5 seconds until the LED light (10) turns on.
Release both keys.
The LED light will blink continuously to indicate pairing.
Once the pairing is successful, the pairing screen will disappear
from your screen and the LED will blink twice.
Note: The remote is in “pairing mode” when the LED light (10) is
blinking on and o!continuously. When in pairing mode, only the
BACK key (4) on the remote control will work. You must press the
BACK key to exit pairing mode if you wish to use any other
function.
1.
2.
3.
4.
2. Controlling the STB (pairing the remote control)
Other Amino Remote Control manuals

Amino Maxi Linux User manual

Amino

Amino Maxi Linux User manual

Amino Amino Remote Control User manual

Amino

Amino Amino Remote Control User manual

Amino AmiNET130 User manual

Amino

Amino AmiNET130 User manual

Amino RC125 User manual

Amino

Amino RC125 User manual

Amino Maxi Linux User manual

Amino

Amino Maxi Linux User manual

Amino AmiNET130 User manual

Amino

Amino AmiNET130 User manual

Amino Maxi Linux User manual

Amino

Amino Maxi Linux User manual

Amino Maxi LNX User manual

Amino

Amino Maxi LNX User manual

Amino Maxi Linux User manual

Amino

Amino Maxi Linux User manual

Amino Maxi ATV User manual

Amino

Amino Maxi ATV User manual

Amino US/Asia Standard Remotes User manual

Amino

Amino US/Asia Standard Remotes User manual

Amino Maxi ATV User manual

Amino

Amino Maxi ATV User manual

Amino Nova User manual

Amino

Amino Nova User manual

Amino Nova User manual

Amino

Amino Nova User manual

Amino 002-458-XX-XX User guide

Amino

Amino 002-458-XX-XX User guide

Amino Birch User manual

Amino

Amino Birch User manual

Amino 513-214-00-00 User manual

Amino

Amino 513-214-00-00 User manual

Amino Willow User manual

Amino

Amino Willow User manual

Amino Willow User manual

Amino

Amino Willow User manual

Amino Nova User manual

Amino

Amino Nova User manual

Amino AmiNET530 User manual

Amino

Amino AmiNET530 User manual

Amino Maxi ATV User manual

Amino

Amino Maxi ATV User manual

Amino Oak User manual

Amino

Amino Oak User manual

Amino Remote Controls User manual

Amino

Amino Remote Controls User manual

Popular Remote Control manuals by other brands

Universal Remote Control UR4U-MDVR2 operating instructions

Universal Remote Control

Universal Remote Control UR4U-MDVR2 operating instructions

Spektrum DX4C instruction manual

Spektrum

Spektrum DX4C instruction manual

Universal Electronics Contour user guide

Universal Electronics

Universal Electronics Contour user guide

KPU Myrio user guide

KPU

KPU Myrio user guide

SKYDANCE RT1 quick start guide

SKYDANCE

SKYDANCE RT1 quick start guide

RadioLink t8fb user manual

RadioLink

RadioLink t8fb user manual

Philips SRP9232D/27 user manual

Philips

Philips SRP9232D/27 user manual

Samsung RMC-QTD1 quick start guide

Samsung

Samsung RMC-QTD1 quick start guide

Louvolite R1725 instructions

Louvolite

Louvolite R1725 instructions

Airwell RC18 user manual

Airwell

Airwell RC18 user manual

Brivis RG36F/BGCEF user manual

Brivis

Brivis RG36F/BGCEF user manual

RTI RP-6 Operations & installation guide

RTI

RTI RP-6 Operations & installation guide

Danfoss CF-RC Instruction

Danfoss

Danfoss CF-RC Instruction

Logitech 880 Pro Harmony user manual

Logitech

Logitech 880 Pro Harmony user manual

Boston Scientific Vercise quick start guide

Boston Scientific

Boston Scientific Vercise quick start guide

RSH-Tech RSH-IR01 user manual

RSH-Tech

RSH-Tech RSH-IR01 user manual

Takagi 9008172005 user manual

Takagi

Takagi 9008172005 user manual

MZ electronic HC200 quick start guide

MZ electronic

MZ electronic HC200 quick start guide

manuals.online logo
manuals.online logoBrands
  • About & Mission
  • Contact us
  • Privacy Policy
  • Terms and Conditions

Copyright 2025 Manuals.Online. All Rights Reserved.