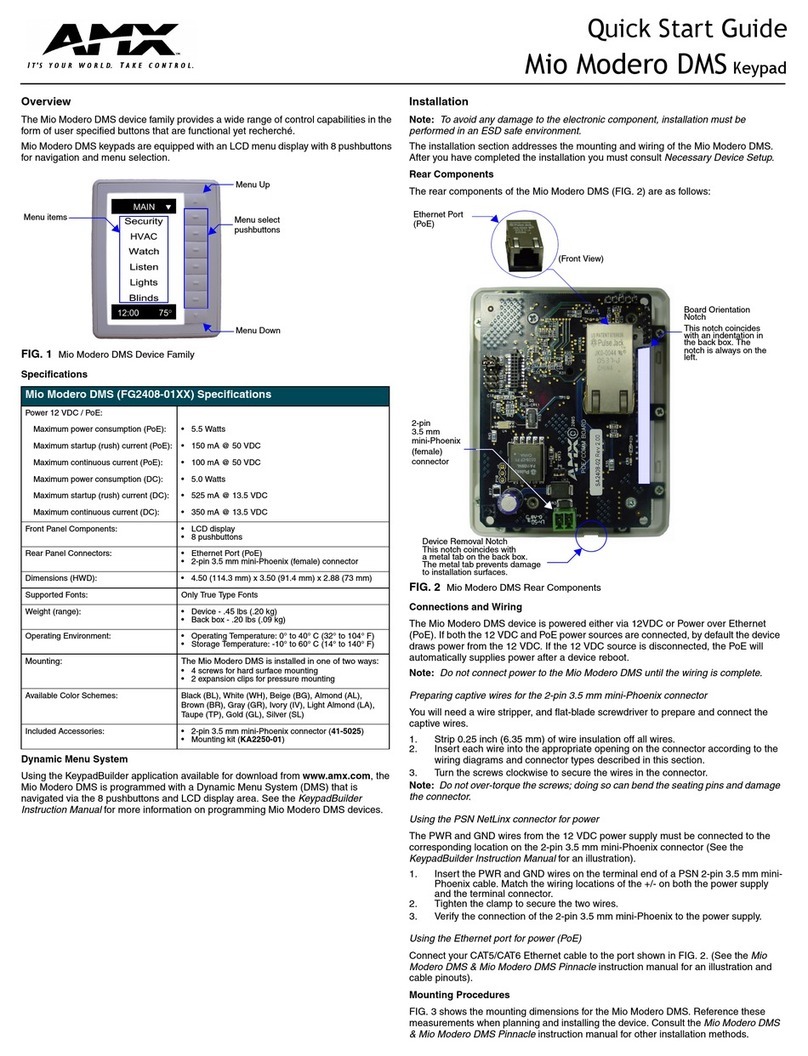
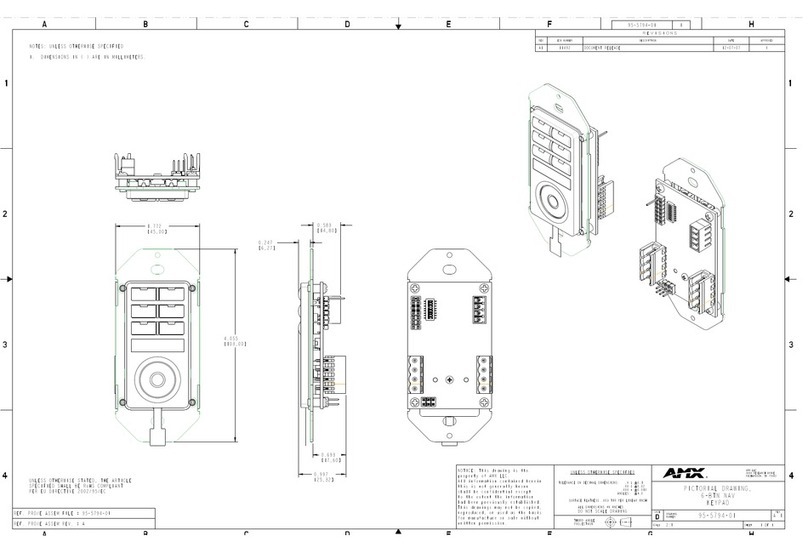
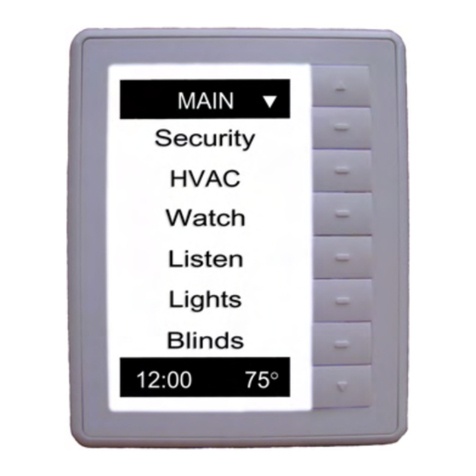
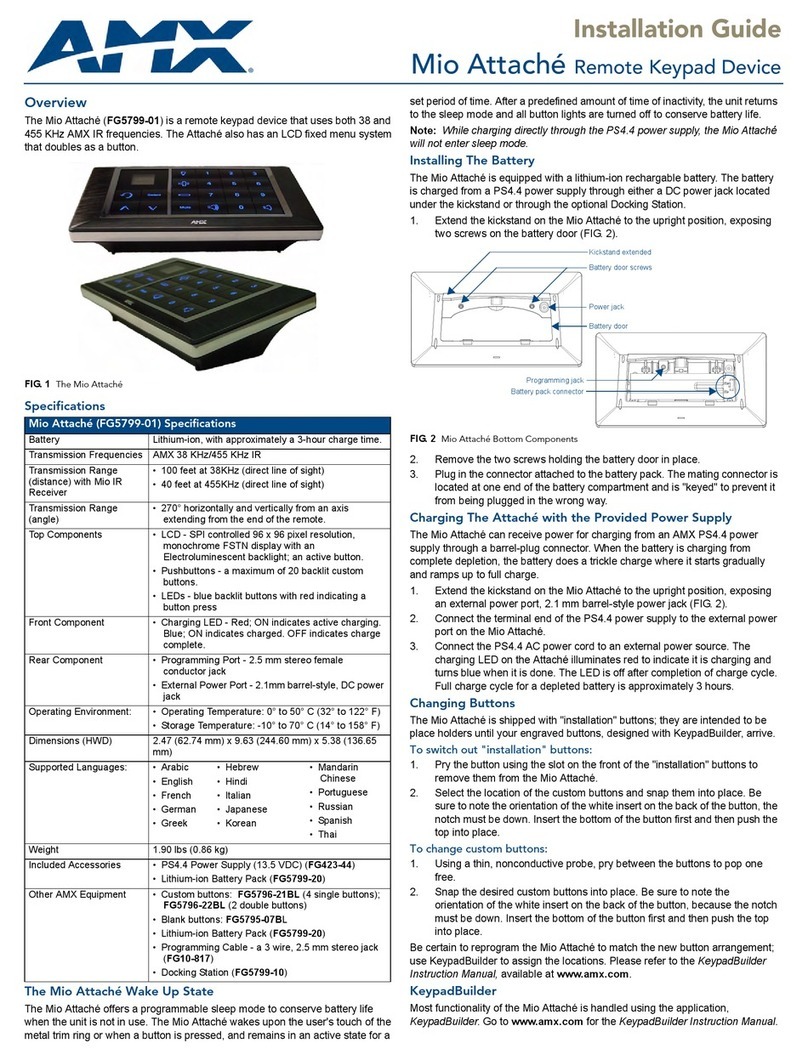
AMX Docking Station Mio Attach Parts list manual

Operation/Reference Guide
Mio Modero Keypads
Mio Attaché
Remote Keypad Device
Last Revised: 4/4/2008

AMX Limited Warranty and Disclaimer
AMX Corporation warrants its products to be free of defects in material and workmanship under normal use for three (3) years from
the date of purchase from AMX Corporation, with the following exceptions:
• Electroluminescent and LCD Control Panels are warranted for three (3) years, except for the display and touch overlay compo-
nents that are warranted for a period of one (1) year.
• Disk drive mechanisms, pan/tilt heads, power supplies, and MX Series products are warranted for a period of one (1) year.
• AMX Lighting products are guaranteed to switch on and off any load that is properly connected to our lighting products, as long
as the AMX Lighting products are under warranty. AMX Corporation does guarantee the
control of dimmable loads that are properly connected to our lighting products. The dimming performance or quality cannot be
guaranteed due to the random combinations of dimmers, lamps and ballasts or transformers.
• Unless otherwise specified, OEM and custom products are warranted for a period of one (1) year.
• AMX Software is warranted for a period of ninety (90) days.
• Batteries and incandescent lamps are not covered under the warranty.
This warranty extends only to products purchased directly from AMX Corporation or an Authorized AMX Dealer.
All products returned to AMX require a Return Material Authorization (RMA) number. The RMA number is obtained from the AMX
RMA Department. The RMA number must be clearly marked on the outside of each box. The RMA is valid for a 30-day period. After
the 30-day period the RMA will be cancelled. Any shipments received not consistent with the RMA, or after the RMA is cancelled, will
be refused. AMX is not responsible for products returned without a valid RMA number.
AMX Corporation is not liable for any damages caused by its products or for the failure of its products to perform. This includes any
lost profits, lost savings, incidental damages, or consequential damages. AMX Corporation is not liable for any claim made by a third
party or by an AMX Dealer for a third party.
This limitation of liability applies whether damages are sought, or a claim is made, under this warranty or as a tort claim (including
negligence and strict product liability), a contract claim, or any other claim. This limitation of
liability cannot be waived or amended by any person. This limitation of liability will be effective even if AMX
Corporation or an authorized representative of AMX Corporation has been advised of the possibility of any such damages. This limi-
tation of liability, however, will not apply to claims for personal injury.
Some states do not allow a limitation of how long an implied warranty last. Some states do not allow the limitation or exclusion of inci-
dental or consequential damages for consumer products. In such states, the limitation or exclusion of the Limited Warranty may not
apply. This Limited Warranty gives the owner specific legal rights. The owner may also have other rights that vary from state to state.
The owner is advised to consult applicable state laws for full
determination of rights.
EXCEPT AS EXPRESSLY SET FORTH IN THIS WARRANTY, AMX CORPORATION MAKES NO
OTHER WARRANTIES, EXPRESSED OR IMPLIED, INCLUDING ANY IMPLIED WARRANTIES OF
MERCHANTABILITY OR FITNESS FOR A PARTICULAR PURPOSE. AMX CORPORATION
EXPRESSLY DISCLAIMS ALL WARRANTIES NOT STATED IN THIS LIMITED WARRANTY. ANY
IMPLIED WARRANTIES THAT MAY BE IMPOSED BY LAW ARE LIMITED TO THE TERMS OF THIS
LIMITED WARRANTY.

Software License and Warranty Agreement
LICENSE GRANT.
AMX grants to Licensee the non-exclusive right to use the AMX Software in the manner described in this License. The AMX Software is
licensed, not sold. This license does not grant Licensee the right to create derivative works of the AMX Software. The AMX Software consists
of generally available programming and development software, product documentation, sample applications, tools and utilities, and
miscellaneous technical information. Please refer to the README.TXT file on the compact disc or download for further information regarding
the components of the AMX Software. The AMX Software is subject to restrictions on distribution described in this License Agreement.
LICENSEE MAY NOT SUBLICENSE, RENT, OR LEASE THE AMX SOFTWARE. Licensee may not reverse engineer, decompile, or
disassemble the AMX Software.
INTELLECTUAL PROPERTY.
The AMX Software is owned by AMX and is protected by United States copyright laws, patent laws, international treaty provisions, and/or state
of Texas trade secret laws. Licensee may make copies of the AMX Software solely for backup or archival purposes. Licensee may not copy
the written materials accompanying the AMX Software.
TERMINATION.
AMX RESERVES THE RIGHT, IN ITS SOLE DISCRETION, TO TERMINATE THIS LICENSE FOR ANY REASON AND UPON WRITTEN
NOTICE TO LICENSEE. In the event that AMX terminates this License, the Licensee shall return or destroy all originals and copies of the
AMX Software to AMX and certify in writing that all originals and copies have been returned or destroyed.
PRE-RELEASE CODE.
Portions of the AMX Software may, from time to time, as identified in the AMX Software, include PRE-RELEASE CODE and such
code may not be at the level of performance, compatibility and functionality of the final code. The PRE-RELEASE CODE may not
operate correctly and may be substantially modified prior to final release or certain features may not be generally released. AMX is
not obligated to make or support any PRE-RELEASE CODE. ALL PRE-RELEASE CODE IS PROVIDED "AS IS" WITH NO
WARRANTIES.
LIMITED WARRANTY.
AMX warrants that the AMX Software will perform substantially in accordance with the accompanying written materials for a period of ninety
(90) days from the date of receipt. AMX DISCLAIMS ALL OTHER WARRANTIES, EITHER EXPRESS OR IMPLIED, INCLUDING, BUT NOT
LIMITED TO IMPLIED WARRANTIES OF MERCHANTABILITY AND FITNESS FOR A PARTICULAR PURPOSE, WITH REGARD TO THE
AMX SOFTWARE. THIS LIMITED WARRANTY GIVES LICENSEE SPECIFIC LEGAL RIGHTS. Any supplements or updates to the AMX
SOFTWARE, including without limitation, any (if any) service packs or hot fixes provided to Licensee after the expiration of the ninety (90) day
Limited Warranty period are not covered by any warranty or condition, express, implied or statutory.
LICENSEE REMEDIES.
AMX's entire liability and Licensee's exclusive remedy shall be repair or replacement of the AMX Software that does not meet AMX's Limited
Warranty and which is returned to AMX. This Limited Warranty is void if failure of the AMX Software has resulted from accident, abuse, or
misapplication. Any replacement AMX Software will be warranted for the remainder of the original warranty period or thirty (30) days,
whichever is longer. Outside the United States, these remedies may not available.
NO LIABILITY FOR CONSEQUENTIAL DAMAGES. IN NO EVENT SHALL AMX BE LIABLE FOR ANY DAMAGES WHATSOEVER
(INCLUDING, WITHOUT LIMITATION, DAMAGES FOR LOSS OF BUSINESS PROFITS, BUSINESS INTERRUPTION, LOSS OF BUSINESS
INFORMATION, OR ANY OTHER PECUNIARY LOSS) ARISING OUT OF THE USE OF OR INABILITY TO USE THIS AMX SOFTWARE,
EVEN IF AMX HAS BEEN ADVISED OF THE POSSIBILITY OF SUCH DAMAGES. BECAUSE SOME STATES/COUNTRIES DO NOT
ALLOW THE EXCLUSION OR LIMITATION OF LIABILITY FOR CONSEQUENTIAL OR INCIDENTAL DAMAGES, THE ABOVE LIMITATION
MAY NOT APPLY TO LICENSEE.
U.S. GOVERNMENT RESTRICTED RIGHTS.
The AMX Software is provided with RESTRICTED RIGHTS. Use, duplication, or disclosure by the Government is subject to
restrictions as set forth in subparagraph ©(1)(ii) of The Rights in Technical Data and Computer Software clause at DFARS 252.227-
7013 or subparagraphs ©(1) and (2) of the Commercial Computer Software Restricted Rights at 48 CFR 52.227-19, as applicable.
SOFTWARE AND OTHER MATERIALS FROM AMX.COM MAY BE SUBJECT TO EXPORT CONTROL.
The United States Export Control laws prohibit the export of certain technical data and software to certain territories. No software from this Site
may be downloaded or exported (i) into (or to a national or resident of) Cuba, Iraq, Libya, North Korea, Iran, Syria, or any other country to
which the United States has embargoed goods; or (ii) anyone on the United States Treasury Department's list of Specially Designated Nation-
als or the U.S. Commerce Department's Table of Deny Orders. AMX does not authorize the downloading or exporting of any software or tech-
nical data from this site to any jurisdiction prohibited by the United States Export Laws.
This Agreement replaces and supersedes all previous AMX Software License Agreements and is governed by the laws of the State of Texas,
and all disputes will be resolved in the courts in Collin County, Texas, USA. For any questions concerning this Agreement, or to contact AMX
for any reason, please write: AMX Corporation, 3000 Research Drive, Richardson, TX 75082.
Table of Contents
i
Mio Attaché Remote Keypad Device
Table of Contents
Overview ............................................................................................................1
Mio Attaché .............................................................................................................. 1
Specifications .................................................................................................................. 2
The Mio Attaché Wake Up State .............................................................................. 3
Mio Attaché Docking Station.................................................................................... 3
Specifications .................................................................................................................. 3
Installation ..........................................................................................................5
Installing The Battery................................................................................................ 5
Charging The Attaché with the Provided Power Supply........................................... 5
Charging The Attaché with the Docking Station....................................................... 6
Low Battery Indicator ............................................................................................... 6
Changing Buttons ..................................................................................................... 7
To switch out "installation" buttons:............................................................................... 7
To change custom buttons: ............................................................................................. 7
Programming The Attaché .................................................................................9
KeypadBuilder .......................................................................................................... 9
Using Connector Ports on The Attaché..................................................................... 9
Setting The IR Frequency........................................................................................ 10
Persistent Serial Commands ................................................................................... 10
Sending Firmware to The Mio Attaché ................................................................... 12

ii Mio Attaché Remote Keypad Device
Table of Contents

Overview
1
Mio Attaché Remote Keypad Device
Overview
Mio Attaché
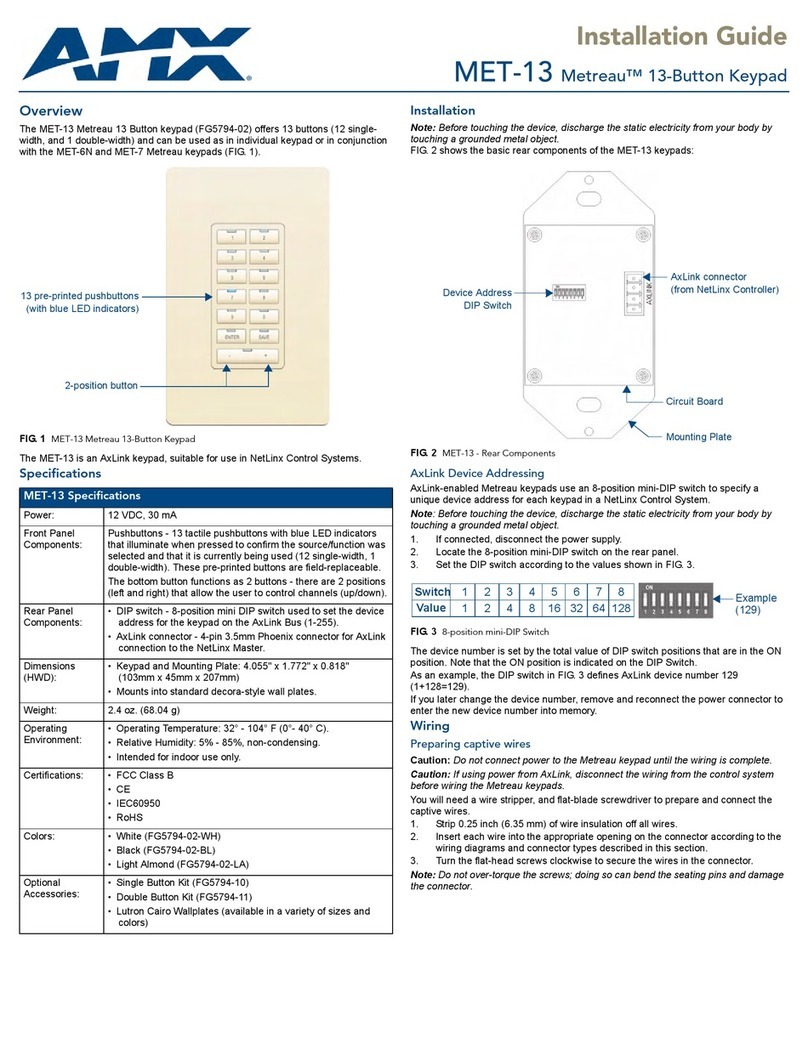
The Mio Attaché (FG5799-01)is a remote keypad device that enables control without the tether of wires; it
uses both 38 and 455 KHz AMX IR frequencies. The Attaché also has an LCD fixed menu system that doubles
as a button.
FIG. 1 The Mio Attaché

Overview
2Mio Attaché Remote Keypad Device
Specifications
The specifications for the Mio Attaché are as follows:
Mio Attaché (FG5799-01) Specifications
Battery Lithium-ion. The charge time is approximately 3 hours from depleted.
Transmission Frequencies AMX 38 KHz/455 KHz IR
Transmission Range (distance)
with Mio IR Receiver
• 100 feet at 38KHz
• 40 feet at 455KHz
Transmission Range (angle) • 270°horizontally from an axis extending from the end of the remote.
• 270° vertically from an axis extending from the end of the remote.
Top Components • LCD - SPI controlled 96 x 96 pixel resolution, monochrome FSTN display
with an Electroluminescent backlight; an active button.
• Pushbuttons - a maximum of 20 backlit custom buttons.
• LEDs - blue backlit buttons with red indicating a button press
Front Component • Charging LED - Red; ON indicates active charging. Blue; ON indicates
charged. OFF indicates charge complete.
Rear Component • Programming Port - 2.5 mm stereo female conductor jack
• External Power Port - 2.1mm barrel-style, DC power jack
Operating Environment • Operating Temperature: 0° to 50° C (32° to 122° F)
• Storage Temperature: -10° to 70° C (14° to 158° F)
Dimensions (HWD) 2.47 (62.74 mm) x 9.63 (244.60 mm) x 5.38 (136.65 mm)
Supported Languages: • Arabic
• English
• French
•German
•Greek
•Hebrew
• Hindi
•Italian
• Japanese
• Korean
• Mandarin Chinese
• Portuguese
• Russian
• Spanish
• Thai
Weight 1.90 lbs (0.86 kg)
Included Accessories • PS4.4 Power Supply (13.5 VDC) (FG423-44)
• Lithium-ion Battery Pack (FG5799-20)
Other AMX Equipment • Custom buttons:
FG5796-21BL (4 single buttons); FG5796-22BL (2 double buttons)
• Blank buttons:
FG5795-07BL
• Lithium-ion Battery Pack (FG5799-20)
• Programming Cable - a 3 wire, 2.5 mm stereo jack (FG10-817)
• Docking Station (FG5799-10)

Overview
3
Mio Attaché Remote Keypad Device
The Mio Attaché Wake Up State
The Mio Attaché offers a programmable sleep mode to conserve battery life when the unit is not in use. The
Mio Attaché wakes upon the user's touch of the metal ring that trims the unit and illuminates the buttons. The
buttons also light when a button is pressed and remain in an active state for a set period of time. After a
programatically defined amount of time of inactivity the unit returns to the sleep mode and all button lights are
turned off to conserve battery life.
Mio Attaché Docking Station
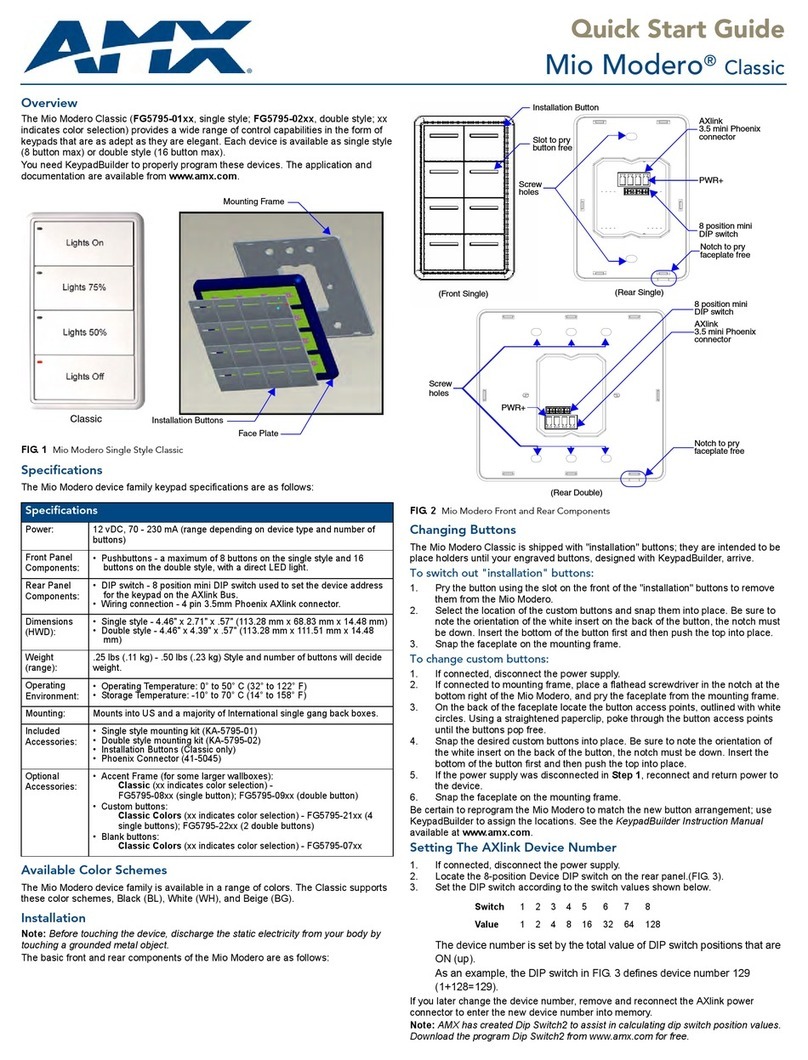
The Mio Attaché is complemented with an optional docking station (FG5799-10). The station allows you to
charge and use your devices without the apparent wiring plugged into the bottom of the Attaché.
Specifications
The specifications for the Mio Attaché docking station are as follows:
While charging directly through the PS4.4 power supply, the Mio Attaché will not
enter sleep mode.
Mio Attaché Docking Station Specifications
Dimensions (HWD) .94 (23.88 mm) x 9.63 (244.60 mm) x 5.53 (140.46 mm)
Weight 0.70 lbs (0.32 kg)
Other AMX Products • PS4.4 Power Supply (13.5 VDC) (FG423-44)
• Mio Attaché (FG5799-01)

Overview
4Mio Attaché Remote Keypad Device

Installation
5
Mio Attaché Remote Keypad Device
Installation
Installing The Battery
The Mio Attaché is equipped with a lithium-ion rechargable battery. The battery is charged from a PS4.4
power supply through either a DC power jack located under the kickstand or through the optional Docking
Station.
1. Extend the kickstand on the Mio Attaché to the upright position, exposing two screws on the battery door.
Shown in FIG. 2.
2. Remove the two screws holding the battery door in place.
3. Plug in the connector attached to the battery pack. The mating connector is located at one end of the
battery compartment and is "keyed" to prevent it from being plugged in the wrong way.
Charging The Attaché with the Provided Power Supply
The Mio Attaché can receive power for charging from an AMX PS4.4 power supply through a barrel-plug
connector. When the battery is charging from complete depletion, it does a trickle charge where it starts
gradually and ramps up to full charge.
1. Extend the kickstand on the Mio Attaché to the upright position, exposing an external power port, 2.1 mm
barrel-style power jack. Shown in FIG. 2.
2. Connect the terminal end of the PS4.4 power supply to the external power port on the Mio Attaché.
3. Connect the PS4.4 AC power cord to an external power source. The charging LED on the Attaché
illuminates red to indicate it is charging and turns blue when it is done. The LED is off after completion
of charge cycle. Full charge cycle for a depleted battery is approximately 3 hours.
FIG. 2 Mio Attaché Bottom Components
Kickstand extended
Battery door screws
Power jack
Battery door
Programming jack
Battery pack connector

Installation
6Mio Attaché Remote Keypad Device
Charging The Attaché with the Docking Station
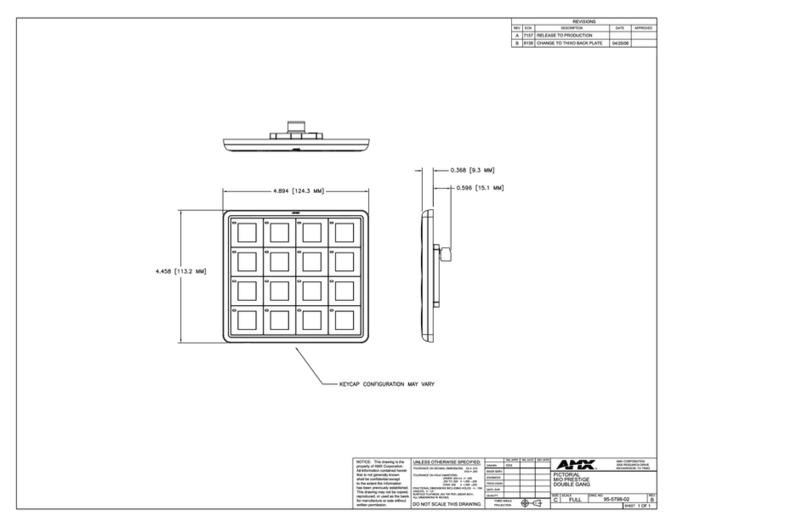
The Mio Attaché can also receive power for charging from an optional Docking Station. When the battery is
charging from complete depletion, the battery does a trickle charge where it starts gradually and ramps up to
full charge.
1. Connect the terminal end of the PS4.4 power supply to the rear external power port on the Mio Attaché
Docking Station. The port on the docking station is located under the station on the back. See FIG. 3 for
location.
2. Route the cable through one of the provided channels so that it comes out either the top right or top left of
the Docking Station.
3. Connect the PS4.4 AC power cord to an external power source.
4. Place the Mio Attaché into the docking station so the contacts at the front of the device are on top of the
charging contacts at the front of the docking station (shown in FIG. 3). The kickstand can be in either
position when charging on the base. The charging LED on the Attaché illuminates red to indicate it is
charging and turns blue when it is done. The LED is off after completion of charge cycle. Full charge
cycle for a depleted battery is approximately 3 hours.
Low Battery Indicator
The Mio Attaché is equipped with a fail-safe known as Low Battery Indicator. When the battery charge level is
too low to sustain continuous operation, the LCD flashes, "Battery Low" and the device shuts down.
FIG. 3 Mio Attaché Docking Station (Top and Bottom view)
(Top)
Charging
Contacts
- Cable Top Right
- Cable Top Left
(Bottom)
PS4.4
Power Supply
Docking Station
rear external
power port

Installation
7
Mio Attaché Remote Keypad Device
Changing Buttons
The Mio Attaché is shipped with "installation" buttons; they are intended to be place holders until your
engraved buttons, designed with KeypadBuilder, arrive.
To switch out "installation" buttons:
1. Pry the button using the slot on the front of the "installation" buttons to remove them from the Mio
Attaché.
2. Select the location of the custom buttons and snap them into place. Be sure to note the orientation of the
white insert on the back of the button, the notch must be down. Insert the bottom of the button first and
then push the top into place.
To change custom buttons:
1. Using a thin, nonconductive probe, pry between the buttons to pop one free. A plastic guitar pick works
exceptionally well for this purpose.
2. Snap the desired custom buttons into place. Be sure to note the orientation of the white insert on the back
of the button, the notch must be down. Insert the bottom of the button first and then push the top into
place.
Be certain to reprogram the Mio Attaché to match the new button arrangement; use KeypadBuilder to assign
the locations. In cases where the default button numbering is needed, the default may be accessed by creating
a file for the keypad in KeypadBuilder. The default button numbering is:
For more information, please see the KeypadBuilder Instruction Manual, available at www.amx.com.
Default button numbering
1 1 9 13 17 21
LCD 10 14 18 22
3 7 11 15 19 23
4 8 12 16 20 24

Installation
8Mio Attaché Remote Keypad Device

Programming The Attaché
9
Mio Attaché Remote Keypad Device
Programming The Attaché
KeypadBuilder
Most functionality of the Mio Attaché is handled using the application, KeypadBuilder. Go to www.amx.com
for the KeypadBuilder Instruction Manual.
Using Connector Ports on The Attaché
The programming jack is used for communication between the device and KeypadBuilder. The programming
jack uses a three-wire, 2.5 mm stereo jack, you can order the programming cable (FG10-817) from AMX if
you do not currently possess one. The baud rate is 115200.
To download KeypadBuilder Configuration Files:
1. Extend the kickstand on the Mio Attaché to the upright position, exposing two screws on the battery door.
Remove the two screws holding the battery door in place, exposing the programming port within the
battery compartment, 2.5 mm stereo female conductor jack.
2. Connect the 2.5 mm stereo plug (male) end of the programming cable (FG10-817) into the programming
port shown in FIG. 4.
3. If necessary, connect the DB-9 end of the programming cable to the female DB-9 connector on the DB-9
extension cable (FG10-727).
4. Connect the female DB-9 terminal end of the extension cable to the port on the back of your computer.
5. Configure the communication parameters in KeypadBuilder.
FIG. 4 Connecting The Keypad Device to Your PC
Stereo plug male DB-9 connector
Cable FG10-817 to cable FG10-727
to PC
programming
cable
Keypad device
Programming
jack
Power
jack

Programming The Attaché
10 Mio Attaché Remote Keypad Device
Setting The IR Frequency
The Mio Attaché is set to the IR frequency 38KHz by default. Use the IRMODE Serial Command to change
the frequency to 455KHz. To set the frequency to 455KHz:
1. Establish a HyperTerminal session with your device.
2. Send "IRMODE 455" to the device.
3. Close the HyperTerminal session.
The command, "IRMODE 38" switches the device back to 38KHz.
Persistent Serial Commands
There are a select number of persistent commands the Attaché recognizes. Establish a HyperTerminal session
with your device to use the following commands:
Serial Commands
BATT Display Battery Level
Syntax:
"'BATT,#'"
Variables:
# = 0 through 4; 0 turns the display off, 1 - 4 indicates the line of display on the
LCD.
Example:
"'BATT,2'"
Displays the battery level on line 2 of the LCD.
@BRT Set Brightness level
Syntax:
"'BRIT-<tag>,<awake brightness level>,<sleep brightness
level>'"
Variables:
brightness level # = a value from 0 - 32.
tag = Red or Blue; affected LCDs
"'@BRT-#'" (Set LED Awake brightness level)
"'@BRT-#,#'" (Set LED Awake brightness level, sleep brightness level)
"'@BRT-tag,#'" (Set Red or Blue LED, brightness level)
"'@BRT-tag,#,#'" (Set Red or Blue LED, awake brightness level, and sleep
brightness)
Example:
(1) "'@BRT-16'"
Sets the awake brightness level to 50%.
(2) "'@BRT-32,5'"
Sets the awake brightness level to 100% and sleep brightness level to
approximately 15%
(3) "'@BRT-RED,32'"
Sets the red LED awake brightness level to 100%.
(4) "'@BRT-BLUE,32,5'"
Sets the Blue LED awake brightness level to 100% and sleep brightness level
to Approximately 15%

Programming The Attaché
11
Mio Attaché Remote Keypad Device
Serial Commands (Cont.)
^CFG
Not Persistent
Combine/Uncombine adjacent buttons
Syntax:
"'^CFG- <command value>'"
Variables:
command value = (1= configuration ON, 0= configuration OFF).
Example:
"'^CFG-1'"
Set the Key Pad to button combine mode
@CST- Sets the display contrast for the device.
Syntax:
"'@CST-<Contrast Level>'"
Variables:
Contrast Level = a value from 0 - 31.
Example:
"'@CST-15'"
Sets the display contrast to approximately 50%.
IRMODE # Sets the IR transmission frequency to either 455KHz or 38KHz.
Syntax:
"IRMODE #"
Variables:
# = 455 or 38
Example:
"IRMODE 455"
Sets the IR transmission frequency to 455KHz.
SLEEP-# Force the device into screen saver mode.
Syntax:
"'SLEEP-#'" (timed sleep; a persistent command)
Variables:
# = 0 - 60 in seconds; time to wait before going to sleep. Default is 30. 0 sets
the device to never sleep.
Example:
"'SLEEP-45'"
Forces the device into screen saver mode after 45 seconds.

Programming The Attaché
12 Mio Attaché Remote Keypad Device
Sending Firmware to The Mio Attaché
You need NetLinx studio to update firmware located on the Mio Attaché. To send firmware to the device:
1. Open NetLinx Studio.
2. Go to Tools > Firmware Transfers > Send to Axcess Device... This opens the Send to Axcess Dialog
Window .
3. Browse to the location of the firmware file.
4. Select the file within the Files frame.
5. Click Query for Devices.
6. Select the Mio Attaché within the Devices frame.
7. Click Send and then Close.
8. Upon confirmation of a successful send, you can exit NetLinx Studio.
FIG. 5 Send to Axcess Dialog Window

Programming
13
M
io Attaché Remote Keypad Device

4/08 ©2008 AMX. All rights reserved. AMX and the AMX logo are registered trademarks of AMX. AMX reserves the right to alter specifications without notice at any time.
It’s Your World - Take Control™
3000 RESEARCH DRIVE, RICHARDSON, TX 75082 USA • 800.222.0193 • 469.624.8000 • 469-624-7153 fax • 800.932.6993 technical support • www.amx.com
This manual suits for next models
2
Table of contents
Other AMX Keypad manuals

AMX
AMX MIO-PRESTIGE-S Guide

AMX
AMX Novara SP-08-E-US User manual

AMX
AMX DAS-KP-LCD-G Parts list manual

AMX
AMX DMS Parts list manual

AMX
AMX ProLink PRO-DP8 User manual

AMX
AMX AXD-MSP16 User manual

AMX
AMX MCP-106 User manual

AMX
AMX Mio Modero DMS User manual

AMX
AMX Metreau DAS-MET-6SRC User manual

AMX
AMX Metreau MET-6N User manual